※はじめからはこちら
今回も引き続きカンバンのUI部分を作っていきます。
boardストアにgetterを追加
state.boardDataにパイプラインなどの情報が入っていますが、カードのフィルタリングを今後実装することなどを考えると、そのままmapStateで参照させるのではなく、getterを通じて加工した結果を戻したほうが都合がいいです。フィルタリング処理の実装は後に回しますが、まずはboardDataを戻すだけのgetterとボードIDを戻すgetterを追加しておきます。
@@ -12,6 +12,12 @@ const getters = {
   getSocket(state, getters, rootState) {
     return rootState.socket;
   },
+  getFilteredPipeLineList(state) {
+    return state.boardData.pipeLineList;
+  },
+  getBoardId(state) {
+    return state.boardData.boardId;
+  },
 };
BoardAreaにStoreを組み込み
前回は、MenuBarコンポーネントにboardのストアを組み込みましたが、同じ様にBoardAreaコンポーネントにも組み込んでおきます。
@@ -4,8 +4,29 @@
 </template>

 <script>
+import { createNamespacedHelpers } from 'vuex';
+
+const { mapGetters } = createNamespacedHelpers('board');
+
+
 export default {
   name: 'BoardArea',
+  computed: {
+    wrappedPipeLineList: {
+      get() {
+        return this.getFilteredPipeLineList;
+      },
+      set(value) {
+        console.log('update', value);
+      },
+    },
+    ...mapGetters([
+      'getFilteredPipeLineList',
+      'getBoardId',
+    ]),
+  },
+  methods: {
+  },
 };
 </script>
ボードの構成情報はgetFilteredPipeLineListで取得できますが、これをwrappedPipeLineListという別のComputed属性としてget/setを用意しています。これは、この後v-modelに指定する必要があるためです。
PipeLineコンポーネントの作成
まずはPipeLineのコンポーネントを作っていきます。
<template>
  <div class="pipe-line">
    <nav class="navbar navbar-dark">
      <span>
        <span class="navbar-brand mb-0 h1 pipe-line-name">{{ pipeLineName }}</span>
        <span class="navbar-brand delete-pipe-line" data-toggle="tooltip" data-placement="top"
              title="delete pipeline" @click="delPipeLineAction">
          (-)
        </span>
      </span>
    </nav>
    <button class="add-card-button btn btn-block" @click="addCardAction">
      add card
    </button>
  </div>
</template>

<script>

export default {
  name: 'PipeLine',
  components: {
  },
  props: {
    pipeLine: {
      type: Object,
      default: () => {},
    },
  },
  data() {
    return {
    };
  },
  computed: {
    wrappedCardList: {
      get() {
        return this.pipeLine.cardList;
      },
      set(value) {
        console.log(value);
      },
    },
    pipeLineName() {
      return this.pipeLine.name;
    },
  },
  methods: {
    addCardAction() {
      const cardTitle = window.prompt('CardTitle?');
    },
    delPipeLineAction() {
      window.confirm(`DELETE [${this.pipeLineName}] ? Are you sure?`);
    },
  },
};
</script>

<style lang='scss' scoped>
  .pipe-line {
    margin-right: 1rem;
    width: 15rem;
  }
  .pipe-line-name {
    cursor: pointer;
    font-size: 1rem;
  }
  .navbar {
    background-color: #6f7180;
  }
  .waiting-rename {
    color: rgba(0, 0, 0, 0.3);
  }
  .card-container {
    height: 100%;
  }
  .delete-pipe-line {
    cursor: pointer;
  }
  .add-card-button {
    cursor: pointer;
    text-align: center;
    background-color: #6f7180;
    color: #FFFFFF;
    border-color: #000;
    border-width: 2px;
    border-style: solid;
    border-radius: 25px 25px 55px 5px/5px 55px 25px 25px;
  }
</style>
delPipeLineActionやaddCardActionはまだモック状態ですのでクリックして入力しても何も起きない状態ですが、とりあえずコンポーネントとしては動いています。パイプラインの1列を表現するデータをpropsとして受け取り、それをもとに描画します。
PipeLine の組み込み
BoardAreaにPipeLineを組み込みます。
@@ -1,16 +1,43 @@
 <template>
   <div class="board-area">
+    <Draggable
+      v-model="wrappedPipeLineList"
+      class="board-container"
+      :options="options"
+    >
+      <PipeLine
+        v-for="pipeLine in wrappedPipeLineList"
+        :pipeLine="pipeLine"
+        class="pipe-line-item"
+        :key="pipeLine.id"
+      />
+    </Draggable>
   </div>
 </template>

 <script>
+import Draggable from 'vuedraggable';
 import { createNamespacedHelpers } from 'vuex';

+import PipeLine from './BoardArea/PipeLine.vue';
+
 const { mapGetters } = createNamespacedHelpers('board');


 export default {
   name: 'BoardArea',
+  components: {
+    Draggable,
+    PipeLine,
+  },
+  data() {
+    return {
+      options: {
+        animation: 300,
+        draggable: '.pipe-line-item',
+      },
+    };
+  },
   computed: {
     wrappedPipeLineList: {
       get() {
ここでVueDraggableも組み込んでいます。これにより簡単に要素のドラッグアンドロップが実装できます。PipeLine同士もD&Dで並び替え可能にしたいので、Draggableコンポーネントの子要素として組み込んでいます。
    <Draggable
      v-model="wrappedPipeLineList"
      class="board-container"
      :options="options"
    >
      <PipeLine
        v-for="pipeLine in wrappedPipeLineList"
        :pipeLine="pipeLine"
        class="pipe-line-item"
        :key="pipeLine.id"
      />
    </Draggable>
この部分が該当しますが、PipeLineを並び替えした場合Draggableのv-modelで指定した属性に対してsetterが呼び出されます。そのため、mapStateでStoreのstateを直接使うのではなく、setを定義したComputedを別で(wrappedPipeLineList)実装する必要がありました。set自体はまだモックなので特に何も起きません。
また、optionsに指定しているのは以下のようなデータです(componentのdata.optionsとして定義しています)
      options: {
        animation: 300,
        draggable: '.pipe-line-item',
      },
これはVueDraggableのオプション属性で、draggableは指定したクラスをもった要素のみがドラッグ可能になります。これでドラッグさせたくない要素との混合が可能になります。
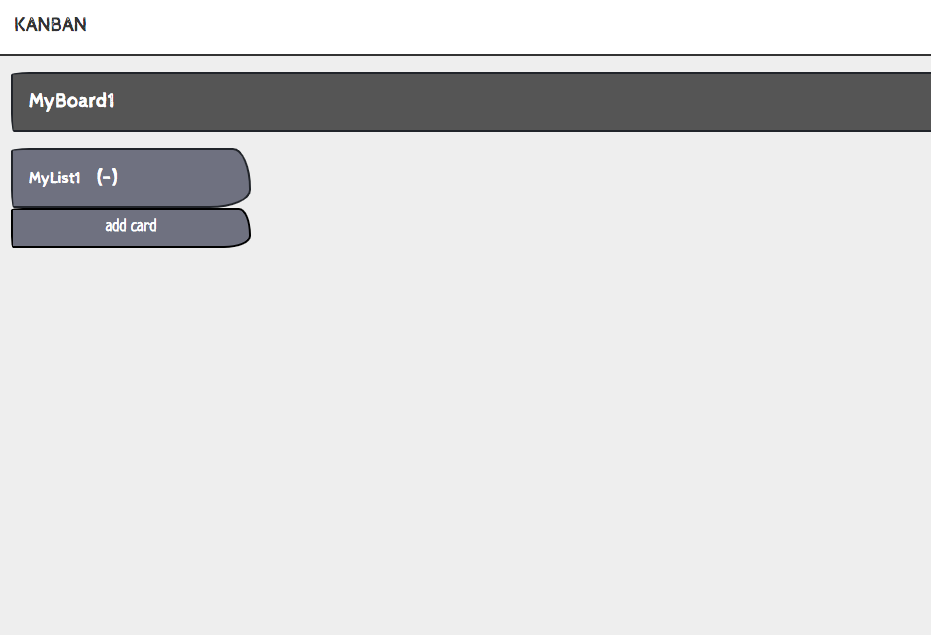
ここまで実装すると、 http://localhost:3000/boards/1 にアクセスしたときに以下のようにパイプラインが表示されているはずです。
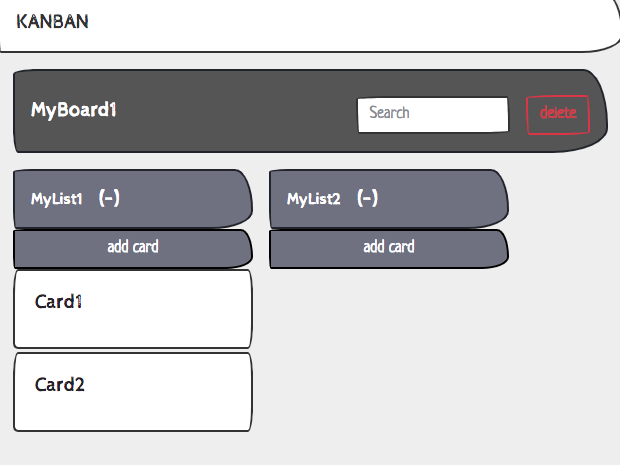
パイプラインが1つだと少しわかりにくいので http://localhost:3000/admin/kanban/pipeline/ からパイプラインを増やした状態だとこうなります。
D&Dがちゃんとできており、終了時にはwrappedPipeLineList.setに定義されているconsole.logが実行されています。また、setを呼び出してもデータ自体の更新は未実装なので、MyList1,MyList2の並びはすぐもとに戻っています。
Cardコンポーネントの作成
続いて、カードを表現するCardコンポーネントを作成していきます。
<template>
  <div class="card">
    <div class="card-body">
      <h5 class="card-title">{{ title }}</h5>
    </div>
  </div>
</template>

<script>

export default {
  name: 'Card',
  props: {
    card: {
      type: Object,
      default: () => {},
    },
  },
  computed: {
    title() {
      return this.card.title;
    },
    content() {
      return this.card.content;
    },
  },
};
</script>

<style lang='scss' scoped>
  .card {
    margin-bottom: 0.2rem;
    cursor: pointer;
  }
</style>
Card自体はあまり動きをもたないので、単にporps経由で渡ってきたデータを表示するだけになります。 カードのデザインなどはBootstrap4のcardクラスそのままで、微調整だけしています。
Cardコンポーネントの組み込み
CardコンポーネントをPipeLineコンポーネントに組み込みます。
@@ -12,14 +12,30 @@
     <button class="add-card-button btn btn-block" @click="addCardAction">
       add card
     </button>
+    <Draggable
+      class="card-container"
+      :options="options"
+      v-model="wrappedCardList"
+    >
+      <Card v-for="card in wrappedCardList"
+            class="item"
+            :card="card"
+            :key="card.cardId"
+      />
+    </Draggable>
   </div>
 </template>

 <script>
+import Draggable from 'vuedraggable';
+import Card from './Card.vue';
+

 export default {
   name: 'PipeLine',
   components: {
+    Draggable,
+    Card,
   },
   props: {
     pipeLine: {
@@ -29,6 +45,11 @@ export default {
   },
   data() {
     return {
+      options: {
+        group: 'Cards',
+        animation: 300,
+        draggable: '.item',
+      },
     };
   },
   computed: {
さきほどBoardAreaにPipeLineを組み込んだ時とほぼ同じです。これで、PipeLine内にCardが描画されるようになっているはずです。
これで、とりあえずカンバン全体の描画ができるようになりましたので、次回以降は並び替えなどの情報をちゃんと永続化するようにしていきます。