0. はじめに
Jupyter notebook に黒背景をいれたくて,以下の記事を掲載しました.
https://qiita.com/damyarou/items/a9c5f5295a9f44848d04
ただし実際に使ってみると,デフォルトと比べてスクロールがやたらに遅く,かなりのストレス.
そこで黒画面は早々にとりやめデフォルト画面で使っていました.
が,最近 jupyterlab なるものが開発されているのを知り,新しもの好きの私は早速インストールしてみることに.
環境は以下の通り.
- MacBook Pro (Retina, 13-inch, Mid 2014)
- macOS High Sierra version 10.13
- Python 3.6.3
- Jupyter notebook version 5.2.0
1. jupyterlab をインストール
インストールは以下を参考に実施.
https://qiita.com/Miggy/items/0290ade68de6009b4ab9
Jupyter notebook のバージョン 4.2 以上が必要とのこと.
私の場合,5.2.0 で問題なし.
pip3 install jupyterlab
jupyter serverextension enable --py jupyterlab --sys-prefix
これでインストールは完了.
jupyterlab を起動したいディレクトリに移ったあと,以下のコマンドで jupyterlab が立ち上がります.
jupyter lab
2. 黒背景にする
黒背景にするには,以下に従いました.
https://www.youtube.com/watch?v=yI0K0k-Ari0
Jupyter notebook の場合と違い,黒画面でもスクロールは軽快です.
ただしフォントが小さく目の悪い私には見づらい.
フォントの変更については,情報がなかったので,試行錯誤でやってみました.
3. フォントの変更
jupyterlab を立ち上げるとすぐに以下の情報が表示されます.
JupyterLab alpha preview extension loaded from /usr/local/lib/python3.6/site-packages/jupyterlab
そこで,このディレクトリを覗いてみると...
/usr/local/lib/python3.6/site-packages/jupyterlab/themes/jupyterlab-theme-dark-extension にある
variables.css というファイルを見つけました.
ここにブラウザを制御する情報がかかれているようです.
フォントを変更するには...
以下にフォントに関する記述を抜粋してあります.
関係しそうな --jp-code-font-size: 16px; などの値をいじります.
(この作業は,全て自己責任でお願いします.表示がおかしくなったりしても責任は取りかねます)
/* UI Fonts

  The UI font CSS variables are used for the typography all of the JupyterLab
  user interface elements that are not directly user generated content.
  */

  --jp-ui-font-scale-factor: 1.2;
  --jp-ui-font-size0: calc(var(--jp-ui-font-size1)/var(--jp-ui-font-scale-factor));
  --jp-ui-font-size1: 14px; /* Base font size */
  --jp-ui-font-size2: calc(var(--jp-ui-font-size1)*var(--jp-ui-font-scale-factor));
  --jp-ui-font-size3: calc(var(--jp-ui-font-size2)*var(--jp-ui-font-scale-factor));
  --jp-ui-font-family: "Helvetica Neue", Helvetica, Arial, sans-serif;

  /* Use these font colors against the corresponding main layout colors.
     In a light theme, these go from dark to light.
  */

  --jp-ui-font-color0: white;
  --jp-ui-font-color1: var(--md-grey-300);
  --jp-ui-font-color2: var(--md-grey-500);
  --jp-ui-font-color3: var(--md-grey-700);

  /* Use these against the brand/accent/warn/error colors.
     These will typically go from light to darker, in both a dark and light theme
   */

  --jp-inverse-ui-font-color0: rgba(0,0,0,1.0);
  --jp-inverse-ui-font-color1: rgba(0,0,0,0.8);
  --jp-inverse-ui-font-color2: rgba(0,0,0,0.5);
  --jp-inverse-ui-font-color3: rgba(0,0,0,0.3);

  /* Content Fonts

  Content font variables are used for typography of user generated content.
  */

  --jp-content-font-size: 16px;
  --jp-content-line-height: 1.5;
  --jp-content-font-color0: white;
  --jp-content-font-color1: var(--md-grey-300);
  --jp-content-font-color2: var(--md-grey-500);
  --jp-content-font-color3: var(--md-grey-700);

  --jp-ui-font-scale-factor: 1.2;
  --jp-ui-font-size0: calc(var(--jp-ui-font-size1)/var(--jp-ui-font-scale-factor));
  --jp-ui-font-size1: 14px; /* Base font size */
  --jp-ui-font-size2: calc(var(--jp-ui-font-size1)*var(--jp-ui-font-scale-factor));
  --jp-ui-font-size3: calc(var(--jp-ui-font-size2)*var(--jp-ui-font-scale-factor));

  --jp-code-font-size: 16px;
  --jp-code-line-height: 20px;
  --jp-code-padding: 5px;
  --jp-code-font-family: Ricty Diminished;
保存して再度 jupyterlabを 立ち上げてみると,思ったとおりにフォントが変更されていました.
めでたし.
4. スクリーンショット
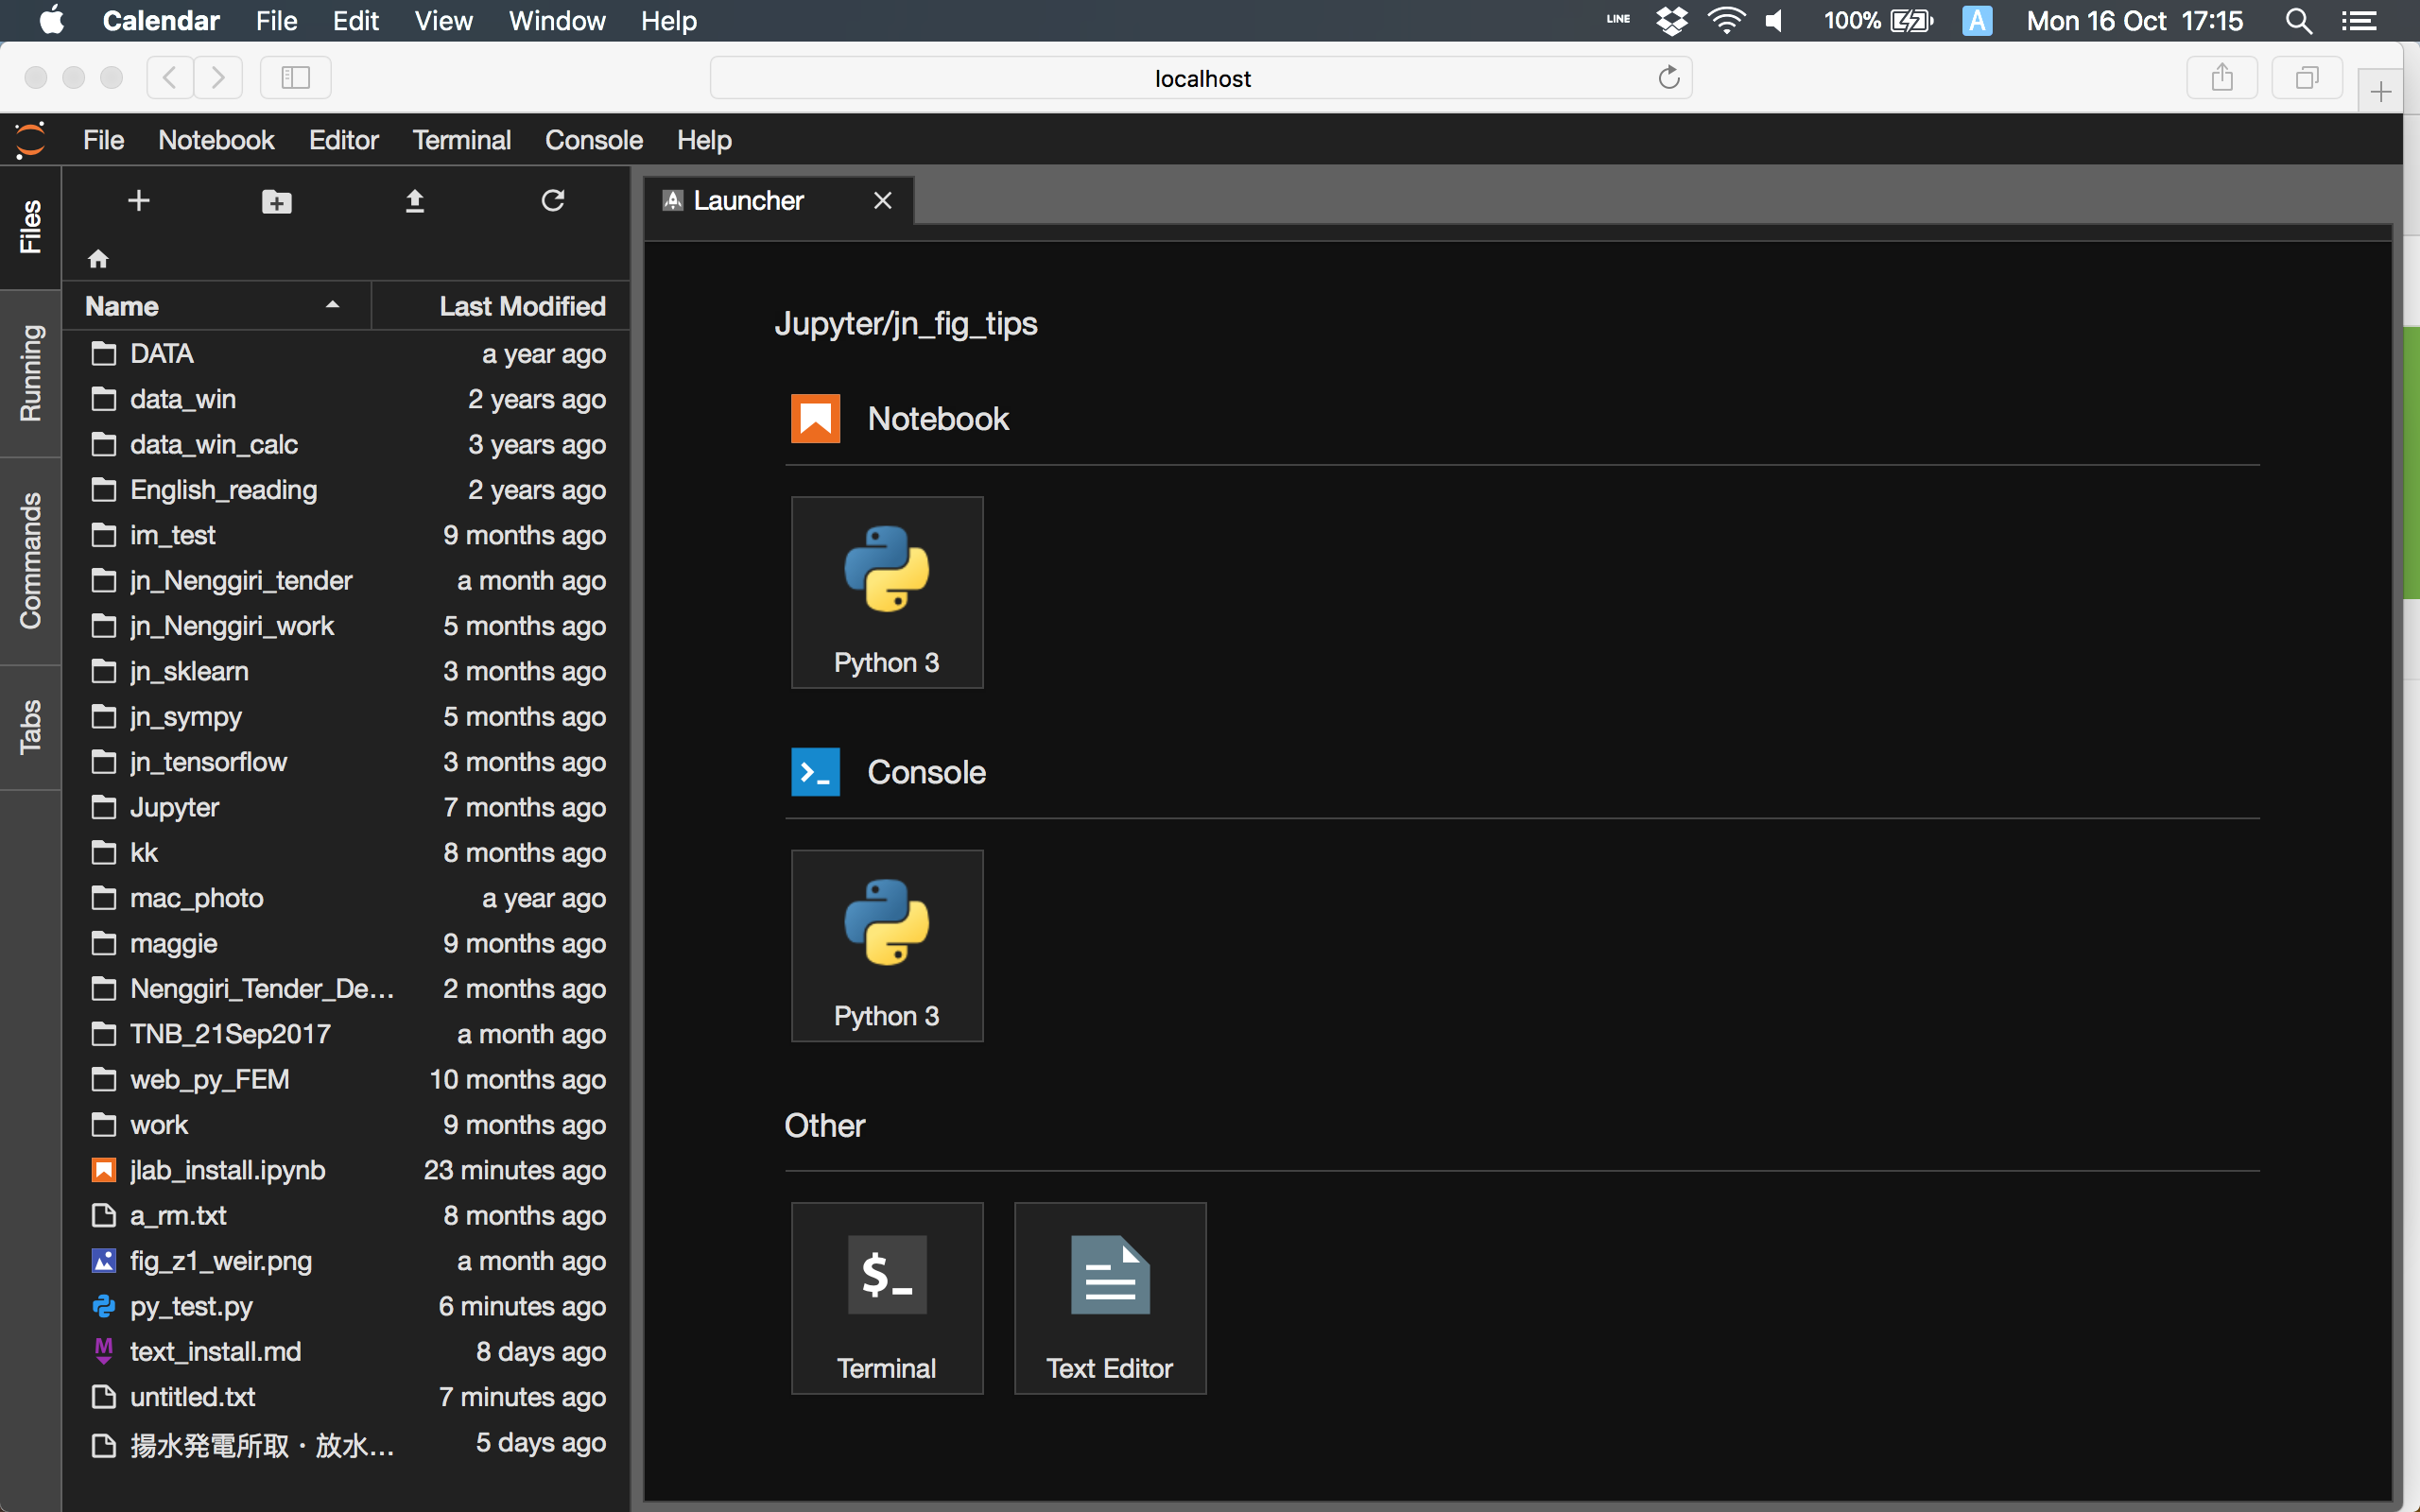
(1) ランチャー
Notebookの他に,EditorやTerminalもついており,Editorでプログラムを打ちTerminalで実行することもjupyterlabの中からできます.
なんか,かこいい!
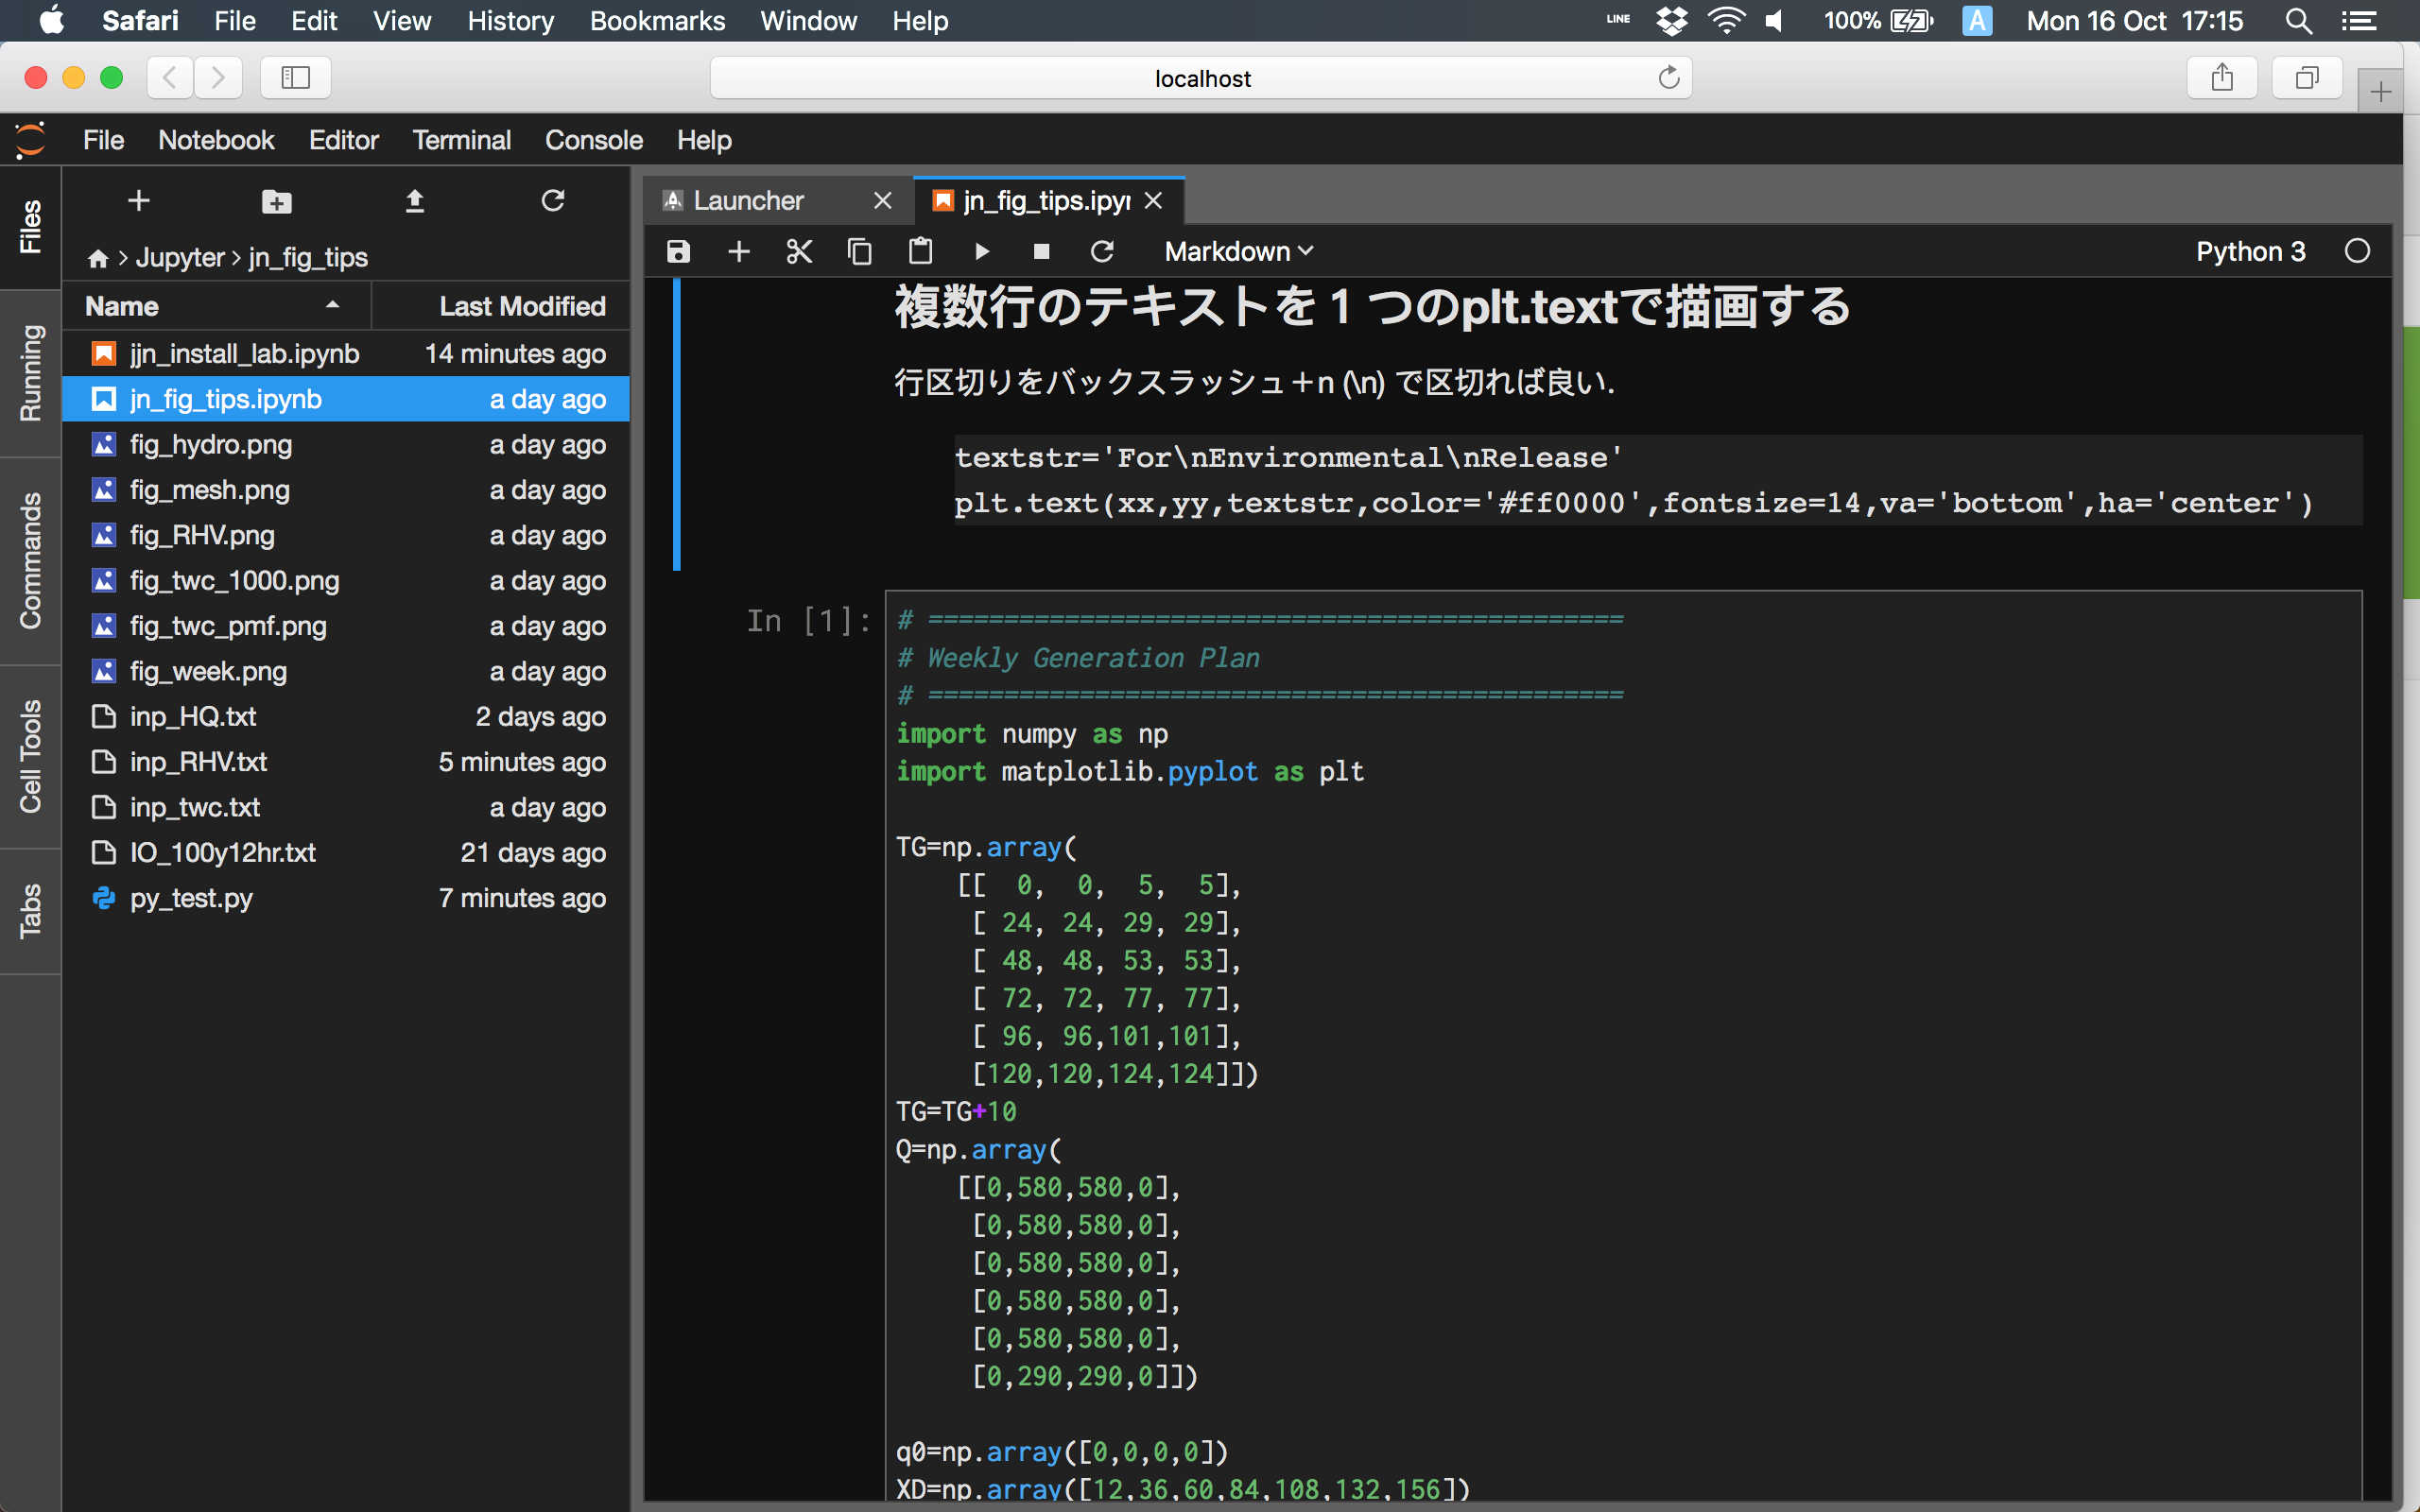
(2) コードも Ricty になっている
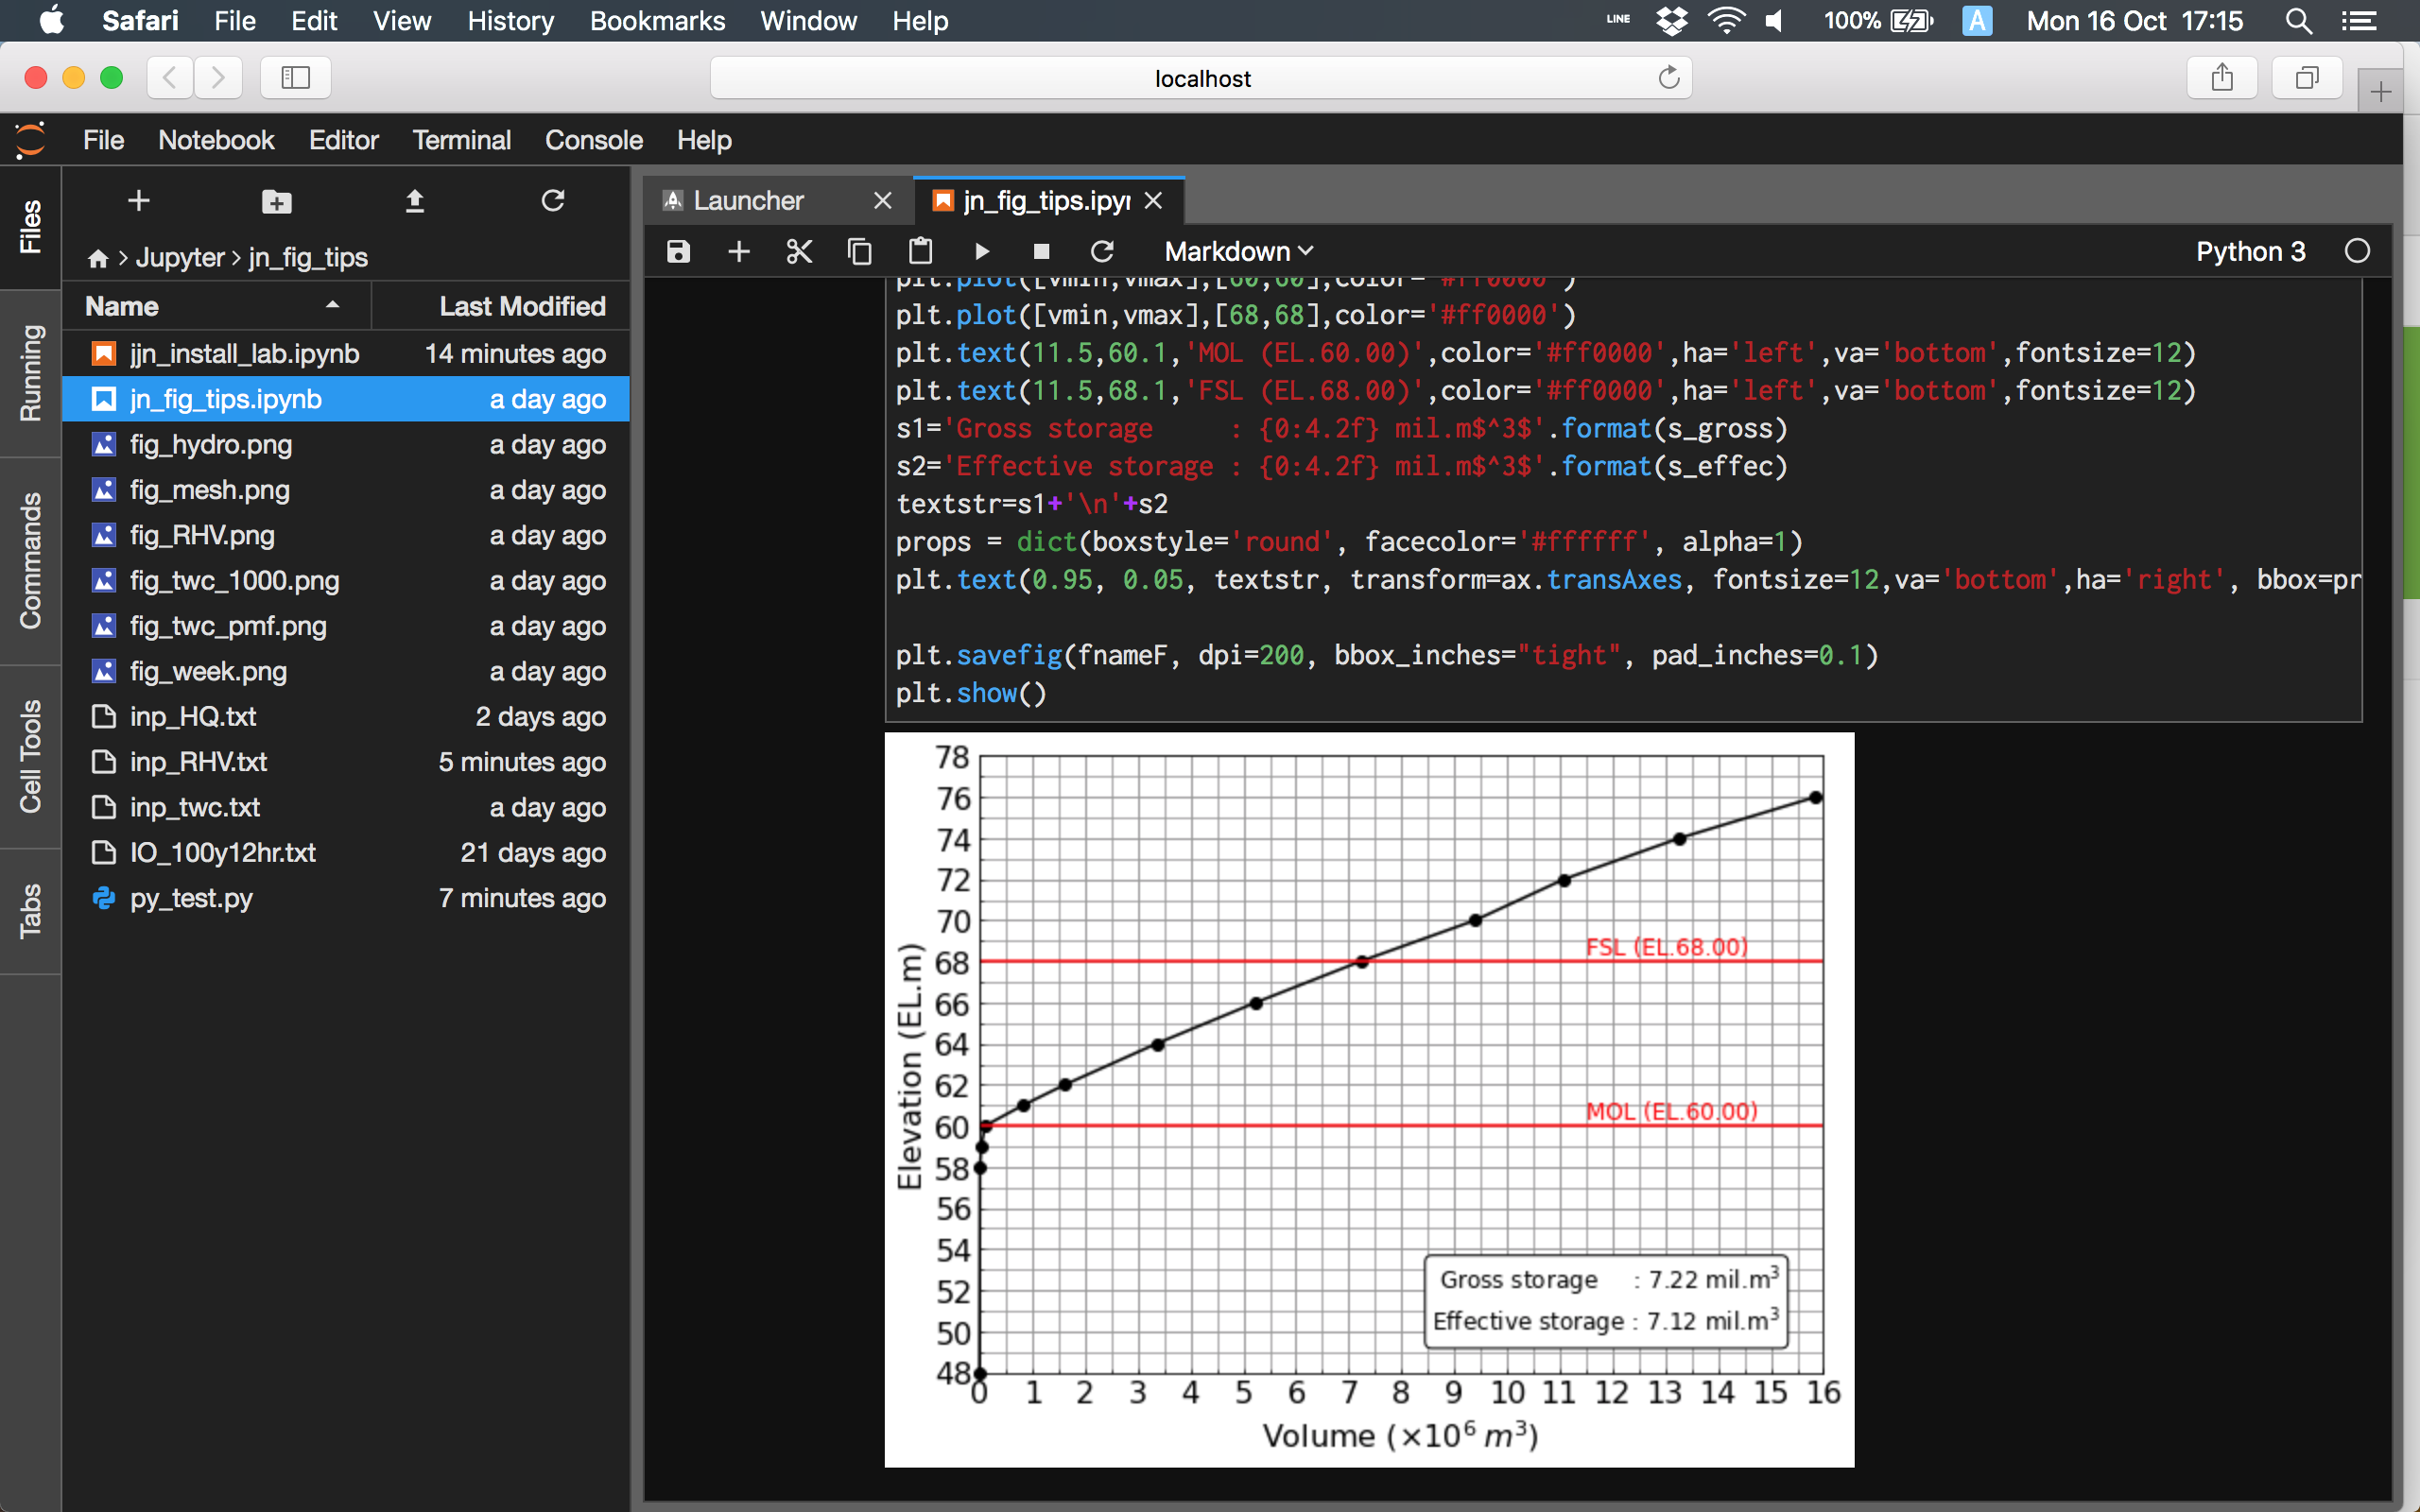
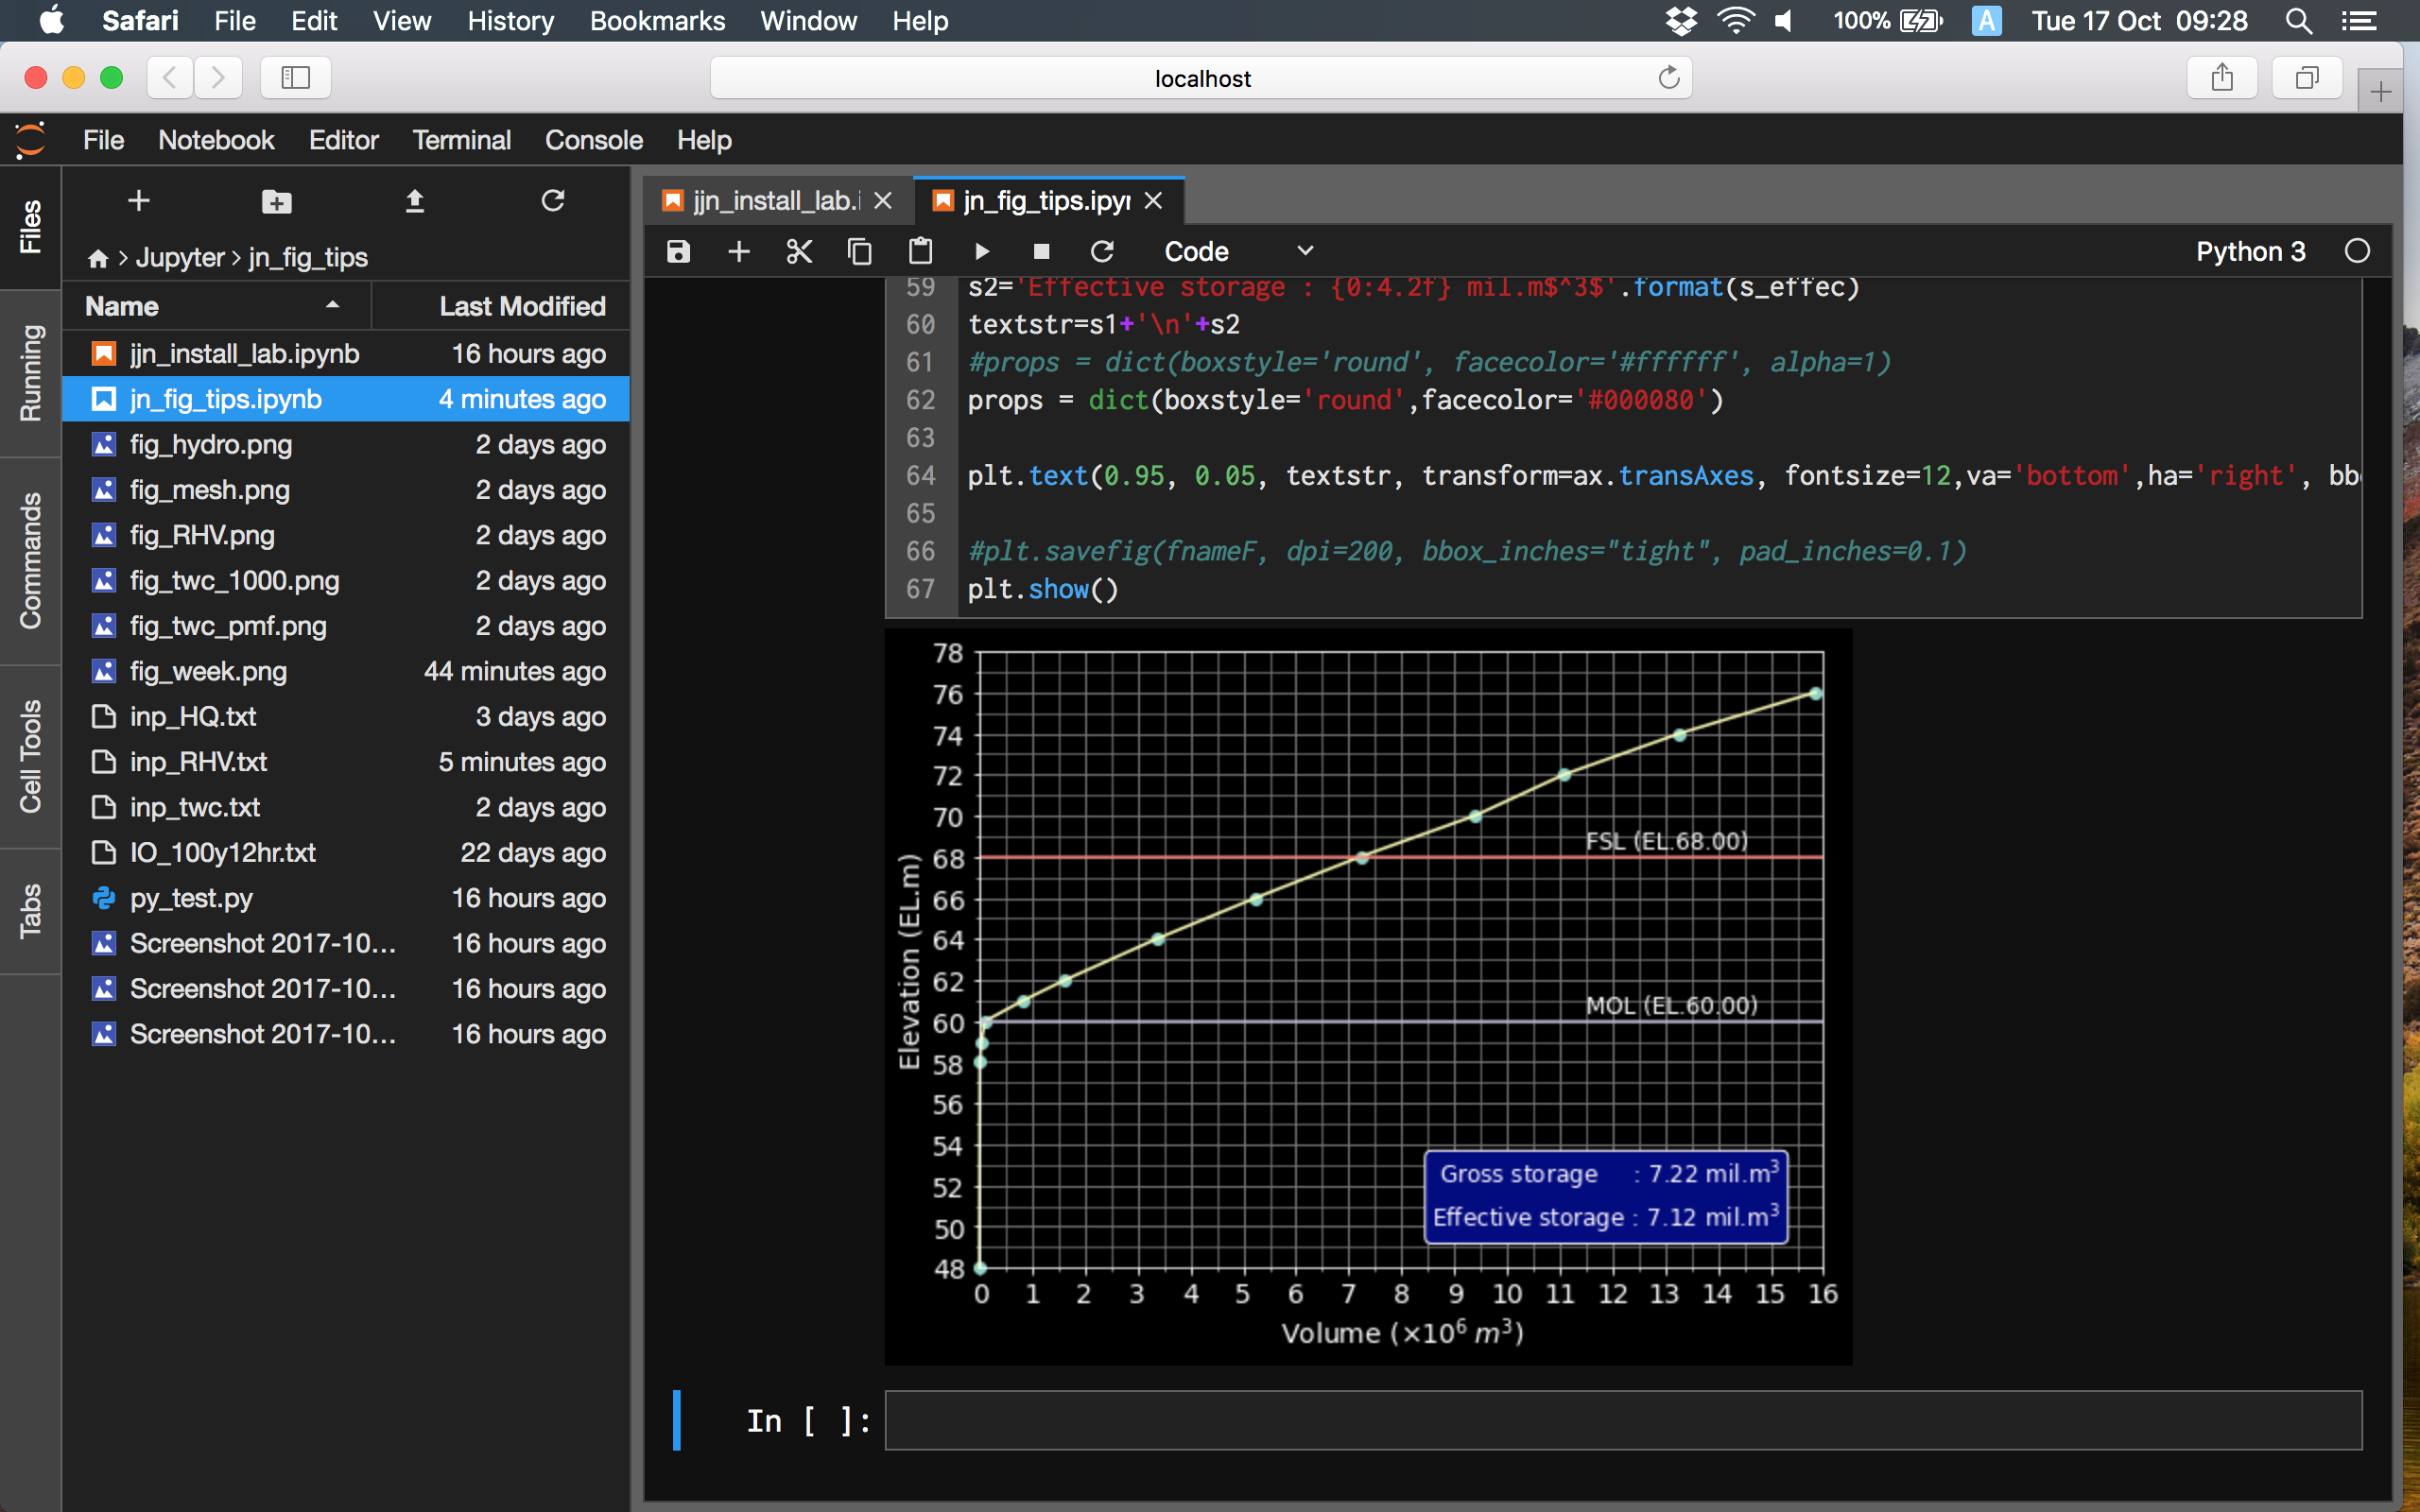
(3) 黒背景にすると,グラフの軸が見えなくなる問題
私の場合は,以下のように,facecolor='w' を明確に指定することで対応しています.
fig=plt.figure(figsize=(14,7),facecolor='w')
5. 黒背景用の白黒反転グラフ (2017.10.17 追記)
せっかく黒背景なので,グラフも背景に馴染ませるよう反転させることを試してみました.
画面確認だけとか,プレゼンテーション用としてはとてもかっこいい.
しかし私の場合,最終的には嫌いなwordで書かれた報告書に貼り付けなければならないので,白背景ベースとせざるを得ないのが残念です.
下記にmatplotlibのスタイル変更に関する記事が掲載されています.
https://qiita.com/eriksoon/items/b93030ba4dc686ecfbba
私がやったことは次の通り.
以下により,有効なスタイルを取得できます.
import numpy as np
import matplotlib.pyplot as plt

styles = plt.style.available
count = len(styles)
print(styles)
私のケースで得られた有効なスタイルは以下の通り.
['seaborn-dark', 'seaborn-darkgrid', 'seaborn-ticks', 'fivethirtyeight', 'seaborn-whitegrid', 'classic', 'seaborn-talk', 'seaborn-dark-palette', 'seaborn-bright', 'seaborn-pastel', 'grayscale', 'seaborn-notebook', 'ggplot', 'seaborn-colorblind', 'seaborn-muted', 'seaborn', 'seaborn-paper', 'bmh', 'seaborn-white', 'dark_background', 'seaborn-poster', 'seaborn-deep']
上記を実行したスクリーンショットが下の画像です.
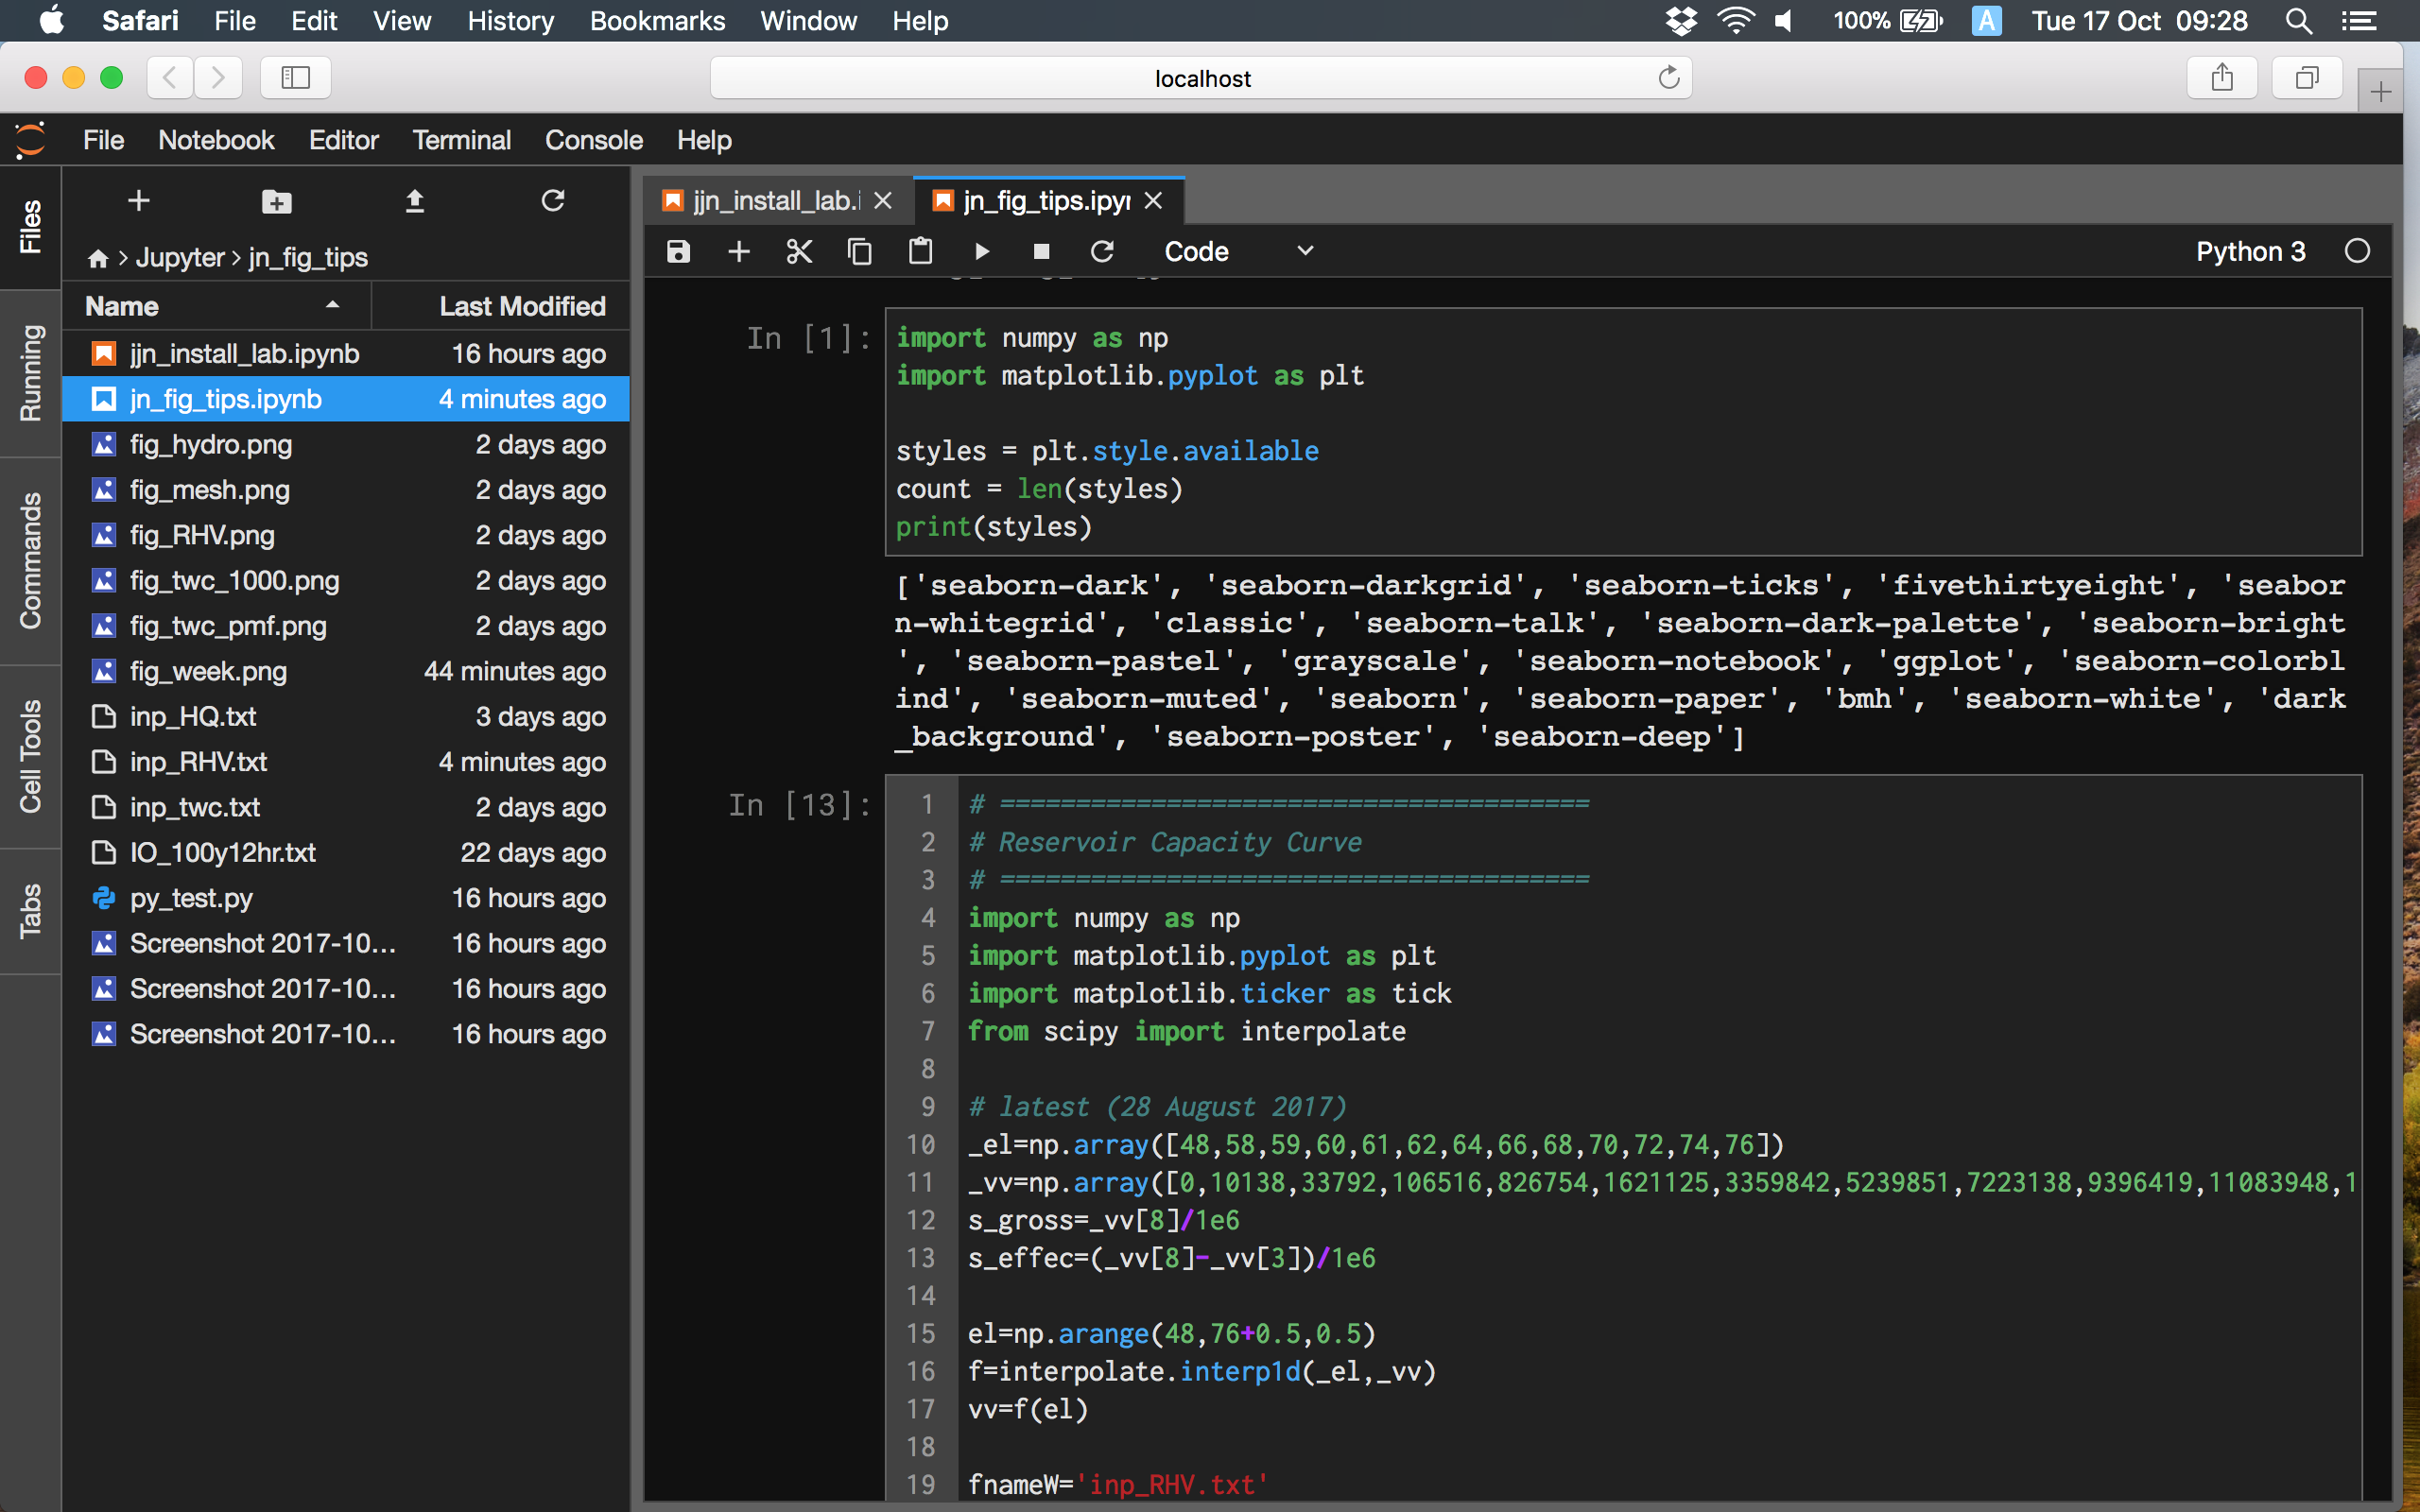
下の1行を追記し黒背景の中に白黒反転グラフを出してみました.
プログラム中で色指定を行うとその色が優先されるようです.
plt.style.use('dark_background')
以 上