ESP32-DevKitC WROOM-32開発ボードとAndroid端末間で通信をする企画です。
この記事では、ESP32の開発環境構築とESP32とAndroid端末で文字列の送受信の解説を行います。
目次
- Arduino IDEのインストール
- ライブラリを使用する準備
- デバッグ用のAndroidアプリの紹介
- ESP32側のプログラムの解説
Arduino IDEのインストール
Arduino 公式サイトから専用のエディタをダウンロード・インストールしてください。
お使いのPCの環境に注意してください。
Download the Arduino IDE
Arduino IDEは公式の開発環境でライブラリのインストールなどが簡単にできますが、
IDEとしての機能はかなり貧弱だと個人的に感じています。
サードパーティのライブラリを使わない、もっと高級な開発環境で開発したいという人は
Visual Studio Codeの拡張機能を使いましょう。
拡張機能の検索で「Arduino」と入れればMicroSoftが提供するものがあります。
筆者の環境では、Arduino IDEとVisual Studio Codeを両方起動した状態で、
どちらかからESP32にプログラムを書き込んだ際にシリアルポートの競合が起きました。
これは、どちらか片方のソフトウェアを終了することで解決します。
ここではArduino IDEを使って開発を行います。 (開発はどちらでもできます)
ライブラリを使用する準備
ESP32でBluetoothを使うためにいくつか準備することがあります。
まず初めに、Installation instructions using Arduino IDE Boards Managerにある通りに
Boards Managerの設定を行います。
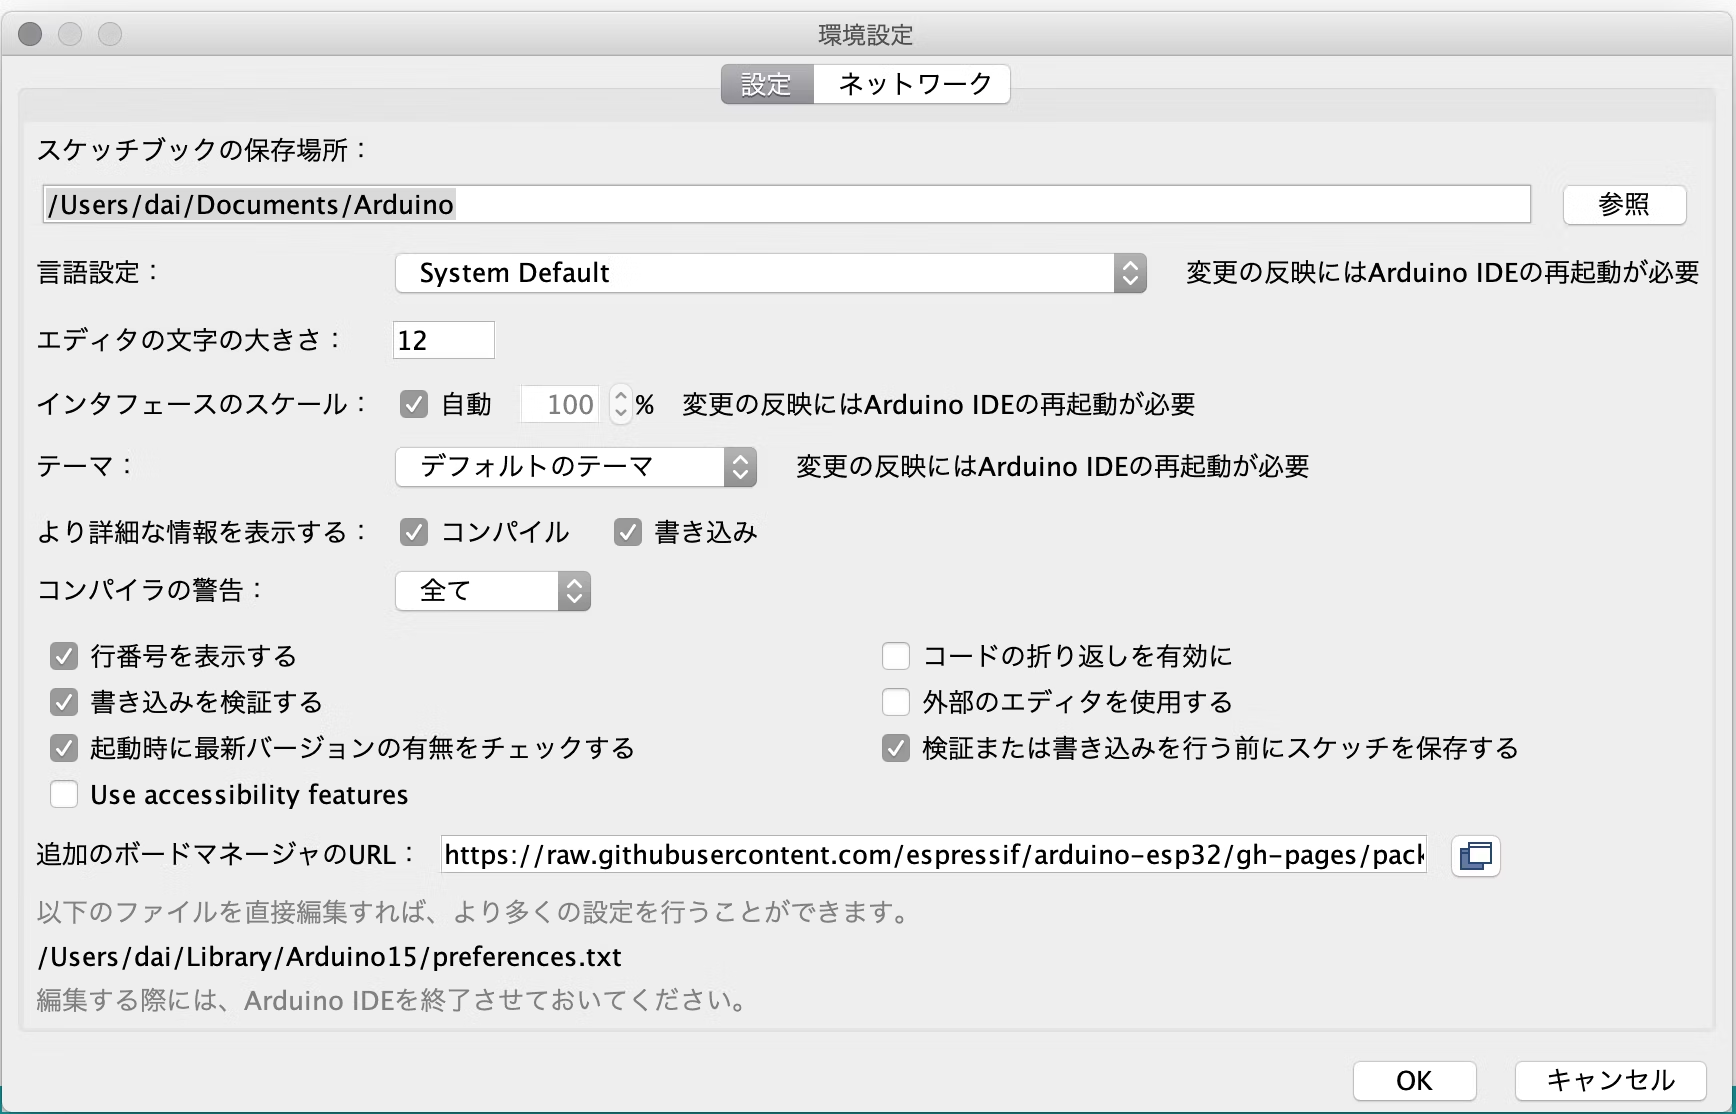
Arduino IDEを起動したら、環境設定内の追加のボードマネージャのURLに下記のURLを入れます。
https://raw.githubusercontent.com/espressif/arduino-esp32/gh-pages/package_esp32_index.json

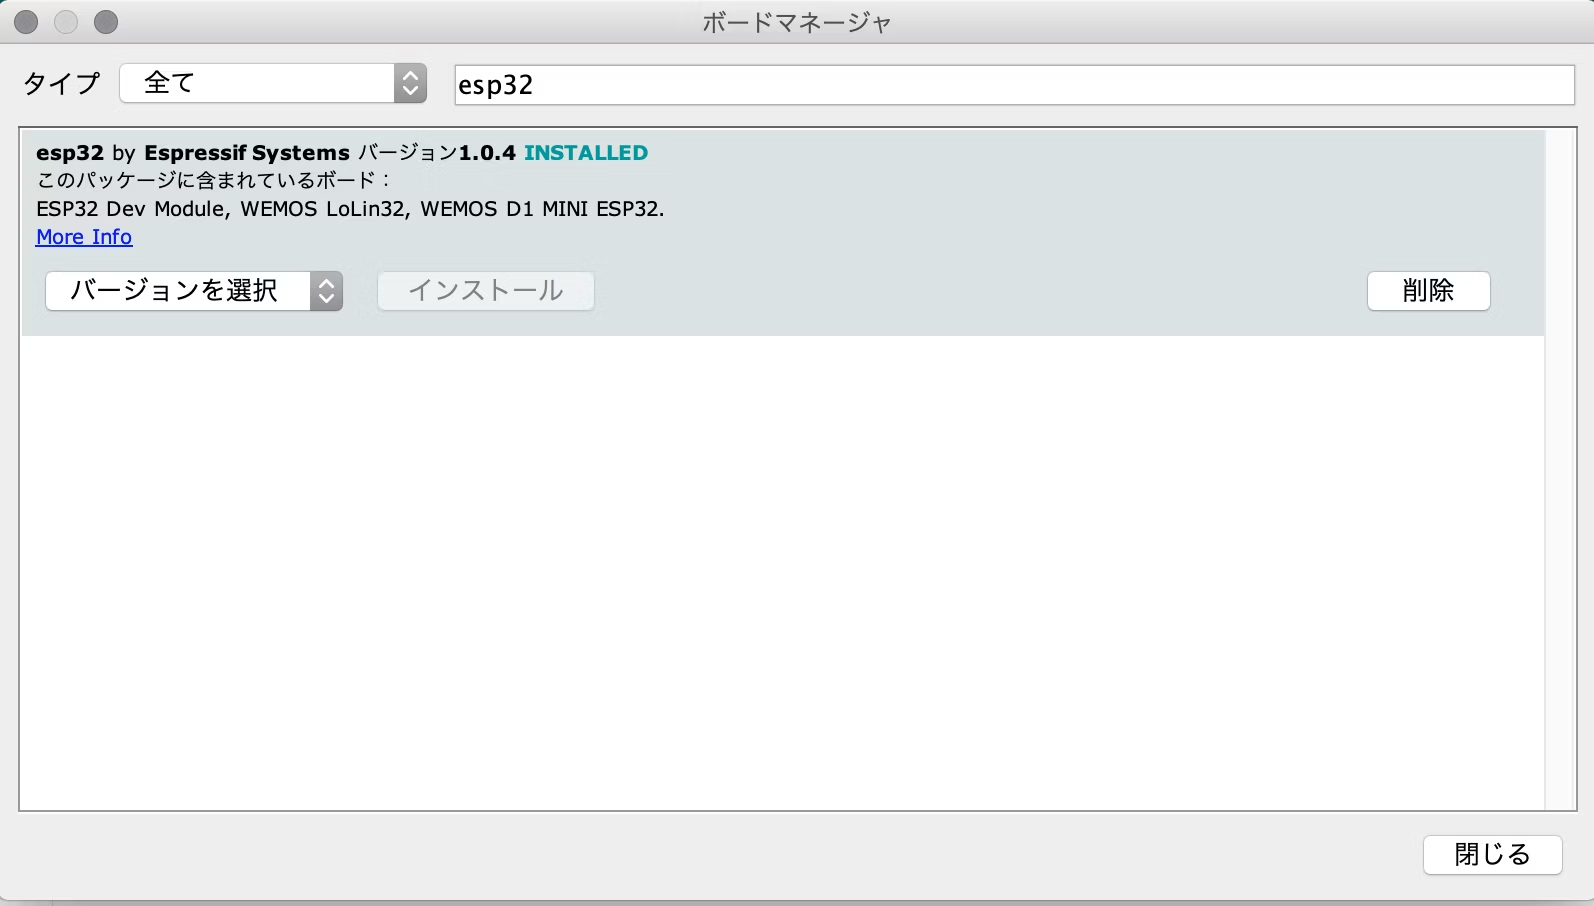
次に、「ツール」→「ボード」→ 「ボードマネージャ」で esp32 by Espressif Systems をインストールします。

今回はこれに含まれるESP32 Librariesの BluetoothSerial を使用します。
他にもたくさんのライブラリがあるので一度読んでおくと良いです。
https://github.com/espressif/arduino-esp32/tree/master/libraries
デバッグ用のAndroidアプリの紹介
Android端末側でESP32からBluetoothを使った通信をします。
今回はサードパーティのアプリを使ってみます。
BluetoothSerialのREADMEにも載っているこちらのアプリを使ってみます。
https://play.google.com/store/apps/details?id=de.kai_morich.serial_bluetooth_terminal
ESP32側のプログラムの解説
先にプログラムを載せます。
# include "BluetoothSerial.h"

BluetoothSerial SerialBT;

void setup() {
  Serial.begin(115200);
  SerialBT.begin("ESP32test");
}

void loop() {
  if (Serial.available()) {
    String sendData = Serial.readStringUntil(';');
    SerialBT.print(sendData);
  }

  if (SerialBT.available()) {
    String receiveData = SerialBT.readStringUntil(';');
    Serial.print(receiveData);
  }
}
BluetoothSerialのinclude文とグローバル変数は忘れやすいので気をつけてください。
このプログラムでできることは以下の2つです。
- シリアルモニタから入力があったら、Bluetooth接続されている端末に文字列を送信する
- Bluetooth接続されている端末からデータを受信したら、シリアルモニタに文字列を表示する
SerialBT.begin(String, bool)でBluetoothデバイスのローカルネームを登録し、
Bluetoothシリアルデバイスを開始します。
第一引数に設定した文字列がデバイス名として表示されます。デフォルト値ではESP32となります。
第二引数にはマスターモードかどうか設定でき、省略した場合はfalseが入ります。

available関数でデータを受信したかバイトデータを見て判断しています。
int型で読み出し可能なバイト数が返ります。
シリアル通信で文字を扱う場合は主に3つの関数が使われると思います。
- read()
- readString()
- readStringUntil(char)
read関数は受信したデータの最初の1バイトを取得できます。
ただ、ほとんどの人は文字列でデータを受け取りたいと思いますし、ESP32(Arduino)ではString型も使えるので
readStringやreadStringUntil(char)が有効的だと思います。
readStringとreadStringUntil(char)の違いについては下記のサイトに解説が載っています。
https://ch.nicovideo.jp/yugata/blomaga/ar1177727
BluetoothSerialのソースコードにはread関数しか見当たらなかったのですが、他の2つもちゃんと動くようです。
動作している様子
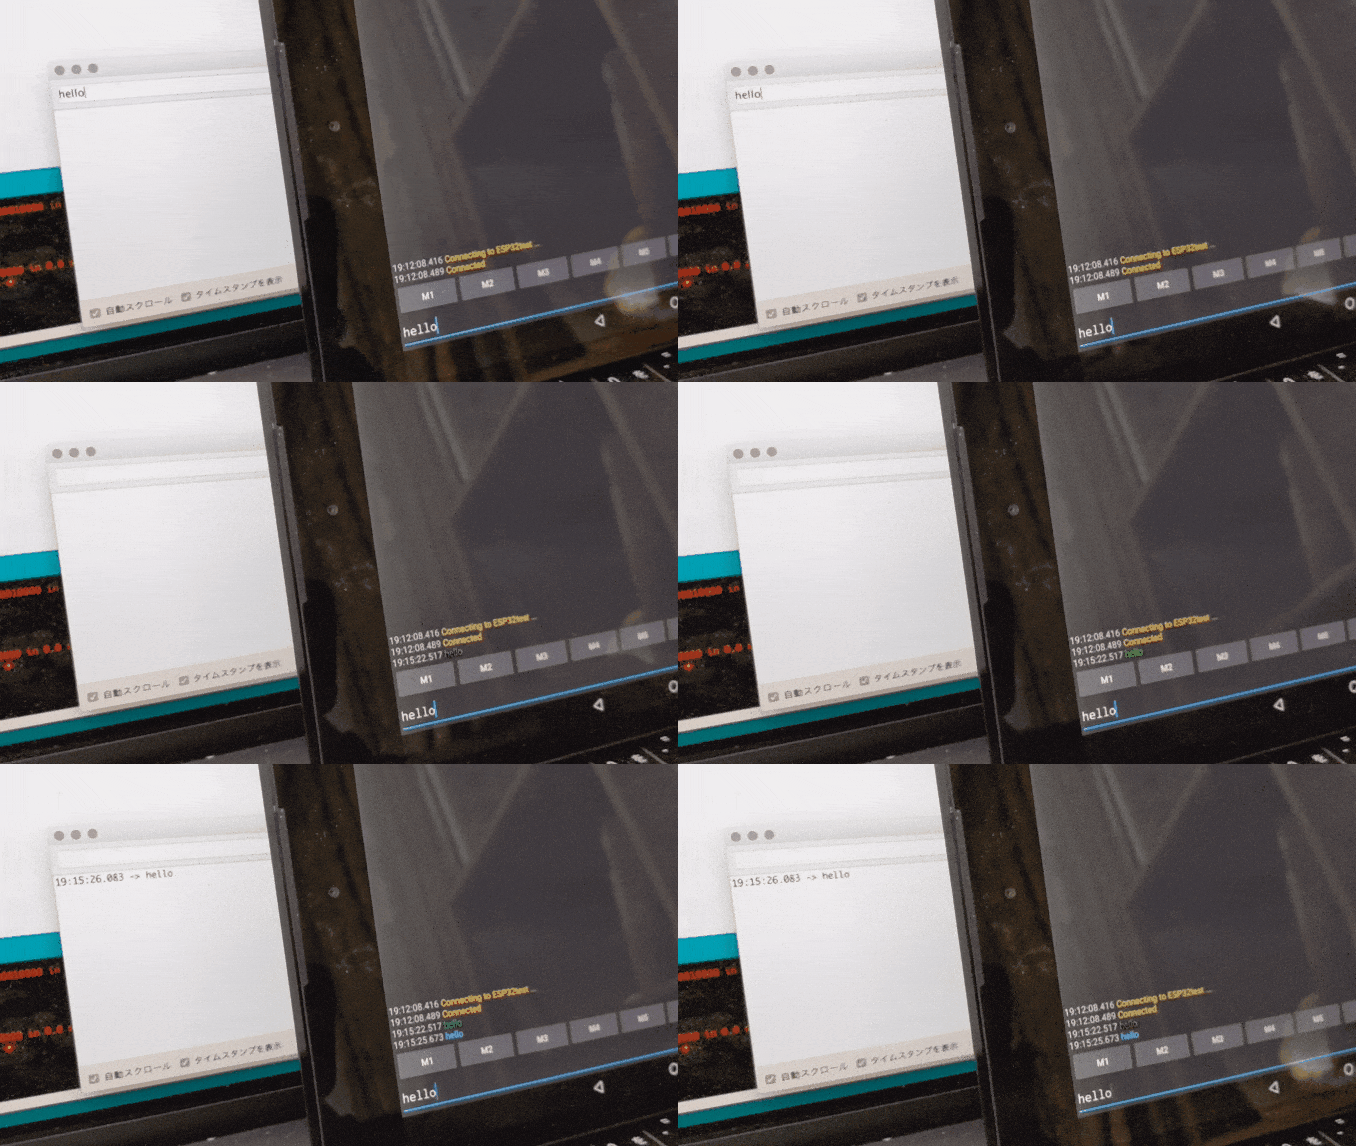
ものすごい画質が悪くて申し訳ないです。
初めにArduino IDEのシリアルモニタから hello と送信してAndroid側で受信して表示。
次にAndroid側から hello と送信してESP32で受信してArduino IDEのシリアルモニタで表示。
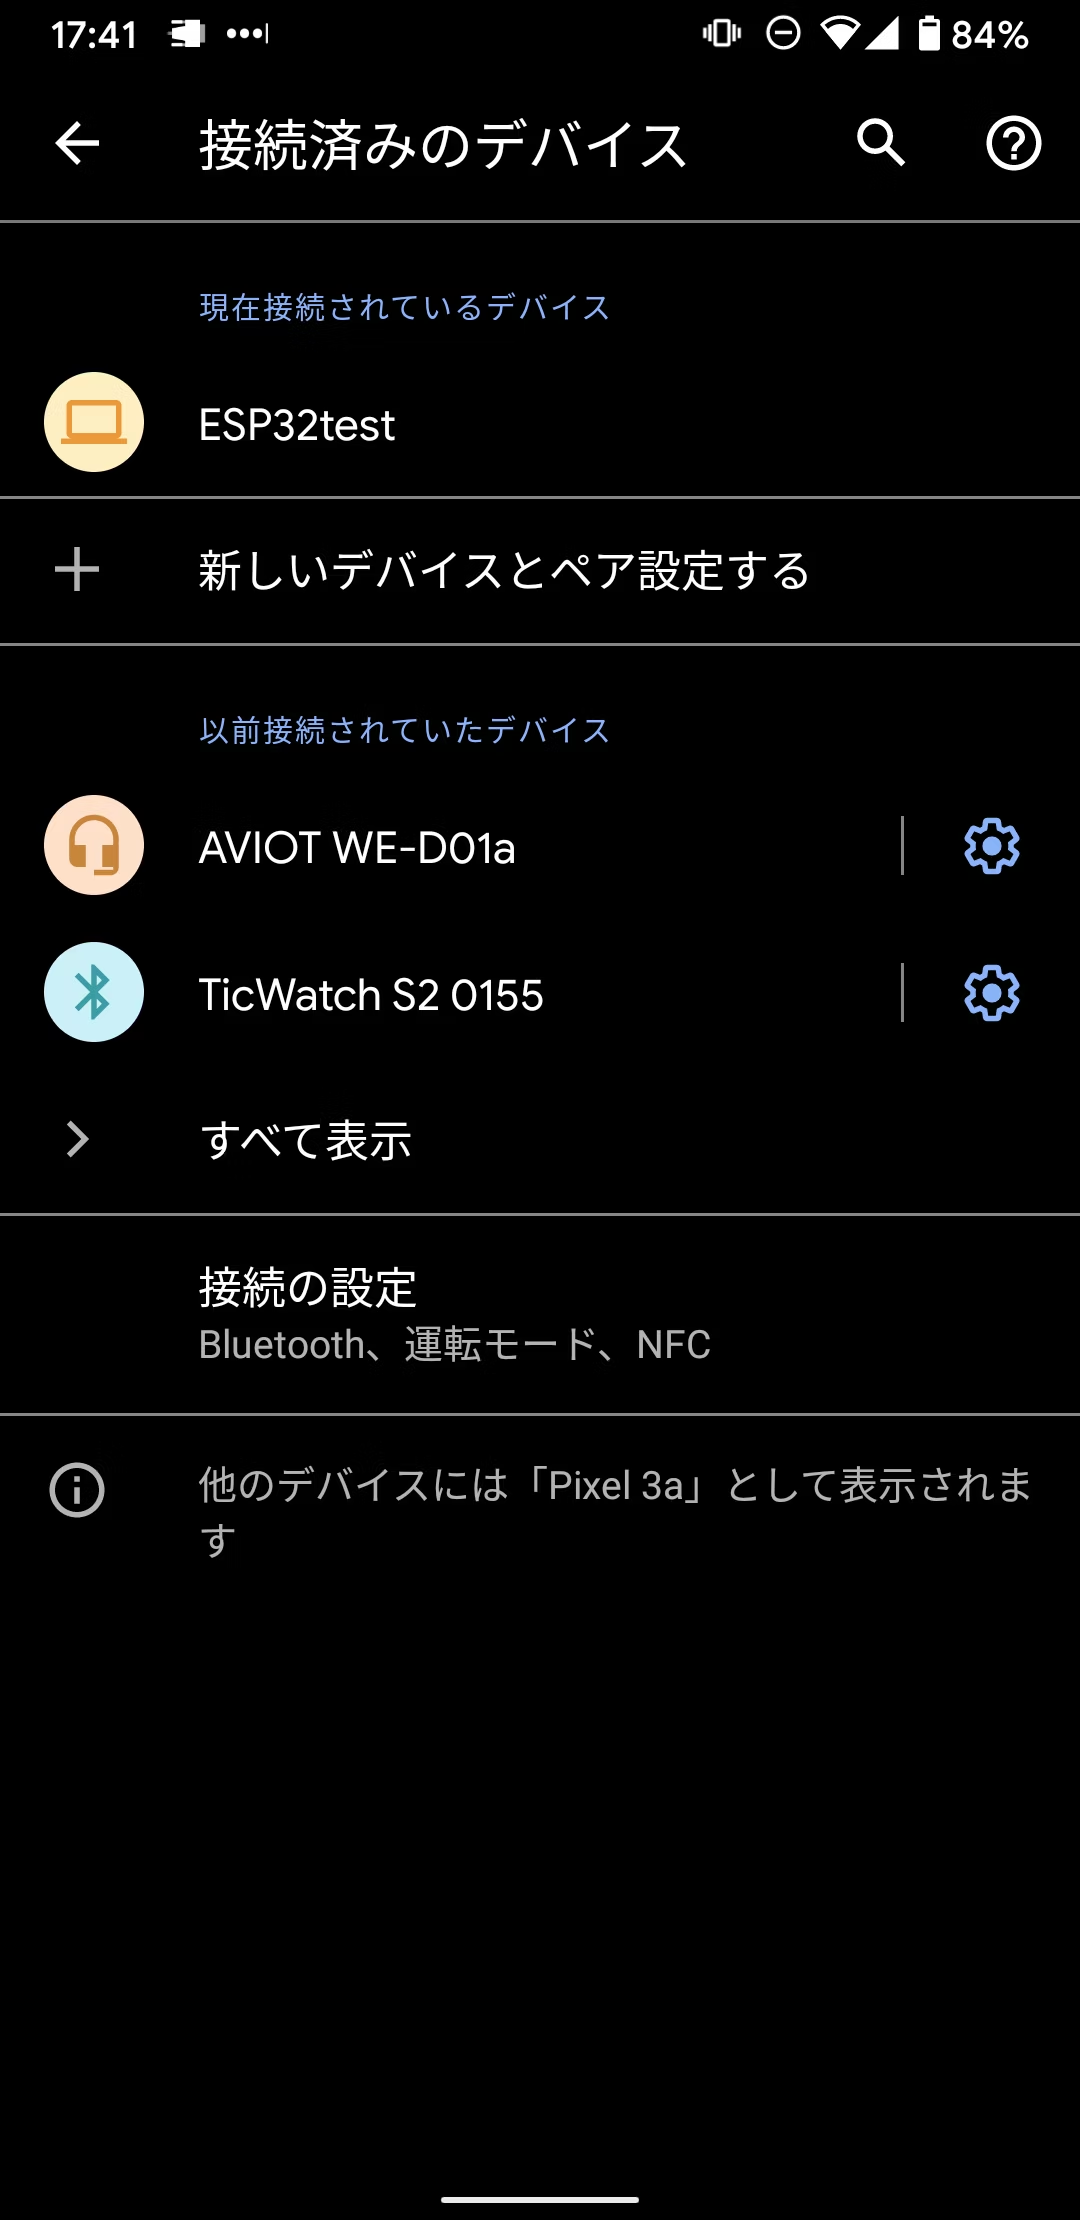
事前にAndroid端末のBluetooth設定からESP32とのペアリングを行い、アプリで接続を行っています。
参考
- Arduino日本語リファレンス
- Arduino(ESP32)ライブラリリファレンス BluetoothSerial
- ゆうがたの「特にコレと言って」
【prog】Arduino・シリアルで文字列受信するには - Arduino Language Reference
- Arduino core for the ESP32
次にやること
Android端末からESP32に対して接続を行い、文字列を送信するAndroidアプリを開発していきます。
Android側のプログラムの解説が中心になると思います。
