事前準備: CentOS7.x
パッケージのアップデート
command
yum update -y
Session Managerのインストール
インストール
command
REGION="ap-northeast-1"
sudo yum install -y https://s3.${REGION}.amazonaws.com/amazon-ssm-${REGION}/latest/linux_amd64/amazon-ssm-agent.rpm
systemdによるssmのデーモンの有効化/再起動/確認
systemdによるssmのデーモンの有効化/再起動/確認
3行目のレスポンスとして、Active (running) になっていることを確認する。
command
sudo systemctl enable amazon-ssm-agent
sudo systemctl restart amazon-ssm-agent
sudo systemctl status amazon-ssm-agent
Session Manager によるインスタンス接続確認
対象となるインスタンスのインスタンスに接続画面右下の接続ボタンがクリック可能なことを確認する
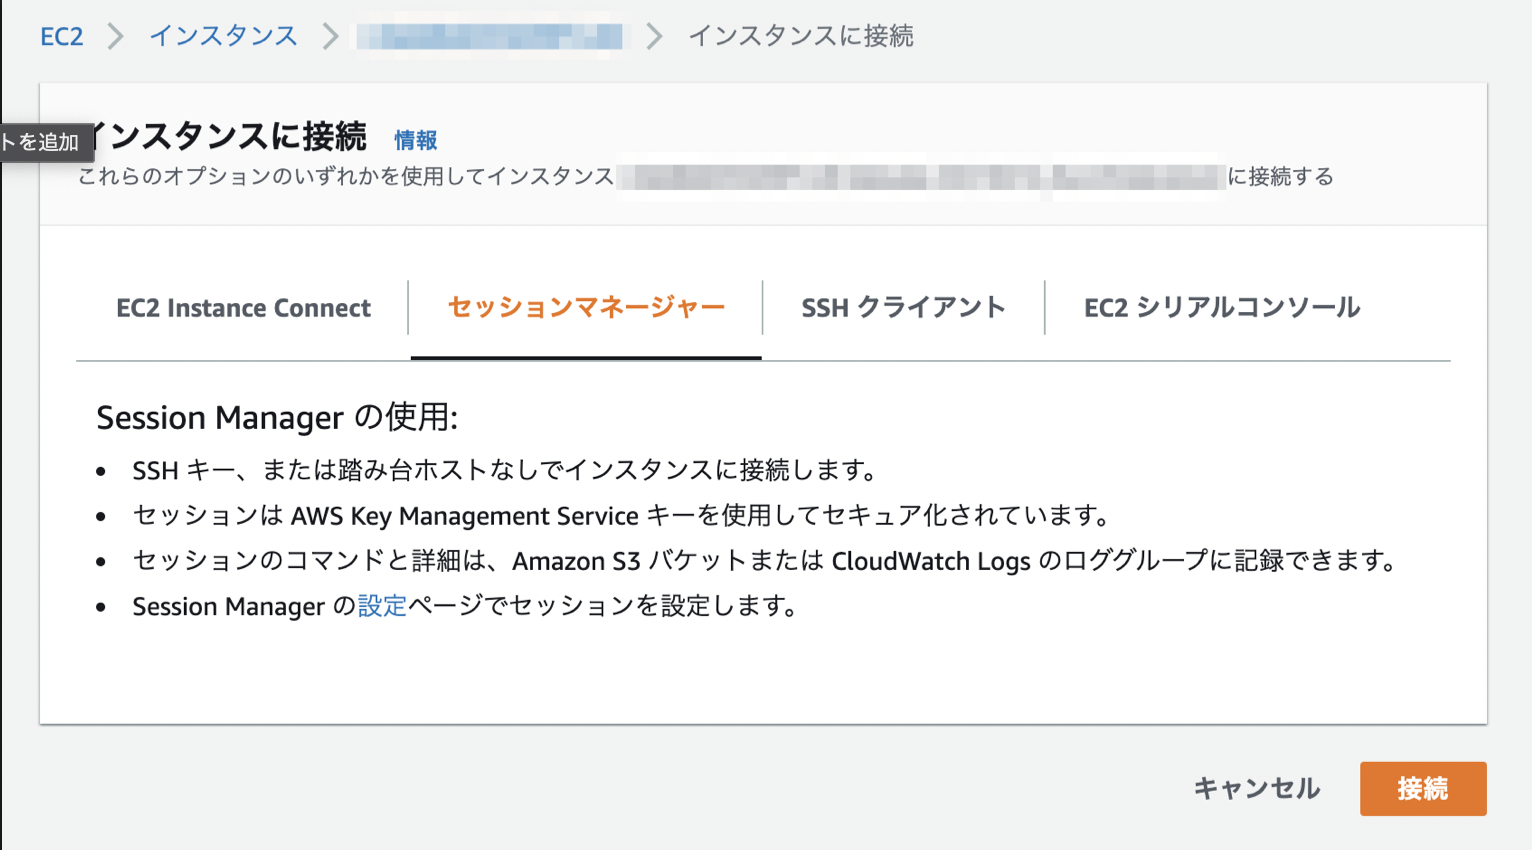
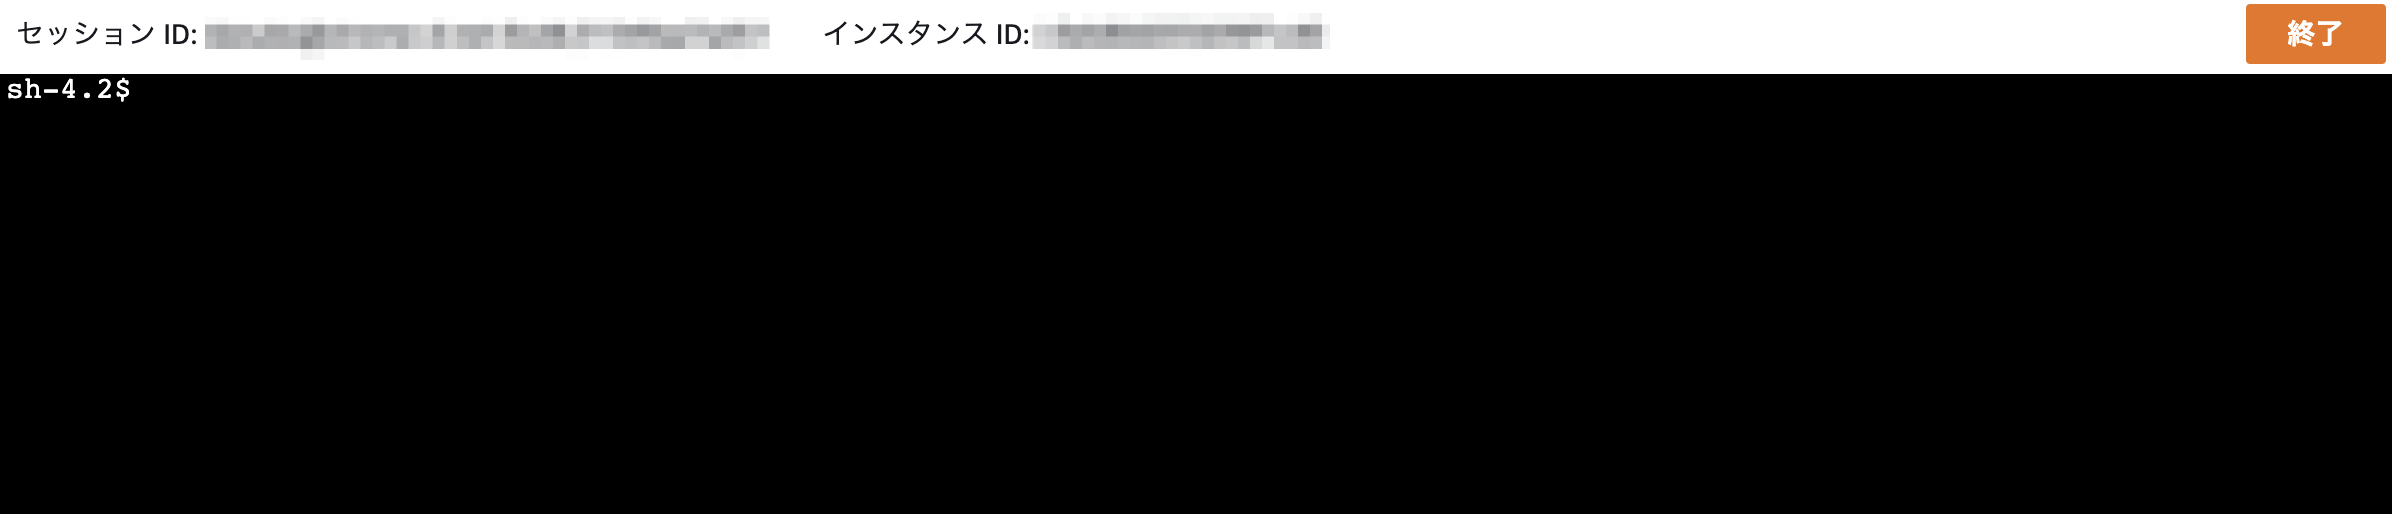
クリック後、ブラウザにターミナルが開くことを確認する
AWS CLI 用の Session Manager plugin のインストール (接続元、必要に応じて)
下記はLINUXの場合です。
AWS CLIのインストール
command
curl "https://awscli.amazonaws.com/awscli-exe-linux-x86_64.zip" -o "awscliv2.zip"
unzip awscliv2.zip
sudo ./aws/install
pluginのインストール
command
curl "https://s3.amazonaws.com/session-manager-downloads/plugin/latest/linux_64bit/session-manager-plugin.rpm" -o "session-manager-plugin.rpm"
sudo yum install -y session-manager-plugin.rpm
インストールの確認
以下のコマンドを実行
command
session-manager-plugin
以下のようなメッセージが得られていればインストール成功
response
The Session Manager plugin was installed successfully. Use the AWS CLI to start a session.