Serverless Frameworkの公式ブログで Deploy a REST API using Serverless, Express and Node.jsという記事を見つけたので、この記事で紹介されているserverless-httpとういミドルウェアを使って、Serverless上でExpressを動かしてみました。
環境
 $ sw_vers
ProductName:	Mac OS X
ProductVersion:	10.12.6
BuildVersion:	16G29
$ node -v && npm -v
v8.8.1
5.4.2
手順
AWS CLIの事前設定とserverlessのインストール
AWS CLIをインストールし、認証情報を登録しておきます。
AWS - Credentials を参考に、使用するAWSアカウントの情報をDefaultプロファイルに設定します。
serverlessをグローバルにインストールしておきます。
$ npm install serverless -g
ココらへんは、以前書いた記事 (serverlessでLambdaのローカル開発環境を整える)でも紹介していますので、こちらを参照してください。
プロジェクトを作成
$ mkdir serverless-express-sample
$ cd serverless-express-sample
$ npm init -f
必要なパッケージのインストール
今回は、次のnpmパッケージを使用します。
- express
- serverless-http
serverless-httpはLambdaでexpressのようなhttpをルーティングするソフトウェアを使用できるようにするミドルウェアです。
$ npm i -S express serverless-http
サンプルAPIの作成
/、/hogeにアクセスすると、それぞれ違った文字列をjsonで返す簡単なAPIを作成してみます。
まずは、serverlessコマンド(エイリアス: sls)でnodejsベースのプロジェクトを作成します。
$ sls create --template aws-nodejs --name serverless-express-sample
次に、追加されたhandler.jsを次のように変更します。
Expressを使ったことがあれば、見慣れた内容だと思います。
'use strict';

const serverless = require('serverless-http');
const express = require('express');
const app = express();

app.get('/', function (req, res) {
  res.json({ message: 'Hello World!' });
});

app.get('/hoge', function (req, res) {
  res.json({ message: 'Hello Hoge!' });
});

module.exports.main = serverless(app);
serverless.ymlは次のように変更します。
eventsには、全てのpath、全てのhttpリクエストをAPI Gatewayの機能のLambda Proxy IntegrationでExpress側に渡すための設定を記述しています。
service: serverless-express-sample

provider:
  name: aws
  runtime: nodejs6.10
  stage: dev
  region: ap-northeast-1

functions:
  app:
    handler: handler.main
    events:
      - http:
          method: ANY
          path: '/'
      - http:
          method: ANY
          path: '{proxy+}'
デプロイ
作成したサンプルAPIをデプロイします。
$ sls deploy
動作確認
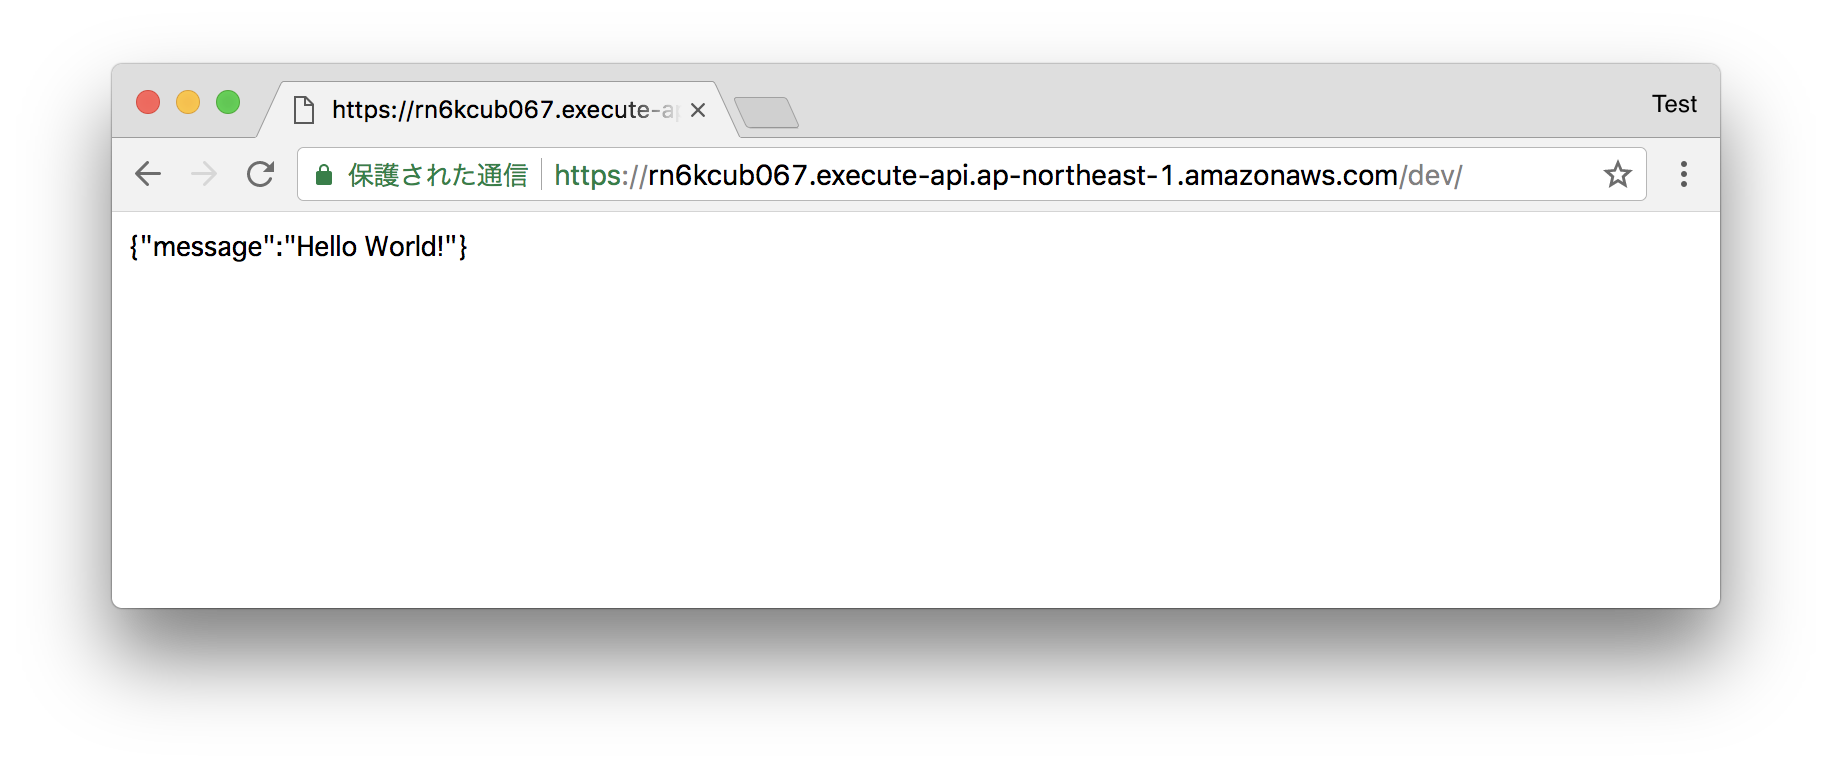
デプロイ結果のendpoints:に表示されているエンドポイントにブラウザからアクセスしてみると...
次のように、Expressからjsonレスポンスが返ってくることが確認できるかと思います。
また、WappalyzerというChrome Extensionで確認してみると、Expressが動いていることが確認出ます。

参考

