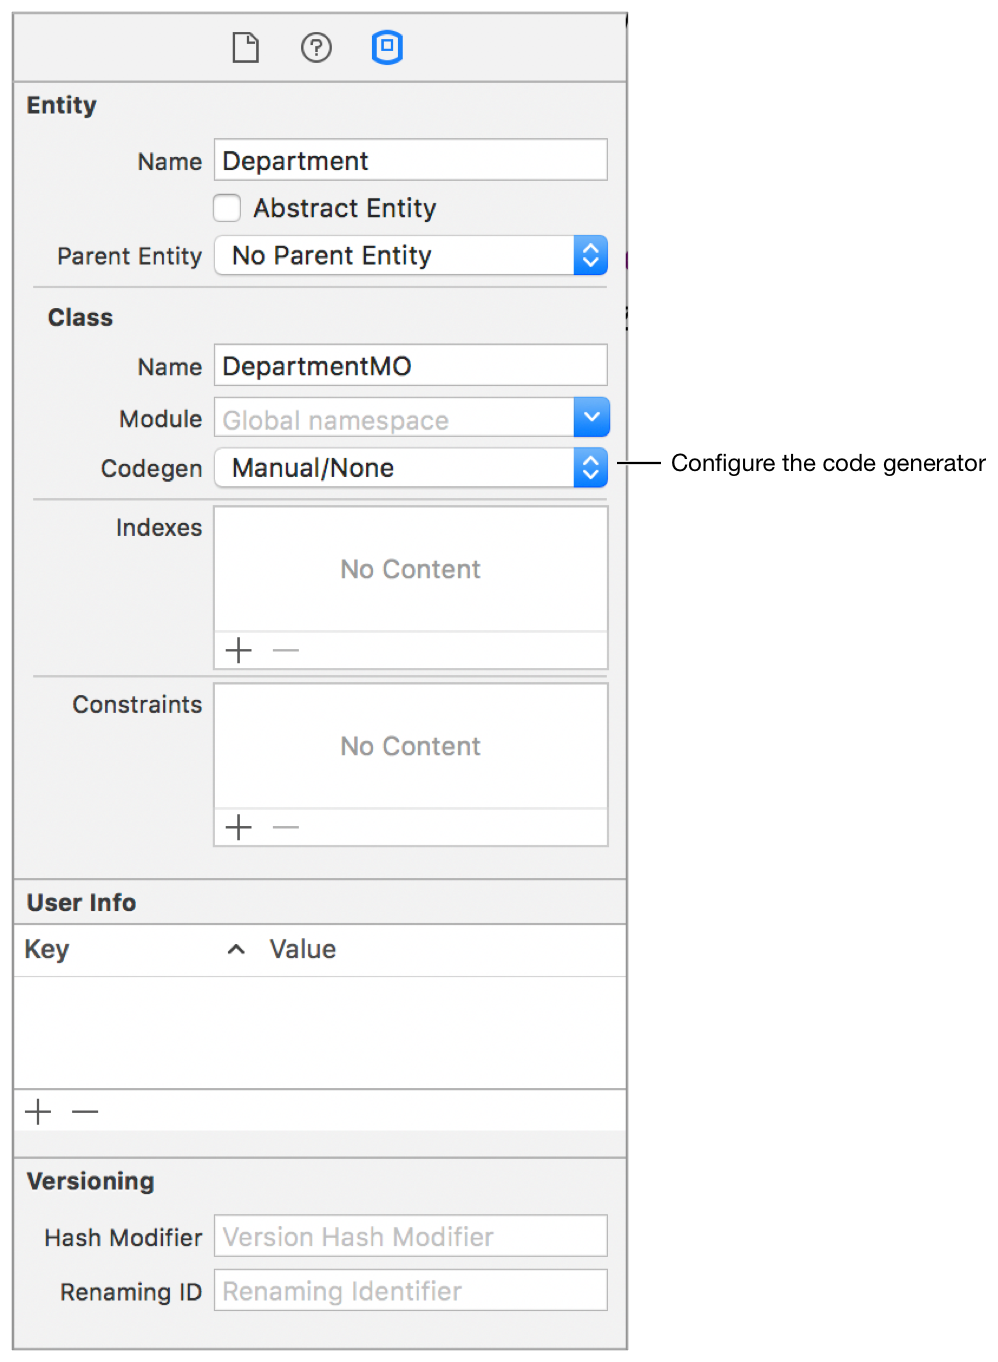
簡単なユーザーデータを保存したりするにはUserDefaultsを使う方法もありますが、保存する項目が増えたときには扱いが面倒になることがあります。
Core Dataで保存しておけば、強力な機能が使えるのでよさげ。
おおもとのドキュメントはこちら(日本語)ですが、若干古い感があるのとSwift 4対応じゃなかったので、メモることにしました。あと、日本語ドキュメント内のリンクがぶっ壊れまくってるので、クラス定義とかは英語版からたどるといいです。つか、Apple日本もうちょっとがんがれ。
ネットでググるとiOS 10以前の情報とごっちゃになってて混乱したので、iOS 9以下は無視っていう人にはよいかも。
ざっくりすぎる登場人物紹介
- NSPersistentContainer - Core Data stackと呼ばれるCore Dataを扱うための機能が全部入ったおトクなクラス。
- NSManagedObjectContext - データを生成、保存、取得するスペース。このオブジェクトから操作を行う。 NSPersisitentContainer内にviewContextというプロパティがあるので、自分で作る必要なし。
- NSFetchRequest - データを取得する際に作る必要なるオブジェクト。
- NSEntityDescription - Entityの詳細を表すクラス。Entityは、*.xcdatamodeldファイルにあるEntityのこと。
- DataController - 上記をまとめて扱うためのカスタムクラス。以下で解説します。
(参考までに)iOS 10以前に触る必要のあったクラスたち
- NSPersistentStoreCoordinator - データを保存するストレージ (Persistent storeと呼ぶ) と上記のManaged Object Context(たち)を取り持つ人。
- NSManagedObjectModel - Entityの集合を管理するクラス。
方針
DataControllerというクラスを作って、その中ですべて完結するようにすると、扱いやすいと思います。
プロジェクトを新しく作成する時に"Use Core Data"にチェックを入れるとAppDelegate.swift内にCore Data関連のコードが追加されますが、それだといちいちAppDelegateにアクセスしなければならないしAppDelegateの本来のコードと混ざって紛らわしいので、クラスにまとめたほうがよいとドキュメントにも書いてあります(こちら参照)
初期化
DataControllerクラスの初期化は以下のようになります。"DataModel"は各プロジェクトで異なるので、適宜変更します。具体的には、拡張子.xcdatamodeldのファイル名から拡張子を取ったものです。
import UIKit
import CoreData

class DataController: NSObject {
    var persistentContainer: NSPersistentContainer!

    init(completionClosure: @escaping () -> ()) {
        persistentContainer = NSPersistentContainer(name: "DataModel")
        persistentContainer.loadPersistentStores() { (description, error) in
            if let error = error {
                fatalError("Failed to load Core Data stack: \(error)")
            }
            completionClosure()
        }
    }

    // 以下もっと追加していくよー

}
DataControllerを生成するタイミングですが、とりあえずAppDelegateの先頭でやってみます。
func application(_ application: UIApplication, didFinishLaunchingWithOptions launchOptions: [UIApplicationLaunchOptionsKey: Any]?) -> Bool {

	dataController = DataController() {
		// なんかしたいことあれば
	}


	//...

	return true
}
Managed objectの生成と保存
Managed objectの生成
func createEmployee() -> EmployeeMO {
    let context = persistentContainer.viewContext
    let employee = NSEntityDescription.insertNewObject(forEntityName: "Employee", into: context) as! EmployeeMO
    return employee
}
NSManagedObjectのサブクラス化
サブクラスにアクセスすることでプロパティ(属性)に直接アクセスできるようになる。
Xcode 9だとEntityを追加した時点で自動的に作られるので、特別な処理をしない限り自分で書く必要はないかも。
class EmployeeMO: NSManagedObject {
    @NSManaged var name: String?
}
NSManagedObjectインスタンスの保存
func saveContext() {
	let context = persistentContainer.viewContext
	if context.hasChanges {
		do {
			try context.save()
		} catch {
			// Replace this implementation with code to handle the error appropriately.
			// fatalError() causes the application to generate a crash log and terminate. You should not use this function in a shipping application, although it may be useful during development.
			let nserror = error as NSError
			fatalError("Unresolved error \(nserror), \(nserror.userInfo)")
		}
	}
}
オブジェクトの読み込み
NSManagedObjectインスタンスの読み込み
NSFetchRequestオブジェクトを作ってcontext.fetch()を呼ぶだけ。
func fetchEmployees() -> [EmployeeMO] {
    let context = persistentContainer.viewContext
    let employeesFetch = NSFetchRequest<NSFetchRequestResult>(entityName: "Employee")

    do {
        let fetchedEmployees = try context.fetch(employeesFetch) as! [EmployeeMO]
        return fetchedEmployees
    } catch {
        fatalError("Failed to fetch employees: \(error)")
    }

    return []
}
結果のフィルタリング
let employeesFetch = ... の後にこれを追加すればフィルタをかけた結果が得られる。
let firstName = "Trevor"
employeesFetch.predicate = NSPredicate(format: "firstName == %@", firstName)
結果の絞込みだけでなく、NSManagedObjectの替わりにDictionaryを返すよう指定もできる。DictionaryにEntityの特定のプロパティだけを含むよう指定することもできる。
カスタムManaged objectの生成と変更
Xcode 8, iOS 10以降はXcodeでCore Data Modelを作ると自動的にNSManagedObjectのサブクラスまたはExtensionが生成される。それらのファイルはプロジェクトに含まれず、Build時に作られる(こちら参照)。

とりあえずここまで!