DeviseとOmniauthを使って、Railsアプリにソーシャルログイン機能を実装する方法をまとめます。
例えばGoogleログインだけを使いたい場合は、TwitterとFacebook用の記述は無視してください。
Deviseをインストール
gem 'devise'
$ bundle install
$ rails g devise:install
config.action_mailer.default_url_options = { host: 'localhost', port: 3000 }
<p class="notice"><%= notice %></p>
<p class="alert"><%= alert %></p>
Modelを作成
$ rails g devise User
$ rails db:migrate
Rails.application.routes.draw do
  devise_for :users # 自動で追加される
end
Viewを作成
$ rails g devise:views users
ログインしないとアクセスできないようにする
class ApplicationController < ActionController::Base
  before_action :authenticate_user!
end
ここまでできたらサーバーを再起動。
ログインページや新規登録ページ以外にアクセスしたらログイン画面に飛ばされること、
/users/sign_upにアクセスして、ユーザー登録ができることを確認。
環境変数を設定
gem 'dotenv-rails'
$ bundle install
$ touch .env
HOST='hogehoge.com'
TWITTER_API_KEY=
TWITTER_API_SECRET=
GOOGLE_CLIENT_ID=
GOOGLE_CLIENT_SECRET=
FACEBOOK_KEY=
FACEBOOK_SECRET=
IDやSECRET等はあとで取得するので、今は空でOK。
omniauth系のgemをインストール
gem 'omniauth-facebook'
gem 'omniauth-twitter'
gem 'omniauth-google-oauth2'
$ bundle install
Userテーブルにomniauth用のカラムを追加
$ rails g migration AddOmniauthToUsers provider:string uid:string
$ rails db:migrate
initializerを編集
config.omniauth :facebook, ENV['FACEBOOK_KEY'], ENV['FACEBOOK_SECRET'], scope: 'email', info_fields: 'email', callback_url: "#{ENV['HOST']}/users/auth/facebook/callback"
config.omniauth :twitter, ENV['TWITTER_API_KEY'], ENV['TWITTER_API_SECRET'], scope: 'email', oauth_callback: "#{ENV['HOST']}/users/auth/twitter/callback"
config.omniauth :google_oauth2, ENV['GOOGLE_CLIENT_ID'], ENV['GOOGLE_CLIENT_SECRET'], scope: 'email', redirect_uri: "#{ENV['HOST']}/users/auth/google_oauth2/callback"
OmniAuth.config.logger = Rails.logger if Rails.env.development?
OmniauthCallbacksControllerを作成
$ mkdir app/controllers/users/
$ touch app/controllers/users/omniauth_callbacks_controller.rb
class Users::OmniauthCallbacksController < Devise::OmniauthCallbacksController
  def facebook
    callback_for(:facebook)
  end

  def twitter
    callback_for(:twitter)
  end

  def google_oauth2
    callback_for(:google)
  end

  # common callback method
  def callback_for(provider)
    @user = User.from_omniauth(request.env["omniauth.auth"])
    if @user.persisted?
      sign_in_and_redirect @user, event: :authentication #this will throw if @user is not activated
      set_flash_message(:notice, :success, kind: "#{provider}".capitalize) if is_navigational_format?
    else
      session["devise.#{provider}_data"] = request.env["omniauth.auth"].except("extra")
      redirect_to new_user_registration_url
    end
  end

  def failure
    redirect_to root_path
  end
end
Userモデルを編集
class User < ApplicationRecord
  # デフォルトの設定に、:omniauthable以下を追加
  devise :database_authenticatable, :registerable,
         :recoverable, :rememberable, :validatable,
         :omniauthable, omniauth_providers: %i[facebook twitter google_oauth2]
  # omniauthのコールバック時に呼ばれるメソッド
  def self.from_omniauth(auth)
    where(provider: auth.provider, uid: auth.uid).first_or_create do |user|
      user.email = auth.info.email
      user.password = Devise.friendly_token[0,20]
    end
  end
end
ルーティングを編集
Rails.application.routes.draw do
  devise_for :users, controllers: { omniauth_callbacks: 'users/omniauth_callbacks' }
  #省略
end
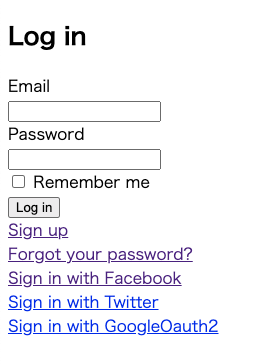
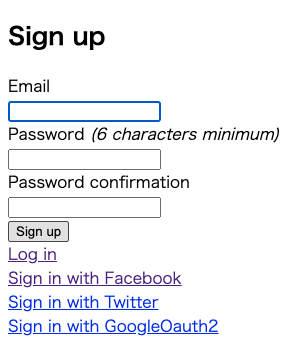
ログイン画面、サインアップ画面を確認
ソーシャルログイン用のリンクが追加されていることを確認します。
プラットフォームごとの設定
以下の記事等を参考に、Twitter DevelopersでAPI keyとAPI key secretを取得して、.envにセット。
https://dev.classmethod.jp/articles/twitter-api-approved-way/
TWITTER_API_KEY='hogetwkeyhoge'
TWITTER_API_SECRET='fugatwsecretfuga'
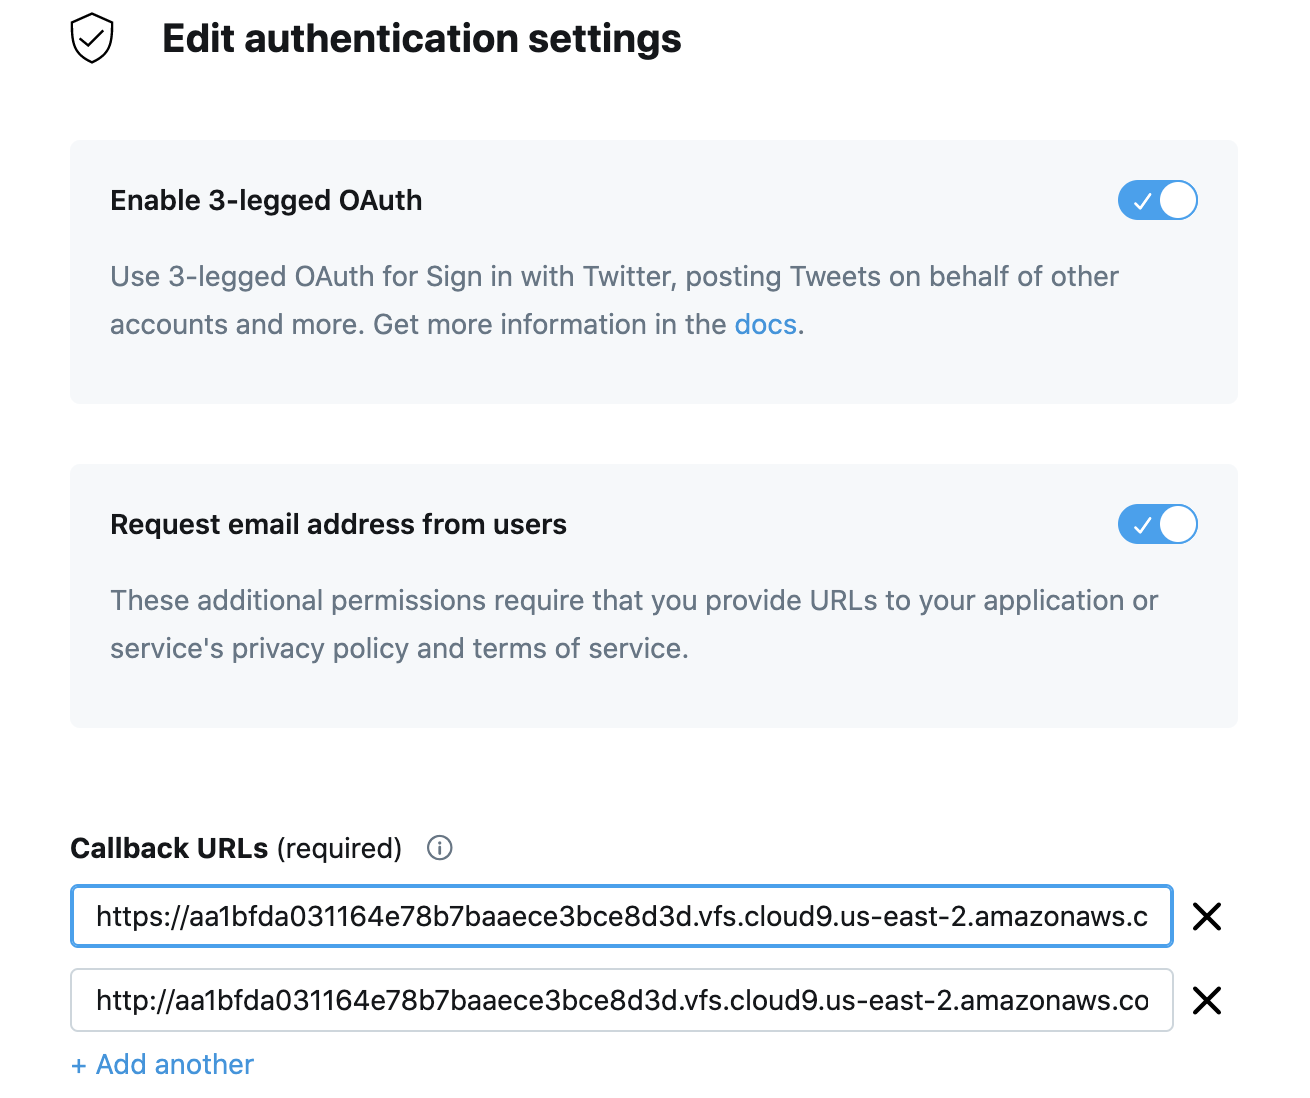
そしてEdit authentication settingsをいじって、アプリのドメイン/users/auth/twitter/callbackをセットして完成。
この辺の記事を見ながらGCPでアプリを作成し、クライアント IDとクライアント シークレットを取得して、.envにセット
https://qiita.com/nakanishi03/items/2dfe8b8431a044a01bc6#google
OOGLE_CLIENT_ID='hogehogehoge.apps.googleusercontent.com'
GOOGLE_CLIENT_SECRET='dgpV8aMmmDzfugafuga'
承認済みのリダイレクト URIにドメイン/users/auth/google_oauth2/callbackをセット。

AppIDとAppSecretを取得して環境変数にセット。
FACEBOOK_KEY='foobarsdsfe'
FACEBOOK_SECRET='bazdejnerf'
Valid OAuth Redirect URIsにドメイン/users/auth/google_oauth2/callbackをセット。