先日発表された、Microsoft AzureのkubernetesのマネージドサービスAKSのkubernetes clusterもRancher2.0にインポートしてみようと思います。
1.AKS Kubernetes Clusterの構築
1.Microsoft Azure申し込み
以下からMicrosoft Azureの申し込みを行います。
2.Microsoft Azureにログインし、Cloud Shellを起動します。
a.「Cloud Shell」のアイコンをクリックします。
b.「Bash(Linux)」をクリックします。
c.「Create storage」ボタンをクリックします。
3.Cloud Shellで以下のコマンドを実行します
$ az provider register -n Microsoft.ContainerService
$ az group create --name myResourceGroup --location westus2
$ az aks create --resource-group myResourceGroup --name myK8sCluster --agent-count 1 --generate-ssh-keys
$ az aks install-cli
$ az aks get-credentials --resource-group=myResourceGroup --name=myK8sCluster
$ kubectl get nodes
2.Rancher2.0 Serverの構築
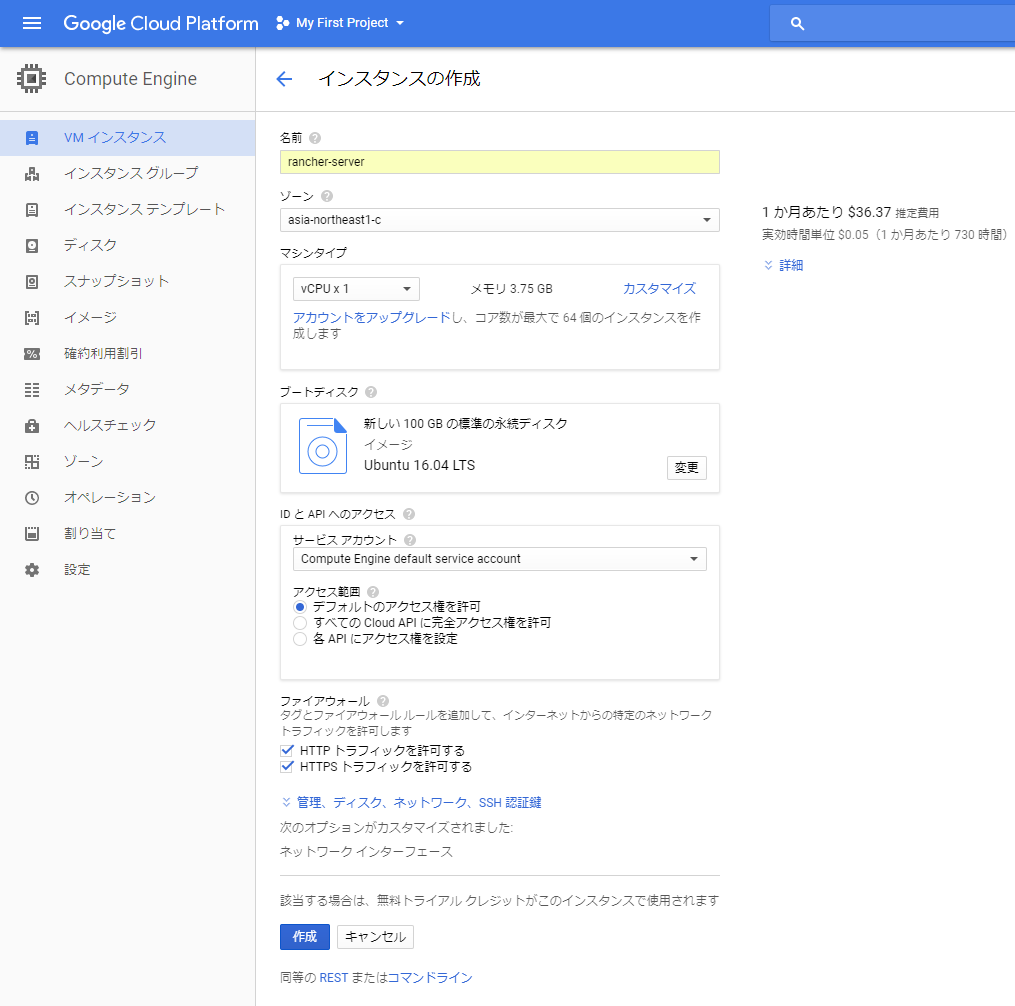
1. Compute Engineから「VMインスタンス」を選択します。
2.「インスタンスを作成」をクリックします。
3. 以下の内容でインスタンスを作成します。
設定を入力後、「作成」ボタンをクリックします。
| 項目 | 入力概要 |
|---|---|
| 名前 | rancher-server |
| ゾーン | asia-northeast1-c |
| ブートディスク | Ubuntu 16.04 LTS |
| ディスクサイズ | 100GB |
| ファイアウォール | 「HTTPトラフィックを許可する」と「HTTPSトラフィックを許可する」にチェックを入れます。 |
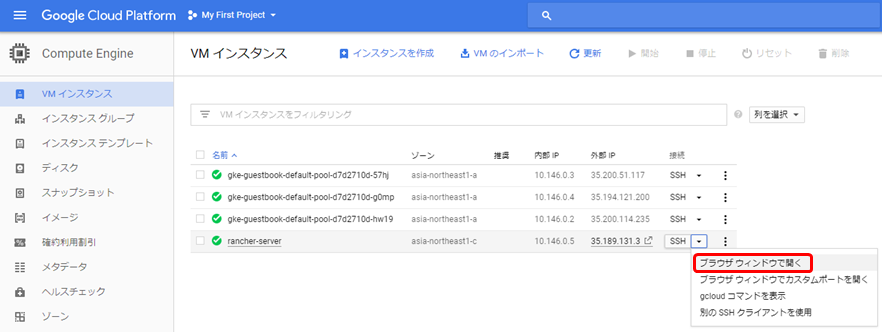
4. 作成したインスタンスにSSH接続します。
「ブラウザウィンドウで開く」を選択します。
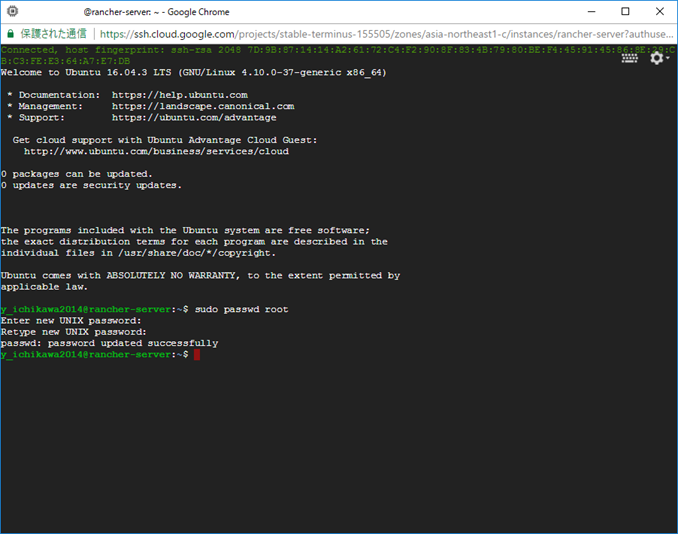
5. rootのパスワードを設定します。
$ sudo passwd root
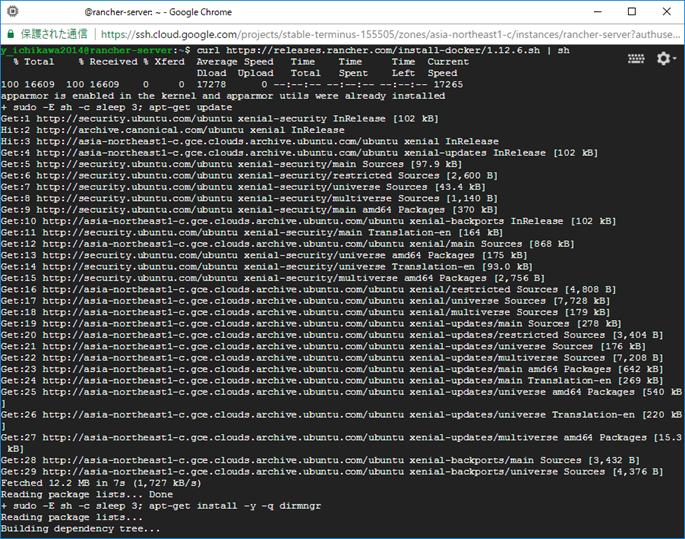
6. Dockerをインストールします。
$ curl https://releases.rancher.com/install-docker/1.12.6.sh | sh
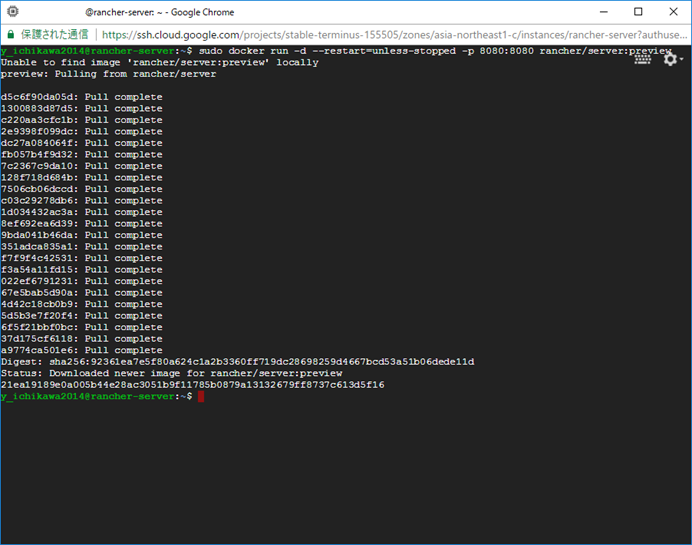
7. Rancher2.0 Serverをインストールします。
$ sudo docker run -d --restart=unless-stopped -p 8080:8080 rancher/server:preview
8. ブラウザでRancher2.0 Serverの管理画面にアクセスします。
3. Rancher2.0 ServerにAKS kubernetes clustersをインポート
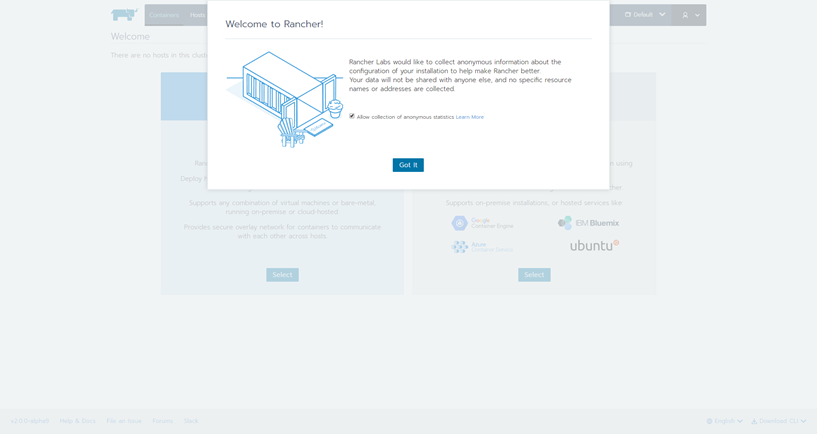
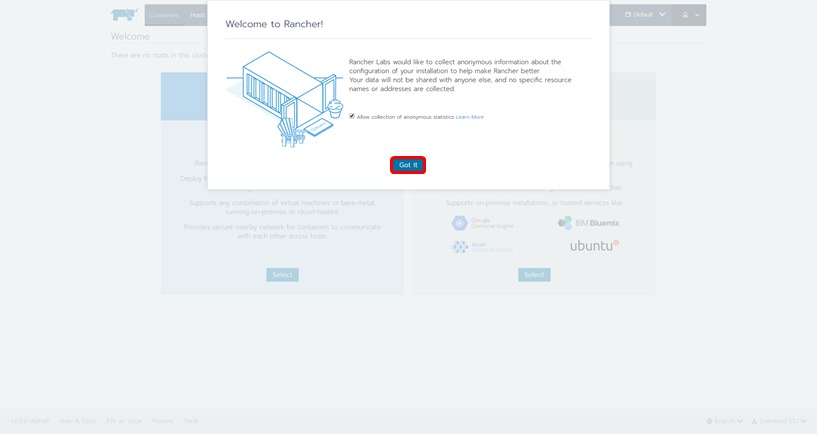
1. Welcome to Rancher! の「Got It」をクリックします。
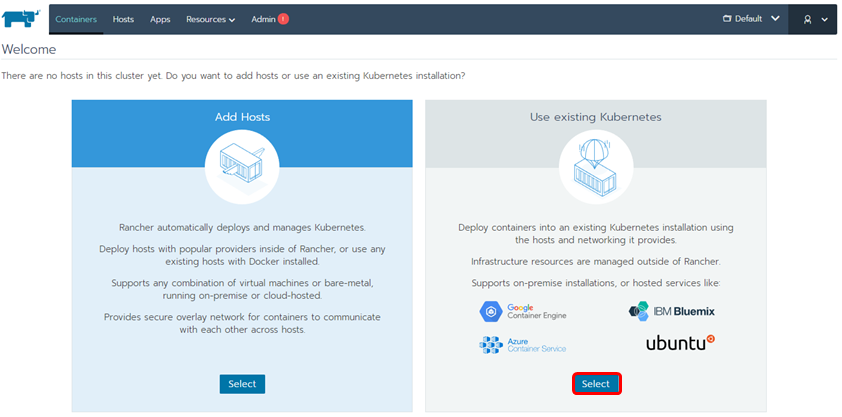
2. Use existing Kubernetesの「Select」ボタンをクリックします。
3. 「Save」ボタンをクリックします。
4. 表示されているkubectlコマンドをコピーして、AKS K8Sクラスタで実行します。
a.kubectlコマンドをコピーします。
b.Cloud Shellでコピーしたkubectlコマンドを実行します。
c.「Close」ボタンをクリックします。
5. AKSのK8S Clusterがインポートできていることを確認します。
Rancher2.0では、簡単にAKSをはじめとする既存のKubernetes Clusterをインポートして管理することができます。
Document of Rancher2.0
Rancher 2.0に関する情報は以下となります。(2017年10月時点)
Press Release
Rancher 2.0 Special Site
Others
インポートしたAKS Kubernetes ClusterにRancherのカタログ機能からいくつかのアプリをデプロイしてみましたが、コンテナーが起動しなかったりしました。GAでは改善されていることを期待します。
Rancher Serverは、Microsoft Azureで構築する方がよかったかもしれませんね。。


