Rancher2.2のAlpha版において、Multi-Tenant Pormetheus機能がサポートされたとのことで試してみました。
驚くほど簡単にPrometheus + Grafana環境を構築できます。
以下の構成で検証してみました。
Rancher Server Version:2.2.0-Alpha3
1.Rancher Serverの構築
1.Instance準備
| 項目 | 入力概要 |
|---|---|
| 名前 | rancher-server |
| リージョン | asia-northeast1(東京) |
| ゾーン | asia-northeast1-b |
| マシンタイプ | vCPUx1 |
| ブートディスク | Ubuntu 16.04 LTS ディスクサイズ80GB |
| ファイアウォール | HTTP トラフィックを許可する、HTTPS トラフィックを許可するの両方をチェックします。 |
2.Dockerのインストール
コマンド
$ curl https://releases.rancher.com/install-docker/18.09.sh | sh
・
・(省略)
・
+ sudo -E sh -c docker version
Client:
Version: 18.09.3
API version: 1.39
Go version: go1.10.8
Git commit: 774a1f4
Built: Thu Feb 28 06:40:58 2019
OS/Arch: linux/amd64
Experimental: false
Server: Docker Engine - Community
Engine:
Version: 18.09.3
API version: 1.39 (minimum version 1.12)
Go version: go1.10.8
Git commit: 774a1f4
Built: Thu Feb 28 05:59:55 2019
OS/Arch: linux/amd64
Experimental: false
If you would like to use Docker as a non-root user, you should now consider
adding your user to the "docker" group with something like:
sudo usermod -aG docker iyutaka2018
Remember that you will have to log out and back in for this to take effect!
WARNING: Adding a user to the "docker" group will grant the ability to run
containers which can be used to obtain root privileges on the
docker host.
Refer to https://docs.docker.com/engine/security/security/#docker-daemon-attack-surface
for more information.
3.Rancher2.2.0-Alpha3 Serverのインストール
コマンド
$ sudo docker run -d --restart=unless-stopped -p 80:80 -p 443:443 rancher/rancher:v2.2.0-alpha3
Unable to find image 'rancher/rancher:v2.2.0-alpha3' locally
v2.2.0-alpha3: Pulling from rancher/rancher
32802c0cfa4d: Pull complete
da1315cffa03: Pull complete
fa83472a3562: Pull complete
f85999a86bef: Pull complete
a4daac5bee2d: Pull complete
bf26f1964577: Pull complete
a00bebfc6f0e: Pull complete
3afff0aaa1d8: Pull complete
8f3d31deda5a: Pull complete
aa24579912ce: Pull complete
6d77f6748e72: Pull complete
d47b70b03591: Pull complete
Digest: sha256:db7fe1ba357cfe5238634f2fb21085177b3ad897cec1aacacca1b3e2b22152a2
Status: Downloaded newer image for rancher/rancher:v2.2.0-alpha3
3a8894aa888fdb14d08c676b51d3a4011f5ee794f61eb90a6fe013e690e73057
4.ブラウザを起動して、RancherUIにアクセス
5.初回ログイン
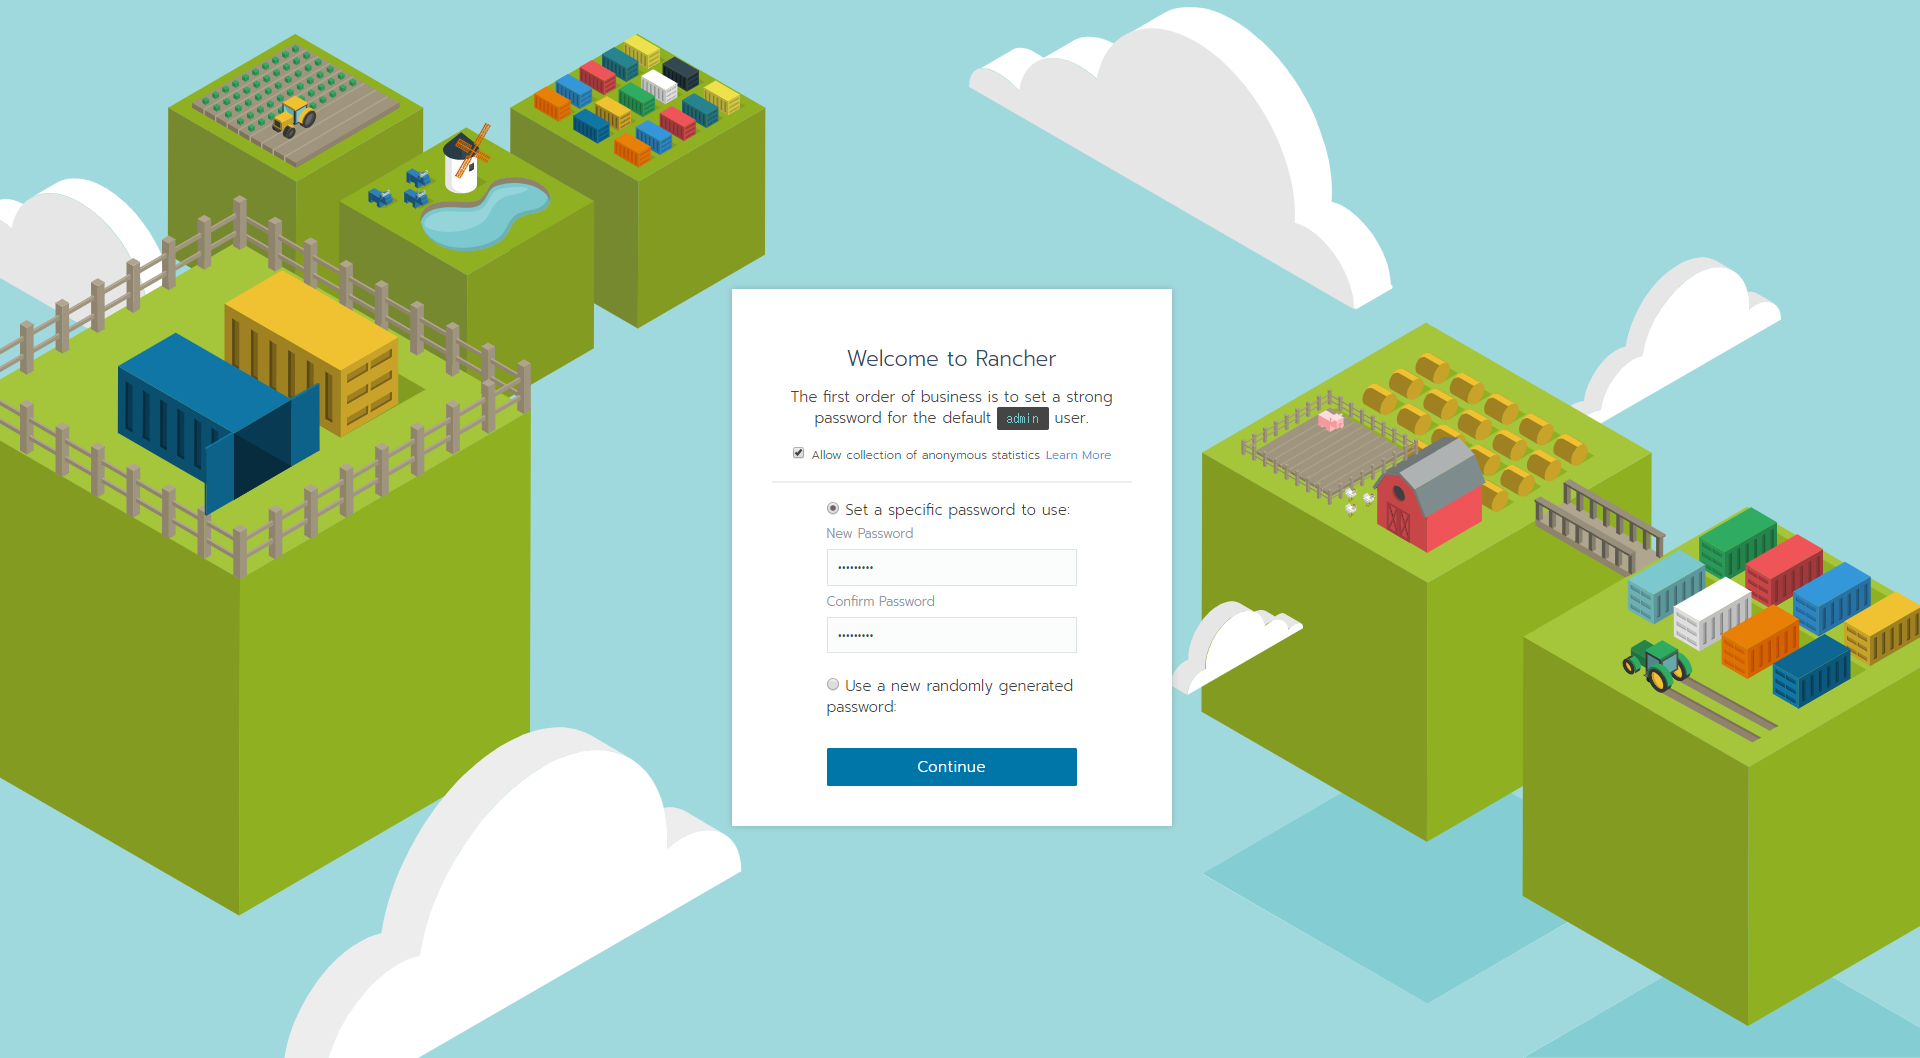
a.adminユーザのパスワード作成
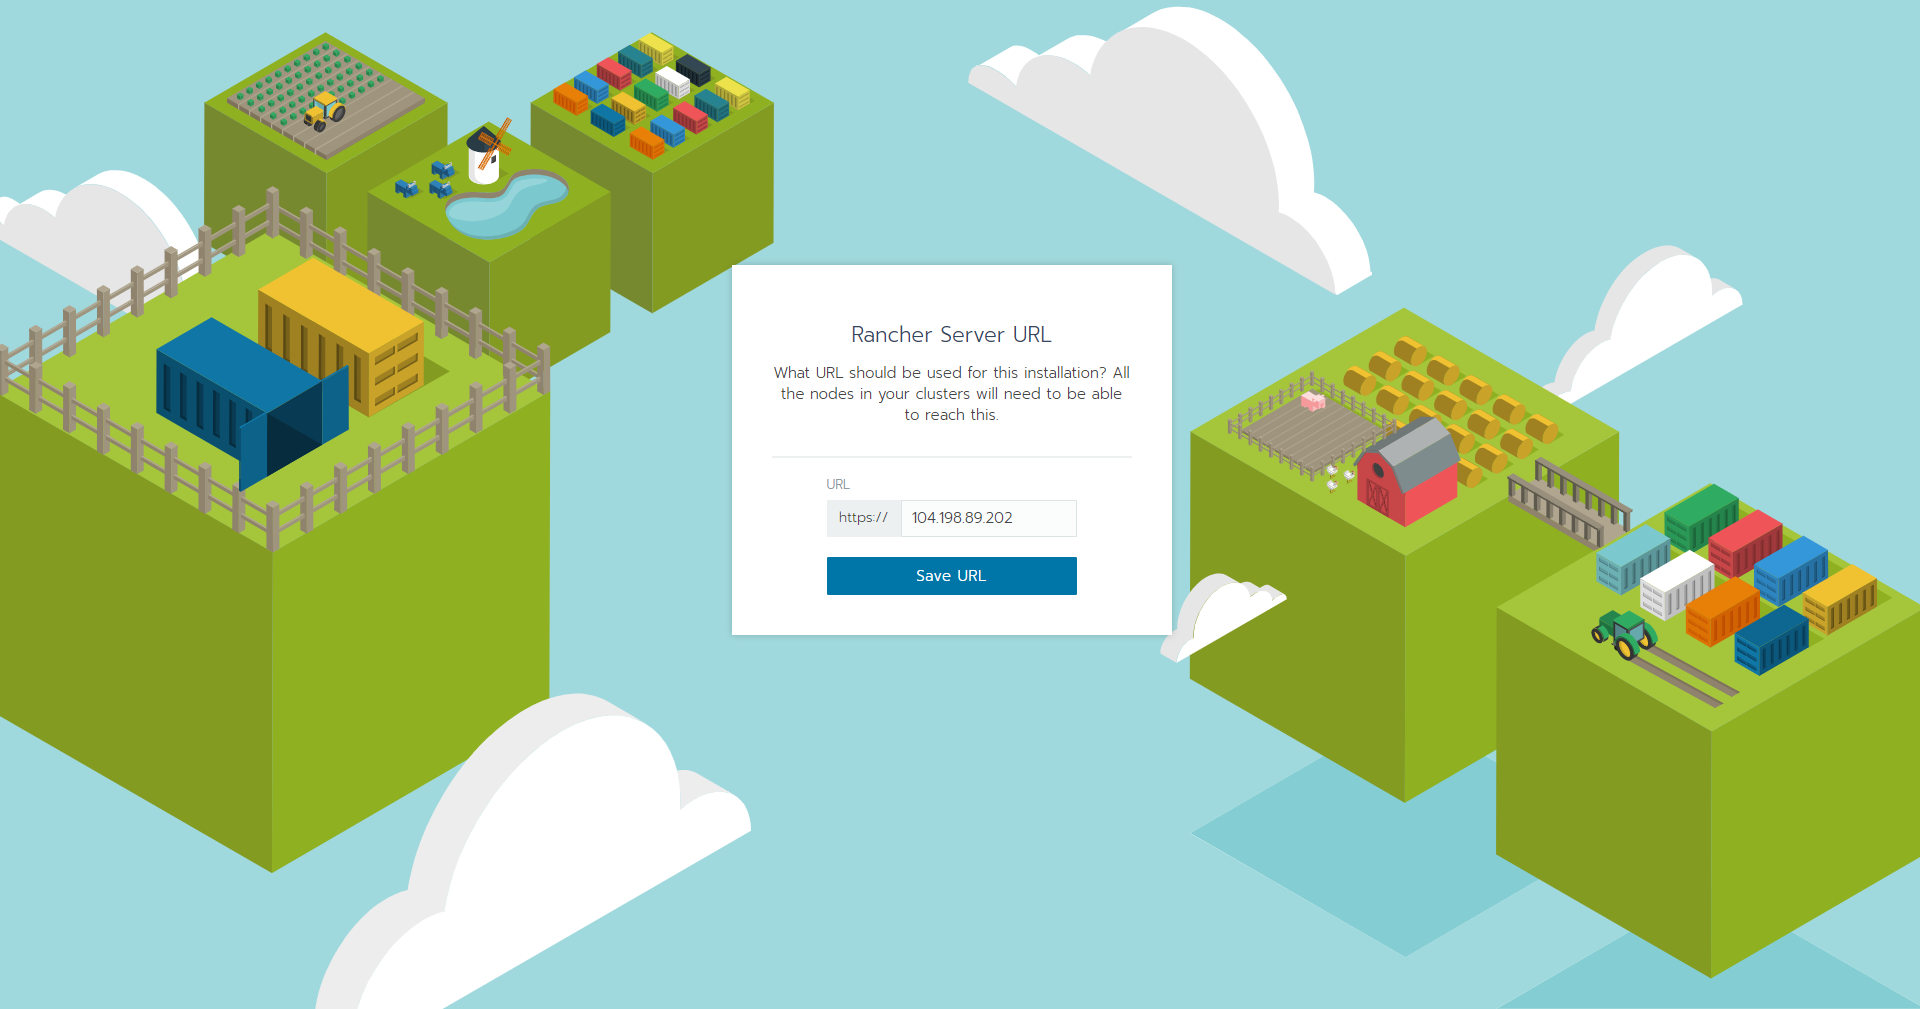
b.Rancher Server URLの登録
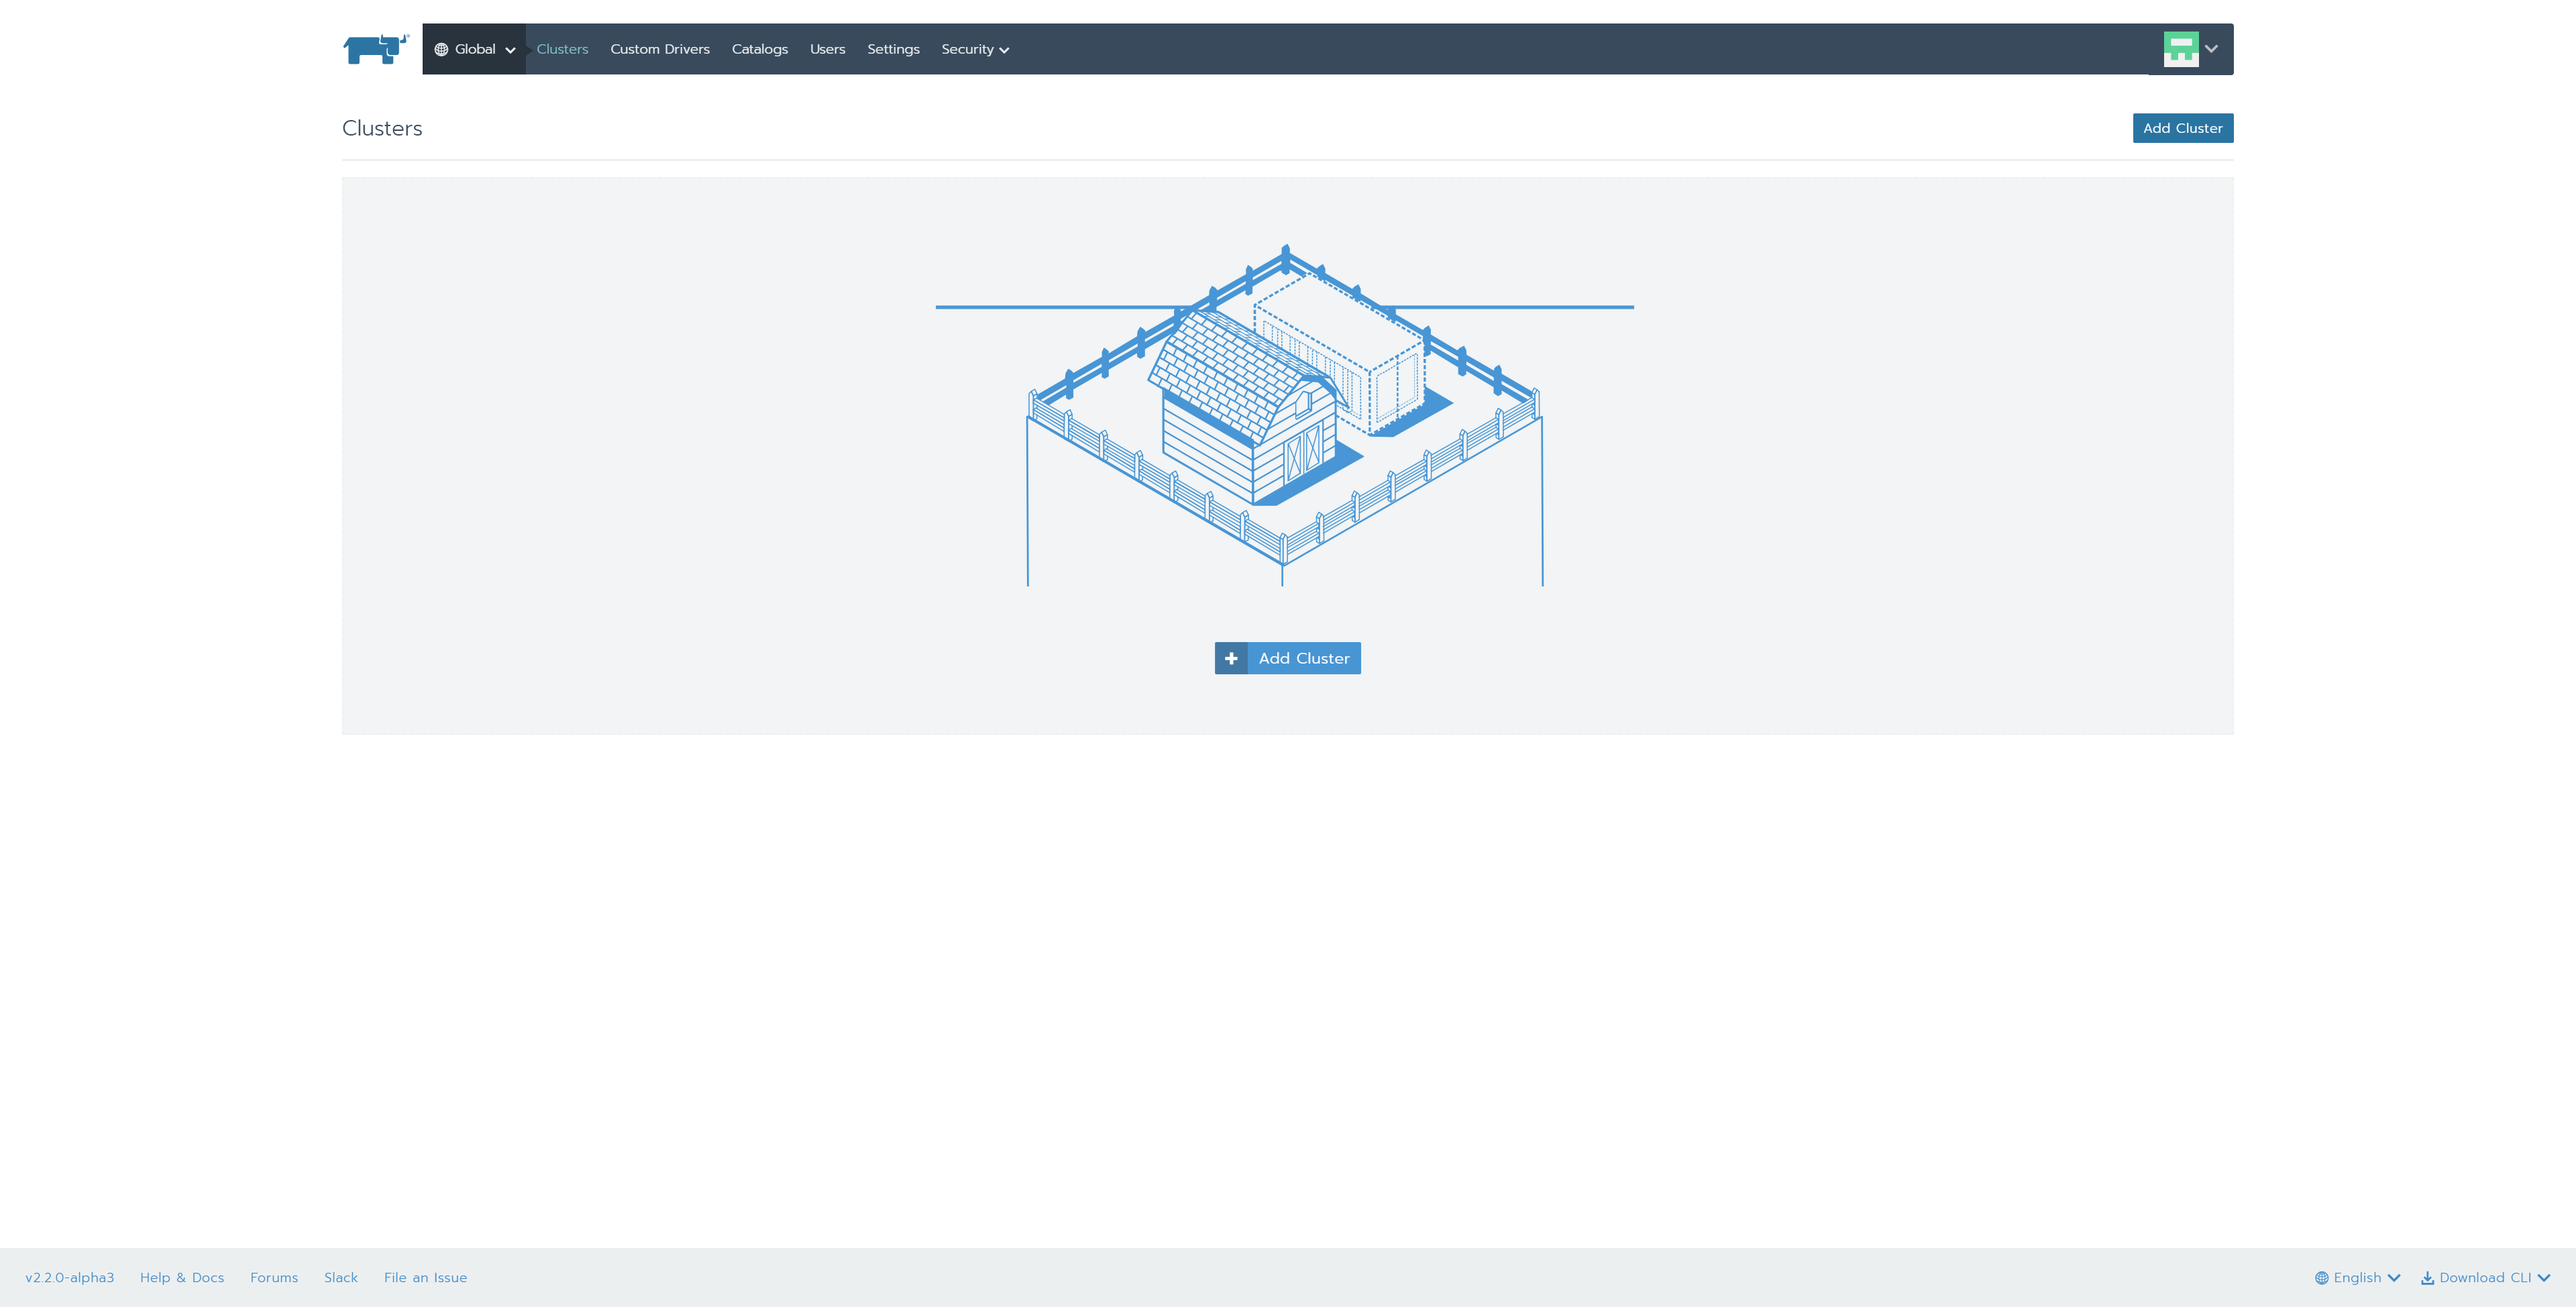
c.ログイン完了
2.Single Kubernetes Clusterの構築
1.Instance準備
| 項目 | 入力概要 |
|---|---|
| 名前 | rancher-k8s-cluster |
| リージョン | asia-northeast1(東京) |
| ゾーン | asia-northeast1-b |
| マシンタイプ | vCPUx1 |
| ブートディスク | Ubuntu 16.04 LTS ディスクサイズ80GB |
| ファイアウォール | HTTP トラフィックを許可する、HTTPS トラフィックを許可するの両方をチェックします。 |
2.rancher-k8s-clusterにDockerをインストール
コマンド
$ curl https://releases.rancher.com/install-docker/17.03.2.sh | sh
・
・(省略)
・
+ sudo -E sh -c docker version
Client:
 Version:      17.03.2-ce
 API version:  1.27
 Go version:   go1.7.5
 Git commit:   f5ec1e2
 Built:        Tue Jun 27 03:35:14 2017
 OS/Arch:      linux/amd64
Server:
 Version:      17.03.2-ce
 API version:  1.27 (minimum version 1.12)
 Go version:   go1.7.5
 Git commit:   f5ec1e2
 Built:        Tue Jun 27 03:35:14 2017
 OS/Arch:      linux/amd64
 Experimental: false
If you would like to use Docker as a non-root user, you should now consider
adding your user to the "docker" group with something like:
  sudo usermod -aG docker iyutaka2018
Remember that you will have to log out and back in for this to take effect!
WARNING: Adding a user to the "docker" group will grant the ability to run
         containers which can be used to obtain root privileges on the
         docker host.
         Refer to https://docs.docker.com/engine/security/security/#docker-daemon-attack-surface
         for more information.
3.Kubernetesクラスタの構築
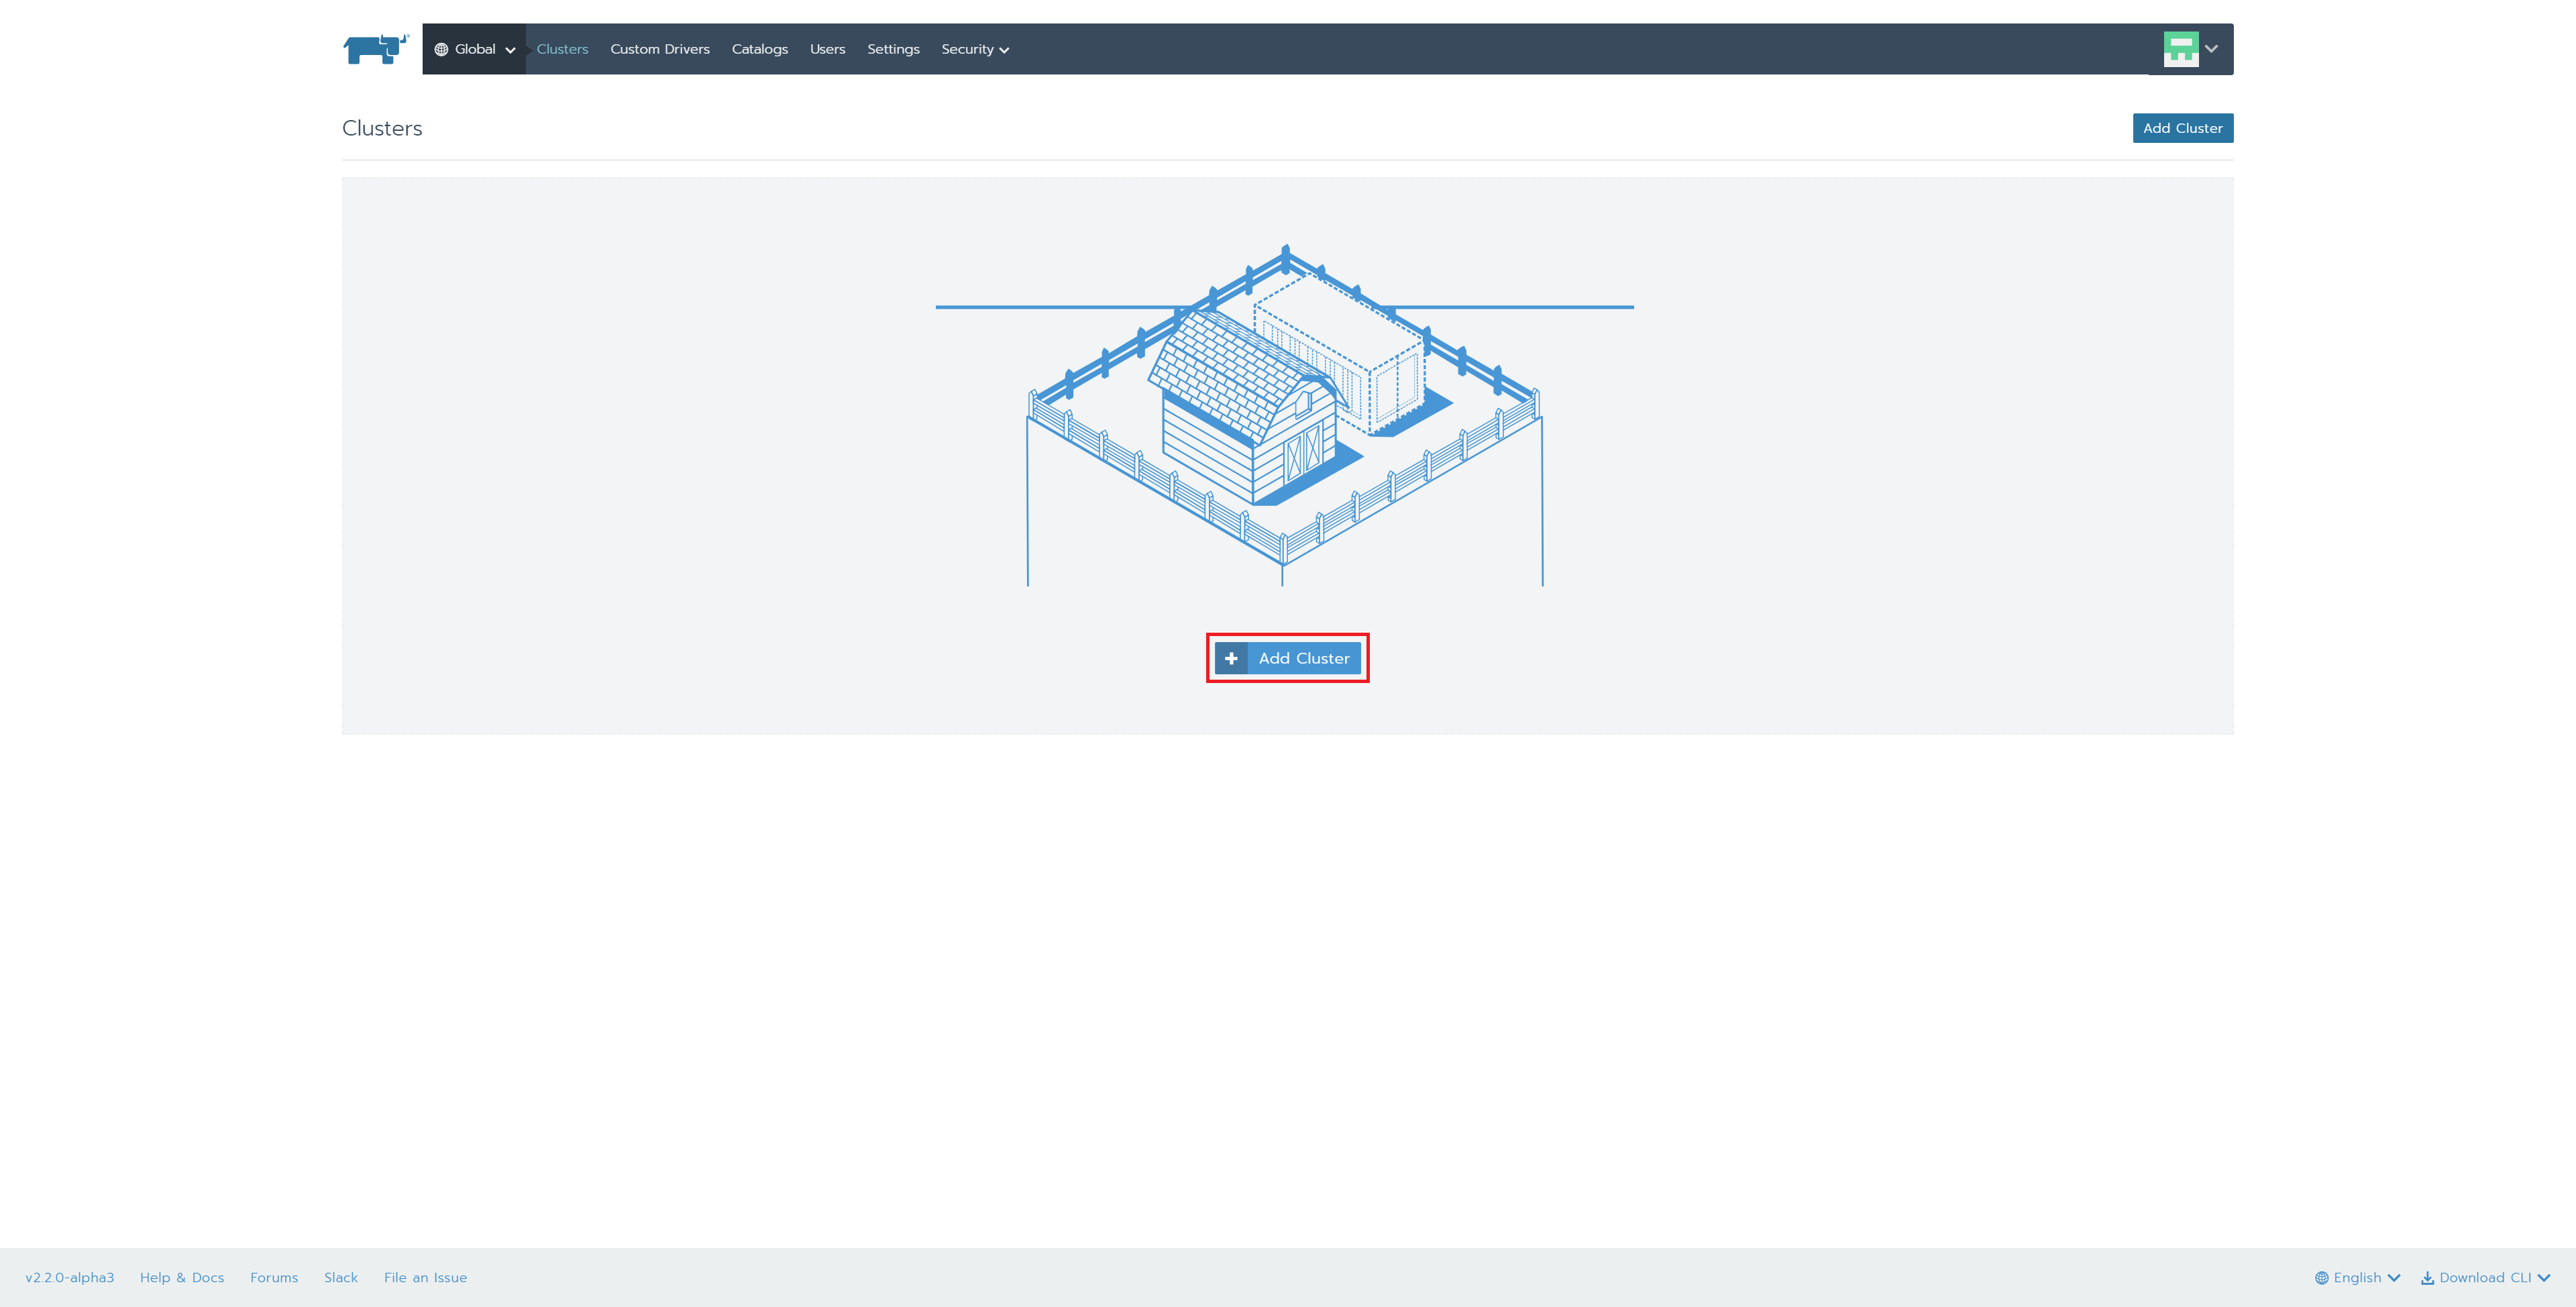
1.「Add Cluster」ボタンを押下
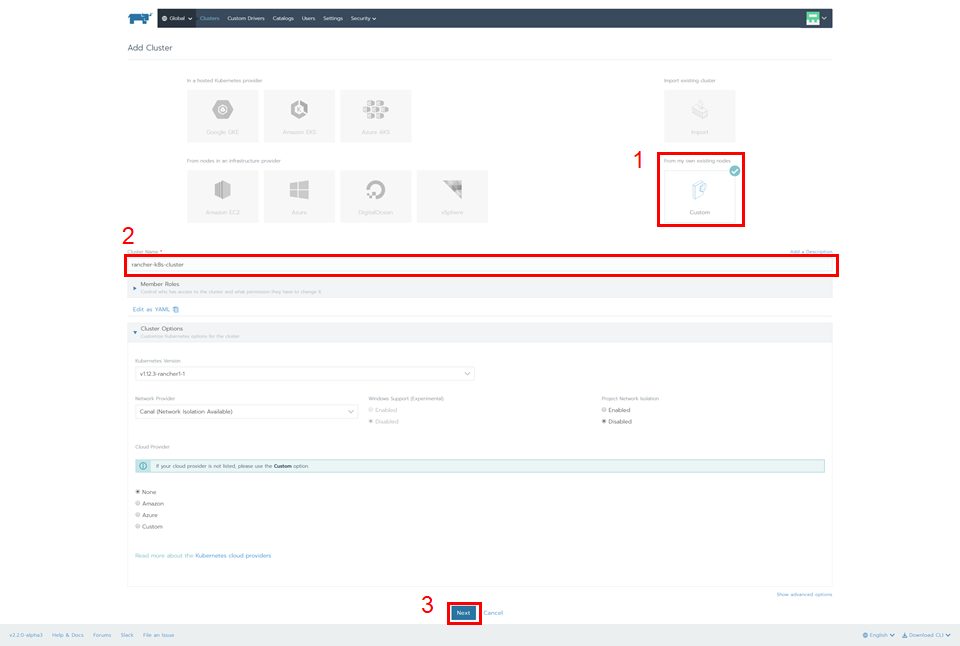
2.「Custom」を選択、「Cluster Name」に任意の名前を入力、「Next」ボタンを押下
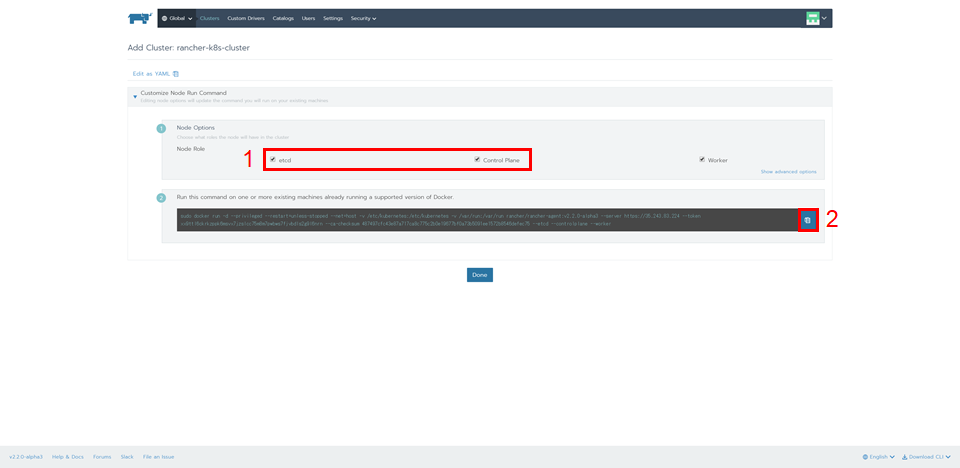
3.「Node Role」の「etcd」と「Control Plane」にチェック、「Copy to Clipboard」ボタンを押下
4.コピーしたコマンドをrancher-k8s-clusterのコンソールで実行
コマンド
$ sudo docker run -d --privileged --restart=unless-stopped --net=host -v /etc/kubernetes:/etc/kubernetes -v /var/run:/var/run rancher/rancher-agent:v2.2.0-alpha3 --server https://35.243.83.224 --token xx9ttl6ckrkzppk6msvx7jzslcc75m8m7pwbws7fjvbdls2g9l6nrn --ca-checksum 487497cfc43e87a717ca8c775c2b0e19677bf0a73b5091ee1572b8546defec75 --etcd --controlplane --worker
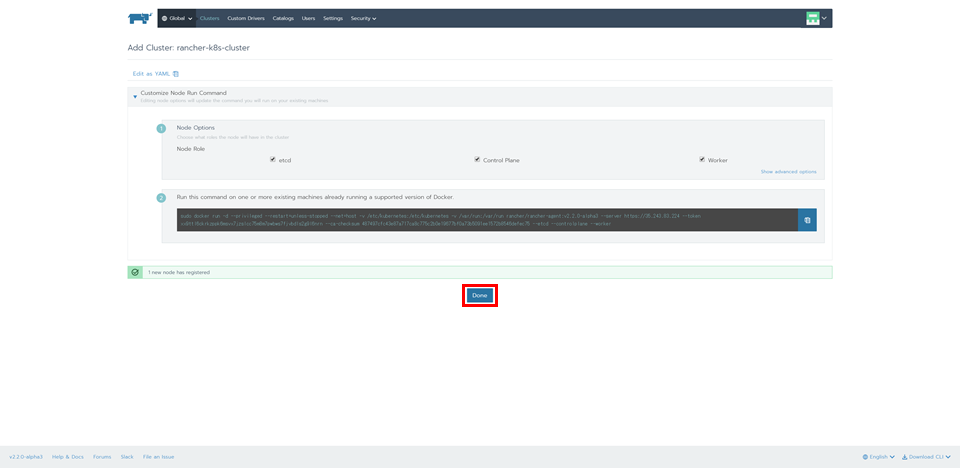
5.「Done」ボタンを押下
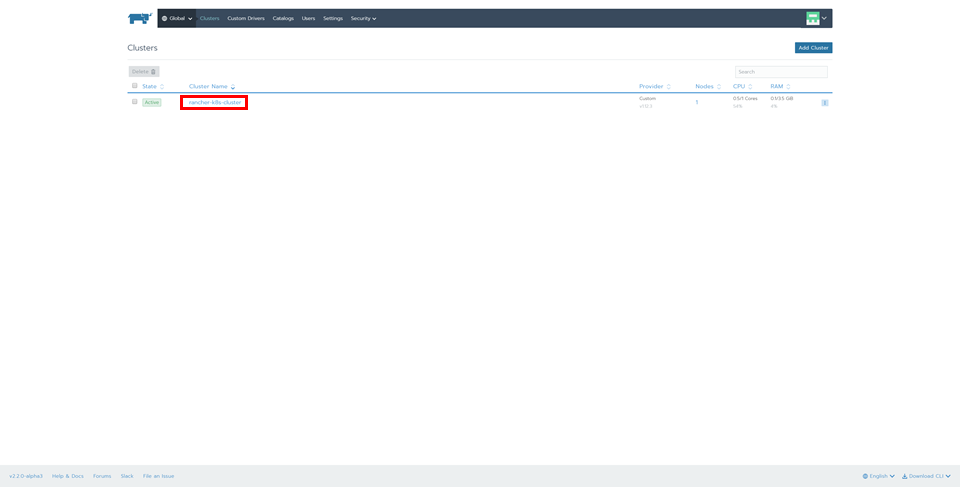
6.「rancher-k8s-cluster」を選択
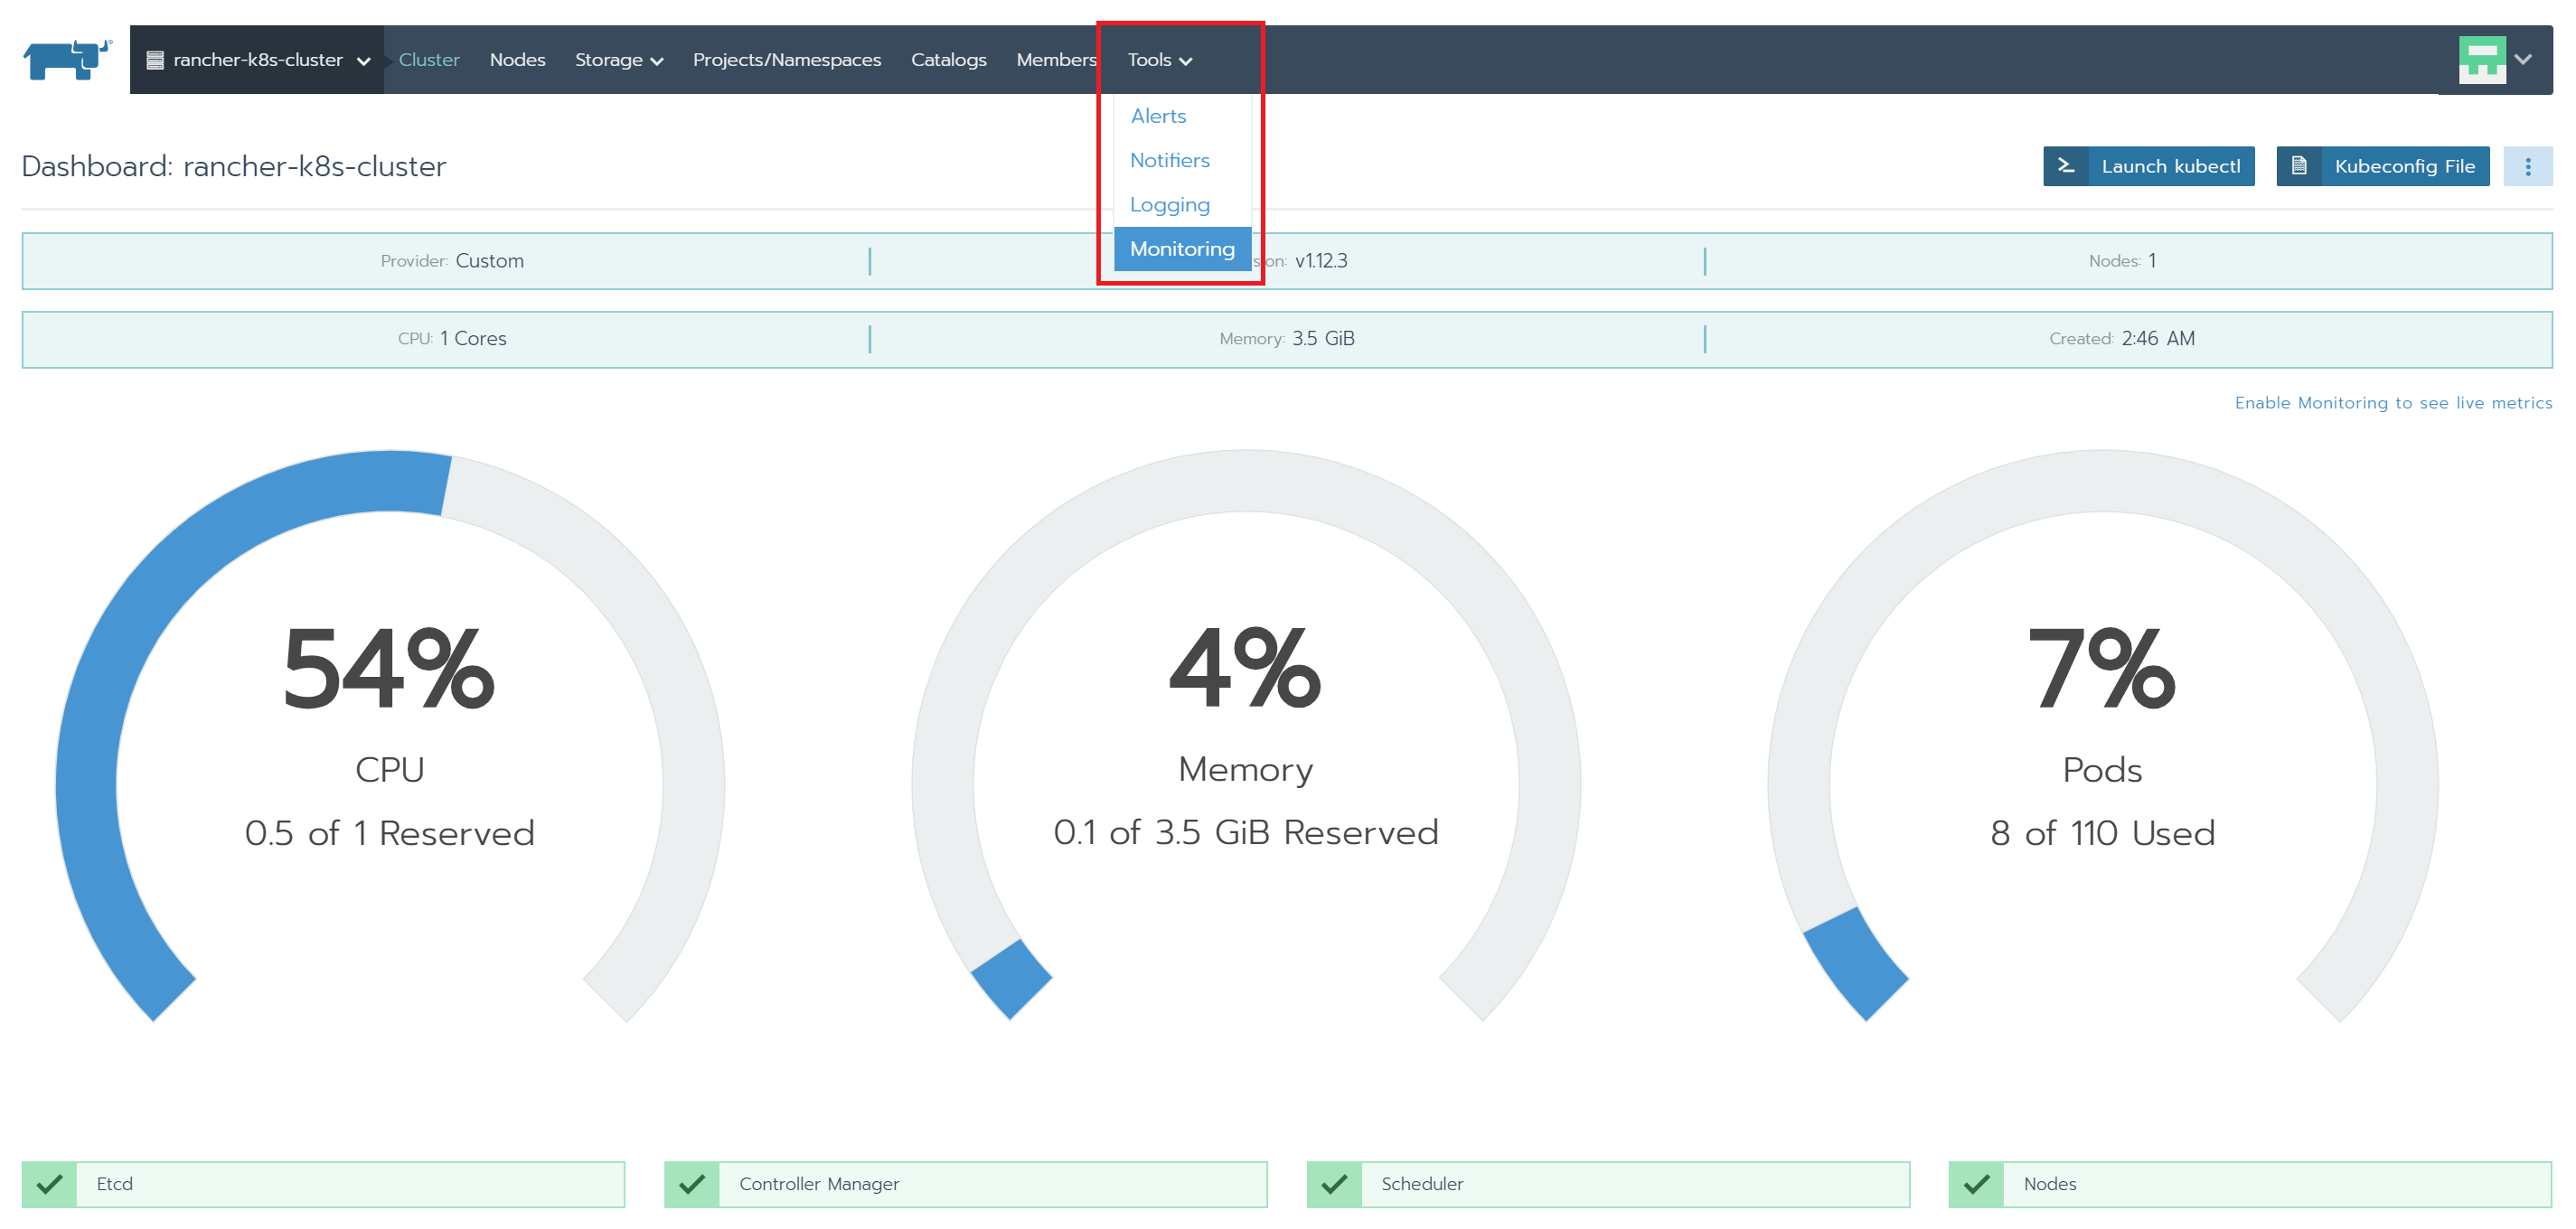
7.上部メニュー「Tools」-「Monitoring」を選択
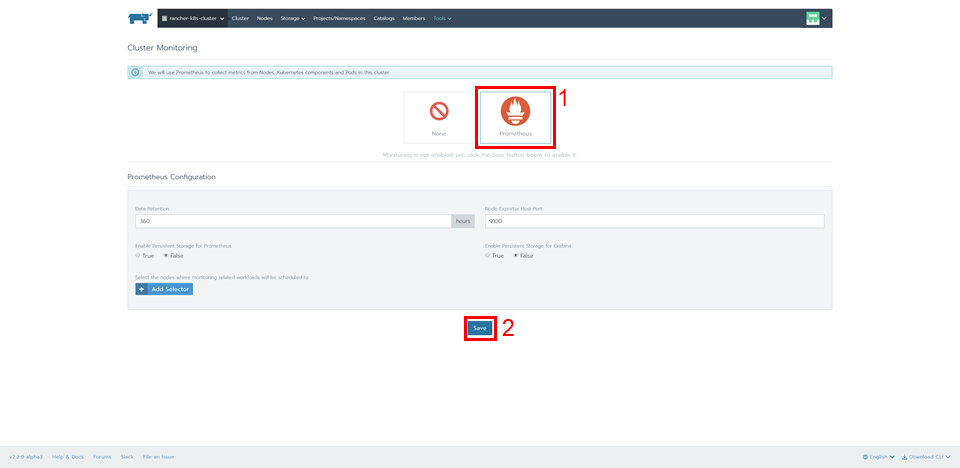
8.Prometheusアイコンを選択、「Save」ボタンを押下
この作業だけで自動的にPrometheus + Grafana環境が構築されます。
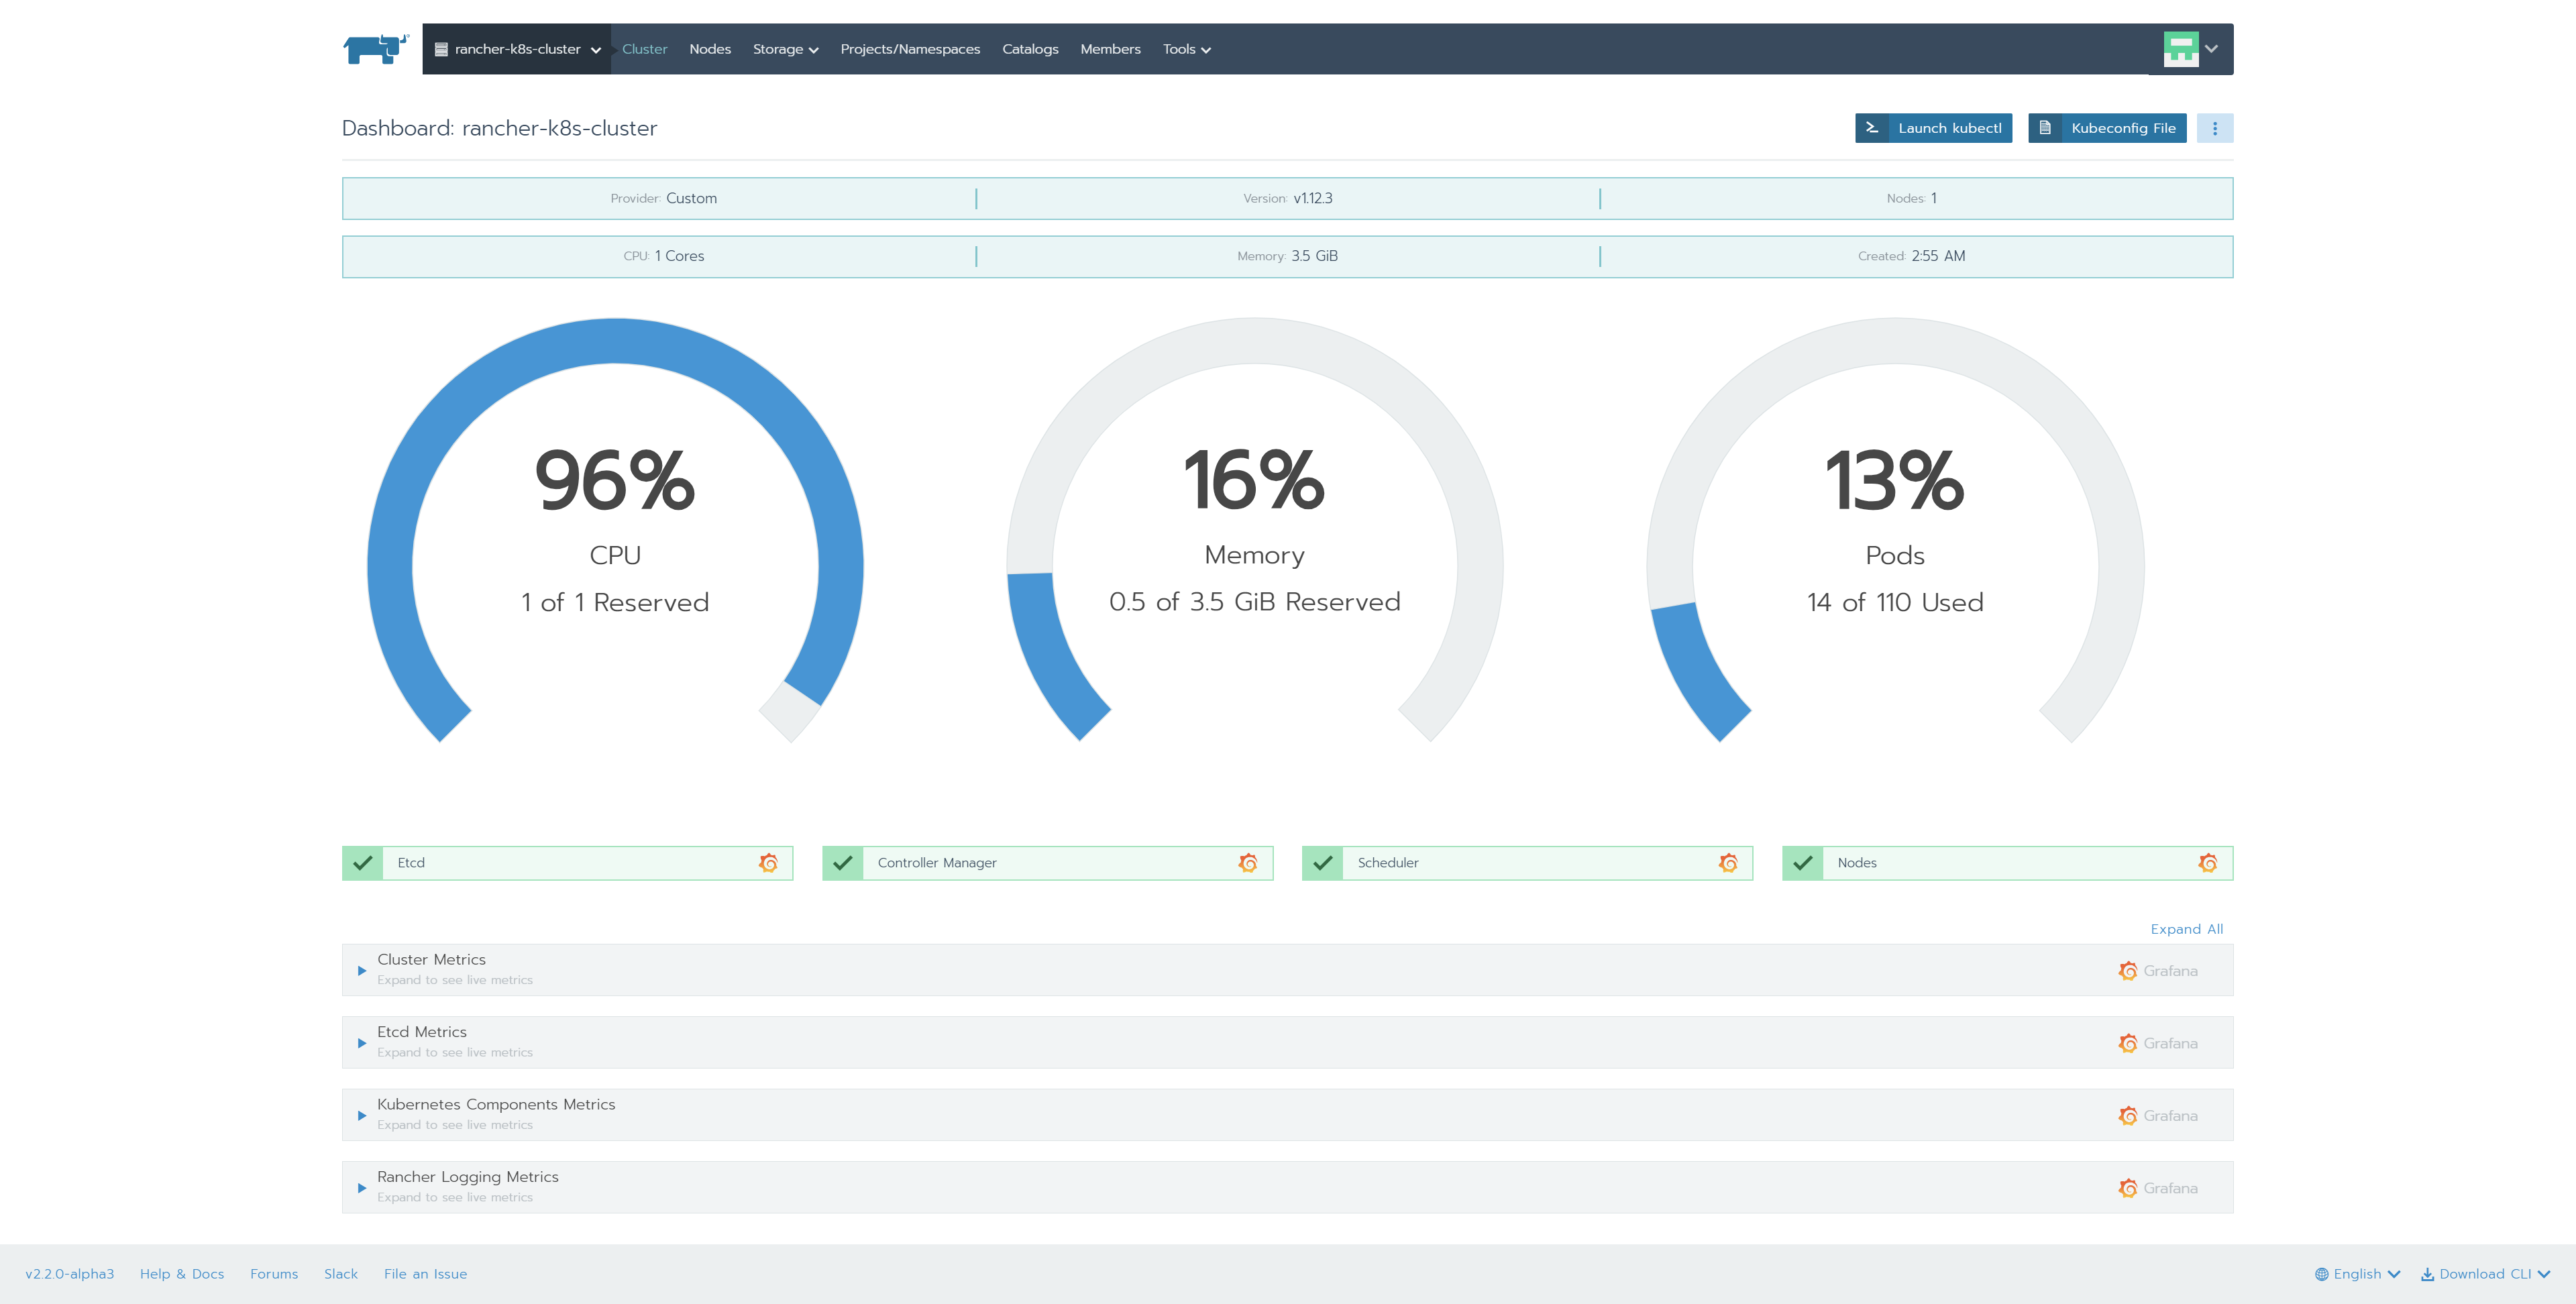
9.画面が切り替わりPrometheus + Grafanaが有効になったことを確認
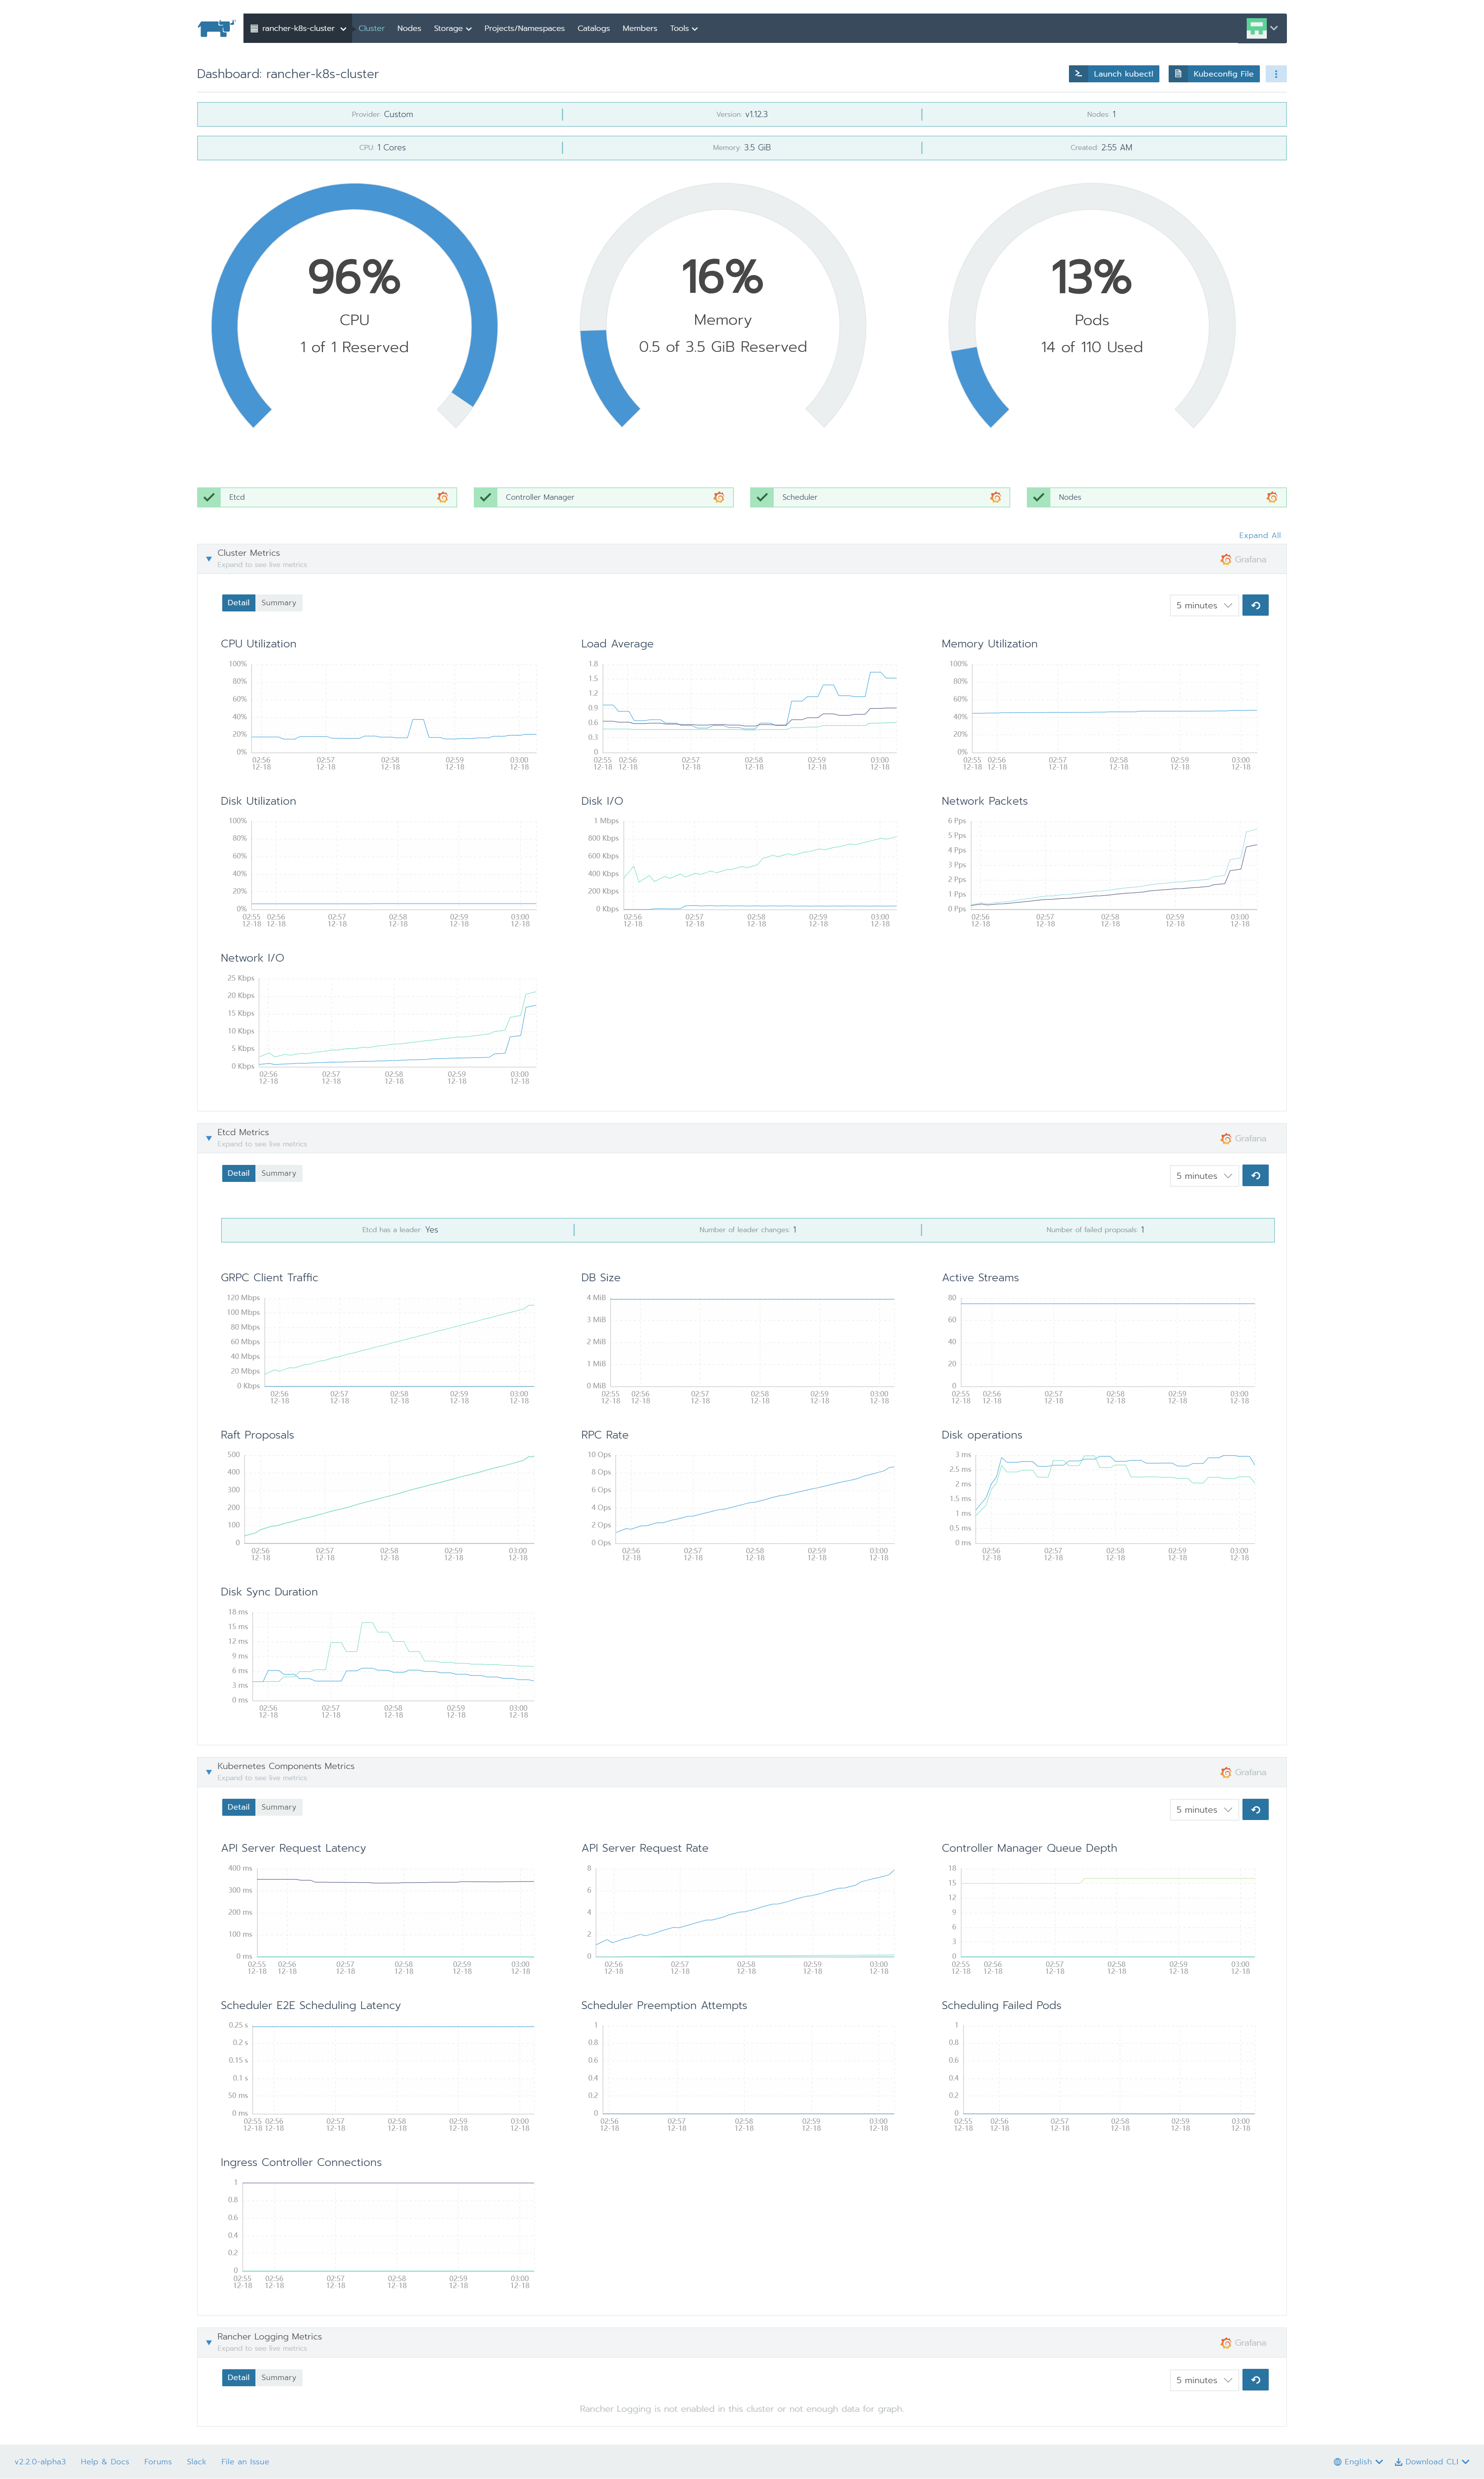
10.アコーディオンメニューを展開
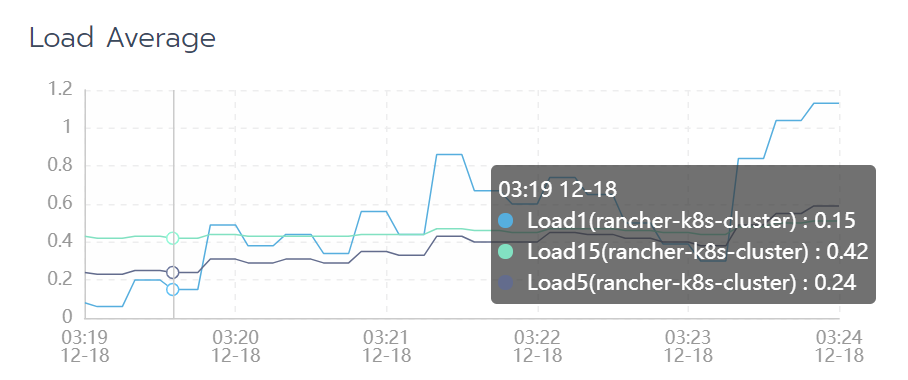
それぞれのメトリクスからグラフを確認できます。デフォルトでは、右上プルダウンメニューが「1hour」となっているので「5minute」に変更するとグラフが出てきます。
カーソルをグラフに合わせると詳細が表示されます
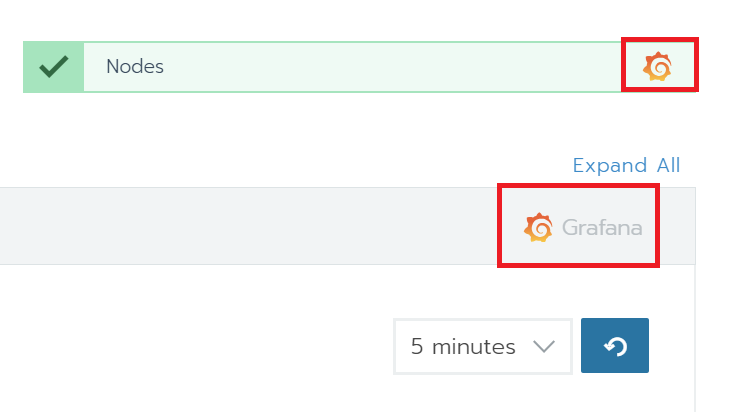
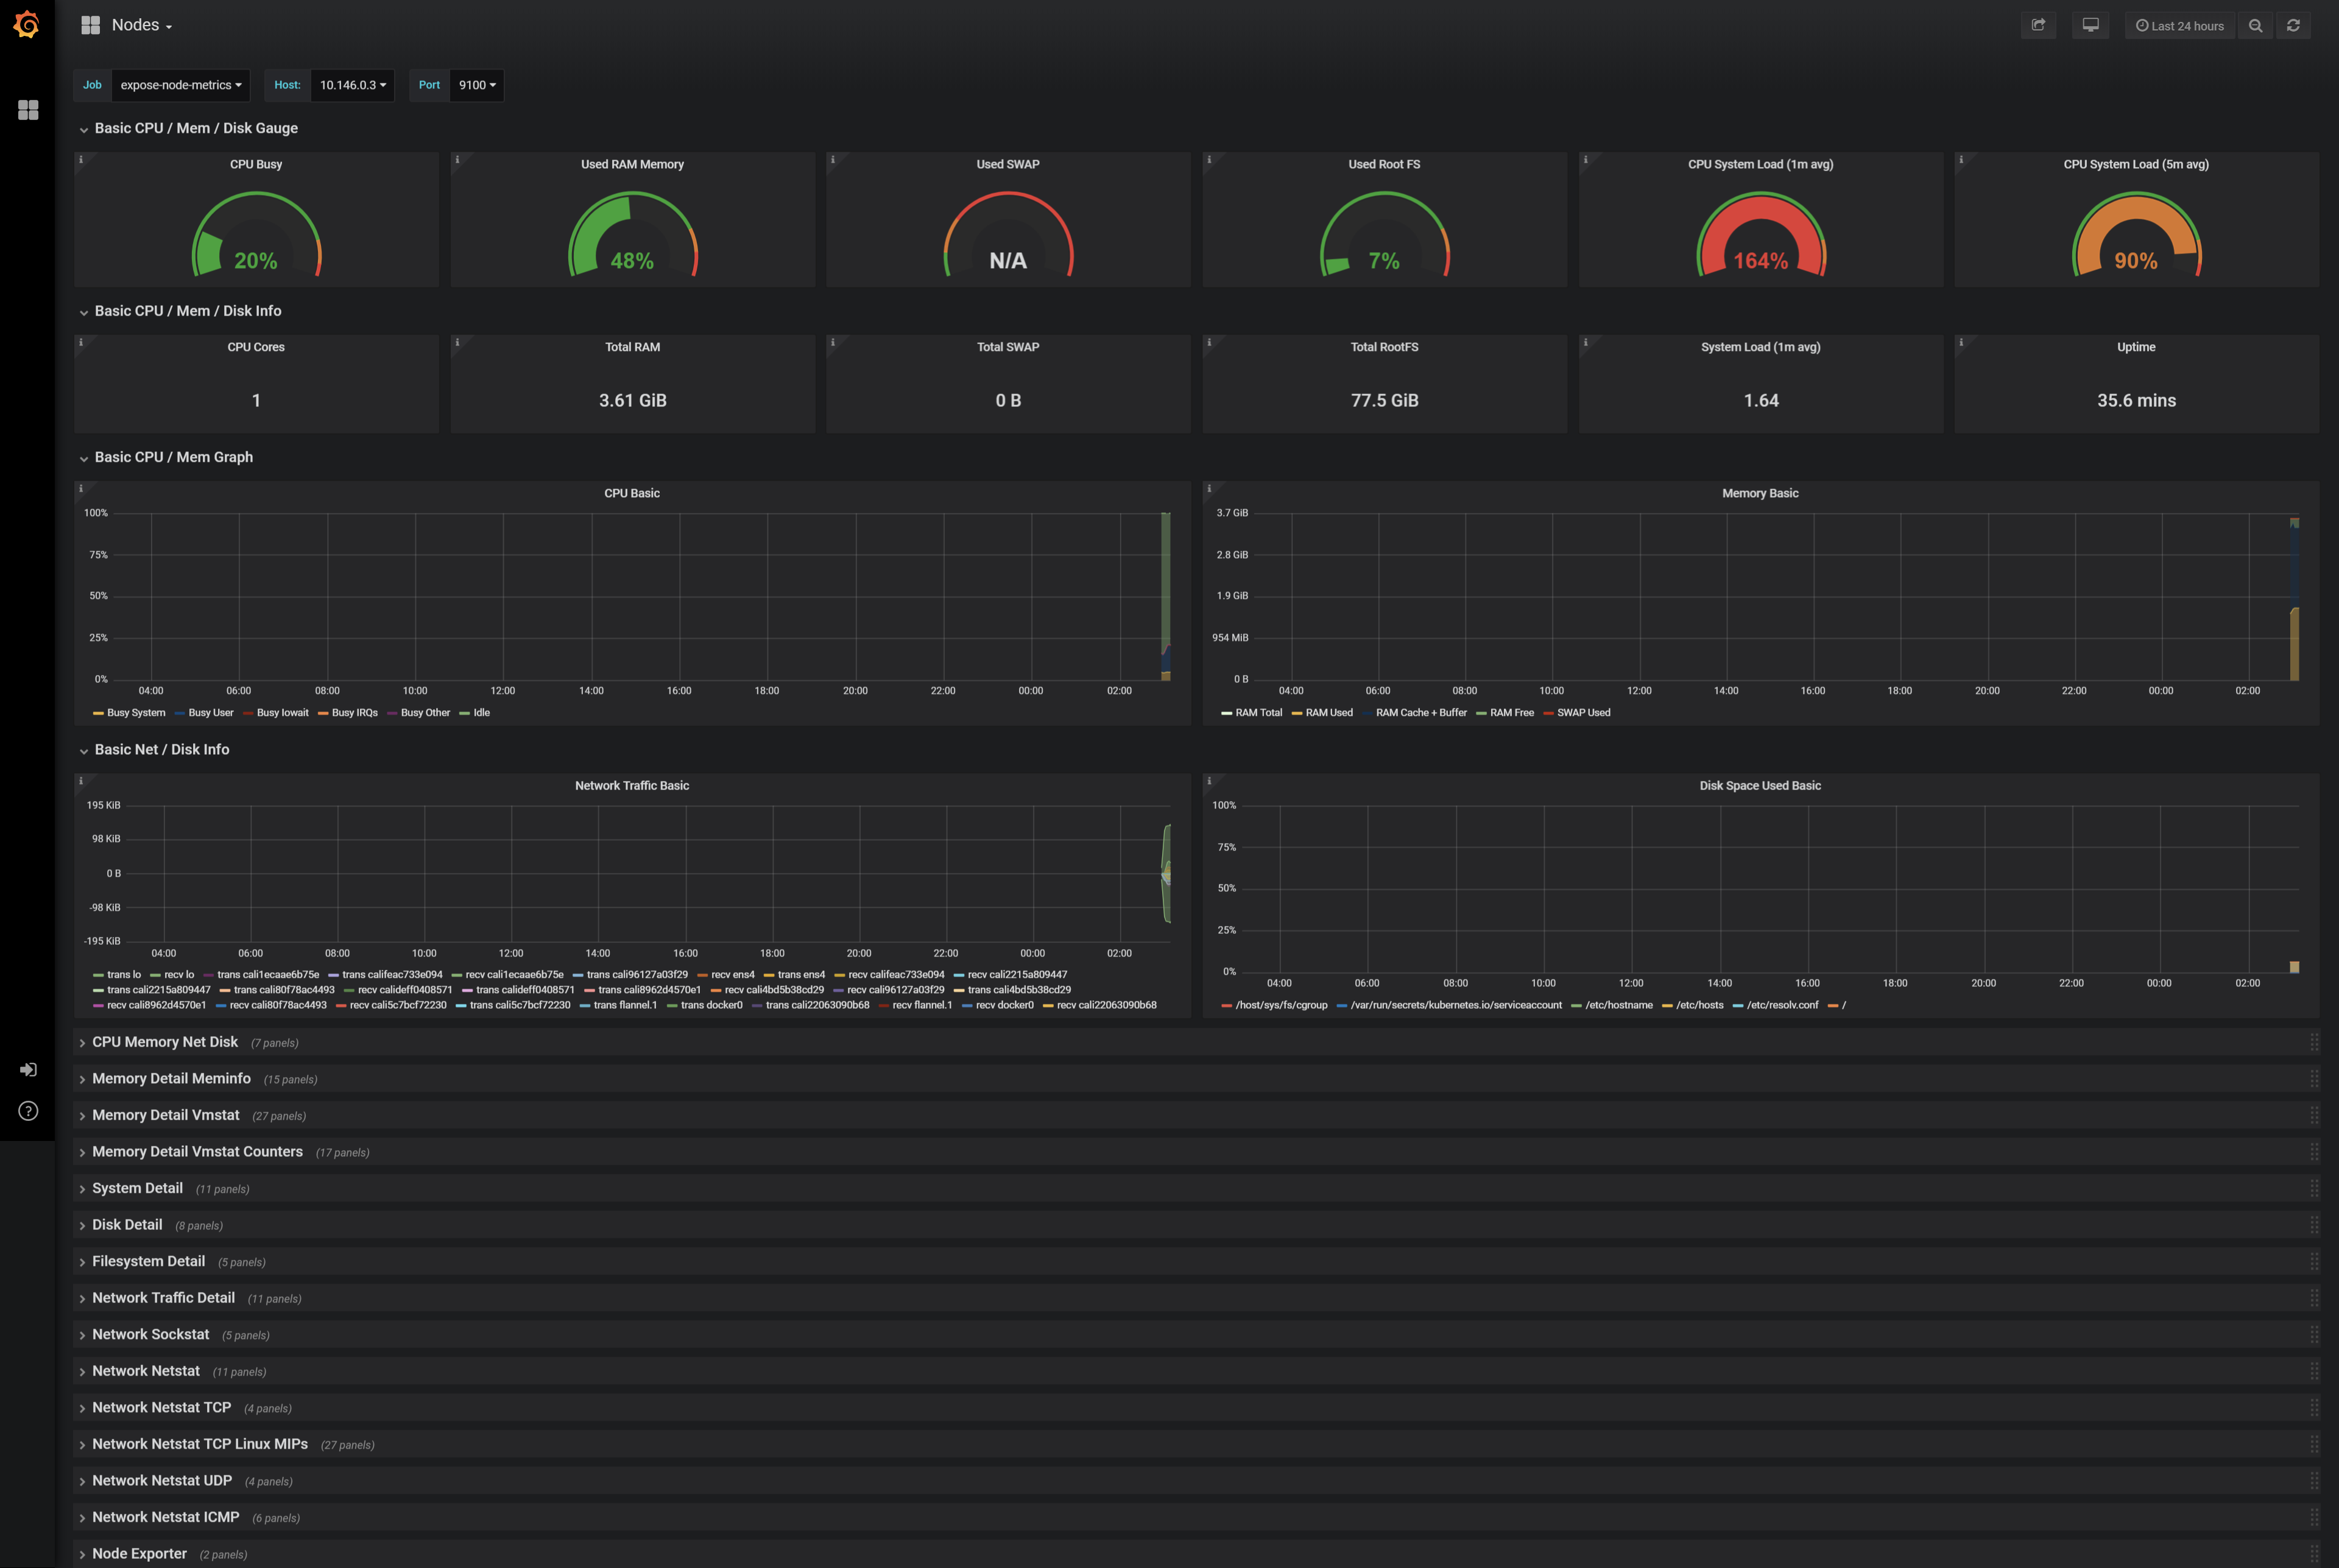
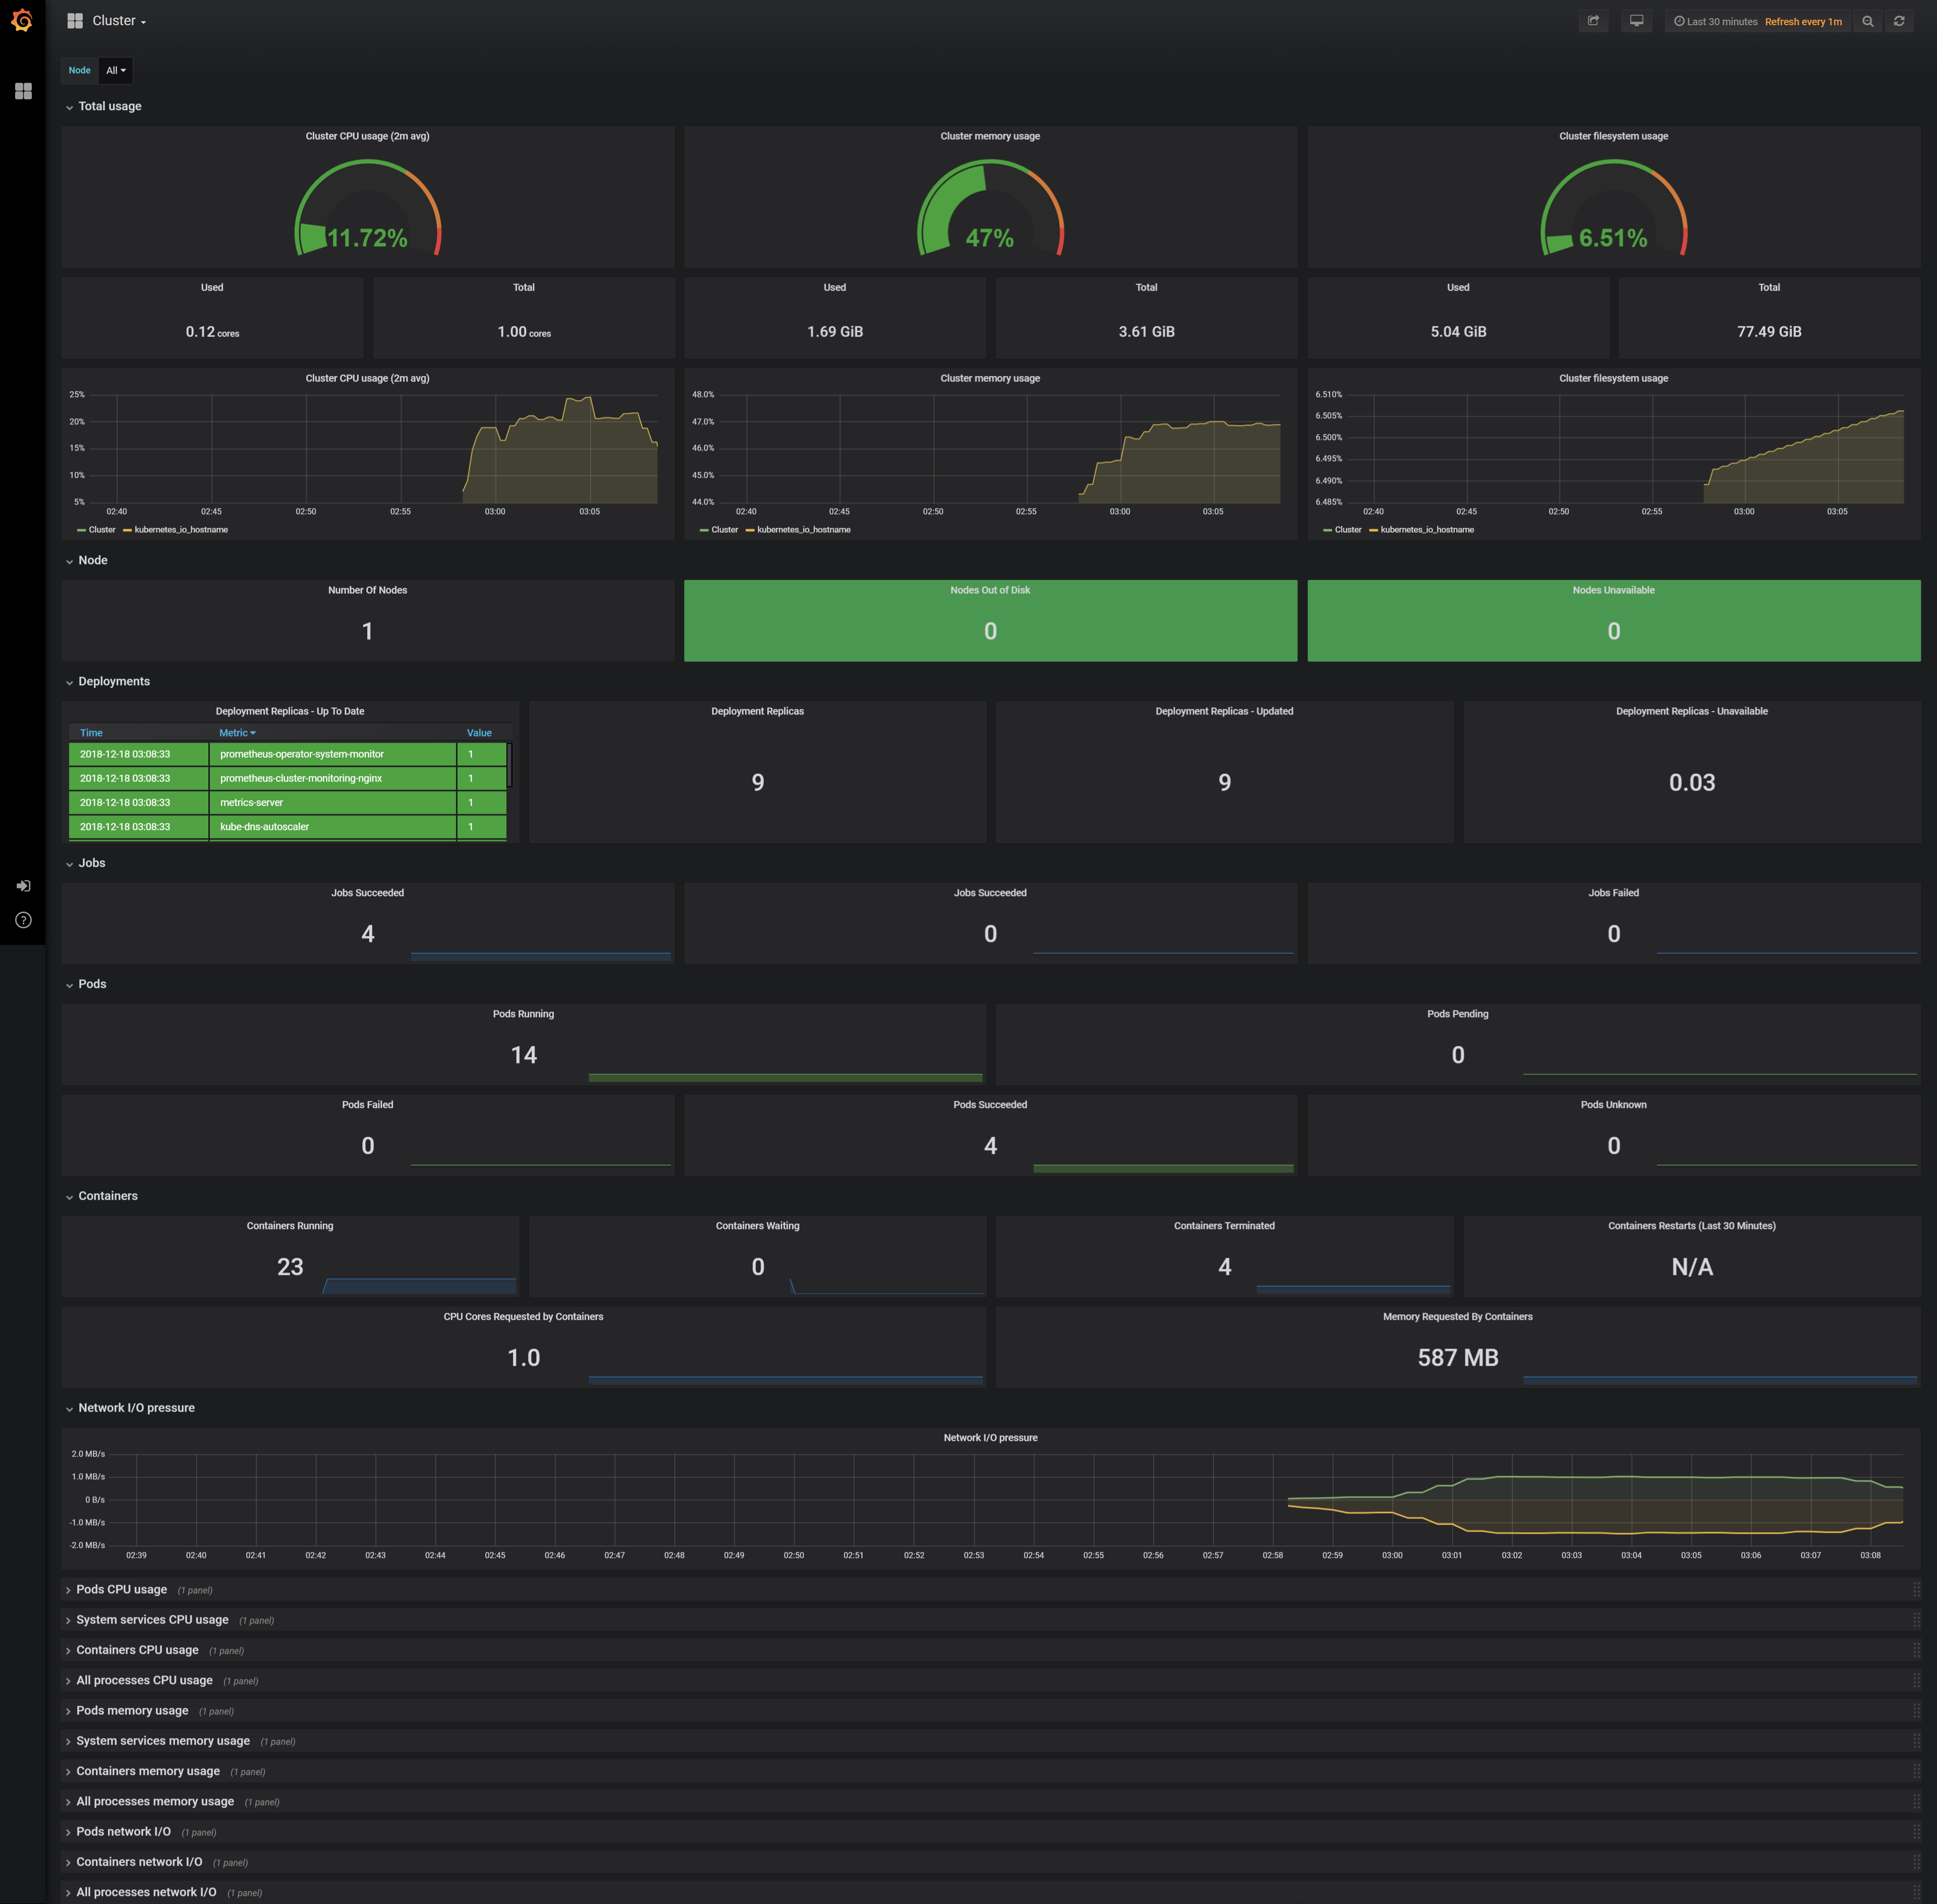
11.GrafanaアイコンをクリックするとGrafanaダッシュボードで確認可能
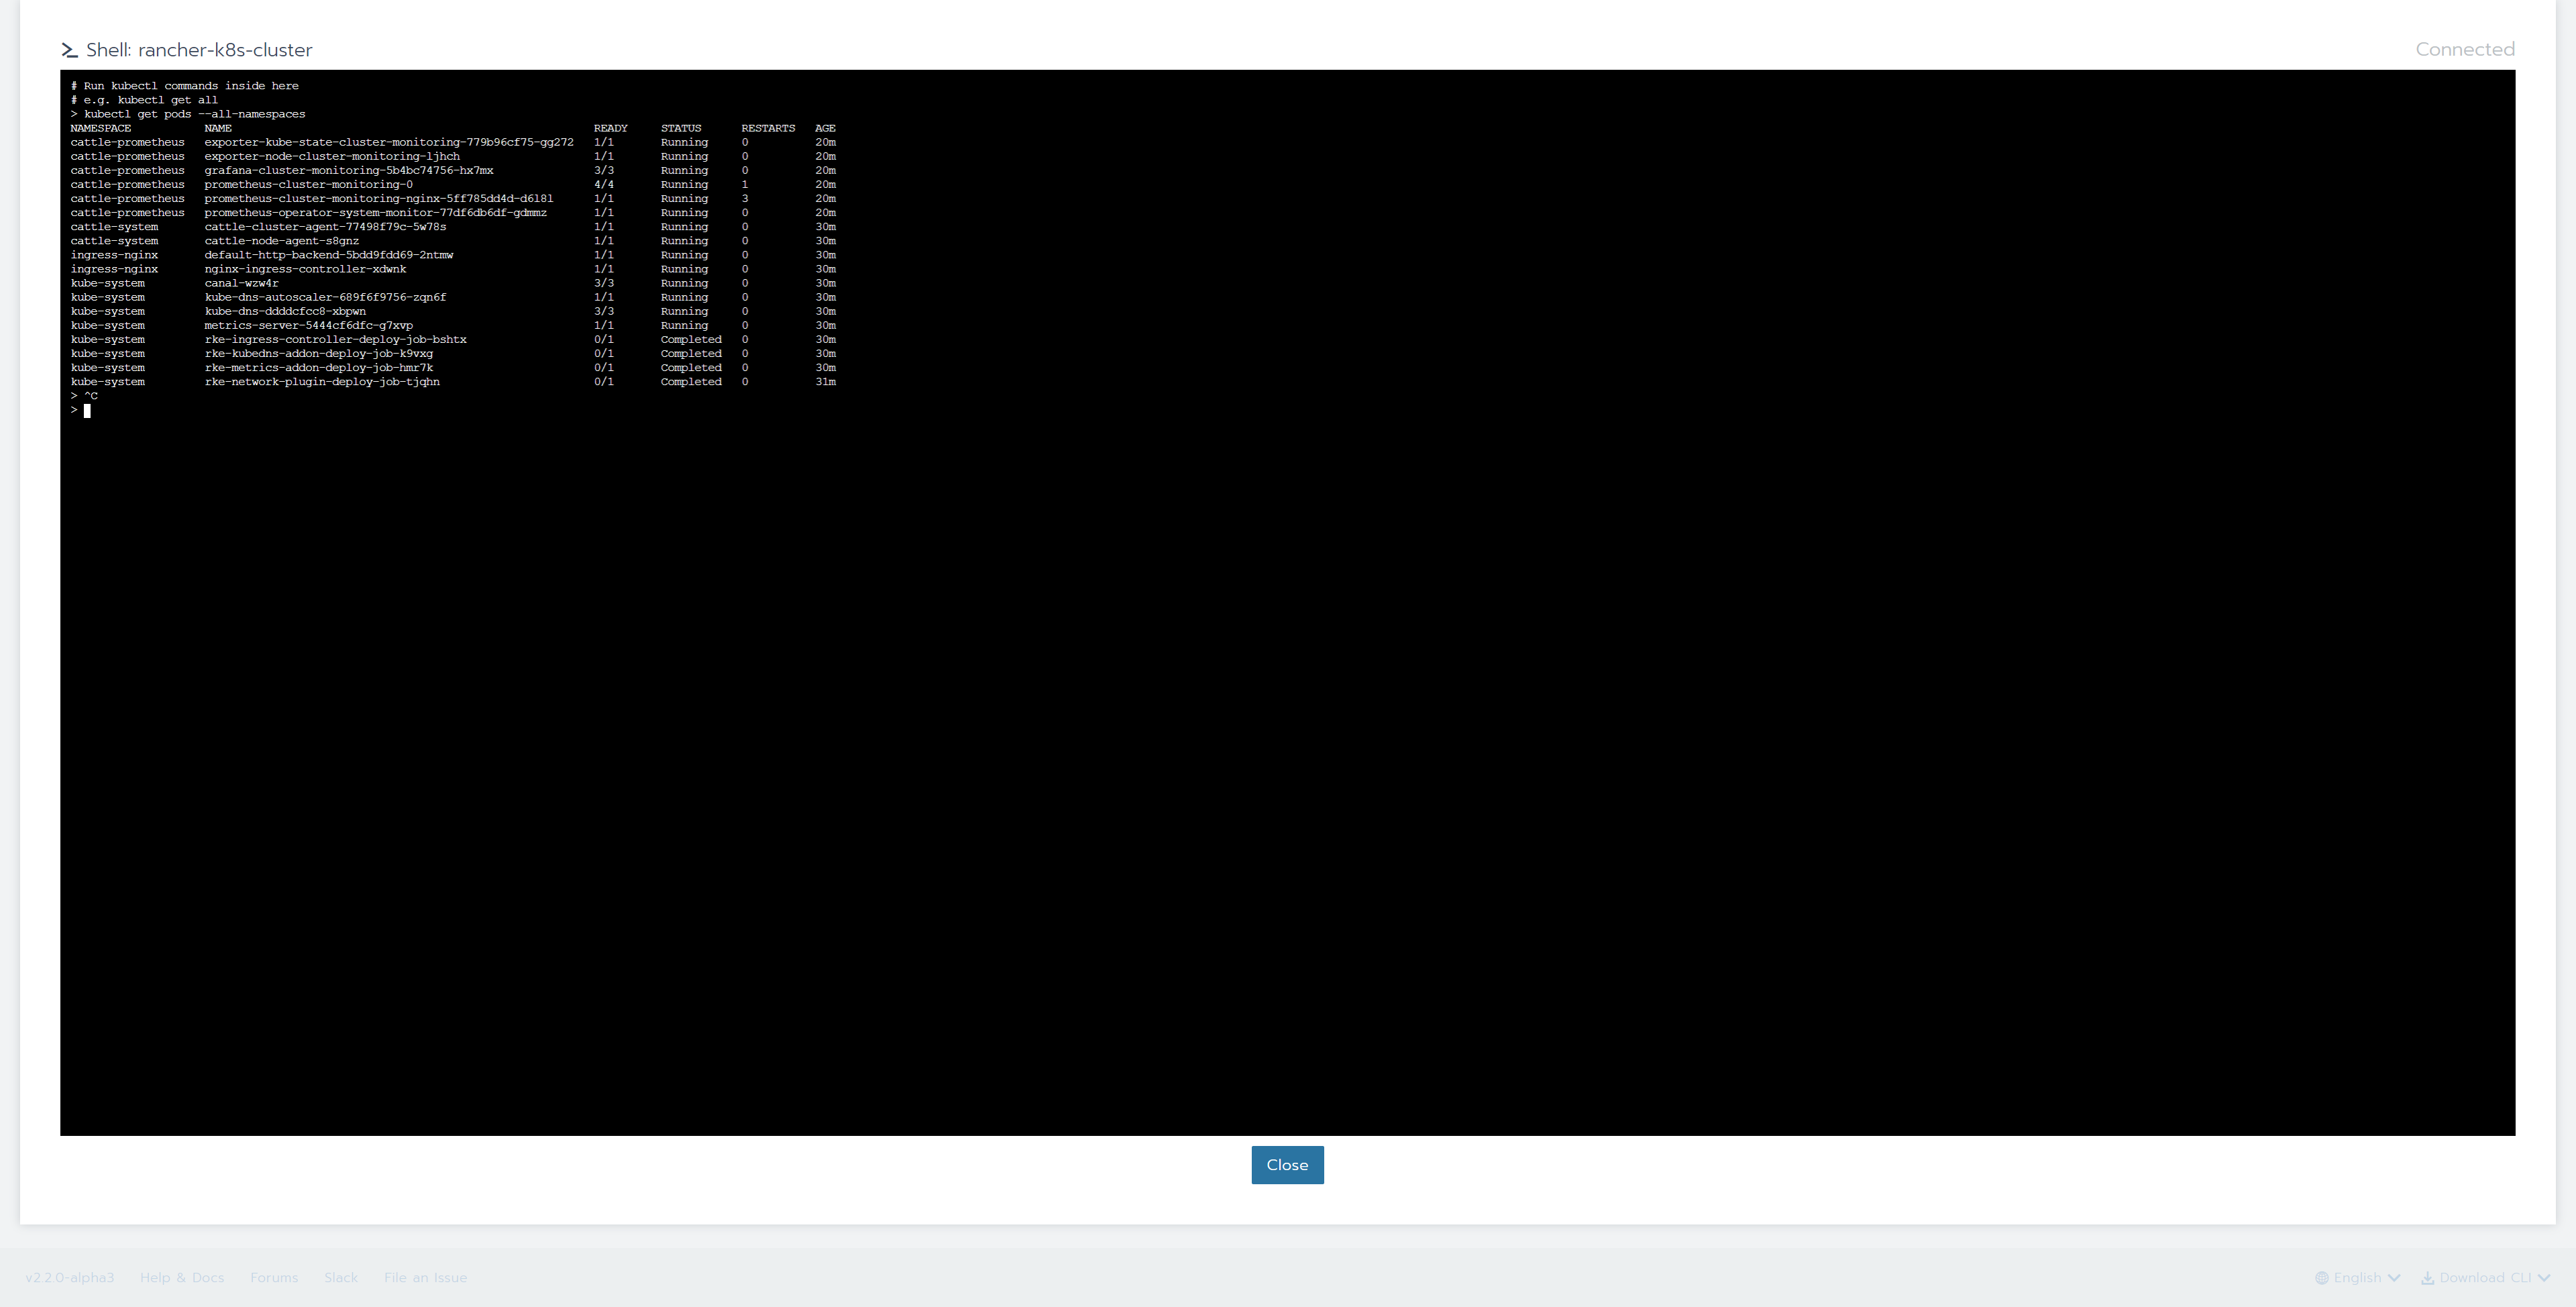
12.「Launch kubectl」ボタンを押下
13.「kubectl get pods --all-namespaces」を実行して、状況を確認
コマンド
# Run kubectl commands inside here
# e.g. kubectl get all
> kubectl get pods --all-namespaces
NAMESPACE           NAME                                                      READY     STATUS      RESTARTS   AGE
cattle-prometheus   exporter-kube-state-cluster-monitoring-779b96cf75-gg272   1/1       Running     0          20m
cattle-prometheus   exporter-node-cluster-monitoring-ljhch                    1/1       Running     0          20m
cattle-prometheus   grafana-cluster-monitoring-5b4bc74756-hx7mx               3/3       Running     0          20m
cattle-prometheus   prometheus-cluster-monitoring-0                           4/4       Running     1          20m
cattle-prometheus   prometheus-cluster-monitoring-nginx-5ff785dd4d-d6l8l      1/1       Running     3          20m
cattle-prometheus   prometheus-operator-system-monitor-77df6db6df-gdmmz       1/1       Running     0          20m
cattle-system       cattle-cluster-agent-77498f79c-5w78s                      1/1       Running     0          30m
cattle-system       cattle-node-agent-s8gnz                                   1/1       Running     0          30m
ingress-nginx       default-http-backend-5bdd9fdd69-2ntmw                     1/1       Running     0          30m
ingress-nginx       nginx-ingress-controller-xdwnk                            1/1       Running     0          30m
kube-system         canal-wzw4r                                               3/3       Running     0          30m
kube-system         kube-dns-autoscaler-689f6f9756-zqn6f                      1/1       Running     0          30m
kube-system         kube-dns-ddddcfcc8-xbpwn                                  3/3       Running     0          30m
kube-system         metrics-server-5444cf6dfc-g7xvp                           1/1       Running     0          30m
kube-system         rke-ingress-controller-deploy-job-bshtx                   0/1       Completed   0          30m
kube-system         rke-kubedns-addon-deploy-job-k9vxg                        0/1       Completed   0          30m
kube-system         rke-metrics-addon-deploy-job-hmr7k                        0/1       Completed   0          30m
kube-system         rke-network-plugin-deploy-job-tjqhn                       0/1       Completed   0          31m

