2021/10/25 追記
本記事内のFirebaseはv8です。
v9だと動作しないのでご注意ください。
の個人用メモです。データのPOSTとGET、ファイルのアップロードと読み取りが目標です。Vue.jsのバージョンは2.xで、Vuetify使用しています。
開発環境
- node.js : v12.18.3
- vue-cli : 4.5.10
- yarn : 1.22.10
Firebaseのプロジェクトの作成+α
- コンソールからプロジェクトを作成
- アプリの追加→ウェブからアプリの追加
- Firestore DatabaseからDBを作成(ロケーションはasia-northeast1を選択)
- Storageの読み取り書き込み権限の変更しておく
必要なデータは後で用意します。
VueプロジェクトのFirebaseのセットアップ
まずは諸々追加。
yarn add firebase vuefire@next @vue/composition-api
srcディレクトリ直下にpluginsディレクトリを作成し、以下2ファイルを追加。
2021/10/25 追記
もし何らかの事情でFirebaseをバージョンアップして困っている場合は、firebase.jsのimportのディレクトリを'firebase/compat/*'に変更してください。
import Vue from 'vue';
import firebase from 'firebase/app';
import 'firebase/firestore';
import 'firebase/storage';
import { firestorePlugin } from 'vuefire';

Vue.use(firestorePlugin);

const firebaseApp = firebase.initializeApp({
  apiKey: process.env.VUE_APP_API_KEY,
  authDomain: process.env.VUE_APP_AUTH_DOMAIN,
  projectId: process.env.VUE_APP_PROJECT_ID,
  storageBucket: process.env.VUE_APP_STORAGE_BUCKET,
  messagingSenderId: process.env.VUE_APP_MESSAGING_SENDER_ID,
  appId: process.env.VUE_APP_APP_ID,
});

export const db = firebaseApp.firestore();

export default firebase;
import firebase from '@/plugins/firebase';

export const storage = firebase.storage();
FirebaseのApiKey等はプロジェクトの設定から確認。
このApiKey等は公開してしまっても大丈夫だけど、嫌なら.envファイルをディレクトリ直下に作成し、環境変数を使ってアクセス。
VUE_APP_API_KEY="<MY-API-KEY>"
VUE_APP_AUTH_DOMAIN="<MY-AUTH-DOMAIN>"
VUE_APP_PROJECT_ID="<MY-PROJECT-ID>"
VUE_APP_STORAGE_BUCKET="<MY-STORAGE-BUCKET>"
VUE_APP_MESSAGING_SENDER_ID="<MY-MESSAGING_SENDER_ID>"
VUE_APP_APP_ID="<MY_APP_ID>"
main.jsに以下を追加。
import './plugins/firebase';
最後にStorageからAxiosで引っ張ってくるときのCORSの設定のために、Google Cloud SDKをインストーラからインストール。特に何もいじらないでおk。
インストール終了後ターミナルが開くので初期設定をする。開かない場合はgcloud initから。
プロジェクトのディレクトリ直下にcors.jsonを作成。
[
  {
    "origin": [
      "https://xxxxxxx.web.app",
      "https://xxxxxxx.firebaseapp.com",
      "http://localhost:8080",
      "http://localhost:5000"
    ],
    "responseHeader": ["*"],
    "method": ["GET"],
    "maxAgeSeconds": 3600
  }
]
ターミナルからプロジェクトのディレクトリに移動し、CORSの設定をデプロイ。gs://以下はStorage Bucketを指定する(Storageからコピペできる)(最初引っ張ってくる予定のファイルを直接指定していて上手くいかず小一時間詰まりました…)。
//デプロイ
gsutil cors set cors.json gs://xxxxxxx.appspot.com

//デプロイの確認
gsutil cors get gs://xxxxxxx.appspot.com
Firestore Databaseからデータの読み取り書き込み
以下のようなコレクション(テーブル)を作成します。
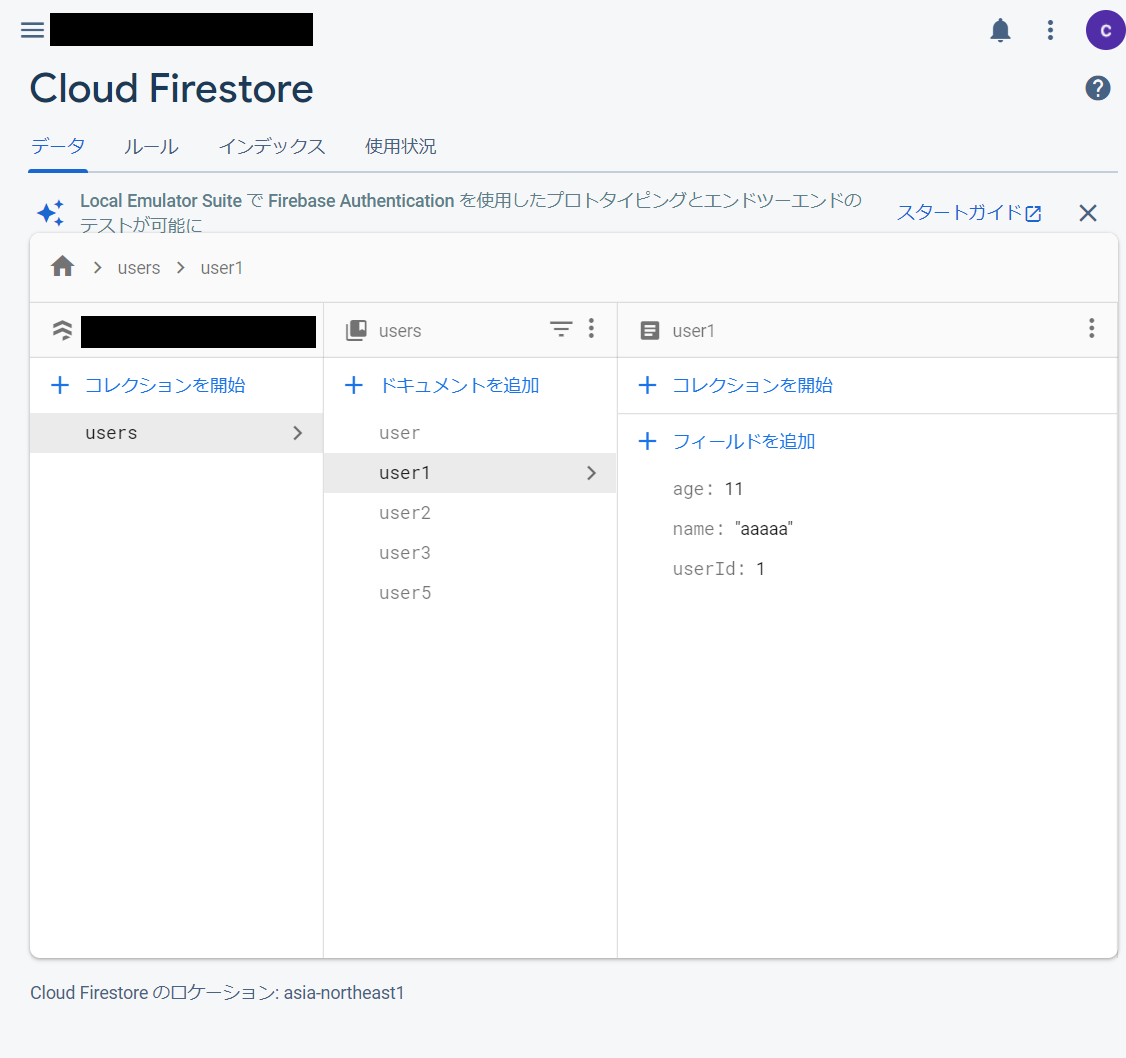
userドキュメントでuserの延べ人数を管理しています。
以下サンプルコードです。比較としてAxiosで直接取得する場合を併記。
<template>
  <v-container>
    <v-text-field v-model="name" label="name"></v-text-field>
    <v-text-field v-model.number="age" label="age"></v-text-field>
    <v-btn @click="postData">post</v-btn>
    <v-row>
      <v-col cols="6">
        <p>get with vuefire</p>
        <div v-for="i in firebase" :key="i.name">
          <p>name : {{ i.name }}</p>
          <p>age : {{ i.age }}</p>
        </div>
      </v-col>
      <v-col cols="6">
        <p>get with axios</p>
        <div v-for="i in axios" :key="i.name">
          <p>name : {{ i.fields.name.stringValue }}</p>
          <p>age : {{ i.fields.age.integerValue }}</p>
        </div>
      </v-col>
    </v-row>
  </v-container>
</template>

<script>
import { db } from '../plugins/firebase';

//エンドポイント
const URL =
  'https://firestore.googleapis.com/v1/projects/MY_PROJECT_ID/databases/(default)/documents/';

export default {
  data: () => ({
    firebase: [],
    usersNum: [],
    axios: [],
    //書き込む値
    name: '',
    age: '',
  }),
  //vuefireでの取得
  firestore() {
    return {
      firebase: db.collection('users').orderBy('userId'), //データの取得と並び替え
      usersNum: db.doc('users/user'), //userドキュメントの取得
    };
  },
  async created() {
    await this.getAxios();
  },
  methods: {
    //Axiosでの取得
    getAxios() {
      this.$axios.get(URL + 'users').then((response) => {
        this.axios = response.data.documents;
        this.axios.splice(0, 1); //userドキュメントの除外
      });
    },
    //データの書き込み
    postData() {
      let id = 0; //usersコレクションが無い場合のidの初期値
      this.usersNum ? (id = this.usersNum.totalNumber) : null;
      id++;
      //user情報書き込み
      db.collection('users')
        .doc(`user${id}`)
        .set({
          userId: id,
          name: this.name,
          age: this.age,
        })
        .then(() => {
          this.name = this.age = '';
        });
      //延べ人数更新
      db.collection('users').doc('user').set({ totalNumber: id });
    },
  },
};
</script>
リアルタイムでデータベースの値拾ってくるのすごい。
今回はコレクション作成のテストを兼ねたので延べ人数取得で面倒くさいことしているけども、適当なコレクション予め作っておく方が楽だと思います。
Storageへのアップロードとデータの読み取り
jsonファイルをアップロードし表示します。
ファイルの中身は以下のようになっています。
{
  "users": [
    { "userId": 1, "name": "foo", "age": 111 },
    { "userId": 2, "name": "bar", "age": 222 },
    { "userId": 3, "name": "baz", "age": 333 }
  ]
}
続いてサンプルコードです。
<template>
  <v-container>
    <v-progress-linear v-model="fileLoading" stream></v-progress-linear>
    <v-file-input v-model="inputFile" accept=".json"></v-file-input>
    <v-btn :disabled="!inputFile" @click="upload(inputFile)"> submit </v-btn>
    <div v-for="i in getFile" :key="i.userId" style="white-space: pre-line">
      <p>id : {{ i.userId }}</p>
      <p>name : {{ i.name }}</p>
      <p>age : {{ i.age }}</p>
    </div>
  </v-container>
</template>

<script>
import { storage } from '../plugins/storage';

export default {
  name: 'Storage',
  data: () => ({
    getFile: [],
    fileLoading: '',
    inputFile: null,
  }),
  async created() {
    await this.getStorage();
  },
  methods: {
    //ファイルのアップロード
    upload(file) {
      const storageRef = storage.ref(`assets/${file.name}`); //ファイルの参照
      const uploadTask = storageRef.put(file); //ファイルのアップロード
      //アップロードとその状況の監視
      uploadTask.on(
        'state_changed',
        //送信中
        (snapshot) => {
          const percentage =
            (snapshot.bytesTransferred / snapshot.totalBytes) * 100;
          this.fileLoading = percentage;
        },
        //エラー
        (error) => {
          console.log(error);
        },
        //完了
        () => {
          uploadTask.snapshot.ref
            .getDownloadURL()
            .then((url) => {
              this.fileLoading = 0; //v-progress-linerの初期化
              this.inputFile = null; //ファイル入力欄の初期化
              return this.$axios.get(url);
            })
            .then((response) => {
              const data = response.data;
              this.getFile = data.users;
            });
        }
      );
    },
    getStorage() {
      const file = storage.ref('assets/api.json'); //ファイルの参照
      file
        .getDownloadURL()
        .then((url) => {
          return this.$axios.get(url);
        })
        .then((response) => {
          const data = response.data;
          this.getFile = data.users;
        });
    },
  },
};
</script>
無事Storageへのアップロードと読み取りができたら完了!
読み取り後に何か処理をする場合は非同期処理にしましょう。
最後に
以下の記事を参考にさせていただきました。感謝!
Vue.js、Firebase、axiosでパパッと掲示板!
VueでFirestoreのSubscribe機能を使いたい時のアプローチ
Firebase Cloud Firestoreの使い方
Firebase StorageにCORSの設定をする
Firebase CloudStorageを使ってブログのサムネイルは画像を設定する【Vue.js】