概要
背景
画像CDN・ImageFlux 画像変換・配信エンジンのオリジン設定には「パスパラメータ」と呼ばれる機能が存在する。
今回はそれを用い、画像のURLを簡潔なものに置き換えることを試した。
成果
画像変換パラメータおよびパスプレフィックスを繰り返し記述することなく、パスパラメータで一元管理できるようにした。
設定
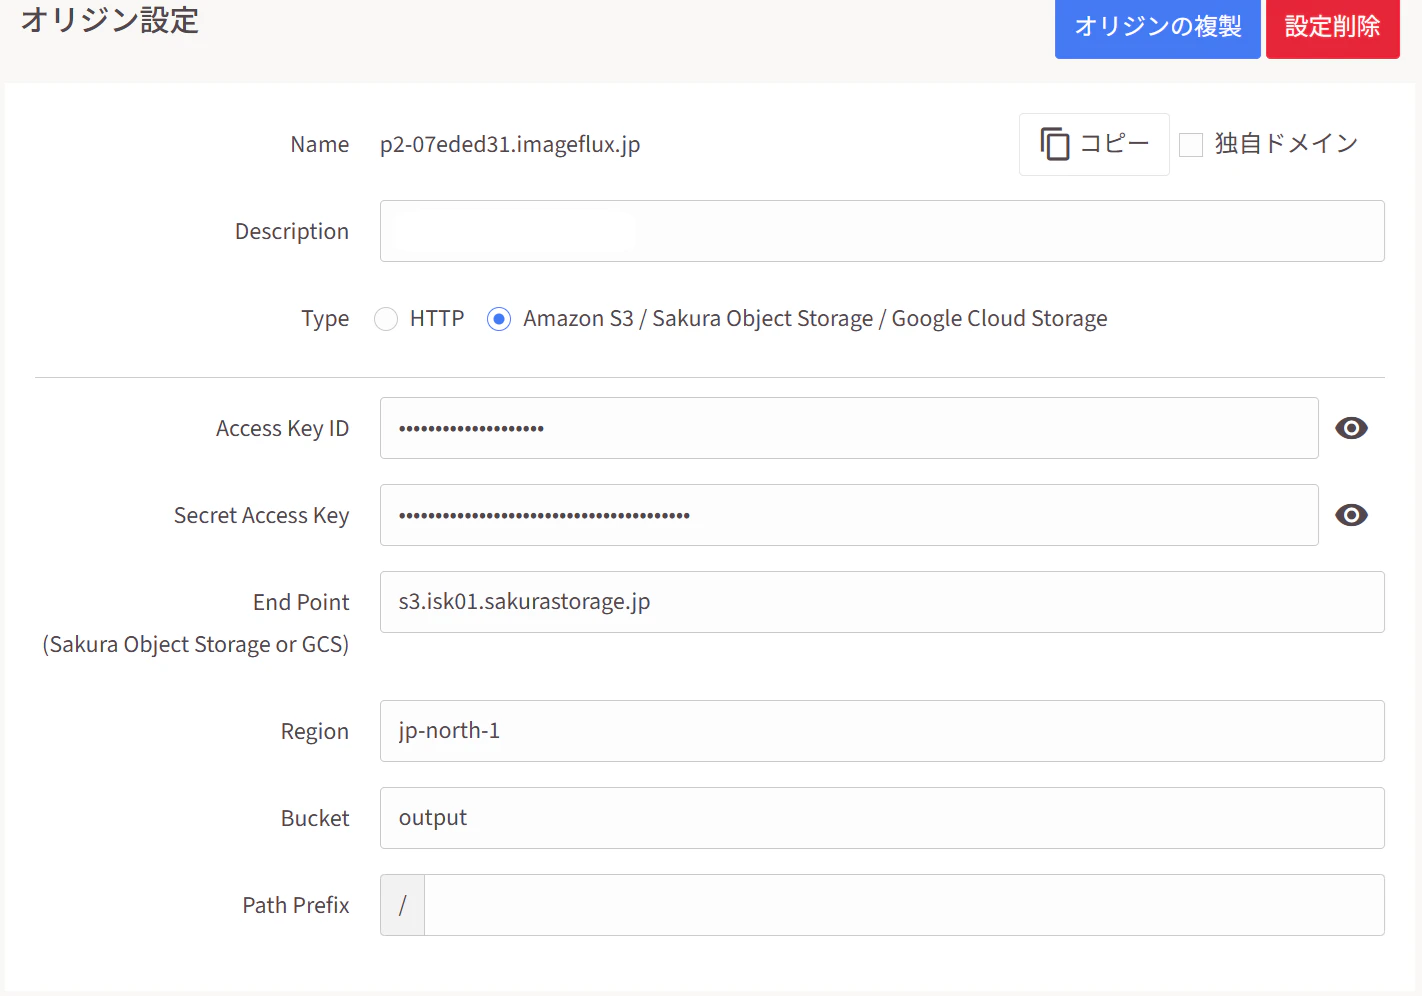
オリジン設定
今回はオリジンをオブジェクトストレージに設定するため、そのアクセス情報を入力する。
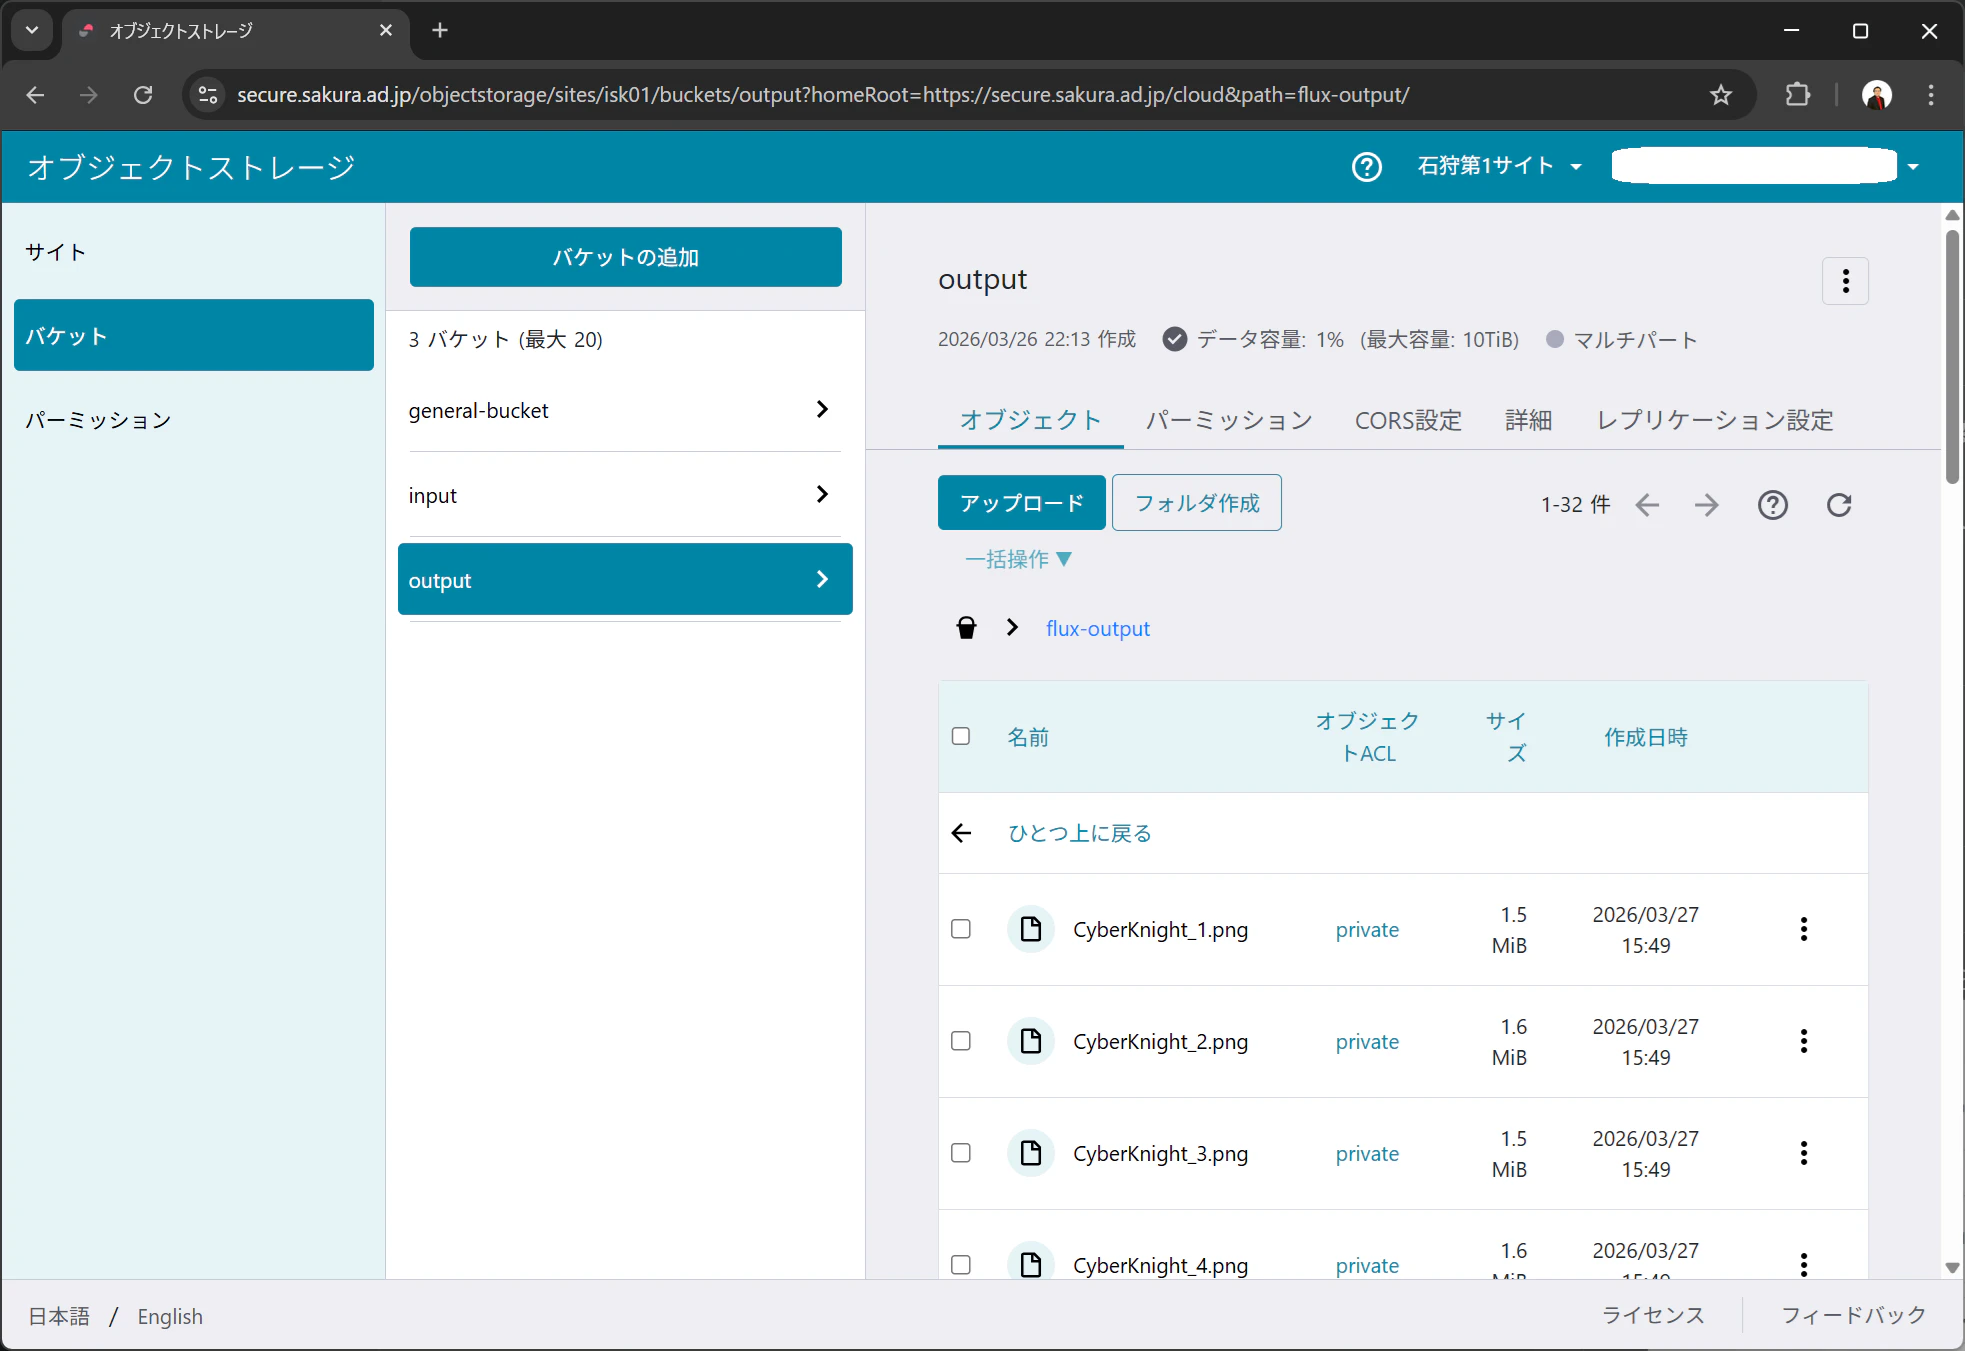
オブジェクトストレージのoutputバケットに、画像を格納する。今回の場合はoutputバケット配下にflux-outputというフォルダがあり、そこに配信用の画像が格納されている。
プレビュー
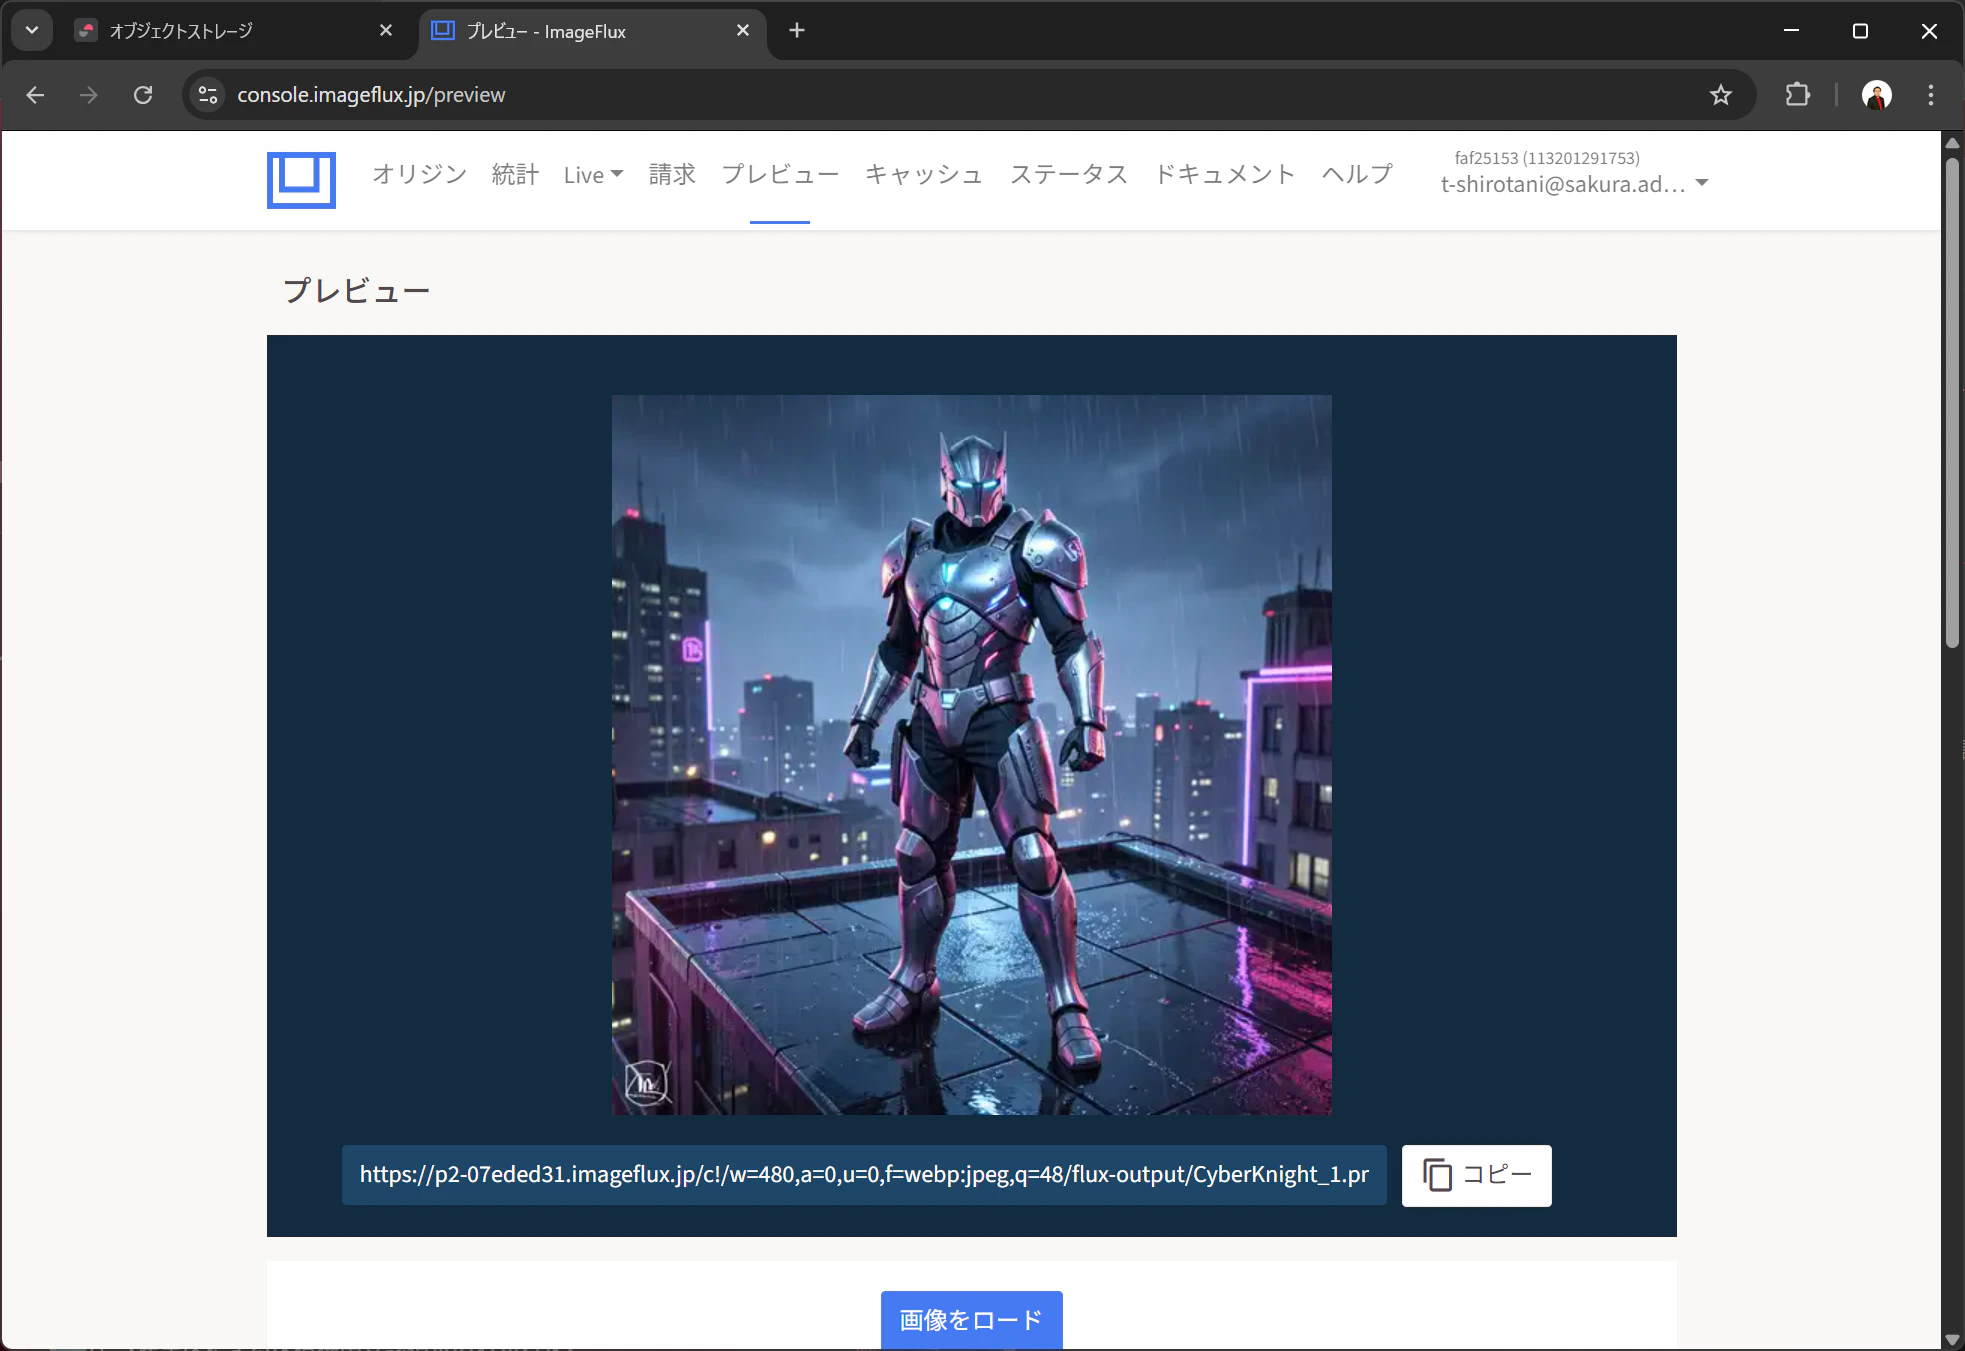
ImageFluxにおいては、通常、URLに横幅や親ディレクトリのパスを追加し、画像変換を行う。プレビュー画面でURLを作成してみると、以下のような形になる(480pxのWebPに変換する例)。
https://p2-07eded31.imageflux.jp/c!/w=480,a=0,u=0,f=webp:jpeg,q=48/flux-output/CyberKnight_1.png
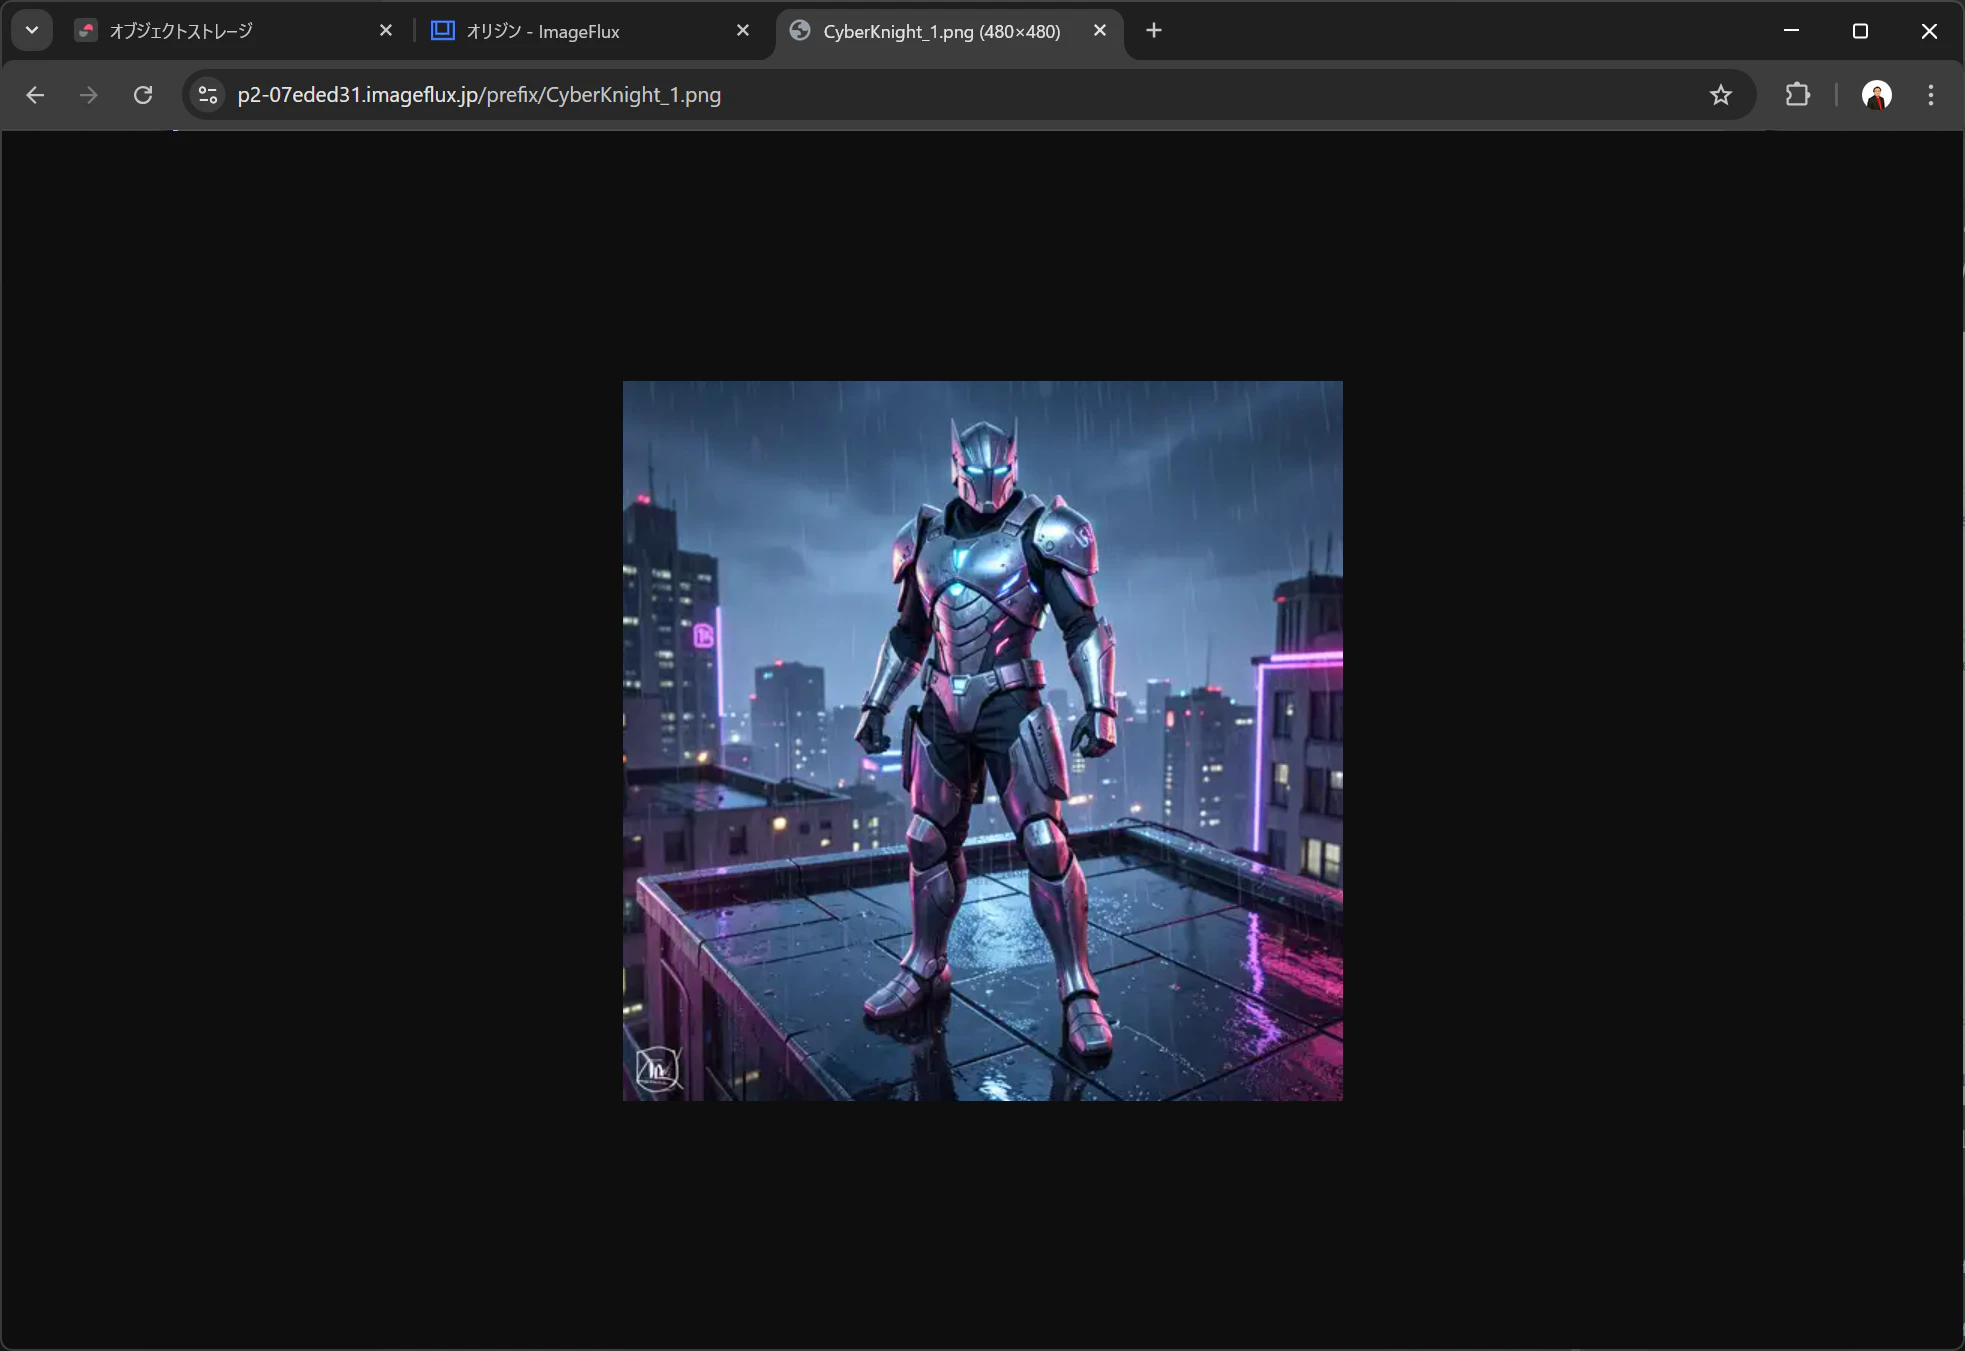
このままのURLでもよいのだが、パスパラメータを用いることでこうしたURLをドメイン/prefix/CyberKnight_1.pngという簡潔な形に置き換えることができる。
パスパラメータ設定
ここからが本番だ。
オリジン設定画面の最下部において、パスパラメータ設定を行う。
今回は、先ほどの480pxのWebPへの変換および親パスの設定を、Base Prefix1つで置き換えられるようにした。
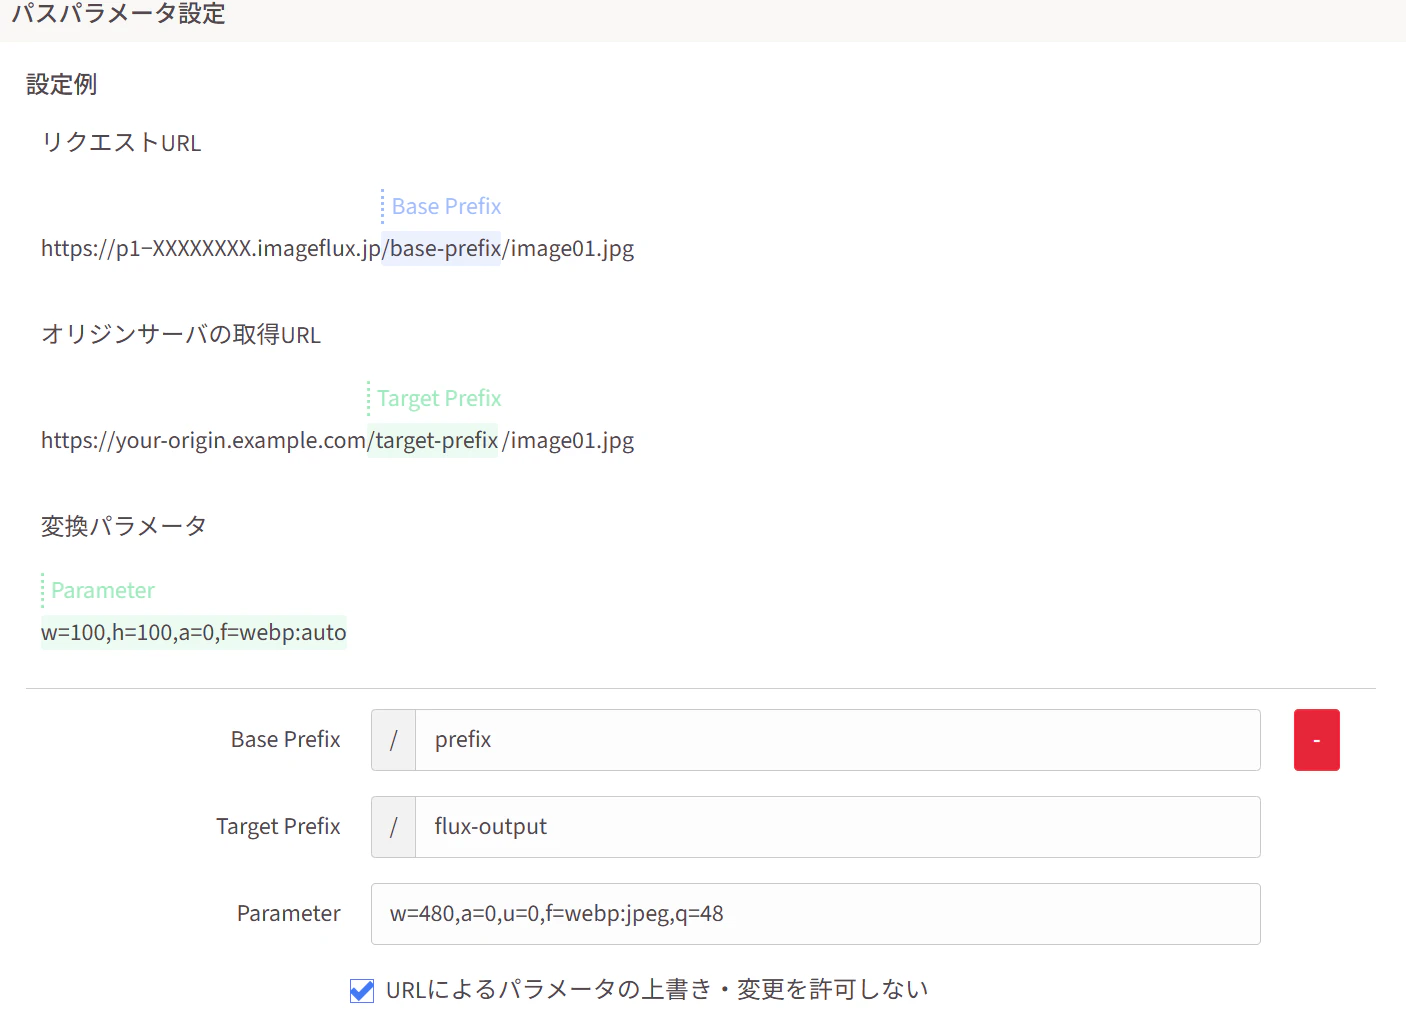
この設定を行うことで、URLを以下のように置換することができる。
// 置換前
https://p2-07eded31.imageflux.jp/c!/w=480,a=0,u=0,f=webp:jpeg,q=48/flux-output/CyberKnight_1.png
// 置換後
https://p2-07eded31.imageflux.jp/prefix/CyberKnight_1.png
実際にURLを叩いてみると、無事480pxのWebP画像が表示された。
応用
オリジナルの画像は1024pxである。
レスポンシブ対応を考え、以下のような仕様にしてみる。
- スマートフォンからのアクセスの場合、480px・WebPに変換する。
- タブレットからのアクセスの場合、720px・WebPに変換する。
- PCからのアクセスの場合は、WebP変換のみ行う。
対応して、以下のようなBase Prefixを設定する。
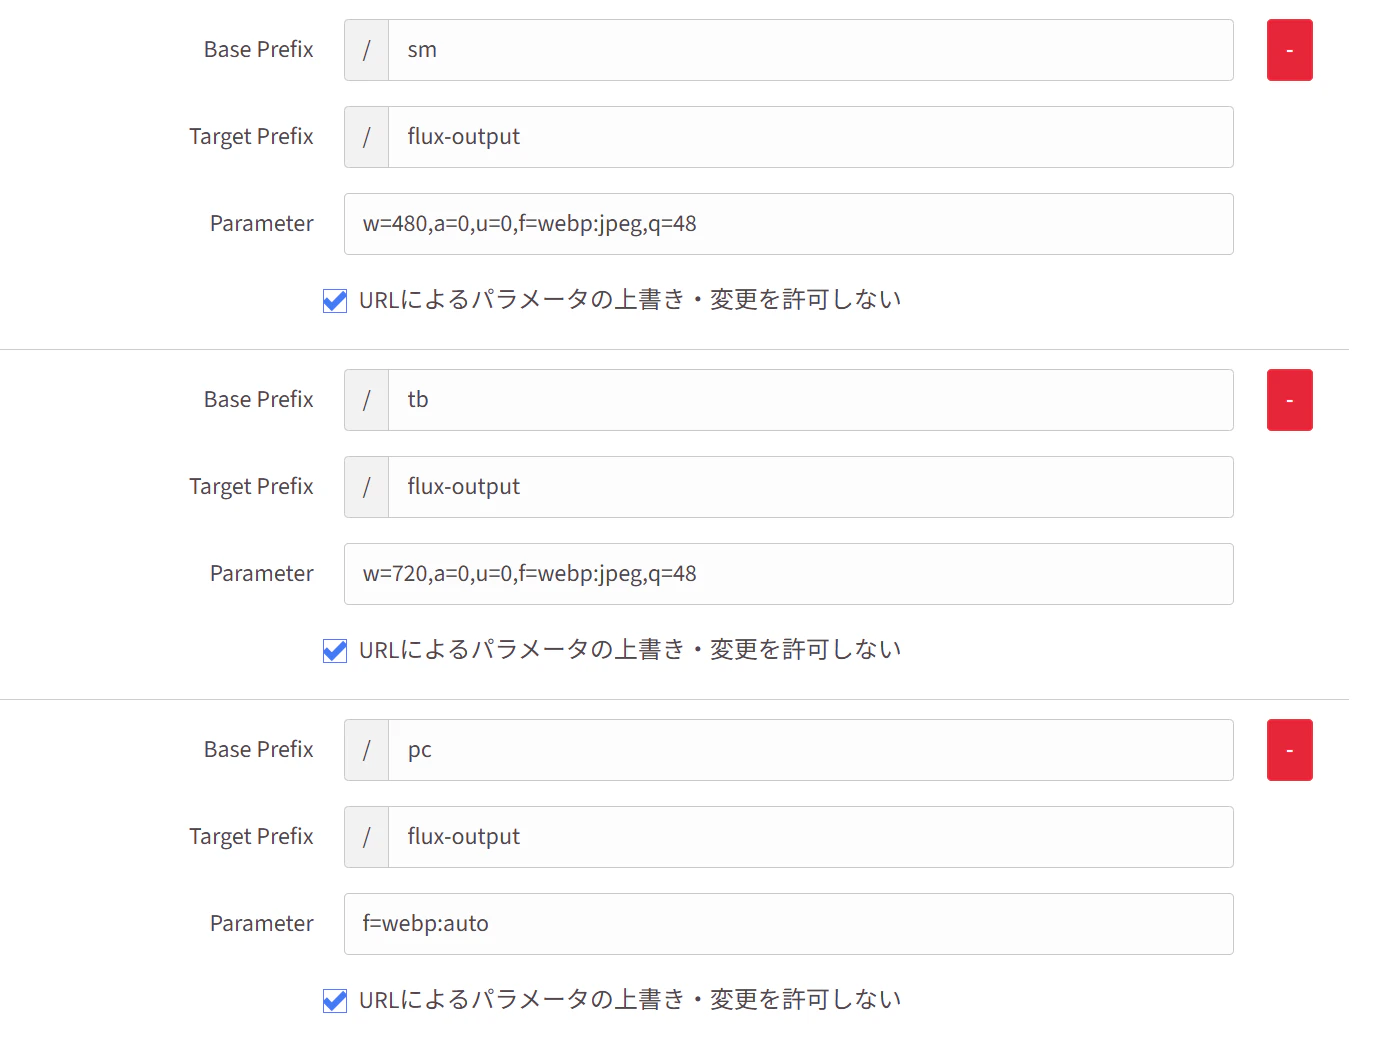
これで、/sm/画像ファイル名.jpgは常に同じパラメータで変換され、配信されるようになる。
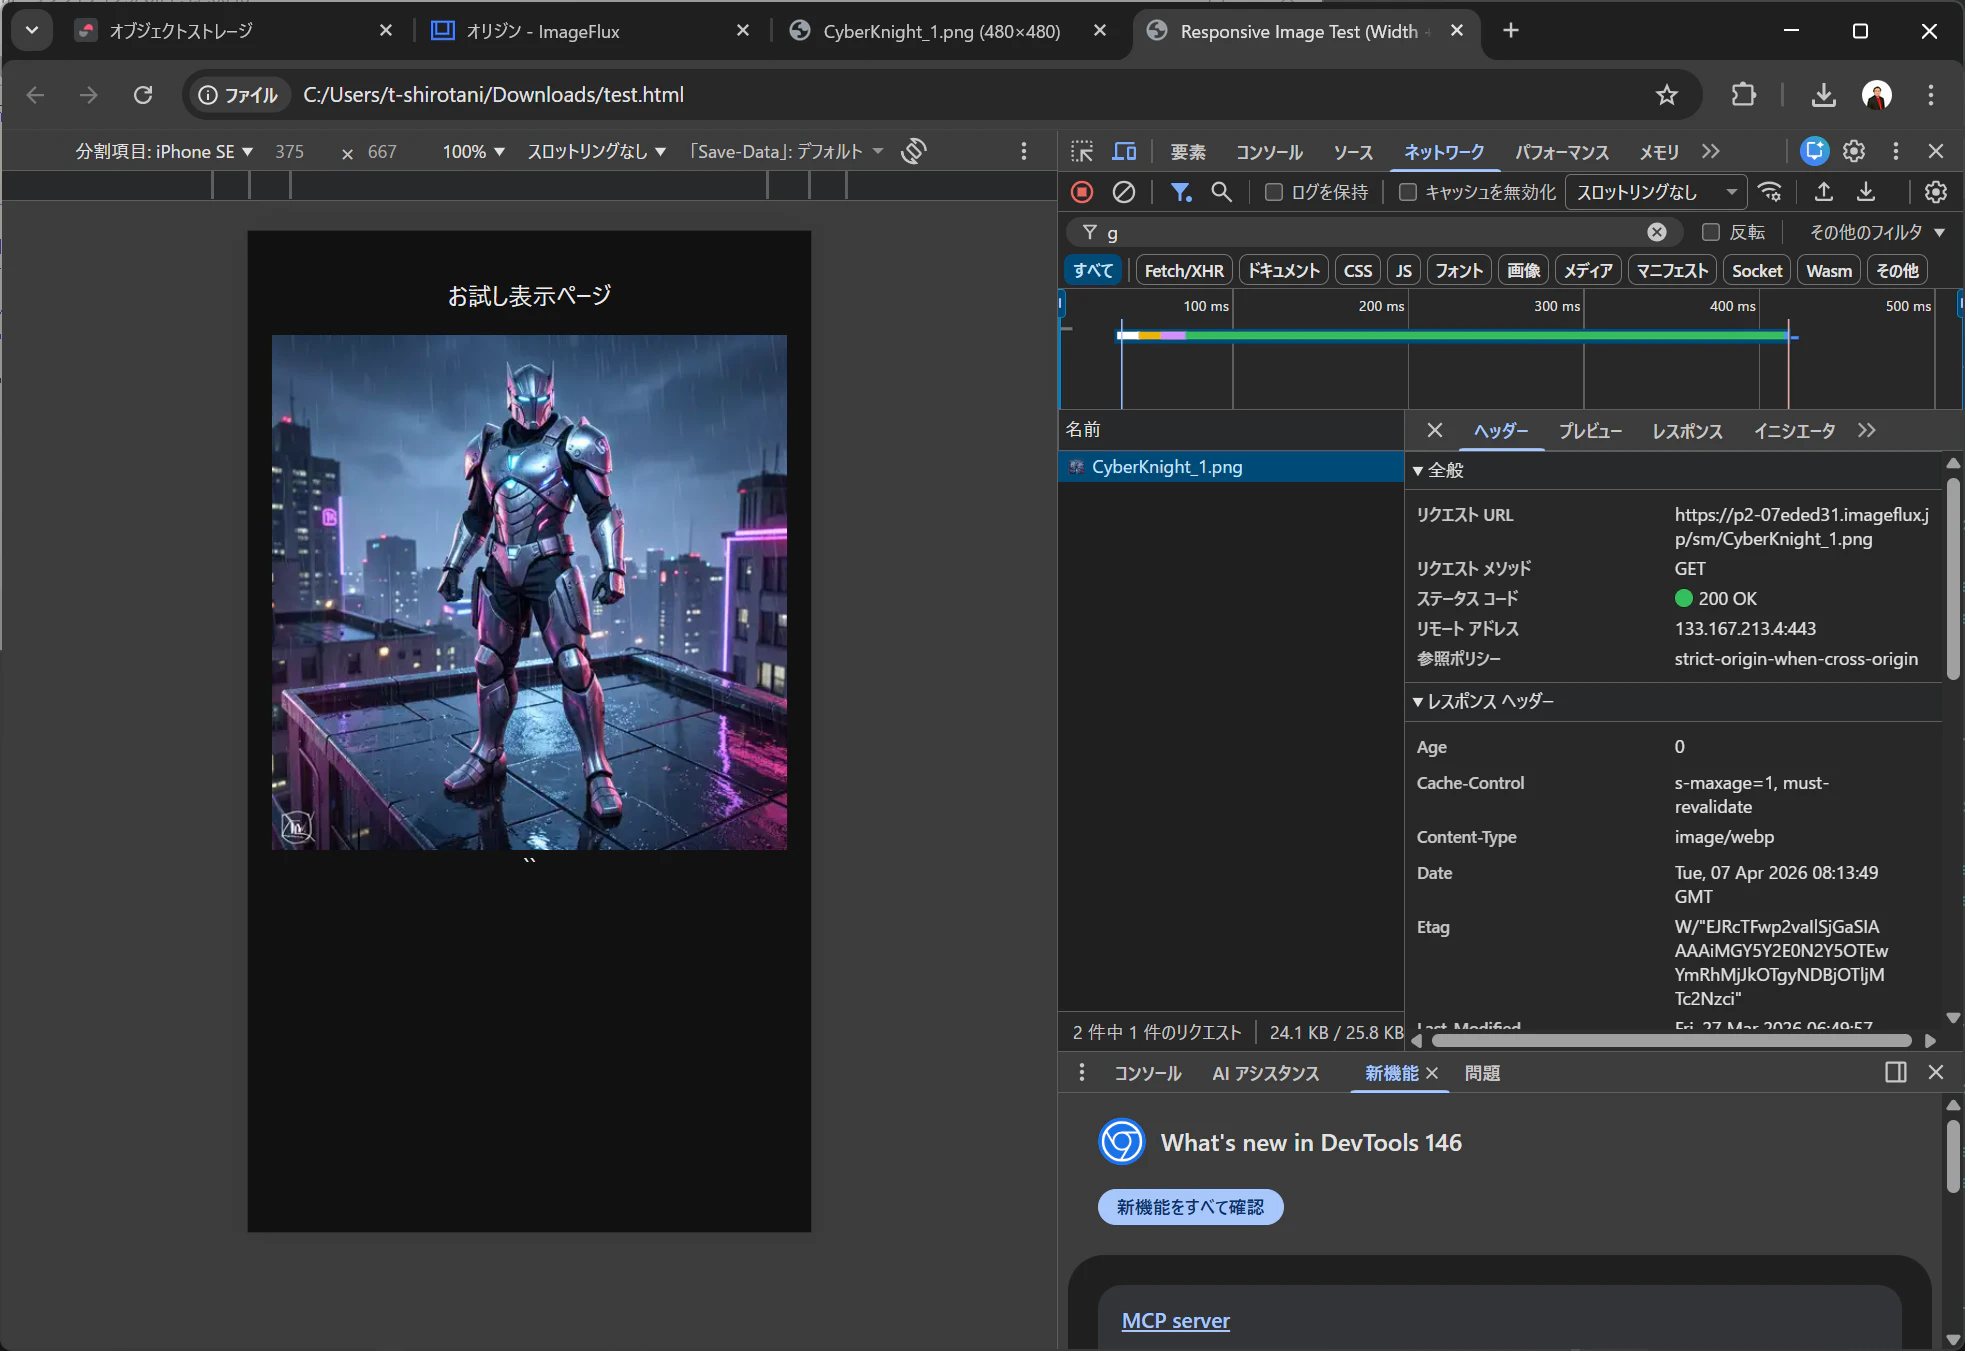
実際に、以下のような試験用のHTMLを記述し、ブラウザで試してみる。
srcsetを使うことで、画面幅に応じて読み込む画像URLを変更するものだ。
<!DOCTYPE html>
<html lang="ja">
<head>
  <meta charset="UTF-8">
  <title>Responsive Image Test (Width + DPR)</title>
  <meta name="viewport" content="width=device-width, initial-scale=1">

  <style>
    body {
      margin: 0;
      padding: 1rem;
      background: #111;
      color: #eee;
      font-family: system-ui, sans-serif;
      text-align: center;
    }

    .container {
      max-width: 1024px;
      margin: 0 auto;
    }

    img {
      width: 100%;
      height: auto;
      display: block;
    }
  </style>
</head>
<body>

  <div class="container">
    <p>お試し表示ページ</p>

    <picture>
      <!-- スマートフォン:~480px -->
      <source
        media="(max-width: 480px)"
        srcset="
          https://p2-07eded31.imageflux.jp/sm/CyberKnight_1.png 1x,
          https://p2-07eded31.imageflux.jp/sm/CyberKnight_1.png 2x
        "
      >

      <!-- タブレット:481~720px -->
      <source
        media="(max-width: 720px)"
        srcset="
          https://p2-07eded31.imageflux.jp/tb/CyberKnight_1.png 1x,
          https://p2-07eded31.imageflux.jp/tb/CyberKnight_1.png 2x
        "
      >

      <!-- PC:720px~ -->
      <source
        media="(min-width: 720px)"
        srcset="
          https://p2-07eded31.imageflux.jp/pc/CyberKnight_1.png 1x,
          https://p2-07eded31.imageflux.jp/pc/CyberKnight_1.png 2x
        "
      >

      <!-- フォールバック -->
      <img
        src="https://p2-07eded31.imageflux.jp/pc/CyberKnight_1.png"
        alt="CyberKnight"
      >
    </picture>
  </div>

</body>
</html>
iPhone SE設定では、/smの画像が表示され、
大画面では/pcの画像が表示される。
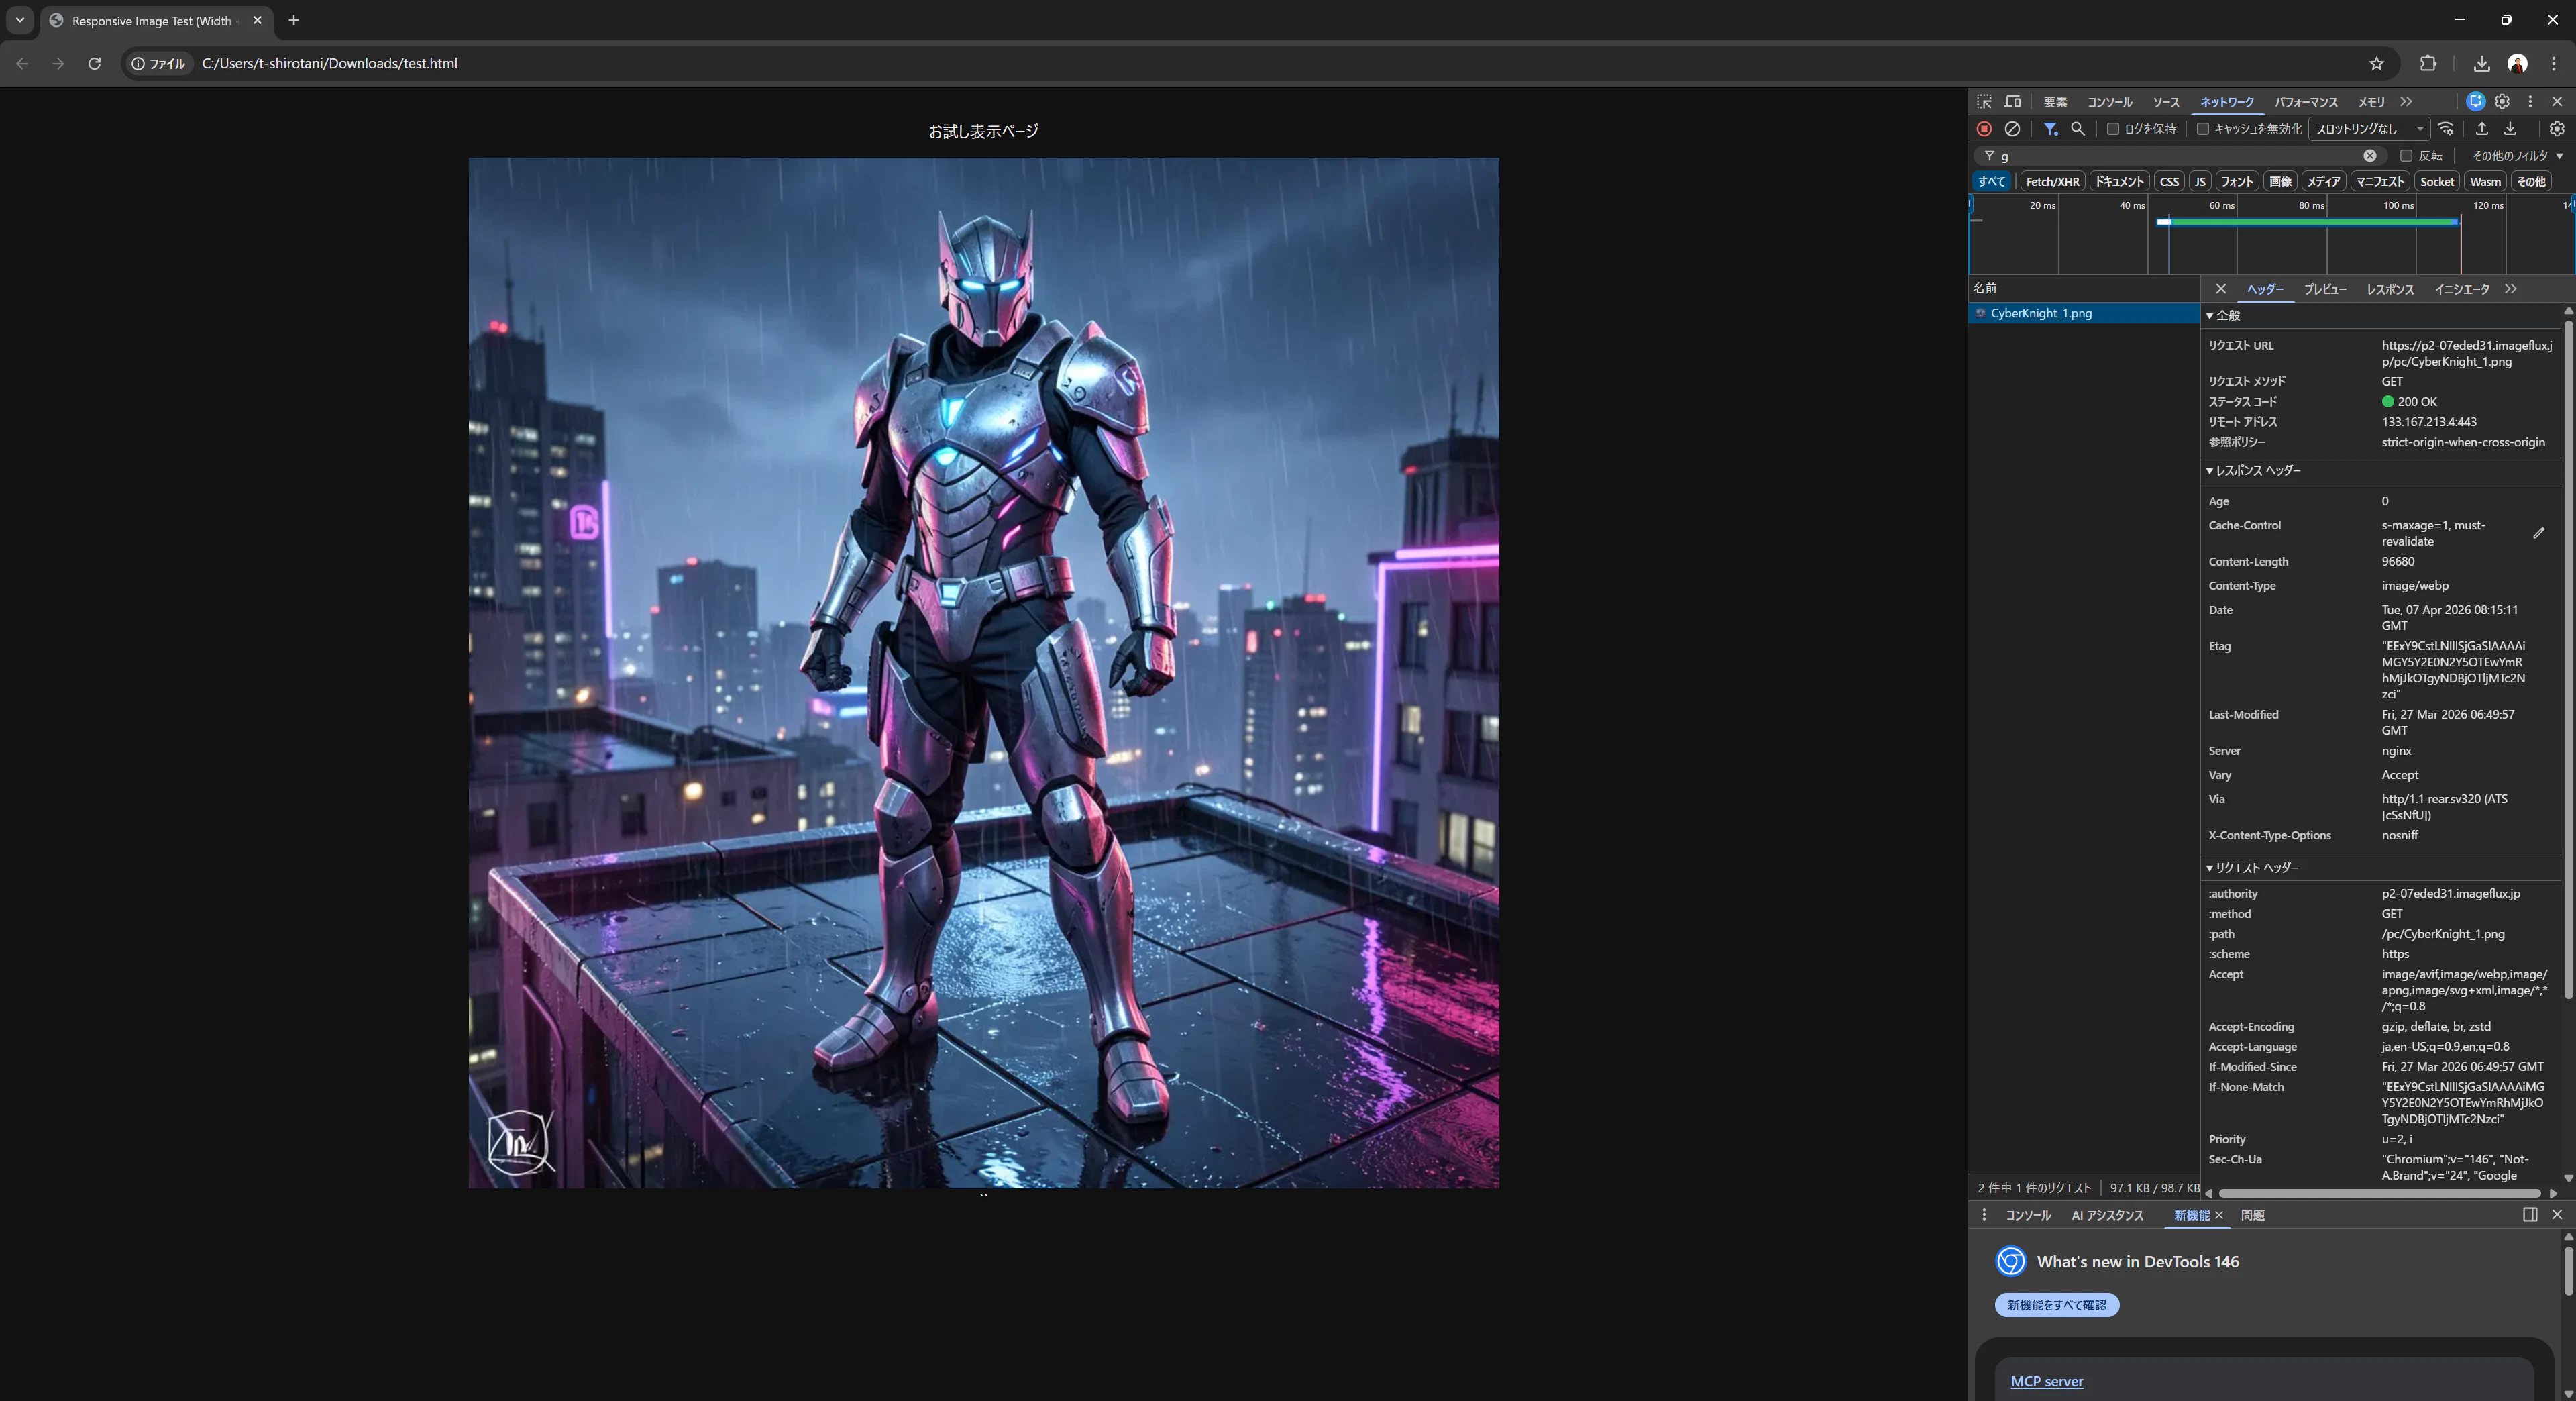
問題なく動作していることがわかる。
まとめ
今回はImageFluxのパスパラメータ機能を用いて、画像変換パラメータと画像ファイルまでのパス記述の簡略化を行ってみた。
パラメータの使いまわしを一元管理したい方、単純にURLをきれいにしたい方などにぜひ試してみて欲しい。