Speeduinoを動かしてみる
前回記事 (1)概要
まずは、動かしてみます。
用意するもの
- Arduino Mega 2560マイコンボード(互換ボード)
インストール
-
Speeduino ソースコード
GitHubから、Speeduinoのプロジェクトファイル一式をダウンロードします。ここでは、2018-10リリースのソースコードを使用しています。
ソースコードのビルド
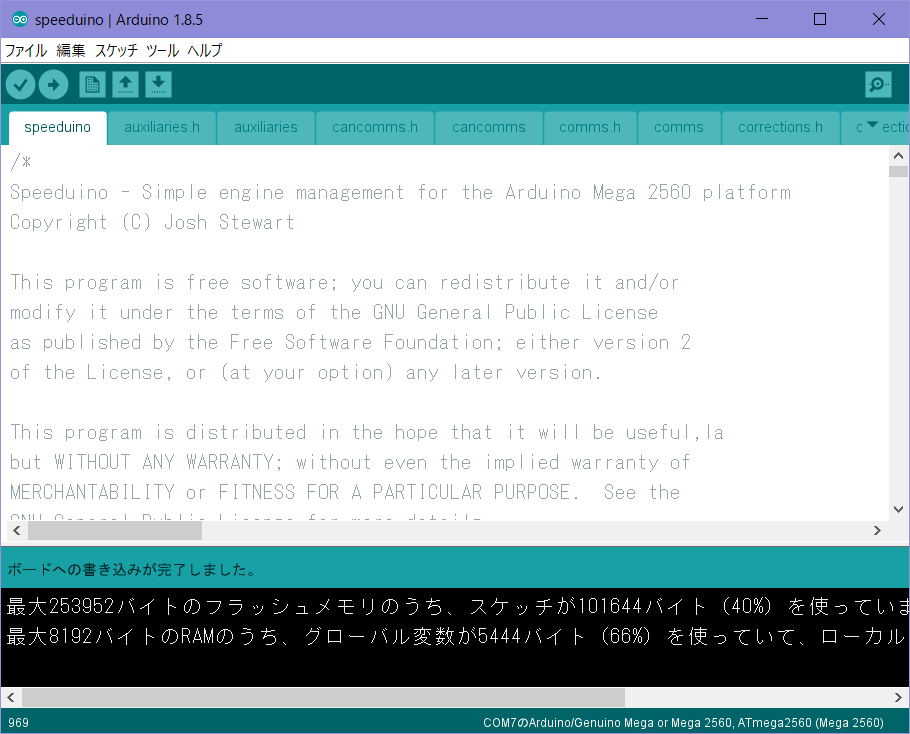
- Arduino IDEを起動し、speeduino/speeduino.inoを開く
- ツール→ボード:Arduino/Genuino Mega or Mega2560
- ツール:シリアルポートを設定
- →ボタンを押し、ビルド
Tuner studioの初期設定
- Tuner studioを起動
- Create New Projectをクリック、Other/Browseをクリックし、reference/speeduino.iniを選択し、Nextをクリック
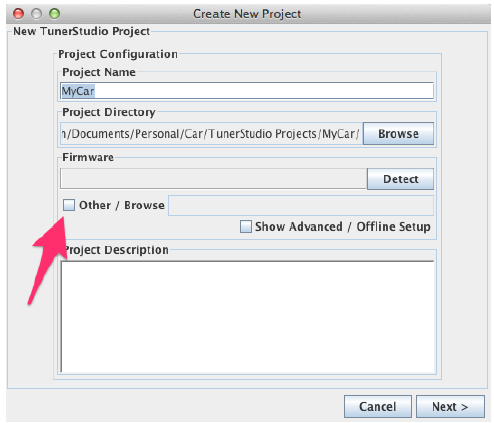
3. Nextをクリック
4. Com portを選択し、Baud Rate:115200に設定、Nextをクリック
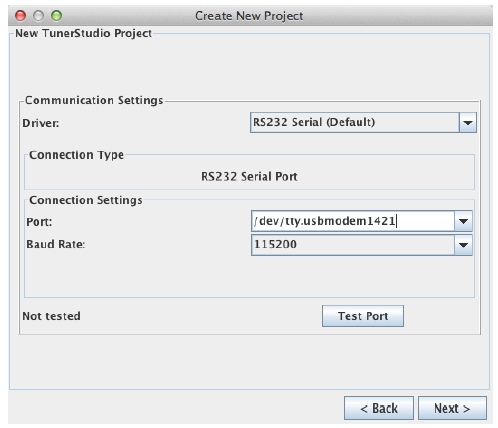
5.さらに、Nextをクリックし、設定を終了。
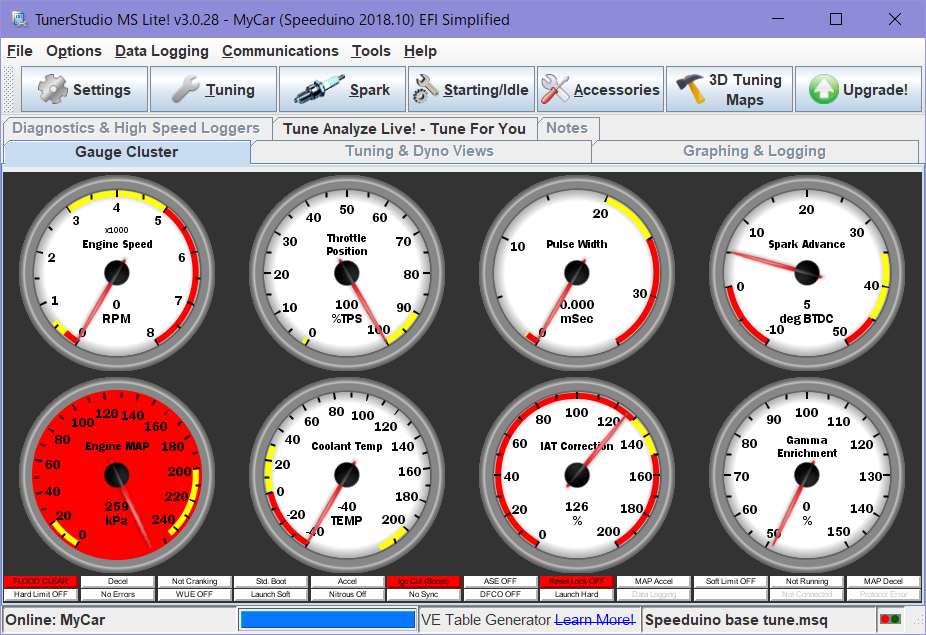
6.Tuner Studioがオンライン状態となり、計器類が表示されます。
セッティングデータ書き込み
メニュー:File>Load Tune(msq)より、reference/Base Tunes/Speeduino base tune.msqを読込みます。
EEPROMにデータが書き込まれます。
簡単な動作確認
-
この段階では、回転数(RPM)はゼロのままです。
回転数を変化させるには、クランク角センサのパルス信号を入力する必要があります。 -
右下のInlet Air Temp、Coolant Temp、 Gamma Enrichmentの針がわずかに動いています。
-
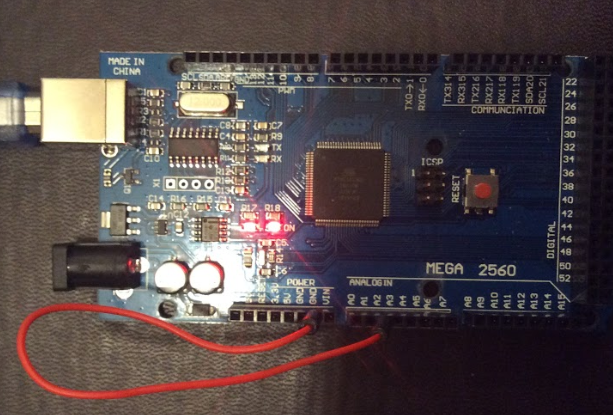
Throttle Positionは最初100%ですが、ArduinoのA2ピンとGNDを接続すると0%に変化します。A2ピンのA/D値0-5[V]で、スロットルポジションセンサ値0-100[%]の値をとることが分かります。
-
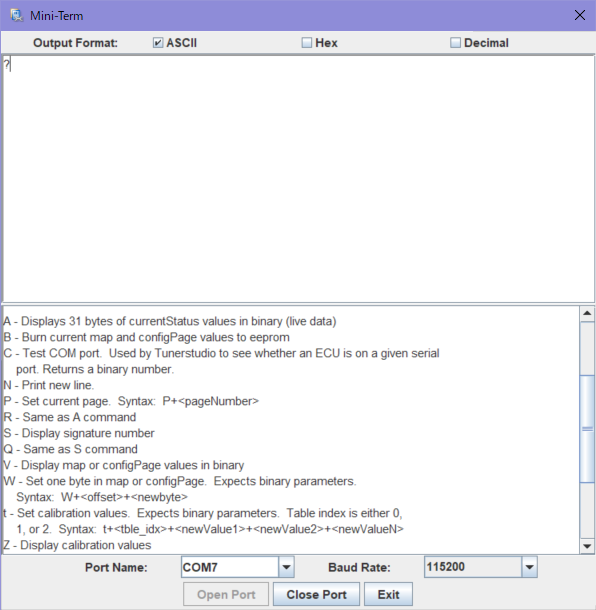
メニューのCommunications→Mini Terminalでシリアル通信モードに入ります。?を入力するとコマンドメニューが表示されます。EEPROMに記録されているデータを読みだしたりすることができます。
最後に
とりあえず、Speeduinoの簡単な動作確認ができましたが、まだECUがエンジンの回転を認識していません。次は、クランク角センサの信号を入力するところにトライしたいと思います。
