一つ前の記事で赤外線リモコンを作ったので
M5StickCで赤外線リモコンを作ろう - Qiita
https://qiita.com/coppercele/items/ed91646944ca28ff0c07
EspAlexaを使ってAlexaから操作できるようにします
M5StickCと書いてありますがESP32 Dev kit,M5Stack,Atom liteなどでも大丈夫です
ちなみにESP32をAlexa対応させるライブラリは
・esp8266-alexa-wemo-emulator
・fauxmoESP
・EspAlexa
といろいろあるのですが、全てを渡り歩いた結果EspAlexaに落ち着きました
ライブラリマネージャから EspAlexaをインストールします
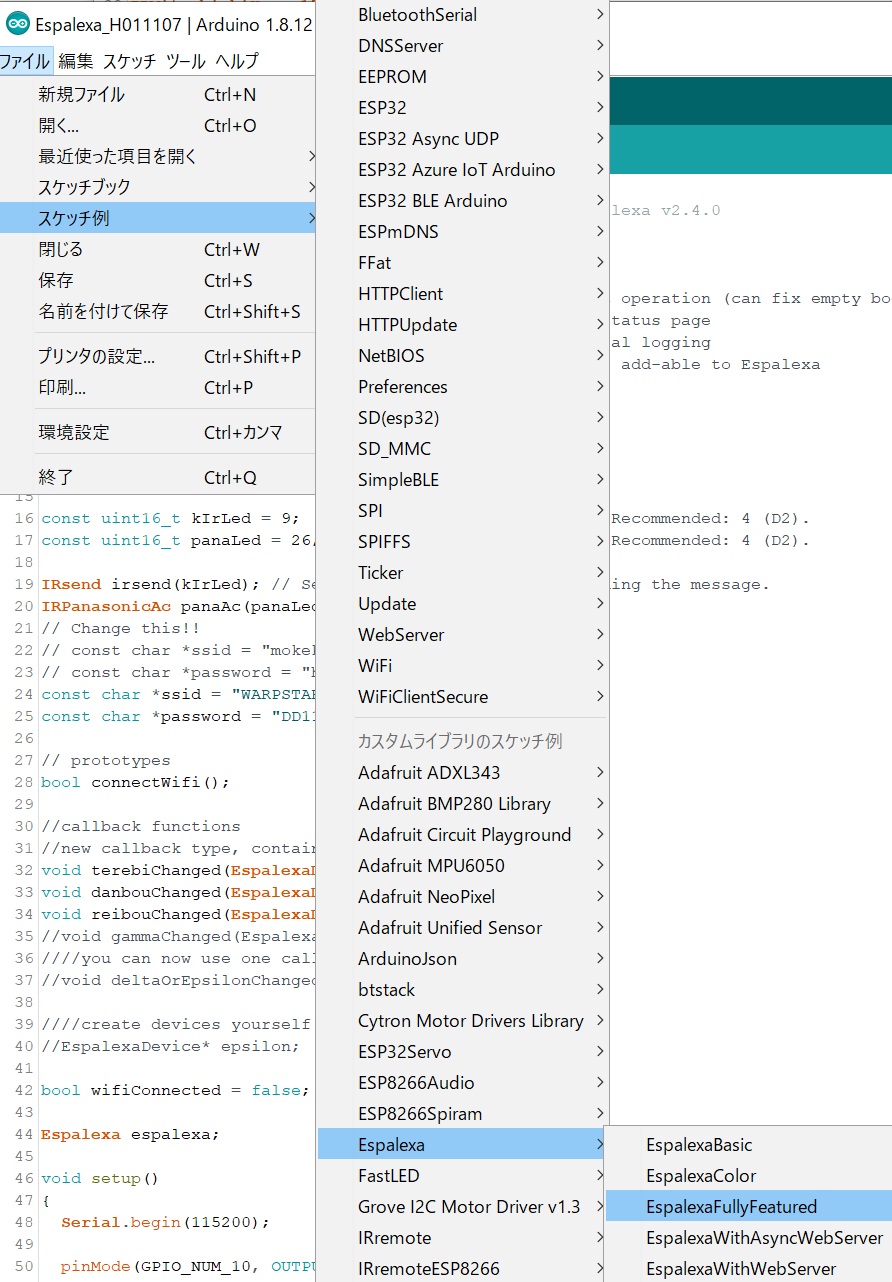
EspAlexaのサンプルからFullyFeaturedを開きます
あとはサンプルを改造していくのですが最低限のポイントだけ挙げます
赤外線送信についてはこちらを参照してください
M5StickCで赤外線リモコンを作ろう - Qiita
https://qiita.com/coppercele/items/ed91646944ca28ff0c07
// コールバック関数のプロトタイプ
void terebiChanged(EspalexaDevice* dev);
void danbouChanged(EspalexaDevice* dev);
void reibouChanged(EspalexaDevice* dev);

void setup()
{
  // デバイスを登録していく
  // 第1引数はAlexa上での表示名(後で変更できる)
  // 第2引数はコールバック関数の名前
  espalexa.addDevice("TEREBI", terebiChanged, EspalexaDeviceType::onoff);    // オンオフのみ
  espalexa.addDevice("DANBOU", danbouChanged, EspalexaDeviceType::dimmable); // 調光できるデバイスエアコンの場合は℃
  espalexa.addDevice("REIBOU", reibouChanged, EspalexaDeviceType::dimmable);

  espalexa.begin();
}
void loop()
{
   espalexa.loop();
   delay(1);
}

// コールバック関数
void terebiChanged(EspalexaDevice *d)
{
  // LED点灯
  digitalWrite(GPIO_NUM_10, LOW);
  // テレビに送信
  irsend.sendNEC(0x15748B7);
  delay(500);
  // LED消灯
  digitalWrite(GPIO_NUM_10, HIGH);
}

void danbouChanged(EspalexaDevice *d) {
  // 「アレクサ、暖房を??℃にして」としゃべると実行される
  if (d == nullptr)
    return;

  // degreeには「??℃にして」の??が入る
  uint8_t degrees = d->getDegrees(); //for heaters, HVAC, ...
  if (30 < degrees)
    return;
  digitalWrite(GPIO_NUM_10, LOW);

  if (d->getValue()){
    Serial.println("ON");
    ac.setPower(true);
  }
  else {
    Serial.println("OFF");
    ac.setPower(false);
  }
  // 風速:オート 暖房 26度
  ac.setFan(kMitsubishiHeavy152FanAuto);
  ac.setMode(kMitsubishiHeavyHeat);
  ac.setTemp(degree);
  ac.setSwingVertical(kMitsubishiHeavy152SwingVLow);
  ac.setSwingHorizontal(kMitsubishiHeavy152SwingVLow);
  ac.send();
  delay(500);
  digitalWrite(GPIO_NUM_10, HIGH);
}
自分が運用してるソースを置いておきます
ExpAlexa.ino
#include <WiFi.h>
#include <Espalexa.h>
#include <ESP32Servo.h>

const char *ssid = "";
const char *password = "";

Servo servo; // create four servo objects
int servoPin = 12;

// Published values for SG90 servos; adjust if needed
int minUs = 500;
int maxUs = 2400;

int pos = 0; // position in degrees

// prototypes
bool connectWifi();

//callback functions
//new callback type, contains device pointer
void terebiChanged(EspalexaDevice *dev);

bool wifiConnected = false;

Espalexa espalexa;

void setup()
{
    Serial.begin(115200);

    pinMode(GPIO_NUM_10, OUTPUT);
    digitalWrite(GPIO_NUM_10, HIGH);
    servo.setPeriodHertz(50); // Standard 50hz servo
    servo.attach(servoPin, minUs, maxUs);
    servo.write(93);
    delay(300);
    servo.detach();

    // Initialise wifi connection
    wifiConnected = connectWifi();

    if (!wifiConnected)
    {
        while (1)
        {
            Serial.println("Cannot connect to WiFi. Please check data and reset the ESP.");
            delay(2500);
        }
    }

    // Define your devices here.
    espalexa.addDevice("NIKAI", terebiChanged); //non-dimmable device

    espalexa.begin();
}

void loop()
{
    espalexa.loop();
    delay(1);
}

//our callback functions
void terebiChanged(EspalexaDevice *d)
{
    if (d == nullptr)
        return; //this is good practice, but not required
if (d->getValue()){

    Serial.println("ON");

    if (!servo.attached()) {
      servo.attach(servoPin, minUs, maxUs);
    }
    servo.write(93);
    delay(300);
    servo.write(120);
    delay(300);
    servo.write(65);
    delay(300);
    servo.write(93);
    delay(300);
//    IKKAI
//    servo.write(93);
//    delay(300);
//    servo.write(115);
//    delay(300);
//    servo.write(93);
//    delay(300);
  }
  else {
    Serial.println("OFF");
    if (!servo.attached()) {
      servo.attach(servoPin, minUs, maxUs);
    }
    servo.write(93);
    delay(300);
    servo.write(120);
    delay(300);
    servo.write(65);
    delay(300);
    servo.write(93);
    delay(300);
//      servo.write(93);
//      delay(300);
//      servo.write(75);
//      delay(300);
//      servo.write(93);
  }
  servo.detach();

}

// connect to wifi – returns true if successful or false if not
bool connectWifi()
{
    bool state = true;
    int i = 0;

    WiFi.mode(WIFI_STA);
    WiFi.begin(ssid, password);
    Serial.println("");
    Serial.println("Connecting to WiFi");

    // Wait for connection
    Serial.print("Connecting...");
    while (WiFi.status() != WL_CONNECTED)
    {
        delay(500);
        Serial.print(".");
        if (i > 20)
        {
            state = false;
            break;
        }
        i++;
    }
    Serial.println("");
    if (state)
    {
        Serial.print("Connected to ");
        Serial.println(ssid);
        Serial.print("IP address: ");
        Serial.println(WiFi.localIP());
    }
    else
    {
        Serial.println("Connection failed.");
    }
    return state;
}
M5StickCにスケッチを書きこんだらAlexaデバイスとして登録します
スマホアプリだけで動作しないので実機を用意してください
Alexa搭載タブレットなら大丈夫かもしれません
Amazon.co.jp: Echo Flex (エコーフレックス) プラグイン式スマートスピーカー with Alexa: Kindleストア
https://www.amazon.co.jp/dp/B07PGX7GC9/
Amazon.co.jp: Echo Dot (エコードット)第3世代 - スマートスピーカー with Alexa、チャコール: Kindleストア
https://www.amazon.co.jp/dp/B07PFFMQ64/
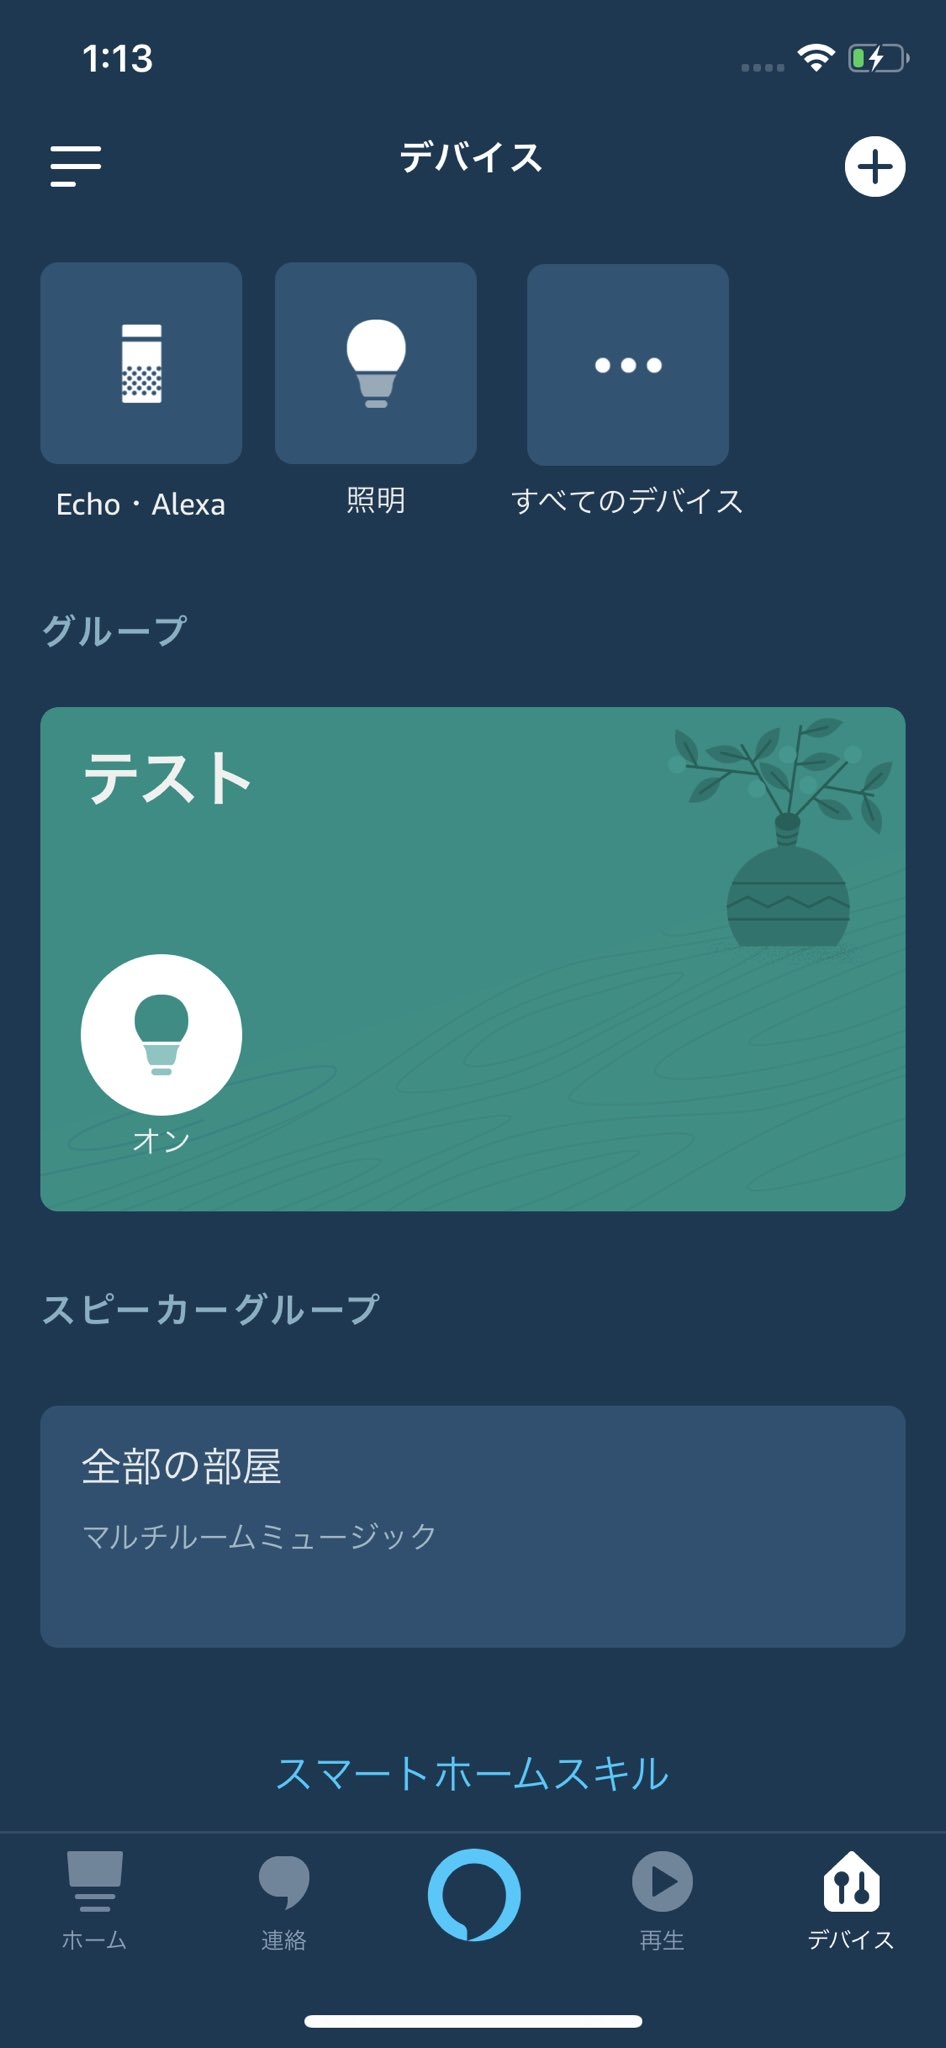
スマホアプリからデバイスタブを表示して右上の+マーク
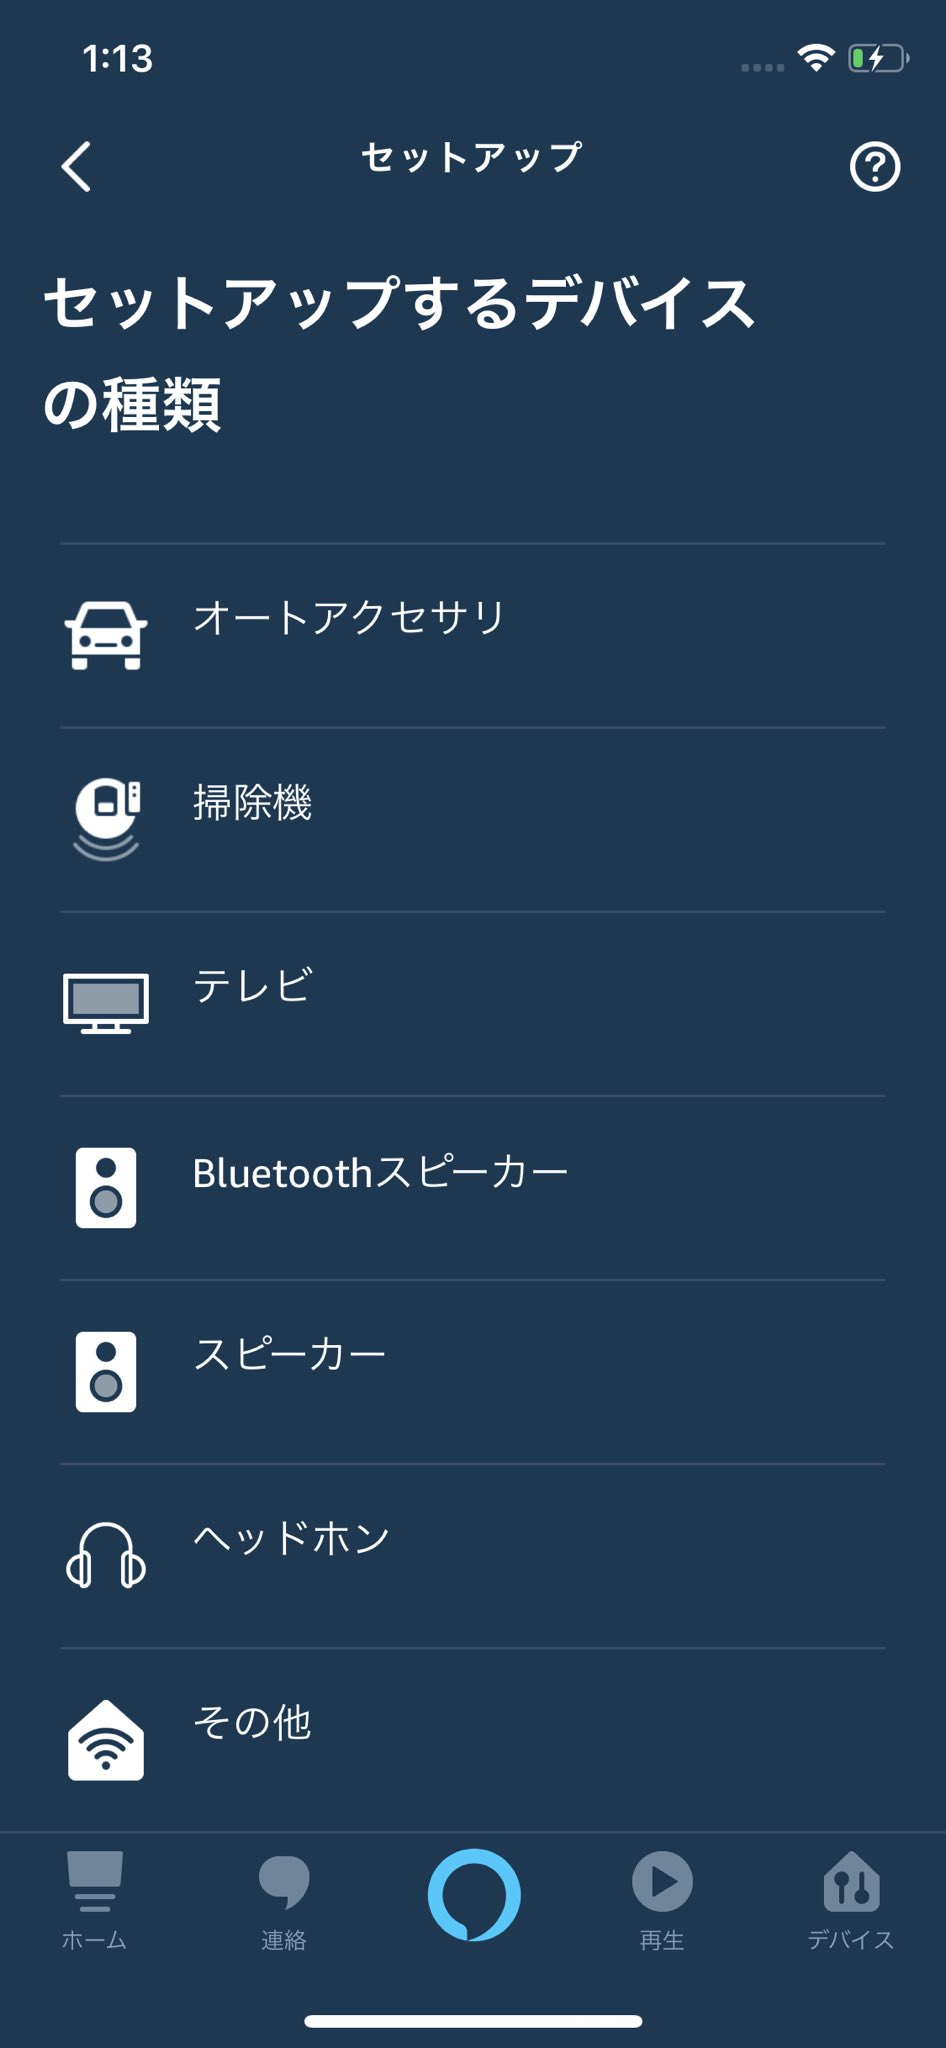
一番下のその他
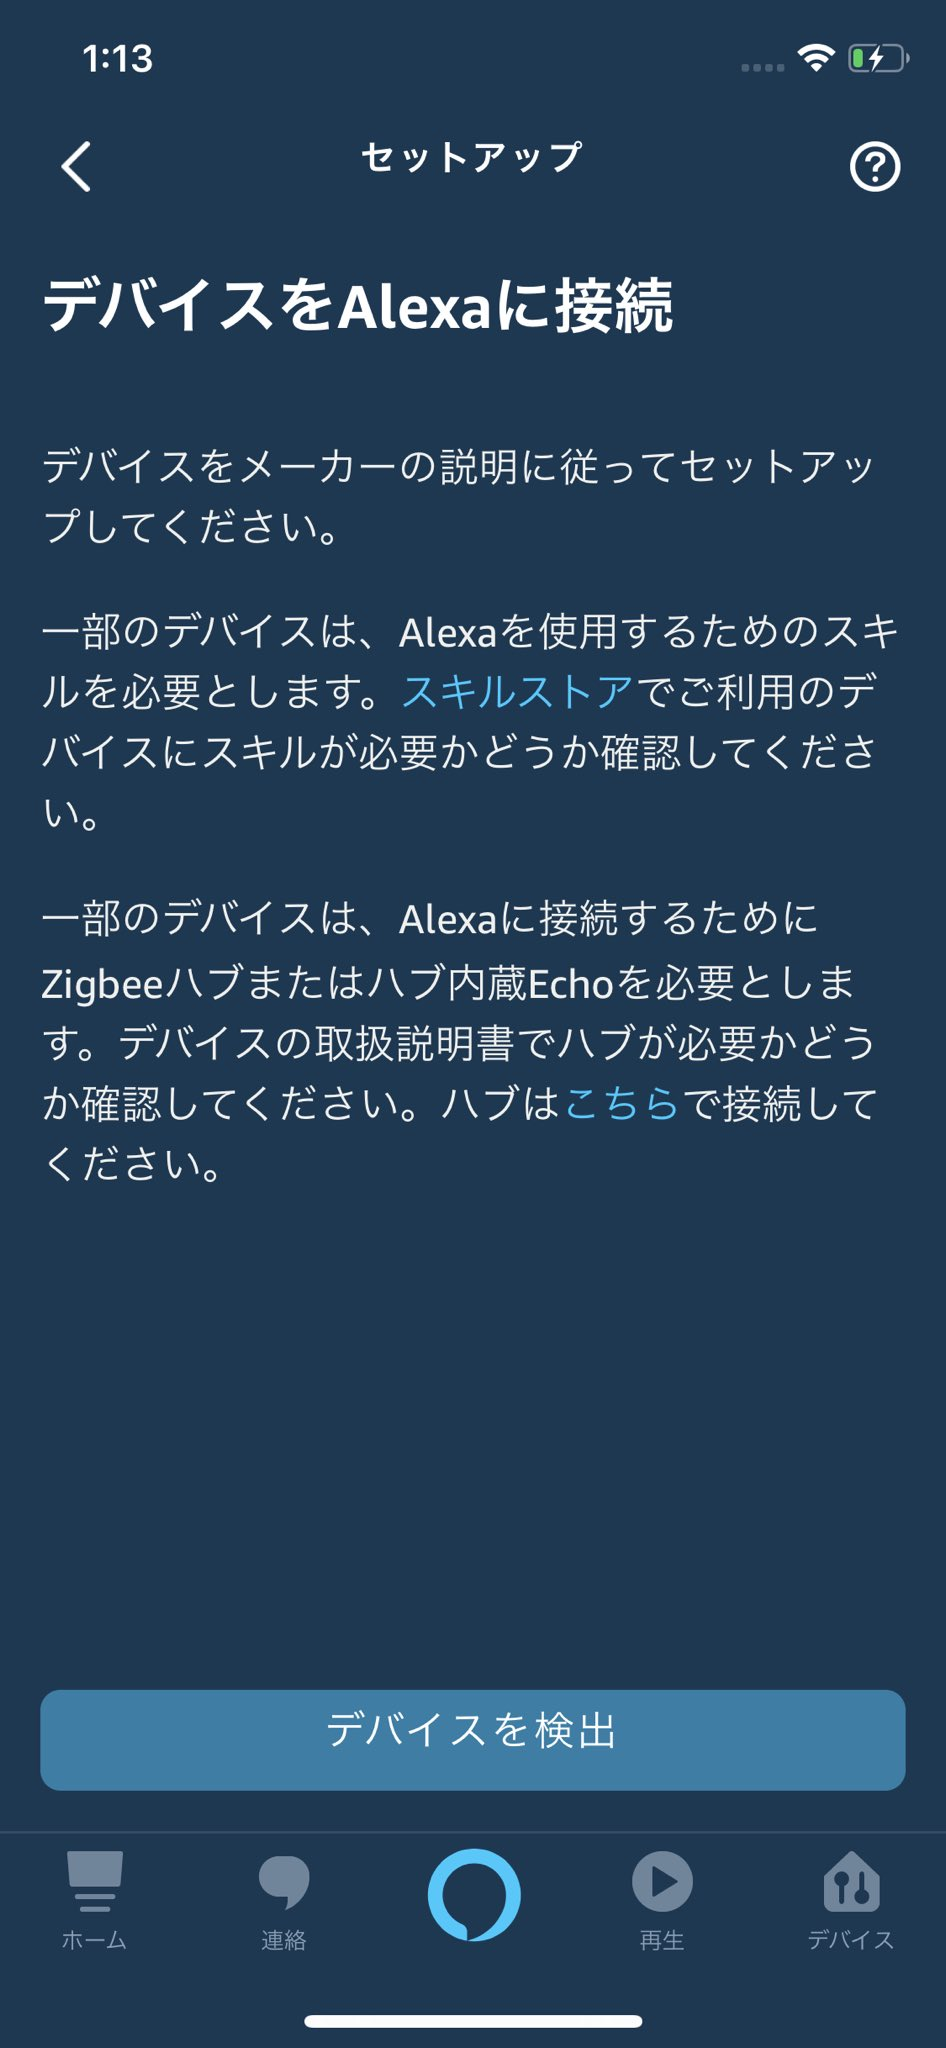
デバイスを検出ボタンをタップ
しばらく待つとデバイスが検出され登録されます
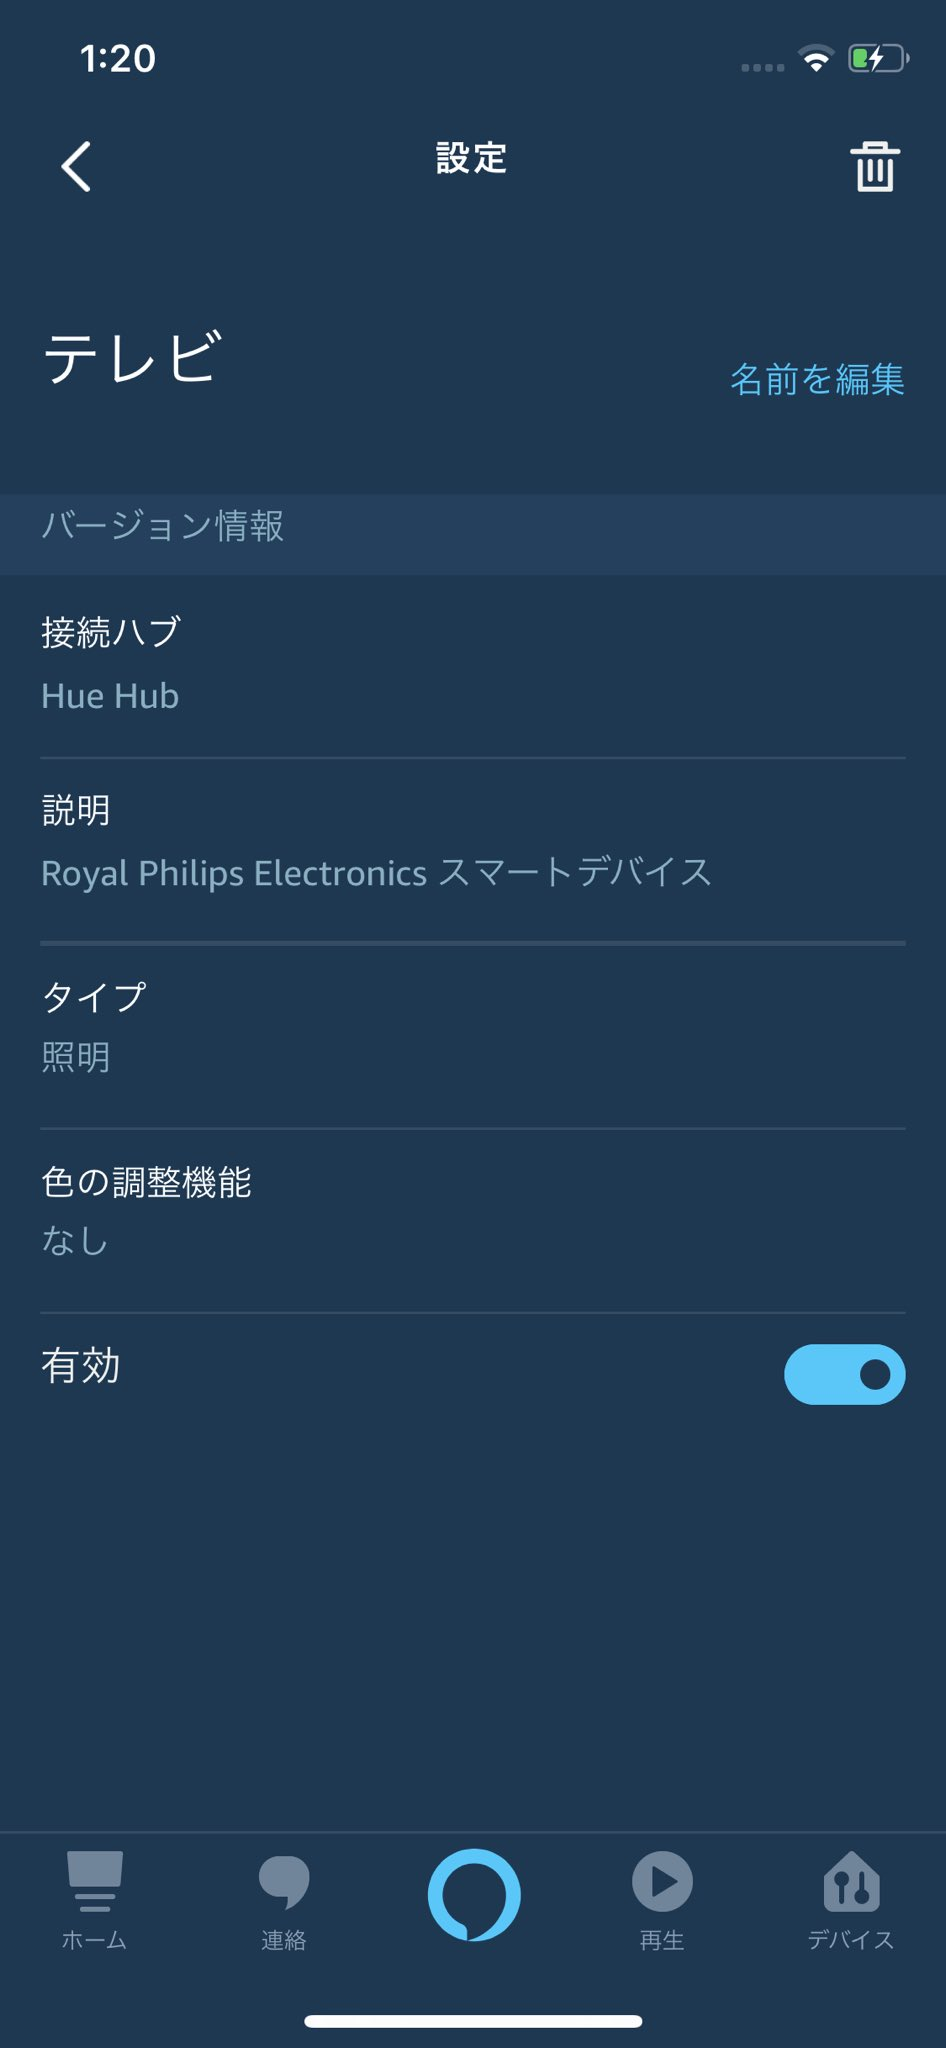
デバイス名の検出は日本語対応されてない(みたい)なのでローマ字から名前を編集します
めんどくさいのでローマ字のままにしようとしましたが認識してくれませんでした
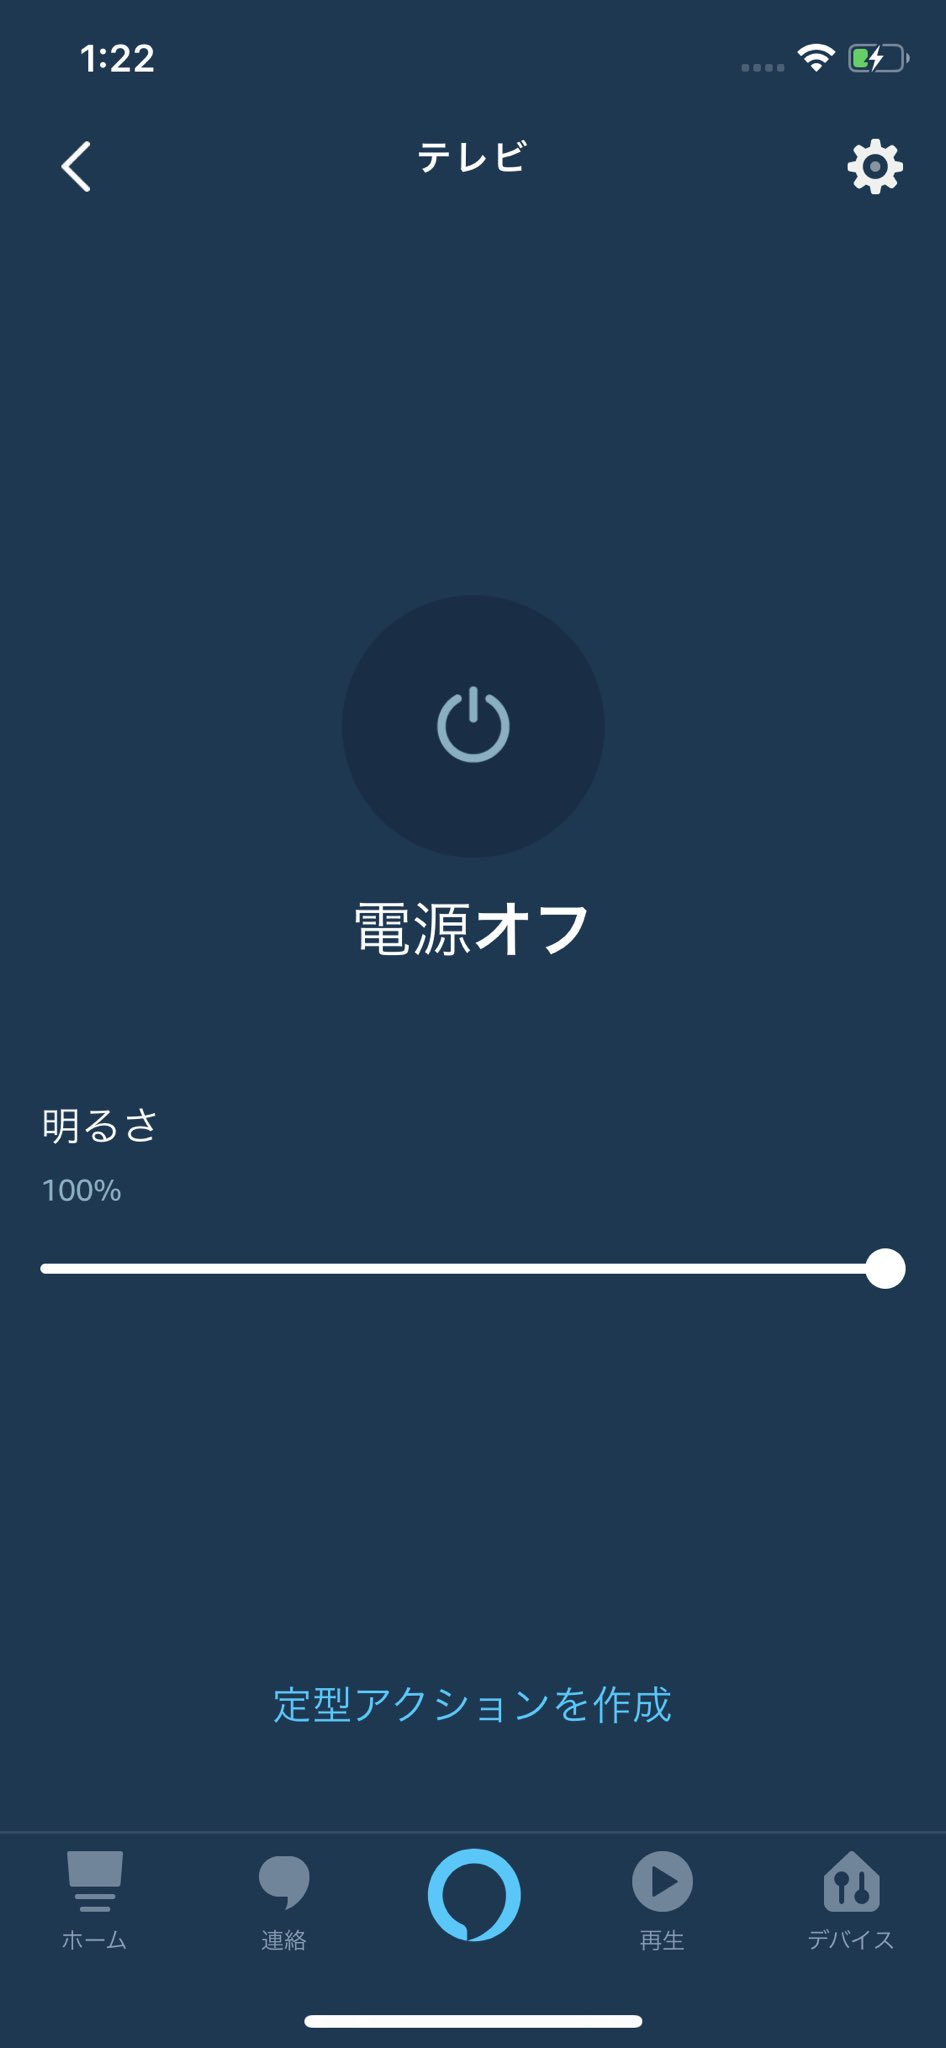
この状態になれば画面上の電源ボタンを押すか「アレクサ、テレビをつけて(ONにして)」とアレクサに言えばデバイス名に紐づいたコールバック関数が実行されます
エアコンの場合は「アレクサ、暖房を26度にして」などと言えばgetDegrees()で指定の温度が取得できます
##サーボでシーリングライトを操作してみた##
赤外線リモコンと同様にサーボを動かすと壁のスイッチを押すことができます
#Espalexa はいいぞ#ESP32 pic.twitter.com/ozWspDGH46
— もけ@ムギ㌠ (@coppercele) May 4, 2020
#include <ESP32Servo.h>

void nikaiChanged(EspalexaDevice *d) {

    if (!servo.attached()) {
      servo.attach(servoPin, minUs, maxUs);
    }
    servo.write(93);
    delay(300);
    servo.write(120);
    delay(300);
    servo.write(65);
    delay(300);
    servo.write(93);
    delay(300);
}
このように物理的にスイッチを押すこともできるのであらゆるものをAlexaで操作しましょう!

