はじめに
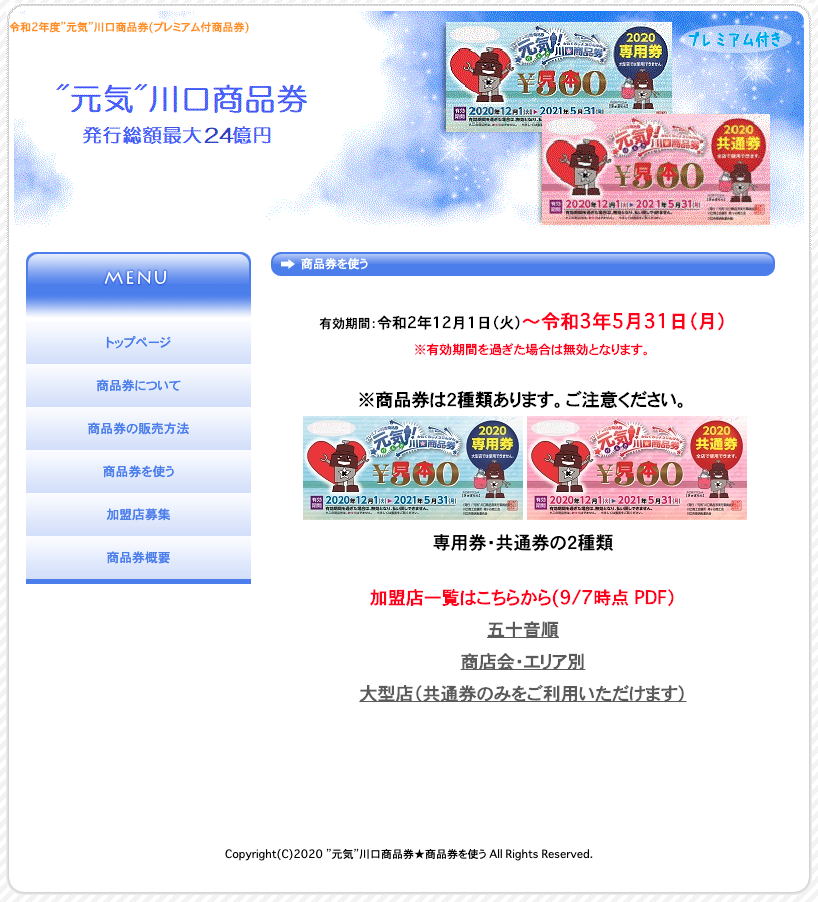
私は埼玉県川口市に住んでいるのだが、最近「プレミアム付き商品券」を発行するとのチラシをもらった。
ざっくり説明すると、2万円で商品券を買うと、地元のお店で2万4千円分のお買い物ができるようだ。これはなかなか便利だと思い、どんなお店で使えるのか調べようとホームページへアクセスしたが、、、なんとお店一覧が存在せず、お店の情報をまとめたPDFへの直リンクがおいてあるのみだった。。。

これでは検索も大変だ。。。
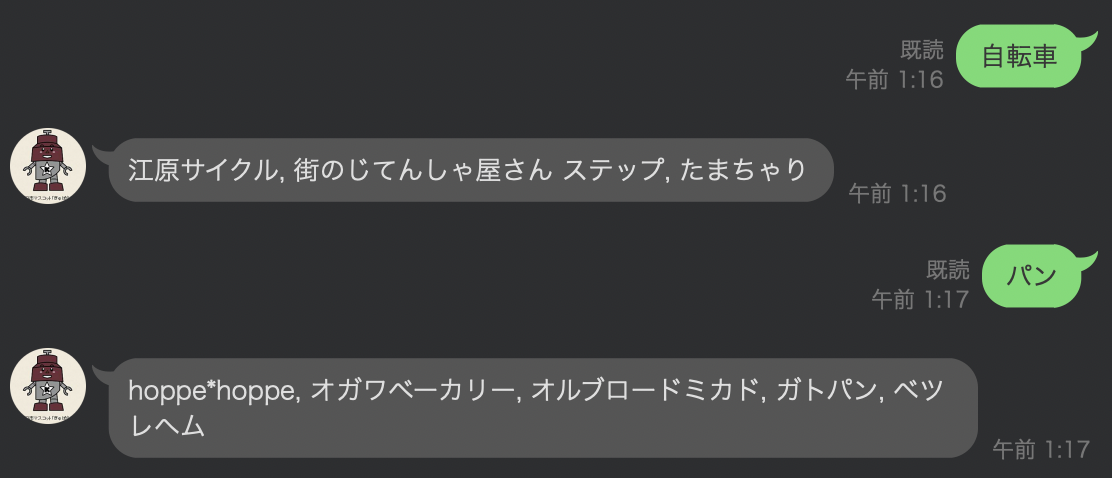
ということで、勝手にLINEBot化し、
・キーワードでの検索
・位置情報から最寄りの使えるお店を検索
ができるように実装をしてみた。
この記事で説明すること
Railsアプリケーションの作成
Herokuへのデプロイ
LIENBotの準備
LIENBotの実装(オウム返しBOT)
CSVファイルの読み込み
簡単な検索機能の実装
詳細な実装は後編にわけます。
環境
Ruby 2.6.6
Rails 6.0.3.3
事前準備
rbenvのインストール
gitのインストール
herokuのアカウント登録
PDFをCSVに変換できるなんらかのツール(私はAdobe Acrobatでやりました)
Railsアプリケーションの作成
まずはアプリ用のディレクトリを作成します(この記事のやり方だとそのままアプリケーション名になるので考えてから作りましょう)
$ mkdir kawaguchi_ticketl_inebot
$ cd kawaguchi_ticketl_inebot
ruby のバージョンはよほど古くなければなんでもいいと思いますが、ここではとりあえず2.6.6を指定してみます
$ rbenv install 2.6.6
$ rbenv local 2.6.6
bundle init を実行しGemfileを作成しましょう
$ bundle init
作成されたGemfileのRailsのコメントアウトを削除し、bundle install
$ bundle install --path=vendor/bundle
用途がLINEBotだけなので、apiモードでRailsアプリケーションを作成します。
herokuにスムーズにあげる関係で、postgreqlで作っておきます。
Gemfileの上書きをするか尋ねられると思いますが、上書きしちゃって大丈夫です。
$ bundle exec rails new . --api -d postgresql
$ bundle exec rails db:create
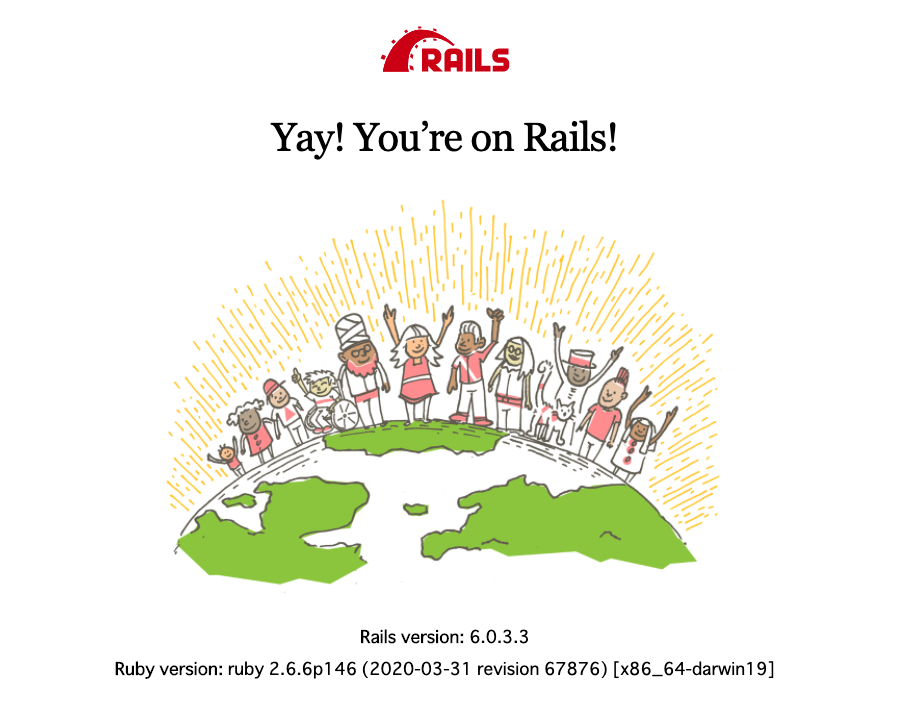
ここまでできたらサーバーを起動し、アクセスできるかだけ確認します
http://localhost:3000/ にアクセスして確認
$ bundle exec rails s
できてますね
(参考)
こちらの記事が大変わかりやすかったです
初心者がRubyで自作したLINE botを公開するまで
rbenvでrubyのバージョンを管理する
Herokuへのデプロイ
後からでもいいですが、いったんherokuへpushしておきます。
herokubへの登録や設定がまだでしたら先にそちらを済ませておいてください
$ heroku create
Creating app... done, ⬢ young-temple-xxxxxx
https://young-temple-xxxxxx.herokuapp.com/ | https://git.heroku.com/young-temple-xxxxxx.git
$ git add .
$ git commit -m 'first commit'
$ git push heroku master
heroku create したときに表示されるURLはあとで使うのでメモっておきます
(ここでいう、 https://young-temple-xxxxxx.herokuapp.com/ )
githubなどにあげてもいいですが、とりあえずスキップします
(参考)
github にpushしてherokuにあげるまでの流れ
LINEBotの準備
チャネルの登録
こちらを参考に
https://developers.line.biz/ja/docs/messaging-api/getting-started/#using-console
Botの登録
こちらを参考に
https://developers.line.biz/ja/docs/messaging-api/building-bot/
Webhook URLはまだ設定できないので、このあとで設定をします。
チャネルアクセストークンとチャンネルシークレットをherokuの環境変数に設定します
$ heroku config:set LINE_CHANNEL_SECRET=xxxxxxxxxxxxxxxxxx
$ heroku config:set LINE_CHANNEL_TOKEN=xxxxxxxxxxxxxxxxxxxxxxxxxxxxxxxxxxxxxxxxxxxxxxxx
LINEBotの実装
Gemfileに以下を追加
gem 'line-bot-api'
$ bundle install
routes追加
Rails.application.routes.draw do
  # For details on the DSL available within this file, see https://guides.rubyonrails.org/routing.html
  post '/callback' => 'webhook#callback'
end
コントローラーを作成
$ rails g controller webhook
まずは https://github.com/line/line-bot-sdk-ruby のサンプル通りに作ってみましょう
class WebhookController < ApplicationController
  require 'line/bot'

  def client
    @client ||= Line::Bot::Client.new { |config|
      config.channel_secret = ENV["LINE_CHANNEL_SECRET"]
      config.channel_token = ENV["LINE_CHANNEL_TOKEN"]
    }
  end

  def callback
    body = request.body.read

    signature = request.env['HTTP_X_LINE_SIGNATURE']
    unless client.validate_signature(body, signature)
      error 400 do 'Bad Request' end
    end

    events = client.parse_events_from(body)
    events.each do |event|
      case event
      when Line::Bot::Event::Message
        case event.type
        when Line::Bot::Event::MessageType::Text
          message = {
            type: 'text',
            text: event.message['text']
          }
          client.reply_message(event['replyToken'], message)
        when Line::Bot::Event::MessageType::Image, Line::Bot::Event::MessageType::Video
          response = client.get_message_content(event.message['id'])
          tf = Tempfile.open("content")
          tf.write(response.body)
        end
      end

      # Don't forget to return a successful response
      "OK"
    end
  end
end
herokuにあげます
$ git add .
$ git commit -m 'add controller'
$ git push heroku master
こちらを参考にheroku createを行った時に表示されたURLをWebhook URLに設定します
https://developers.line.biz/ja/docs/messaging-api/building-bot/
CSVファイルの読み込み
ここまでで作ったBotはただのオウム返しBotなので、データを読み込み、検索ができるようにします。
今回はこういったCSVを読み込みます

ここから入手したPDFをCSVにしたもの
読み込むCSV用のモデルを作成します
$ bundle exec rails g model store
Running via Spring preloader in process 76501
      invoke  active_record
      create    db/migrate/20200911182431_create_stores.rb
      create    app/models/store.rb
      invoke    test_unit
      create      test/models/store_test.rb
      create      test/fixtures/stores.yml
マイグレーションファイルを編集
class CreateStores < ActiveRecord::Migration[6.0]
  def change
    create_table :stores do |t|
      t.string :store_association_name, comment: '商店会名'
      t.string :store_name, comment: '店舗名'
      t.string :postal_code, comment: '郵便番号'
      t.string :address, comment: '住所'
      t.string :tel, comment: '電話'
      t.string :lineup, comment: '取扱商品名'
      t.timestamps
    end
  end
end
マイグレーションを実行
$ bundle exec rake db:migrat
ここまででデータを入れるところはできたので、CSVを取り込むプログラムを作成します
$ bundle exec rails g task import_csv
Running via Spring preloader in process 76763
      create  lib/tasks/import_csv.rake
require 'csv'
namespace :import_csv do
  desc '川口市商店街の発行しているPDFをCSVにしたものを取り込み'
  task :store, ['file_name'] => :environment do |_, args|
    # インポートするファイルのパスを取得。
    # ファイル名は複数ありそうなのでタスク実行時にファイル名を指定
    path = Rails.root.to_s + '/db/csv/' + args.file_name
    # インポートするデータを格納するための配列
    list = []
    CSV.foreach(path, headers: true) do |row|
      list << {
          # 取り込むCSVのヘッダーにあわせて調整してください
          store_association_name: row['商店会名'],
          store_name: row['店舗名'],
          postal_code: row['郵便番号'],
          address: row['住所'],
          tel: row['電話'],
          lineup: row['取扱商品名']
      }
    end
    puts 'インポート処理を開始'
    begin
      Store.create!(list)
      puts 'インポート完了'
    rescue => exception
      puts 'インポート失敗'
      puts exception
    end
  end
end
タスクが登録されているか確認
$ bundle exec rake -T
rake about                           # List versions of all Rails frameworks and the environment
rake action_mailbox:ingress:exim     # Relay an inbound email from Exim to Action Mailbox (URL and INGRESS_PASSWO...
rake action_mailbox:ingress:postfix  # Relay an inbound email from Postfix to Action Mailbox (URL and INGRESS_PAS...
rake action_mailbox:ingress:qmail    # Relay an inbound email from Qmail to Action Mailbox (URL and INGRESS_PASSW...
rake action_mailbox:install          # Copy over the migration
rake action_text:install             # Copy over the migration, stylesheet, and JavaScript files
rake active_storage:install          # Copy over the migration needed to the application
rake app:template                    # Applies the template supplied by LOCATION=(/path/to/template) or URL
rake app:update                      # Update configs and some other initially generated files (or use just updat...
rake db:create                       # Creates the database from DATABASE_URL or config/database.yml for the curr...
rake db:drop                         # Drops the database from DATABASE_URL or config/database.yml for the curren...
rake db:environment:set              # Set the environment value for the database
rake db:fixtures:load                # Loads fixtures into the current environment's database
rake db:migrate                      # Migrate the database (options: VERSION=x, VERBOSE=false, SCOPE=blog)
rake db:migrate:status               # Display status of migrations
rake db:prepare                      # Runs setup if database does not exist, or runs migrations if it does
rake db:rollback                     # Rolls the schema back to the previous version (specify steps w/ STEP=n)
rake db:schema:cache:clear           # Clears a db/schema_cache.yml file
rake db:schema:cache:dump            # Creates a db/schema_cache.yml file
rake db:schema:dump                  # Creates a db/schema.rb file that is portable against any DB supported by A...
rake db:schema:load                  # Loads a schema.rb file into the database
rake db:seed                         # Loads the seed data from db/seeds.rb
rake db:seed:replant                 # Truncates tables of each database for current environment and loads the seeds
rake db:setup                        # Creates the database, loads the schema, and initializes with the seed data...
rake db:structure:dump               # Dumps the database structure to db/structure.sql
rake db:structure:load               # Recreates the databases from the structure.sql file
rake db:version                      # Retrieves the current schema version number
rake import_csv:store[file_name]     # 川口市商店街の発行しているPDFをCSVにしたものを取り込み
rake log:clear                       # Truncates all/specified *.log files in log/ to zero bytes (specify which l...
rake middleware                      # Prints out your Rack middleware stack
rake restart                         # Restart app by touching tmp/restart.txt
rake secret                          # Generate a cryptographically secure secret key (this is typically used to ...
rake stats                           # Report code statistics (KLOCs, etc) from the application or engine
rake test                            # Runs all tests in test folder except system ones
rake test:db                         # Run tests quickly, but also reset db
rake test:system                     # Run system tests only
rake time:zones[country_or_offset]   # List all time zones, list by two-letter country code (`rails time:zones[US...
rake tmp:clear                       # Clear cache, socket and screenshot files from tmp/ (narrow w/ tmp:cache:cl...
rake tmp:create                      # Creates tmp directories for cache, sockets, and pids
rake yarn:install                    # Install all JavaScript dependencies as specified via Yarn
rake zeitwerk:check                  # Checks project structure for Zeitwerk compatibility
タスクが登録されているようです。
次に取り込むCSVファイルを設置します。
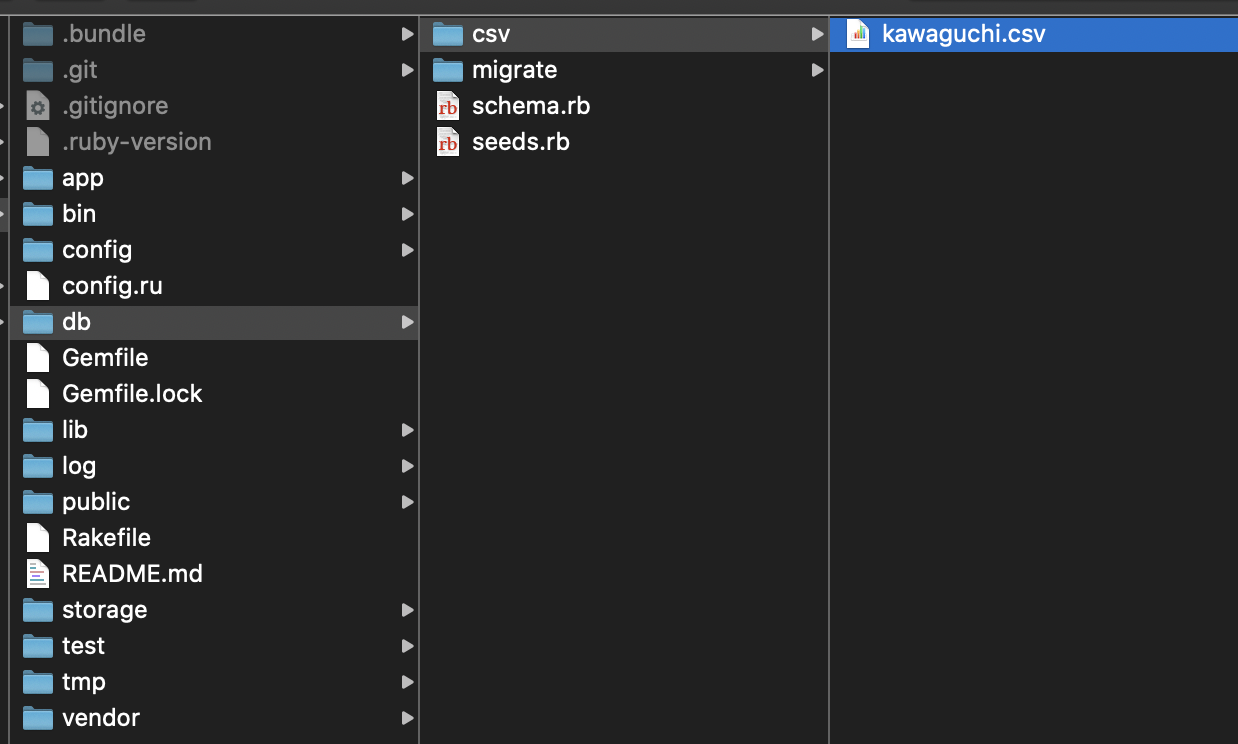
dbの下にcsvというディレクトリを作成し、そこにCSVファイルを置きます
準備するのが面倒でしたら、ここから取得してください

CSV取り込み用のrakeコマンドを実行します
$ bundle exec rake import_csv:store['kawaguchi.csv']
インポート処理を開始
インポート完了
本当にデータが入っているか確認します
$ bundle exec rails c
Running via Spring preloader in process 77369
Loading development environment (Rails 6.0.3.3)
irb(main):001:0> Store.all
  Store Load (0.7ms)  SELECT "stores".* FROM "stores" LIMIT $1  [["LIMIT", 11]]
=> #<ActiveRecord::Relation [#<Store id: 1, store_association_name: nil, store_name: "㈱EKオート", postal_code: "332-0025", address: "原町16-10", tel: "255-4980", lineup: "車検、鈑金、一般修理、新車、中古車販売", created_at: "2020-09-11 18:37:12", updated_at: "2020-09-11 18:37:12">, #<Store id: 2, store_association_name: nil, store_name: "ACE-LAB", postal_code: "332-0034", address: "並木3-3-19", tel: "287-9465", lineup: "美容室", created_at: "2020-09-11 18:37:12", updated_at: "2020-09-11 18:37:12">...
入っているようです。
Storeに簡単な検索機能を追加
class Store < ApplicationRecord
  def self.search(txt)
    Store.where(lineup: txt)
    .or(Store.where(store_association_name: txt))
    .or(Store.where(store_name: txt)).limit(5)
  end

  def self.get_search_message(txt)
    stores = Store.search(txt)
    message = []
    stores.each do |s|
      message << s.store_name
    end
    message << '検索結果がありませんでした' if message.blank?
    message.join(', ')
  end
end
class WebhookController < ApplicationController
  require 'line/bot'

  def client
    @client ||= Line::Bot::Client.new { |config|
      config.channel_secret = ENV["LINE_CHANNEL_SECRET"]
      config.channel_token = ENV["LINE_CHANNEL_TOKEN"]
    }
  end

  def callback
    body = request.body.read

    signature = request.env['HTTP_X_LINE_SIGNATURE']
    unless client.validate_signature(body, signature)
      error 400 do 'Bad Request' end
    end

    events = client.parse_events_from(body)
    events.each do |event|
      case event
      when Line::Bot::Event::Message
        case event.type
        when Line::Bot::Event::MessageType::Text
          message = {
            type: 'text',
            # ↓を修正
            text: Store.get_search_message(event.message['text'])
          }
          client.reply_message(event['replyToken'], message)
        when Line::Bot::Event::MessageType::Image, Line::Bot::Event::MessageType::Video
          response = client.get_message_content(event.message['id'])
          tf = Tempfile.open("content")
          tf.write(response.body)
        end
      end

      # Don't forget to return a successful response
      "OK"
    end
  end
end
簡単すぎますが、詳細は後編で詰めるとしていったんherokuにあげましょう
$ git add .
$ git commit -m 'easy search'
$ git push heroku master
自分の手元の環境で行ったことをherokuの環境でも行う必要があります。
$ heroku run rake db:migrate
$ heroku run rake import_csv:store['kawaguchi.csv']


