はじめに
久々にRaspberry Piをセットアップしようと公式サイトの手順を覗いたら、ヘッドレスセットアップがとても簡単になっていたのでメモ。
やりたいこと
キーボード・マウス・モニター・LANケーブルをRaspberry Piに繋ぐことなく、OSインストール&Macからssh接続して初期設定を行う。
環境
- Raspberry Pi 4 4GB
- MacBook Air (M1, 2020)
- macOS Monterey Version 12.1
- Raspberry Pi Imager v1.7.1
手順
SDカードにOSを書き込む
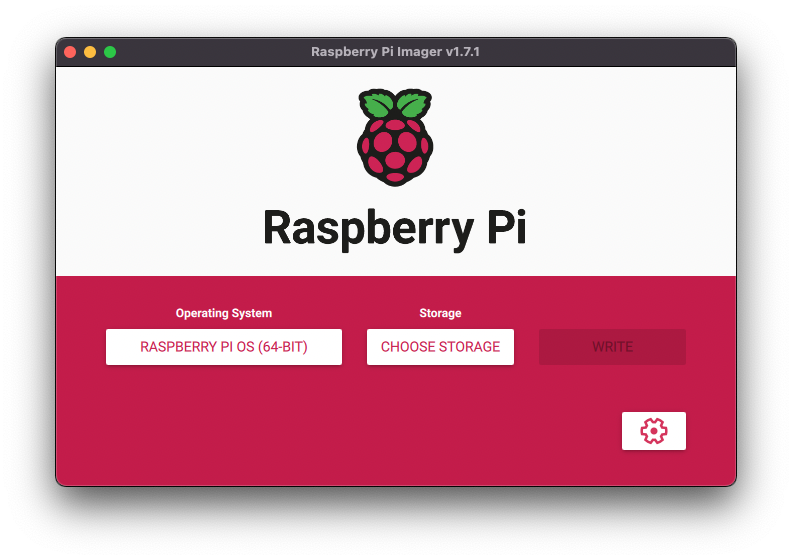
Raspberry Pi ImagerをMacへインストールする。
インストールの設定
- Operating System
- 今回はRaspberry Pi OSの64bit版を選択しました。Ubuntu等も選べます。
- Strage
- Raspberry Pi用のSDカード
最低限の設定は以上。しかしこのImagerは右下の歯車がミソ。
Advanced Option(歯車)
このオプションの存在によりヘッドレスセットアップが劇的に楽になる。
SSH有効化
これまでのように、ターミナル開いて空のsshファイル作る必要無し。
WiFi設定(とログインパスワード変更)
最初だけ有線接続したり、wpa_supplicant.conf作ったりも不要。
Advanced Optionを設定したら、WRITEをクリックしてOSをインストールする。
起動と接続
SDカードをMacから取り出し、Raspberry Piに挿入して電源繋ぐ。
1分ほど放置したら、Macのターミナルより
ssh pi@raspberrypi.local
で接続する。
初期設定
OSアップデート
ssh接続した状態で(Raspberry Piのターミナルで)
sudo apt update
sudo apt full-upgrade
IPアドレスの固定
デフォルトゲートウェイとDNSサーバーのIPアドレスを調べる。
Raspberry Piのターミナルで
route -n
を実行し、"Gateway"のIPアドレスを記録する。次に
sudo nano /etc/dhcpcd.conf
を実行し、設定ファイルを開く。ファイルの最下部に次のように追記し、
control + O → ファイル名変えずにEnter → control + X
で保存する。
interface wlan0
static ip_address=192.168.xx.xx/24
static routers=192.168.xx.xx
static domain_name_servers=192.168.xx.xx
再起動
sudo reboot
おわり。


