デバッグしよう
Blazor WebAssembly を触ってみる - その①環境を整える、サンプルを動かす の続きです。
今回は以下の記事を参考にデバッグ操作を試してみたいと思います。
ASP.NET Core Blazor WebAssembly をデバッグする
https://docs.microsoft.com/ja-jp/aspnet/core/blazor/debug?view=aspnetcore-3.1#visual-studio-code
Visual Studio Code でやってみる
1. launch.json の確認
.vscode\launch.json がない状態で Run -> Start Debugging (F5) でデバッグ実行をクリックすると、以下のように環境の選択肢が表示されたと思います。
ここで .NET Core を選択すると以下のようなデバッグ設定が自動的に行われます。
".NET Core Debug Blazor Web Assembly in Chrome" の構成が重要なので、もしこれがない場合には前回の記事 Blazor WebAssembly を触ってみる - その①環境を整える、サンプルを動かす を参考に環境を見直していただければと思います。
{
    // Use IntelliSense to learn about possible attributes.
    // Hover to view descriptions of existing attributes.
    // For more information, visit: https://go.microsoft.com/fwlink/?linkid=830387
    "version": "0.2.0",
    "configurations": [
        {
            "name": ".NET Core Launch (Blazor Standalone)",
            "type": "coreclr",
            "request": "launch",
            "program": "dotnet",
            "args": [
                "run"
            ],
            "cwd": "${workspaceFolder}",
            "env": {
                "ASPNETCORE_ENVIRONMENT": "Development"
            }
        },
        {
            "name": ".NET Core Debug Blazor Web Assembly in Chrome",
            "type": "pwa-chrome",
            "request": "launch",
            "timeout": 30000,
            "url": "https://localhost:5001",
            "webRoot": "${workspaceFolder}",
            "inspectUri": "{wsProtocol}://{url.hostname}:{url.port}/_framework/debug/ws-proxy?browser={browserInspectUri}"
        }
    ]
}
2. ブレークポイントを置く
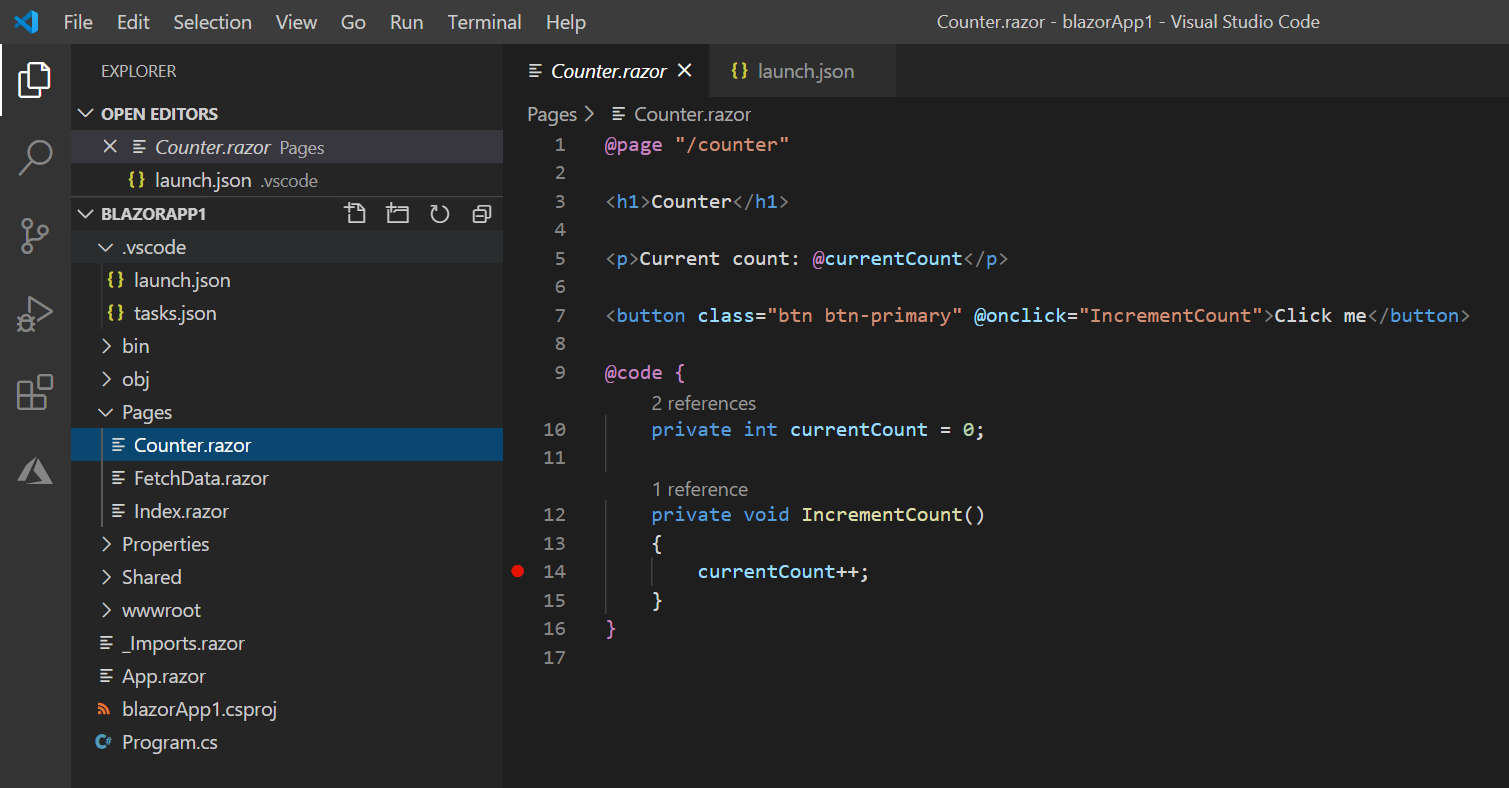
Pages\Counter.razor というカウントアップしそうな C# のコードにブレークポイントを張ってみます。
3. デバッグ実行する
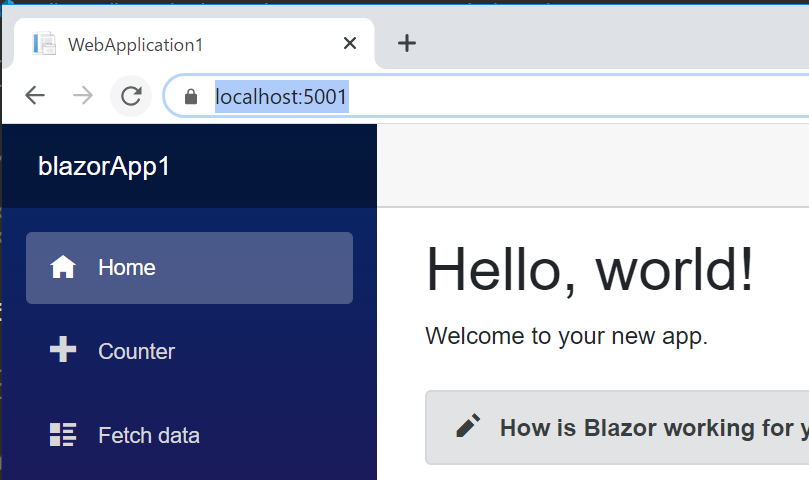
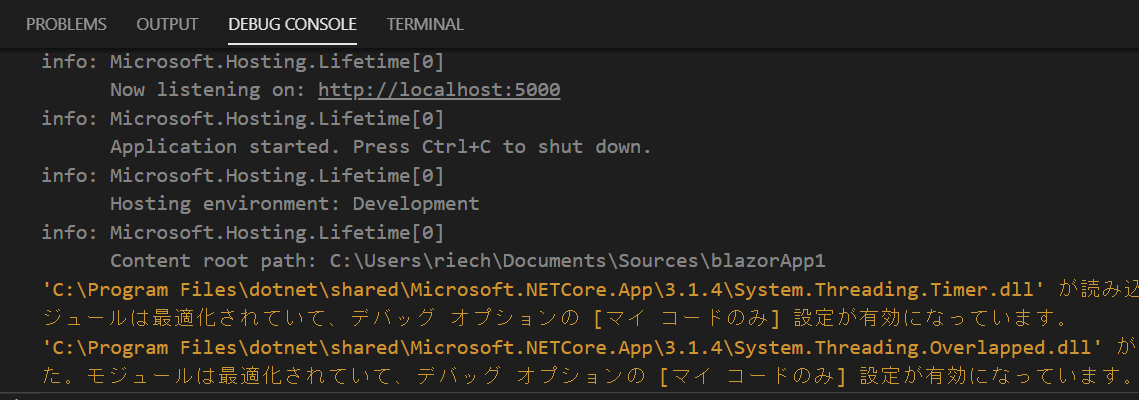
Run -> Start Debugging をクリックして、DEBUG CONSOLE でアプリが起動していそうな出力がされていることを確認します。
4. デバッグ設定の選択
Visual Studio Code の画面の左下のこの部分をクリックします。

以下のようにデバッグ設定の選択肢が出てくるので、".NET Core Debug Blazor Web Assembly in Chrome" というのを選択します。

5. ブレークポイントで止まることを確認
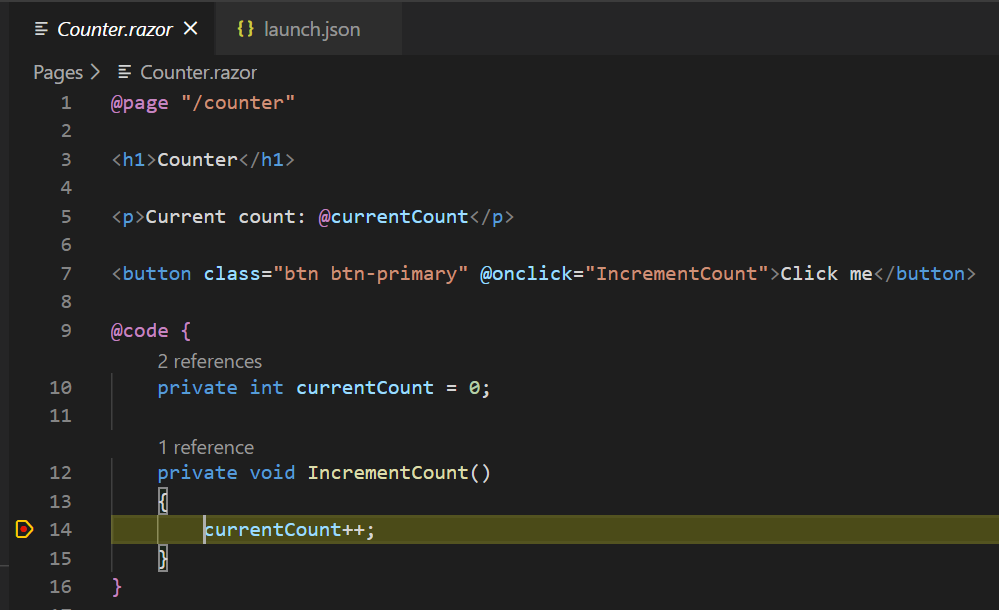
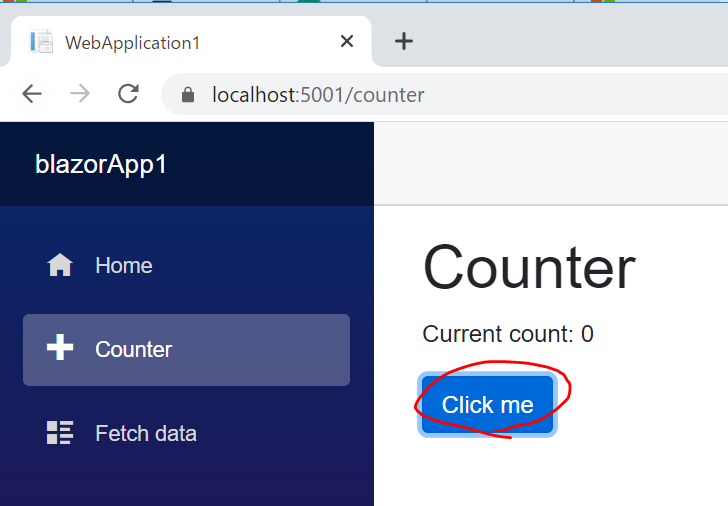
Counter のページの Click me をクリックすると、それっぽいところで止まります。
Google Chrome でやってみる
1. 上の Visual Studio Code でデバッグ実行中に Chrome の画面を開き、Shift + Fn + D をクリックします。
2. リモートデバッグを有効にする
以下のように Unable to find debuggable browser tab というエラーが出たときは、画面の指示に従って
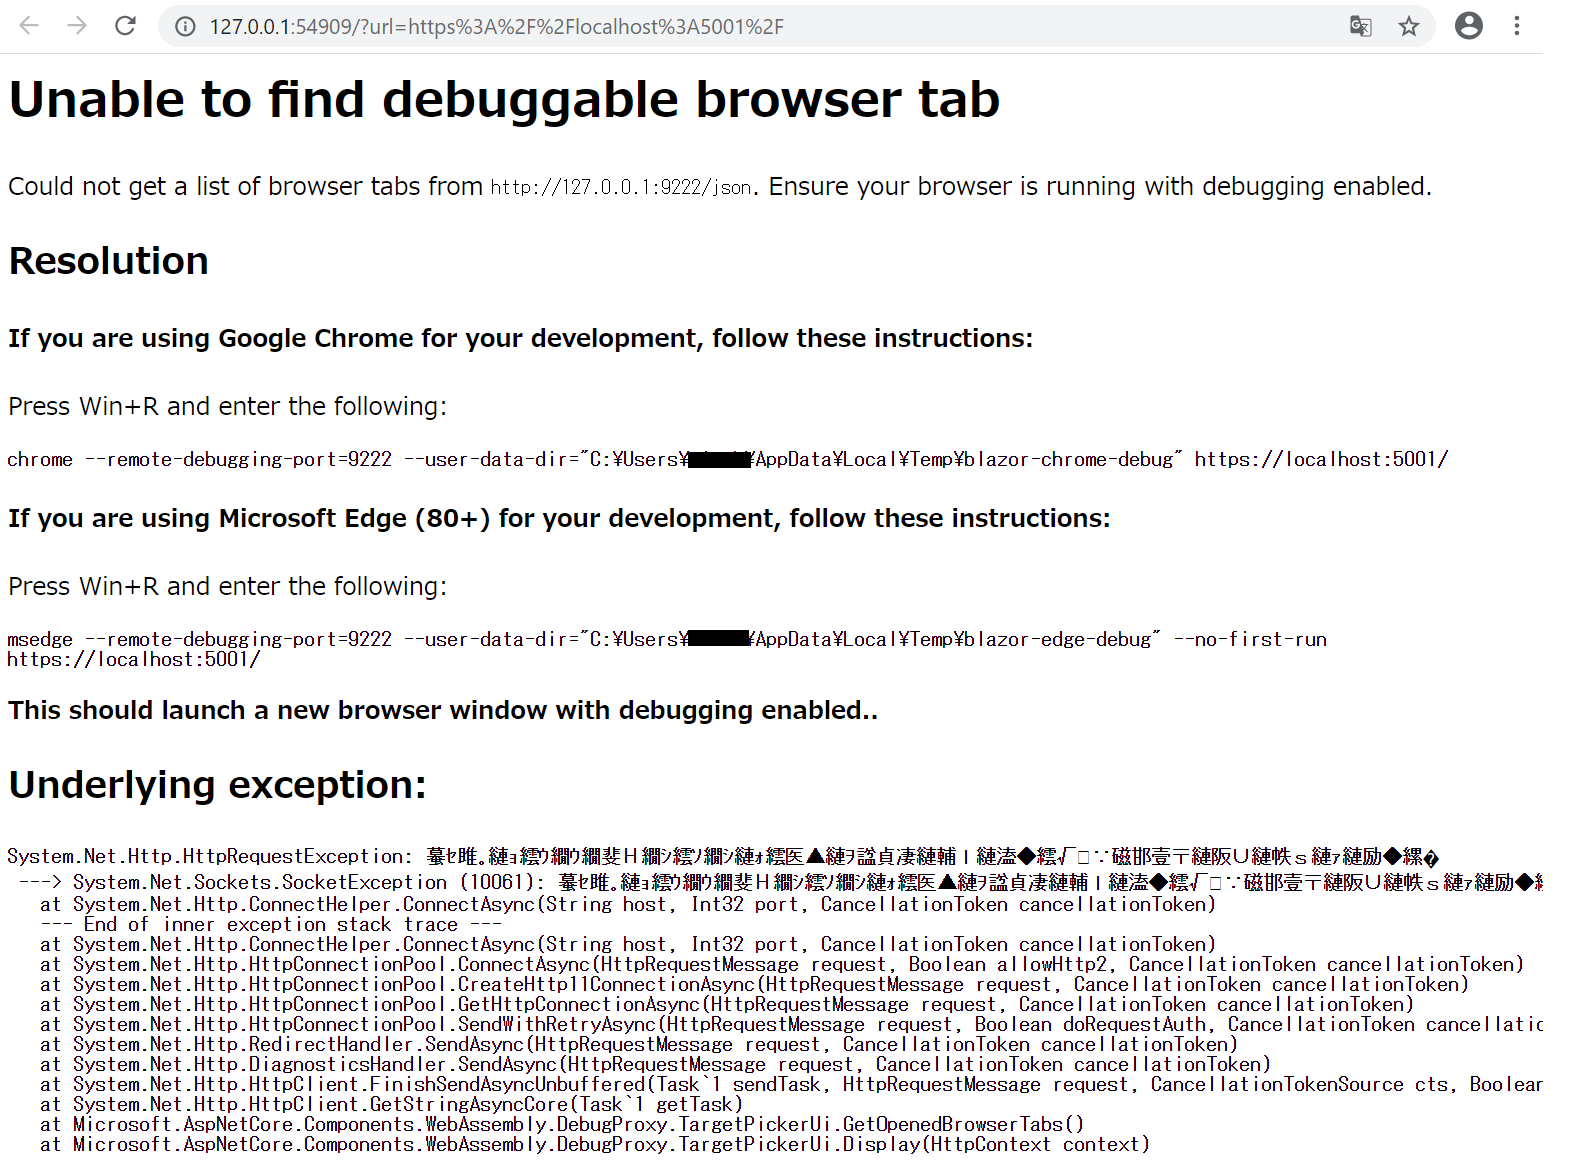
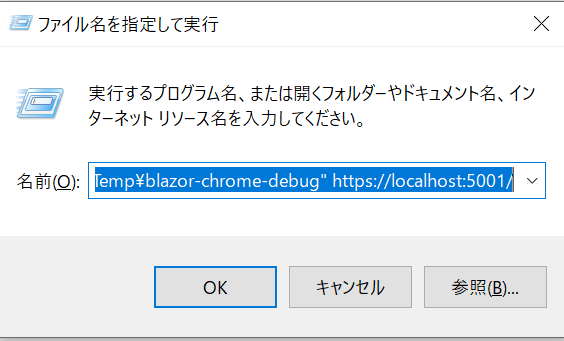
Windows の場合、Win + R キーで "ファイル名を指定して実行" を開き、
以下のようなコマンドを実行します。(エラー画面の表示をコピペしてください)
chrome --remote-debugging-port=9222 --user-data-dir="C:\Users\<Username>\AppData\Local\Temp\blazor-chrome-debug" https://localhost:5001/
そうするとデバッグできそうな画面が開くはずです。
3. 動かす
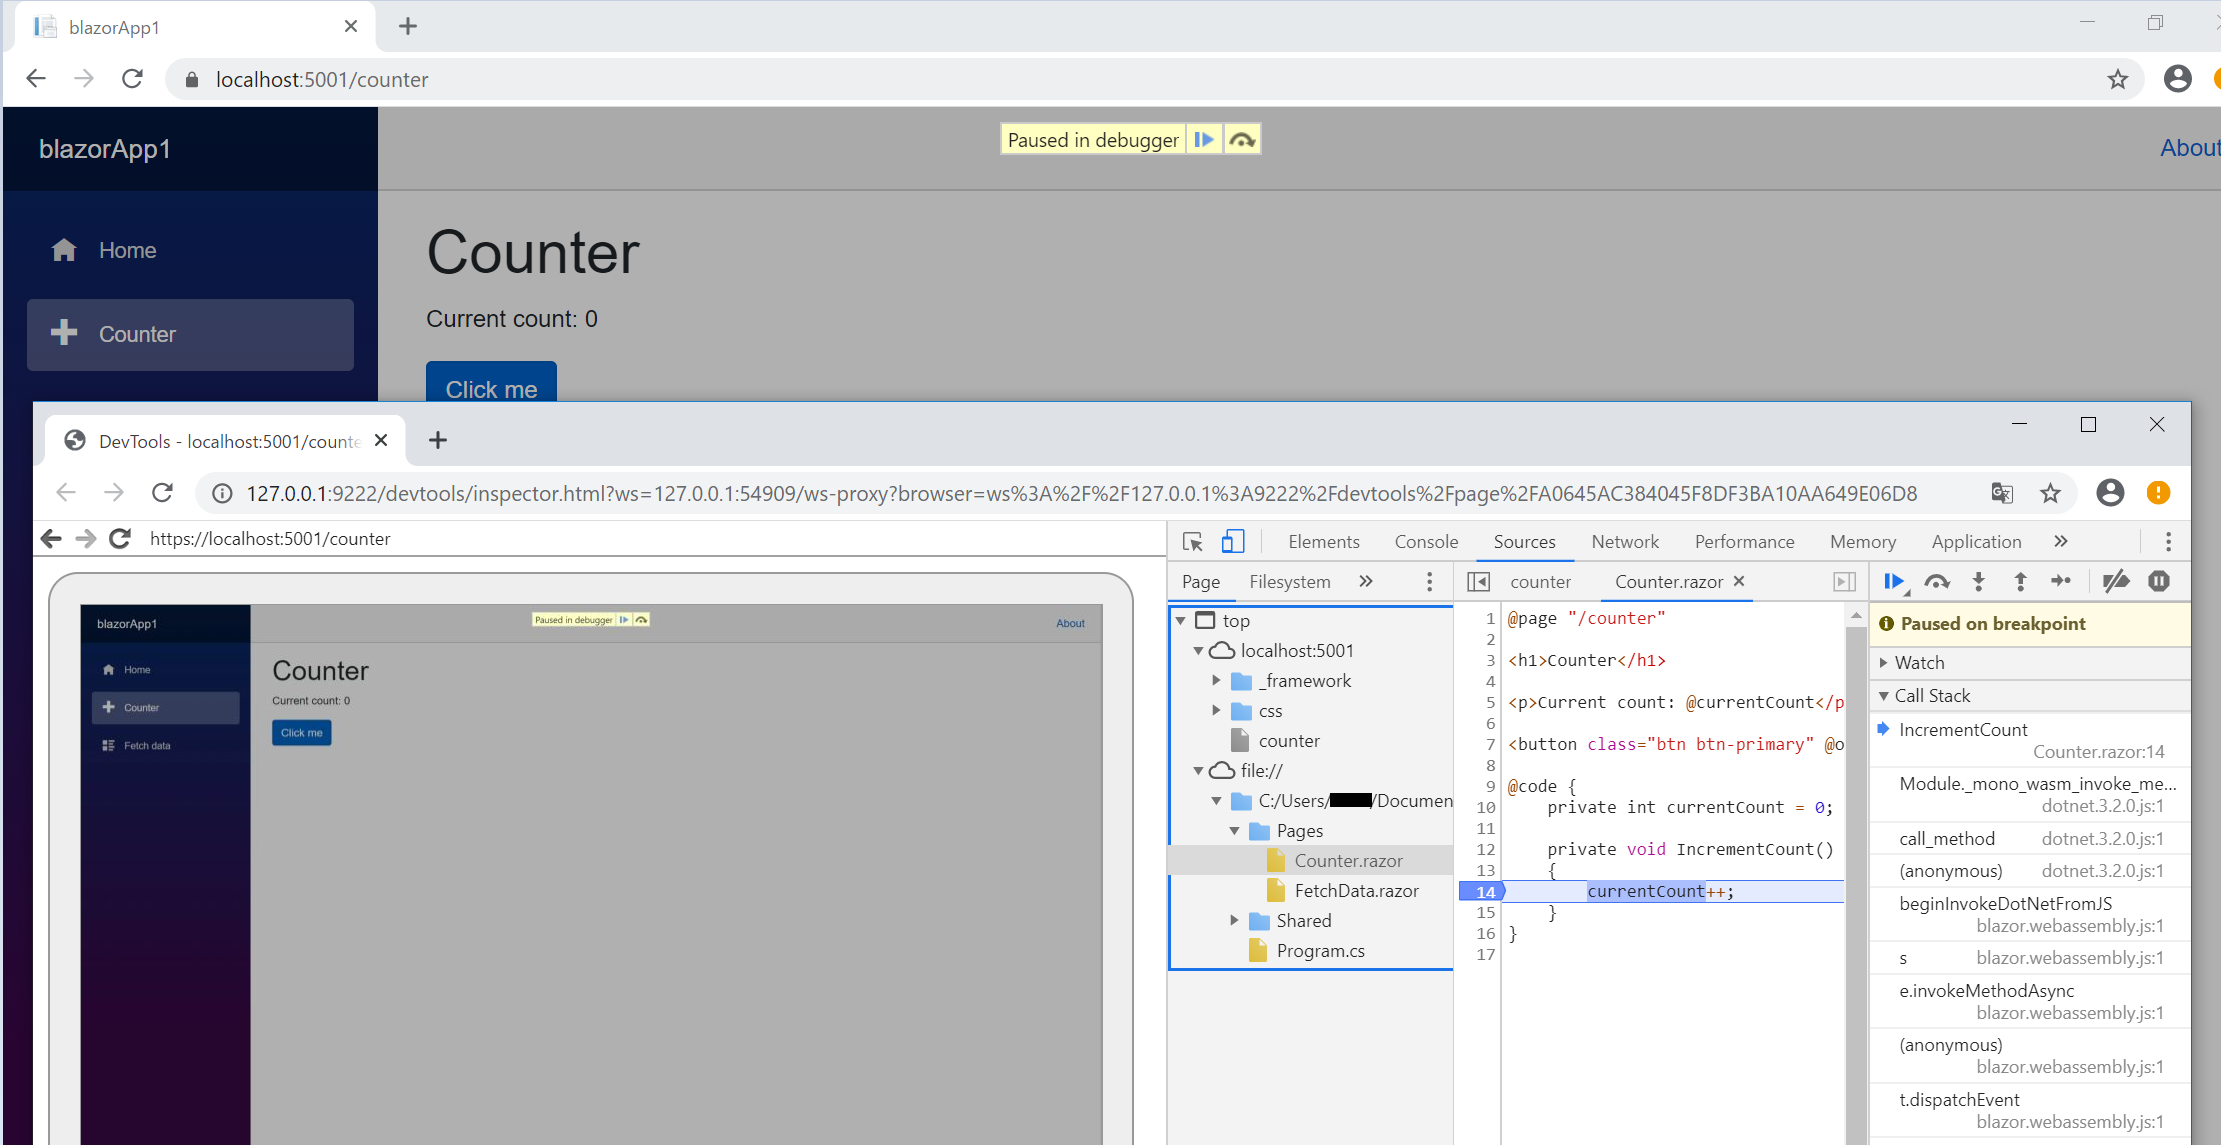
あとは、ディベロッパーツールの Source タブを開いて、.razor のソース内にブレークポイントを張って、Web 画面の操作をします。
先の画面キャプチャでタブを分けて表示しましたが、上の画面で操作、下の画面でデバッグみたいな感じです。
今日はここまで。

