Webの世界にちゃんと触れ初めて半年経ちました。
今回が初めて世の中にアプリケーションを出してみます、、
まずはリリースするとこまでを目標に頑張ります。
React/Firebase編です。
Reactプロジェクトでボットを動かした後、Firebaseにデプロイするところまでやります。
その他の記事はこちらから
・ボット編
作るもの
キャラクターと会話してる風のチャットボットを作ってみます。
ざっくり登場人物
フロントエンド
・React-redux 今回
・Scss
・Three.js
バックエンド
・Firebase 今回
・Azure
・Microsoft BotFramework 今回
綺麗なアーキテクチャとかさっぱりわからないので、なるべく知見のあるものを選んでいます。
バックエンドで詰まって時間浪費しないように、頑張ろう!
React-Redux
Reactでフロントエンドを実装していくにあたり、Bot Framework Web Chat を使用します。いくつかサンプルが用意されており、今回はサンプルの中で11.12.14を参考にしています。
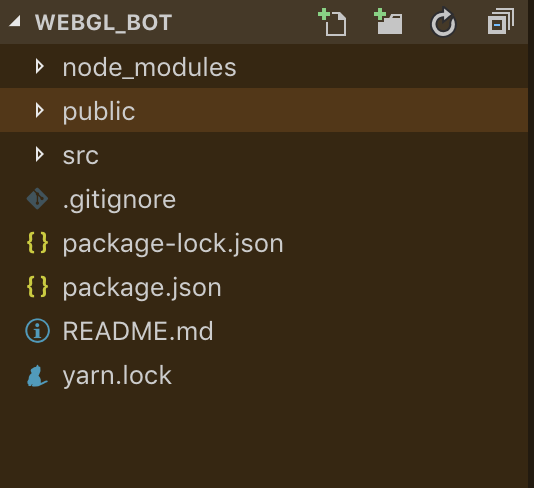
・Reactプロジェクトの作成
$ 作業ディレクトリ/
$ npx create-react-app webgl_bot
$ npm install botframework-webchat memoize-one
$ npm audit //足りないものとかあるかなー
$ npm install react react-dom //reactないって言われたw
$ git init && git add . //git入れるよ
$ git commit -m "First commit."
$ git remote add origin git@github.com:Yourname/aaaa.git && git push -u origin master
Gitのコマンドいつまでも覚えられない、、、
参考:https://qiita.com/KentaKodashima/items/16a787779ffecc29e717
・初期ディレクトリ構成
コンポーネント
今回使用するファイルを追加します。
$ cd src
$ touch AnimateWebChat.js // 親コンポーネント
$ touch Webchat.js // 子コンポーネント
$ touch animations.js // animation個別の動きを記述する
最初にApp.jsを書き換えます。
+ import AnimateWebChat from './AnimateWebChat'

function App() {
  return (
    <AnimateWebChat /> // returnの中をコンポーネントを返すように書き換え
  );
}
WebChat.jsにWebチャットをレンダリングする処理を記述していきます。
import { DirectLine } from 'botframework-directlinejs';
import React from 'react';
import ReactWebChat, { createStyleSet } from 'botframework-webchat';


export default class extends React.Component {
  constructor(props) {
    super(props);
    this.directLine = new DirectLine({ token: 'Your Token' });
  }

  render() {
    const {
        props: { className, store }, //AnimateWebchat.jsから渡されるprops、のはず
    } = this;

    return (
      <ReactWebChat
      className = {`${className || ''}webchat`}
      directLine = { this.directLine }
      store = { store }
       />
    );
  }
}
次にユーザからの応答を聞いて、イベントを発火させるAnimateWebchat.jsを書いていきます。
このクラスにstoreを立ててアプリケーション全体のstateを管理します。
actionにユーザが入力した文字列やアクションのタイプが入っています。
アクションのタイプはデフォルトで用意されています。
各アクションの違いはまだ細かく確認できていないので追記したいです。
こちらでデフォルトのアクションを確認できます。
https://github.com/Microsoft/BotFramework-WebChat/tree/master/packages/core/src/actions
import React from 'react'
import { createStore, createStyleSet } from 'botframework-webchat'

import Webchat from './Webchat'
import animations from './animations'

export default class extends React.Component {
    constructor(props) {
        super(props)
     // storeを立ててactionを元にイベント発火、stateの書き換えをする
        const store = createStore({}, ({ dispatch }) => next => action => {
            if (action.type === 'DIRECT_LINE/CONNECT_FULFILLED') {
                setTimeout(() => {
                    dispatch({
                        type: 'WEB_CHAT/SEND_EVENT',
                        payload: {
                            name: 'webchat/join',
                            value: {
                                language: window.navigator.language
                            }
                        }
                    });
                }, 1000);
            } else if (action.type === 'DIRECT_LINE/INCOMING_ACTIVITY') {
          //animations呼び出し時にactionを参照するようにする
                const DoAnimation = animations.bind(action)
                DoAnimation();
            }
            return next(action);
    });

      this.state = { store };
  }

render() {
    const {
        state: {
            store,
        }
    } = this;
    return (
        <Webchat
            className="Animate" //WebChatコンポーネントにpropsを渡していく
            store={store}
        />
    )
}
}
スタイリング調整
スタイルを調整します。デフォルトの値は全て削除して書き換えます。
code {
  font-family: source-code-pro, Menlo, Monaco, Consolas, "Courier New",
    monospace;
}
html,
body {
  height: 100%;
  margin: 0;
  position: relative;
  font-family:
-apple-system, BlinkMacSystemFont, "Segoe UI", "Roboto", "Oxygen", "Ubuntu", "Cantarell", "Fira Sans", "Droid Sans", "Helvetica Neue",sans-serif;
  -webkit-font-smoothing: antialiased;
  -moz-osx-font-smoothing: grayscale;
}

# root,
# root > * {
  height: 100%;
  width: 100%;
}
ここで一度 yarn startします。ボットが応答していることを確認します。

ユーザアクションを元にイベント着火
ユーザのアクションを元に、アニメーションを実装していきます。
今回は、テストとしてユーザが入力した文字列を元に画面にアラートを出すようにします。
export default function () {
    const activity = this.payload.activity //呼び出し元であるactionをthisとする、はず
    if (activity.from.role === 'user') {
        switch (activity.text) {
            case 'hello':
                alert('Get Hello saying')
                break;

            default:
                break;
        }
    }
}
ぼやけて見づらいですが、helloと入力した時にアラートが出ています。

ここまでで一度firebaseにデプロイします。
Firebase
Firebaseは初めて触りました。
(Azureのwebappでもよかったけど、周りにFirebase+vueでアプリ作っている人が多いので、困った時に聞けそう。また、サーバ側のことはなるべく楽してフロントエンドに時間割きたいので![]() )
)
今回は、firebaseのHostingを利用します。
以下を参考にしてnpmだけyarnに読み替えてデプロイしました。
・FirebaseとReactjs - Hosting
デプロイに成功したので今回はここまでにします。![]()