2
2

Delete article

Deleted articles cannot be recovered.

Draft of this article would be also deleted.

Are you sure you want to delete this article?

More than 5 years have passed since last update.

さくらVPS: Apacheをインストールする

2
Last updated at Posted at 2013-12-28

1. yumのアップデート


# 2. Apacheのインストールと設定

``` インストール
yum install httpd
chkconfig httpd on
cp /etc/httpd/conf/httpd.conf /etc/httpd/conf/httpd.conf.org  // 設定ファイルのバックアップ
vim /etc/httpd/conf/httpd.conf


## ServerTokens OS ⇒ 
ServerTokens Prod

## ServerSignature On ⇒
ServerSignature Off

## /var/www/html — Options Index….
Options -Index…

service configtest httpd
service httpd start

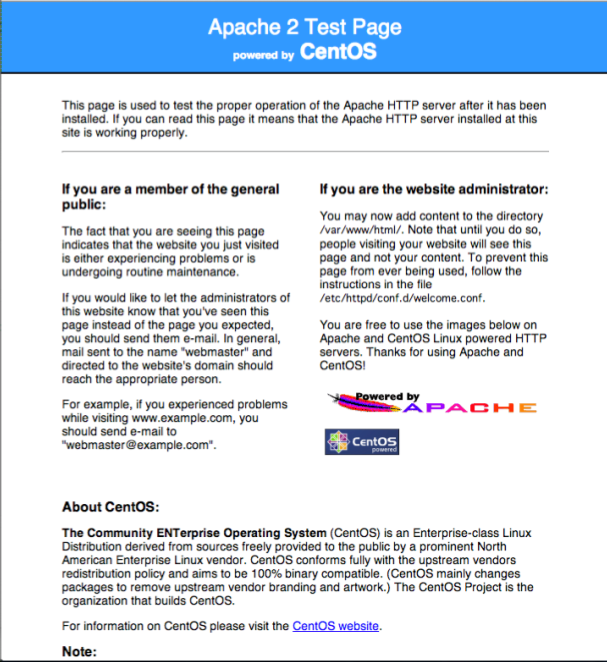
さくらVPS設定時に受け取ったIPアドレスにブラウザからアクセスすると
以下のようなApacheの初期画面が見えれば設定成功。
 2013-12-28 11-43-30.png

3. ファイル転送ソフトの設定

/var/www/htmlの所有権を作業用アカウントに設定

chown -R chkk525:chkk525 /var/www/html/

CyberDuckの設定

CyberDuckを下記からインストールしておく
http://cyberduck.io/

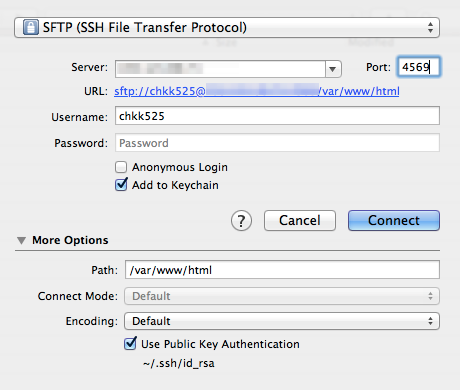
設定は下記のようにする
Screenshot 2013-12-28 11-50-49.png

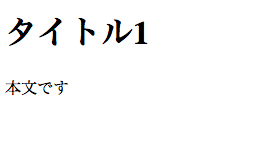
試しに index.htmlをおいて表示されるかテストする

index.html
<html><head><title>タイトル</title></head><body><h1>タイトル1</h1><p>本文です</p></body></html>

正しく表示されたので設定完了
タイトル 2013-12-28 12-06-46.png

2
2
0

Register as a new user and use Qiita more conveniently

  1. You get articles that match your needs
  2. You can efficiently read back useful information
  3. You can use dark theme
What you can do with signing up
2
2

Delete article

Deleted articles cannot be recovered.

Draft of this article would be also deleted.

Are you sure you want to delete this article?