環境
macOS 10.15.4
Vagrantをインストール
Vagrantをホームページからインストールします。
 https://www.vagrantup.com
Cent OSをインストール
まずはVagrantがインストールできているか確認をします。
$ vagrant -v
Vagrant 2.2.9
ディレクトリを作成し、移動します。
$ mkdir -p vagrant/centos7
$ cd vagrant
$ cd centos7
移動したディレクトリで下記のコマンドを実行します。
$ vagrant init centos/7
インストール完了後、エディタを開き下記の1行をコメントアウトから外します。
# config.vm.network "private_network", ip: "192.168.33.10"

下記のコマンドを実行し、少し待ちます...
$ vagrant up
CentOSにログイン
下記のコマンド実行しログインします。
$ vagrant ssh
[vagrant@localhost ~]$
rbenv をインストール
yumパッケージを準備します。
$ sudo yum install -y git gcc openssl-devel readline-devel zlib-devel sqlite-devel gcc-c++ libicu-devel cmake vim
rbenvをインストールします。
$ git clone https://github.com/sstephenson/rbenv.git ~/.rbenv
$ echo 'export PATH="$HOME/.rbenv/bin:$PATH"' >> ~/.bash_profile
$ echo 'eval "$(rbenv init -)"' >> ~/.bash_profile
$ source ~/.bash_profile
インストールが完了しているかどうか確認をします。
$ rbenv --version
rbenv 1.1.2-30-gc879cb0
ruby-buildプラグインを追加
下記のコマンドを実行しruby-buildプラグインを追加します。
$ git clone https://github.com/sstephenson/ruby-build.git ~/.rbenv/plugins/ruby-build
Rubyをインストール
Rubyをインストールします。
※余談ですがわたしが他者様のサイトを参照にしたときにバージョンが2.4でした。しかしRails5以上と現在主流のRailsのバージョンには2.5以上が必要になりますので、バージョン指定などに気をつけてください。
$ rbenv install 2.7.1
$ rbenv global 2.7.1
$ rbenv rehash
$ ruby -v
インストールの完了が確認できましたら次に進みます。
Bundlerをインストール
Bundlerのインストールを行うため下記のコマンドを実行します。
$ gem install bundler
$ rbenv rehash
$ bundle -v
Bundler version 2.1.4
Ruby on Railsをインストール
インストールするためのディレクトリの作成と移動を行います。
$ mkdir -p app/memo_app
$ cd app
$ cd memo_app
そしてインストールするためのコマンドを実行します。
$ bundle init
$ sed -i 's/# gem "rails"/gem "rails", "~> 5.1.0"/g' Gemfile
$ bundle install --path vendor/bundler
$ bundle exec rails new .
$ sed -i "s/# gem 'therubyracer'/gem 'therubyracer'/g" Gemfile
$ bundle install
サーバーを起動
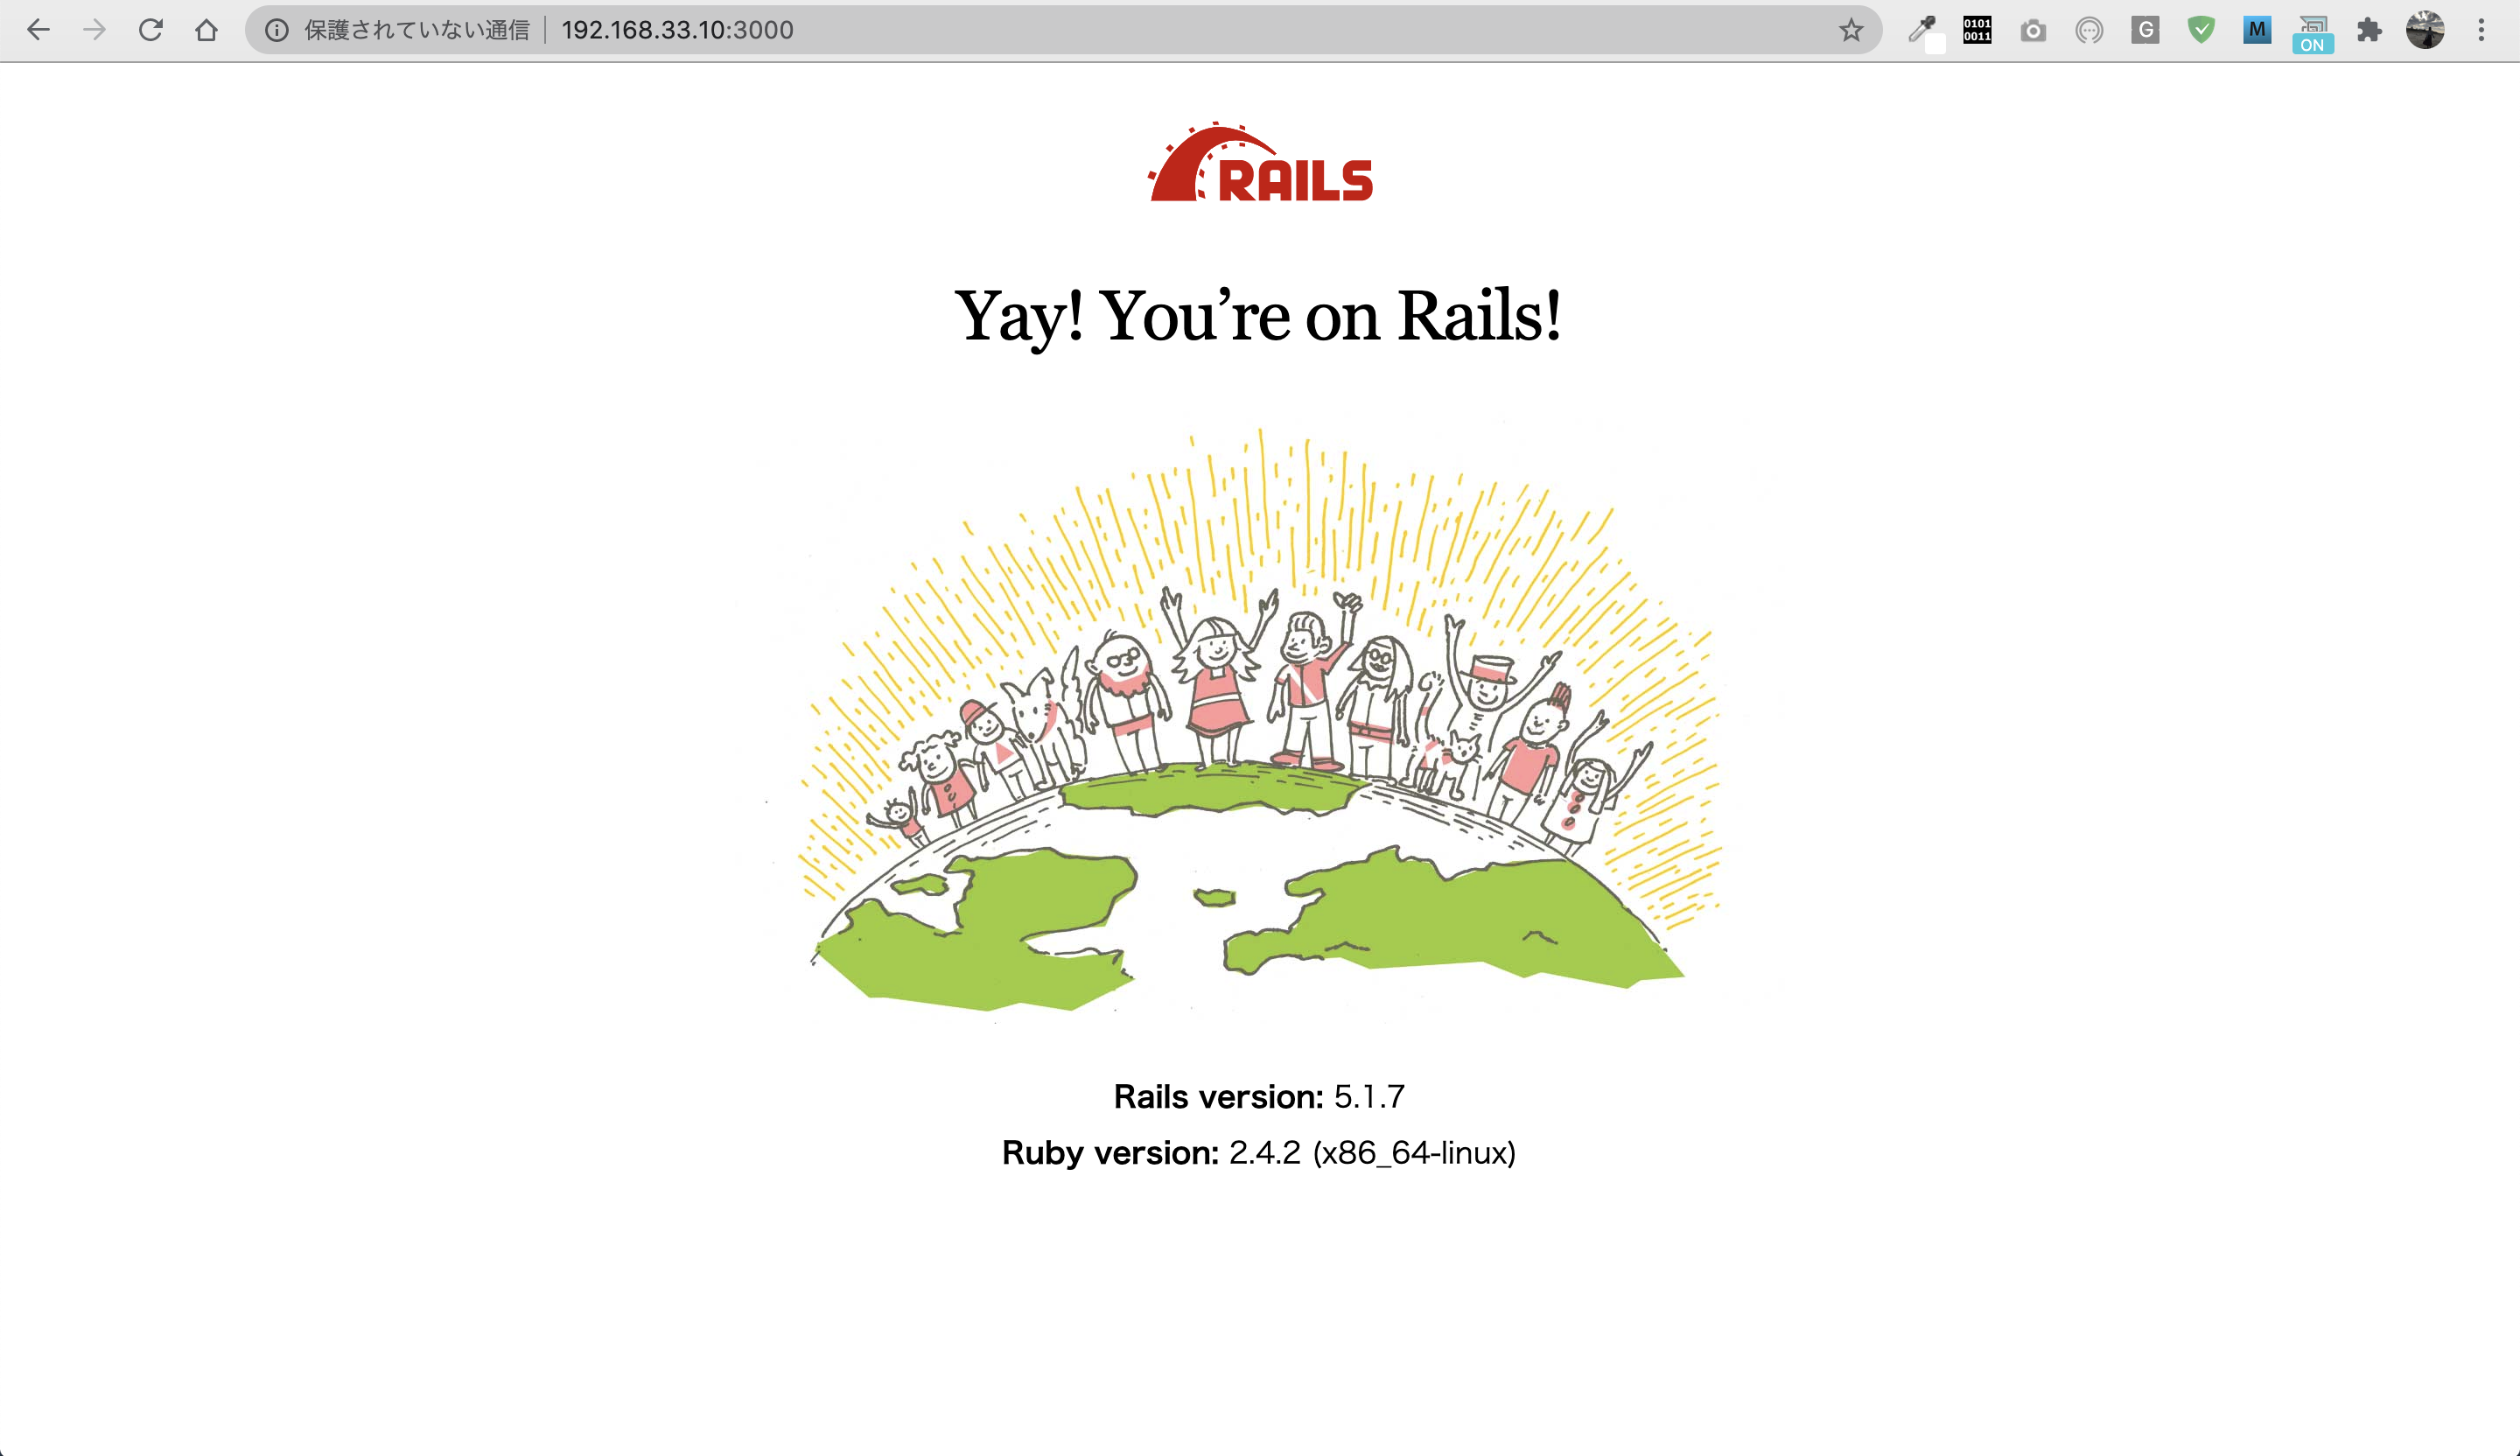
下記のコマンドを実行し下記のアドレスにアクセスしてください。
$ ./bin/rails s -b 0.0.0.0

これで手順は終了になります^_^
(補足)シャットダウンとログイン/ログアウトについて
一度閉じてしまったときや再度開くときに必要になると思いますのでシャットダウンとログイン/ログアウトについても説明します。
ログアウト
# CentOSからログアウトする場合のコマンド
$ exit

# CentOSをシャットダウンする場合のコマンド
$ vagrant halt
ログイン
# Cent OSにログインする場合のコマンド
$ vagrant up

$ vagrant ssh
[vagrant@localhost ~]$
Vagrantの開発環境でも高機能エディタ(VSCode)でアプリを作成できるようにする手順
Vagrantの仮想環境が構築されましたがこれを高機能エディタ(VSCode)でも作成や編集が行えるように接続する方法を解説していますので合わせてご覧ください^_^