3
4

Delete article

Deleted articles cannot be recovered.

Draft of this article would be also deleted.

Are you sure you want to delete this article?

More than 5 years have passed since last update.

Jupyter Notebookを始める

Last updated at Posted at 2019-07-28

はじめに

Pythonの勉強でJupyter Notebookを使い始めたので、基本的な導入部分のメモ。

Jupyter Notebookとは

Jupyter Notebookとは、

  • プログラムを実行しながら結果を残せるデータ分析用ツール。
  • Notebookのいう形式でブラウザを使ってコードの入力、実行が行える。
  • さらに、その実行結果を残すことが可能。
  • 一度書いたコードを直すのも簡単。
  • 書いたコードをスクリプトファイルとして保存できる。
  • 書いたコードは数分ごとに自動保存してくれる。
  • 保存したファイルの共有が簡単。

という便利なデータ分析用ツール。
Jupyter Notebookのカーネルとブラウザが通信することで動くようになっている。

インストールとカーネル起動

今回、macOSにインストール。
以下コマンドでインストールできる。

pip install jupyter

カーネルを起動。

jupyter notebook

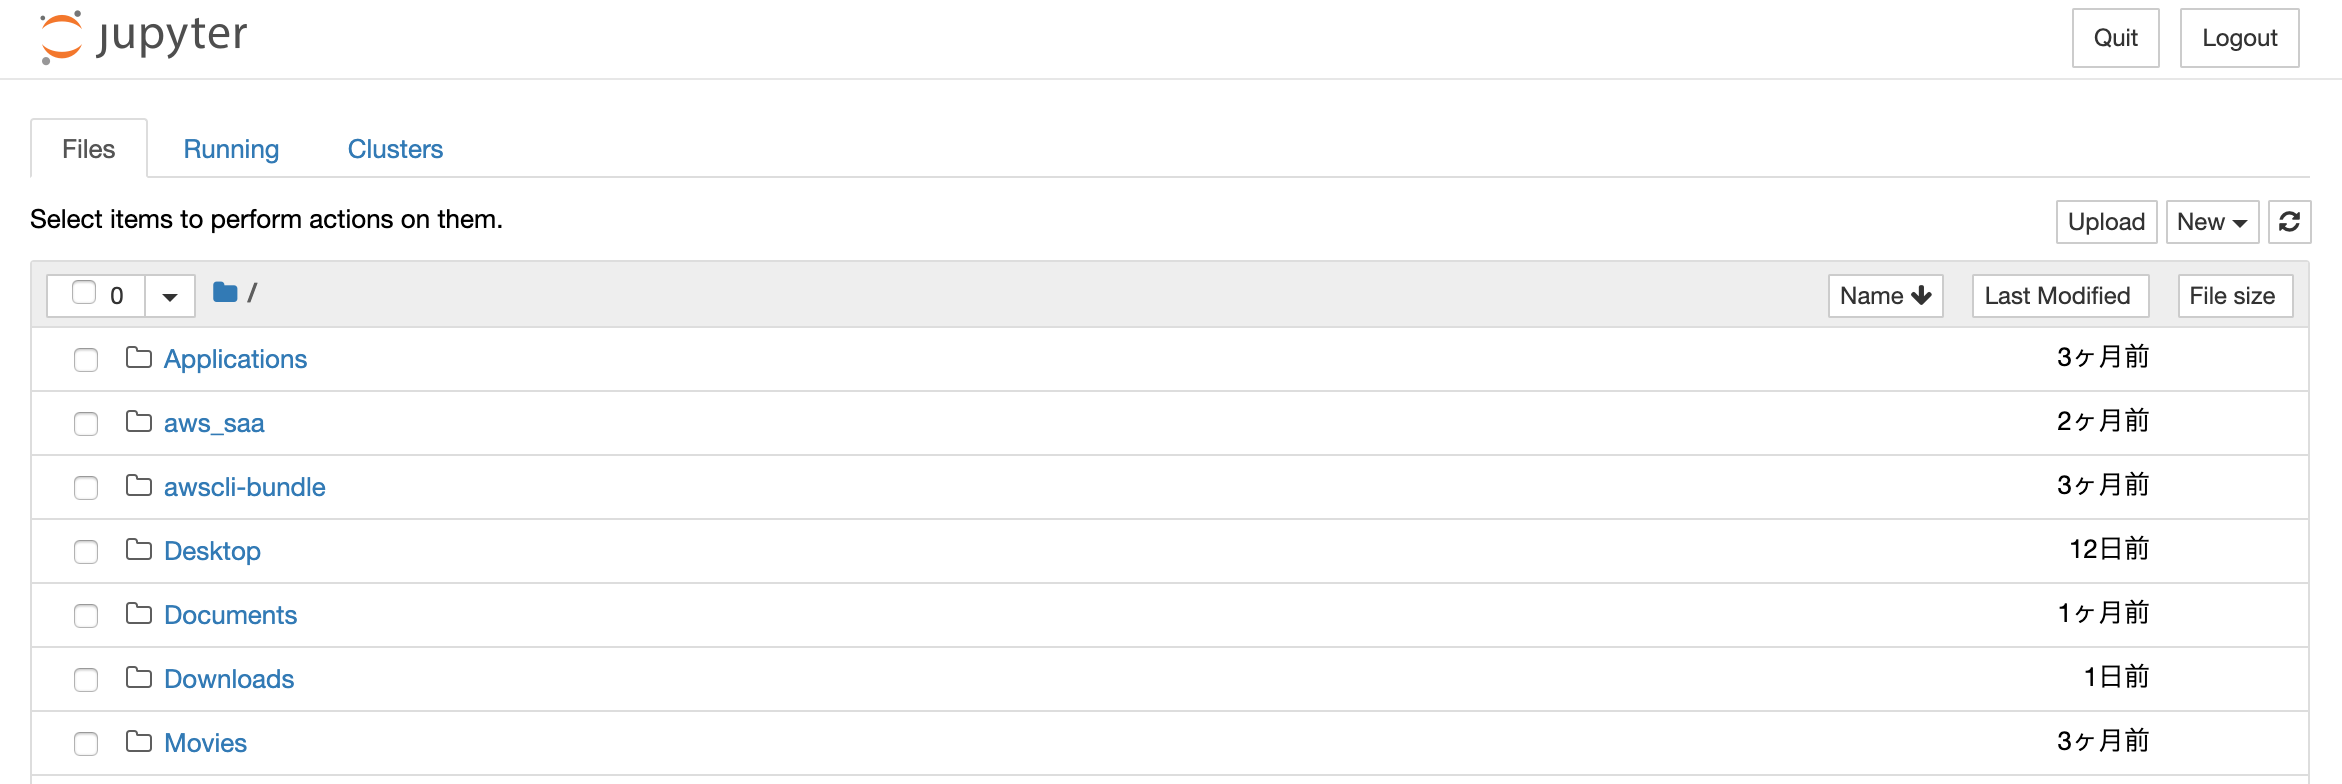
ブラウザが立ち上がりこんな画面が表示される。スクリーンショット 2019-07-28 14.23.54.png

スクリーンショット 2019-07-28 13.37.41.png

Notebookを作成する

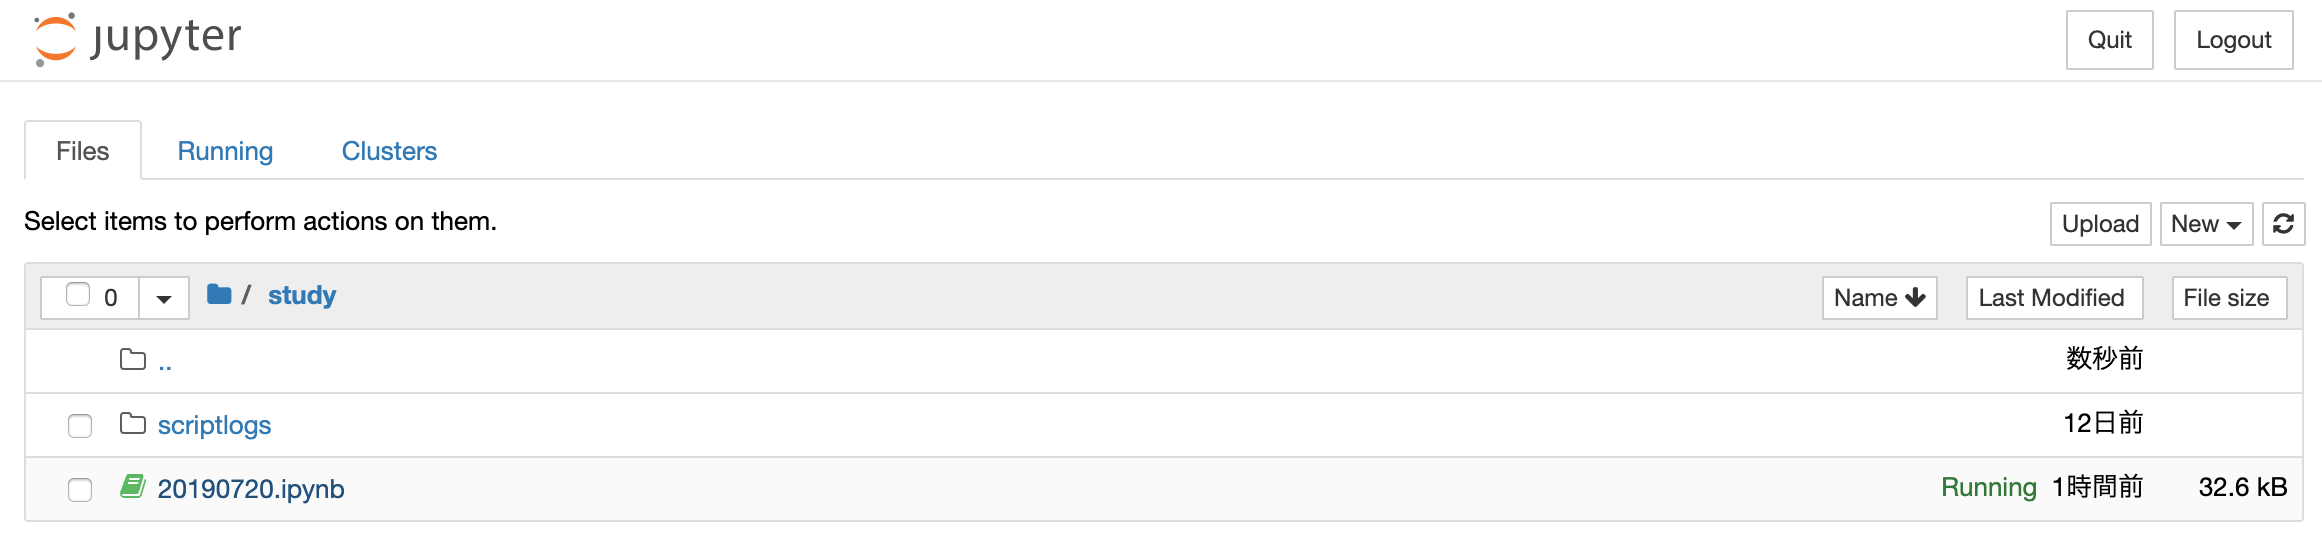
Notebookの実体は、拡張子「.ipynb」 のファイル。
ブラウザのダッシュボードでは本のアイコンで表示されている。
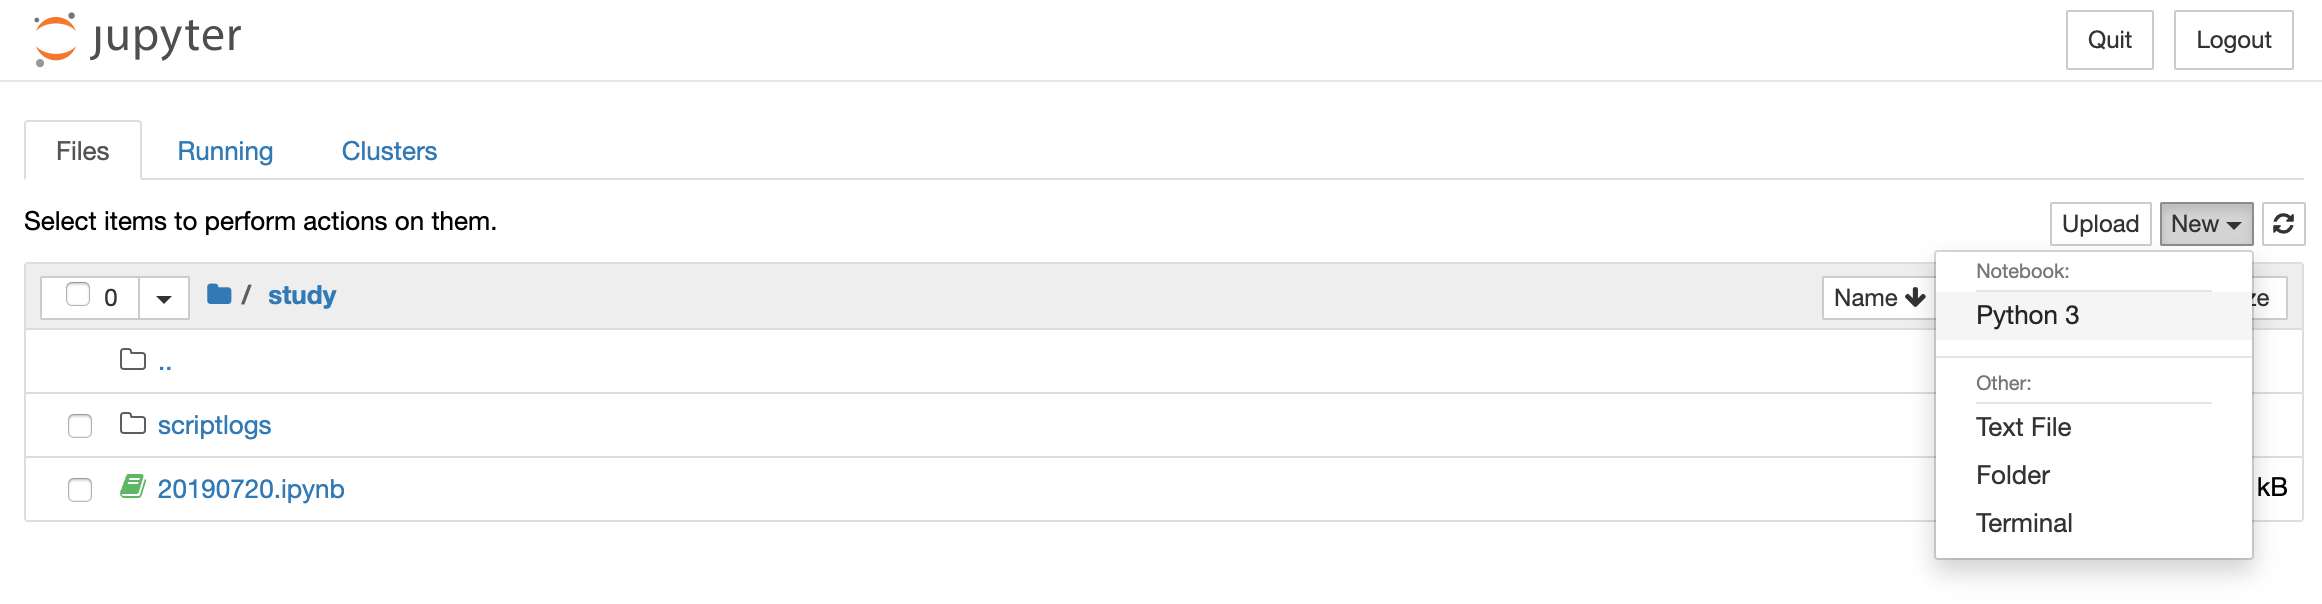
スクリーンショット 2019-07-28 14.13.26.png

新規Notebookを作成する。
ブラウザ「New」メニューから[Python3](環境によって表示が異なるらしい)を選択。
スクリーンショット 2019-07-28 14.14.39.png

新規タブに作成されたNotebookが表示される。
「セル」という入力フォームにコードを書いて実行する。
スクリーンショット 2019-07-28 14.16.31.png

Notebookを終了する

[File]メニューから[Close and Halt]を選択して終了する。
スクリーンショット 2019-07-28 14.23.54.png

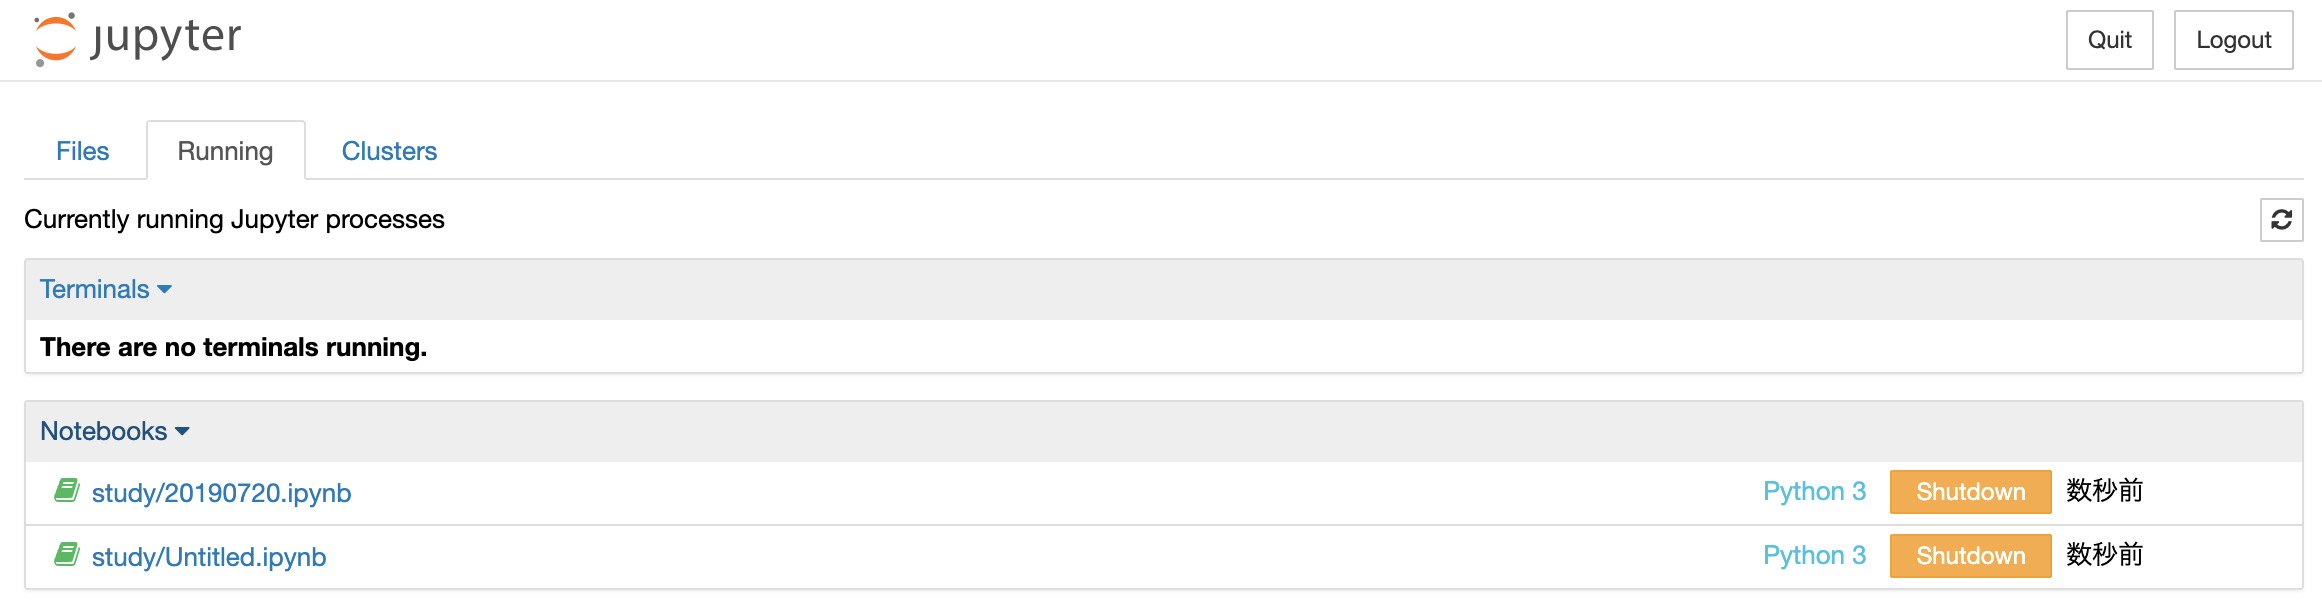
Notebookのブラウザウィンドウを強制的に閉じて終了すると、ゾンビプロセスが残ってしまうためこの方法は避ける。
もしウィンドウを閉じた場合、ダッシュボードの[Running]タブに表示されている、実行プロセスのうち終了したいプロセスの[Shutdown]を押すことで終了できる。
スクリーンショット 2019-07-28 14.29.23.png

3
4
0

Register as a new user and use Qiita more conveniently

  1. You get articles that match your needs
  2. You can efficiently read back useful information
  3. You can use dark theme
What you can do with signing up
3
4

Delete article

Deleted articles cannot be recovered.

Draft of this article would be also deleted.

Are you sure you want to delete this article?