はじめに
UnityのShaderでは、Texture2DArrayを使うことができます。
ところが、Unity2020.1までは肝心のTexture2DArrayアセットをエディタ上で作成する方法がなく、Editor拡張を使って、コードを書くほかありませんでした。
しかし、**ついに2020.2にて、エディタでTexture2DArrayアセットを作成する機能がデフォルトで実装されました!**めでたい!
ということで、本記事はその新機能を使う方法の紹介です。
※英語読める方は本家本元を読むのが早いです。2021/03/12現在、日本語のマニュアルはない模様。
https://docs.unity3d.com/2020.2/Documentation/Manual/class-Texture2DArray.html
対応バージョン
- Unity2020.2以降
方法
1. 画像を用意する
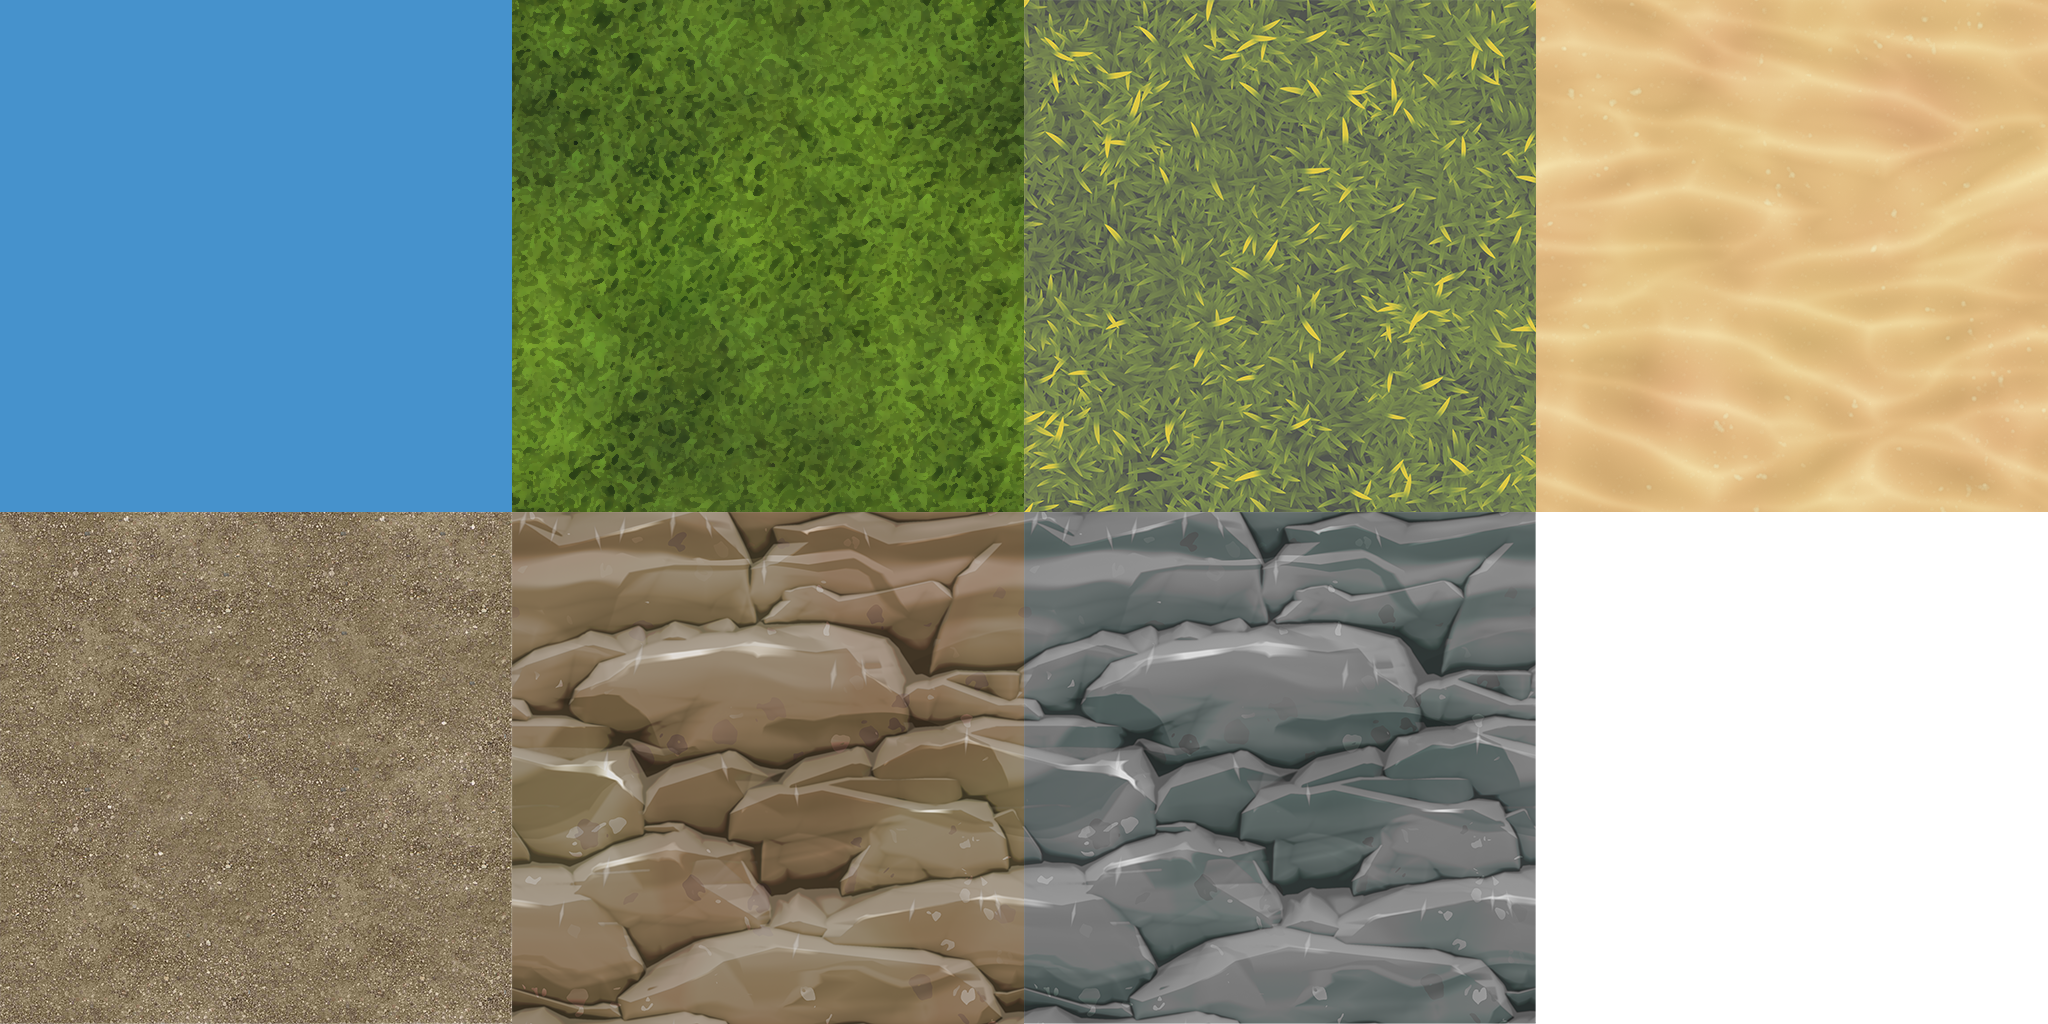
まずは、Photoshop等でこのような均等割り付けの画像を作成します。
ここでは2048x1024pxで、横4x縦2に割り付けた画像を例に挙げます。
この割り付けた画像一つ一つを、Unity側のimport settingで自動スライスし、Texture2DArrayに変換します。
2. Unityに読み込む

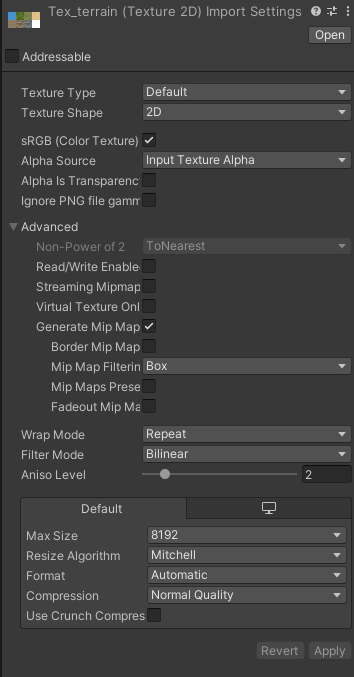
Unityに読み込むと、まずはこのような設定で読み込まれるかと思います。(多少違うかも)
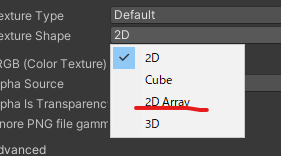
このうち、上から2番目の**「TextureShape」を変更します。
Unity2020.2からは、この項目に、「2DArray」**が増えていると思うので、これを選択します。
すると、Columns、Rowsという項目が出てくるので、先ほど作成した画像の、割付の数を入力します。
今回の例では**「横4x縦2」**の画像なので、Columnsに4、Rowsに2と入力します。
以上で設定完了なので、**「Apply」**を押し、生成されたことを確認してください。
シンプル、カンタン!


