全てはBIOS設定のsecure bootをdisableにするところから始まる。
追加、途中でエラーが出たらこちらの先人のアドバイスを参考にしてください
https://qiita.com/sikeda107/items/e916fbb07ca5c3fe60da
GPUがCPUに刺さっているのかを確認するためにyumを使ってpciutilsをインストールする。
sudo yum install pciutils
そして以下のコマンドを入力しこれでGPUの詳細が表示されたらOKである。
sudo lspci |grep -i nvidia
自分のワークステーションの環境はXeon ( gpu nvidia GM200[GeForce GTX TITAN X])と表示された。
以下のNVIDIA公式サイトから
https://developer.nvidia.com/cuda-downloads
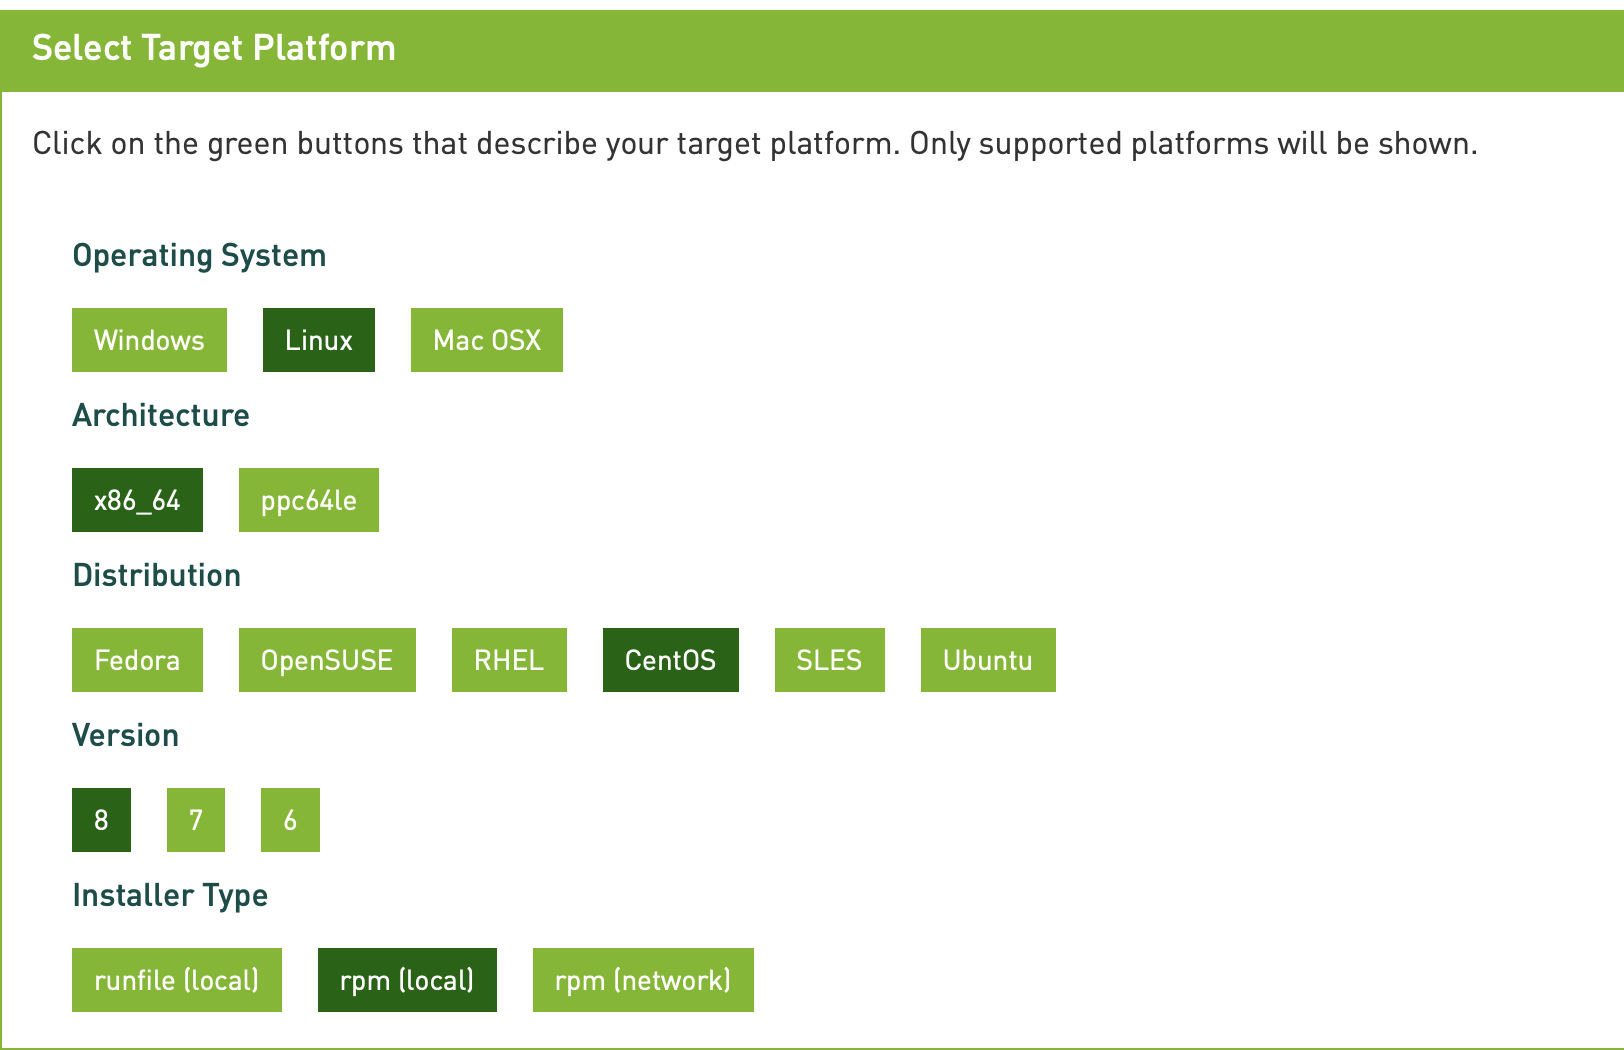
以下の画像のように選択し、CUDA10.1 toolkit and Driverのソースコードを取得する。

ネットワークからcudaのrpmファイルを取得するためにyumを使ってwgetをインストールする。
sudo yum install wget
そしてサイトの説明に従ってCENTOS8.0のスクリーン上でインストールを行う。

$ wget http://developer.download.nvidia.com/compute/cuda/10.1/Prod/local_installers/cuda-repo-rhel8-10-1-local-10.1.243-418.87.00-1.0-1.x86_64.rpm
$ sudo rpm -i cuda-repo-rhel8-10-1-local-10.1.243-418.87.00-1.0-1.x86_64.rpm
$ sudo dnf clean all
$ sudo dnf -y install cuda
再起動する。
sudo reboot
その後CUDAのPATH指定を行う。
$ export PATH=/usr/local/cuda-10.1/bin${PATH:+:${PATH}}
$ export LD_LIBRARY_PATH=/usr/local/cuda-10.1/lib64${LD_LIBRARY_PATH:+:${LD_LIBRARY_PATH}}
$export CUDA_HOME=/usr/local/cuda
以下のコマンドでバージョンが確認できる(CUDA ver.10.1)
$ nvcc -V
以下のコマンドで何か表示されればNvidia Driverは正常にインストールされたことになる。
$ nvidia-smi