What's?
タイトル通り。Amazon Linux 2に、GitBucketをsystemdのユニットとして登録して使いたい、ということで。
基本的な手順はこちらのWikiを参照します。
環境
今回の環境は、こちらです。
$ cat /etc/os-release
NAME="Amazon Linux"
VERSION="2"
ID="amzn"
ID_LIKE="centos rhel fedora"
VERSION_ID="2"
PRETTY_NAME="Amazon Linux 2"
ANSI_COLOR="0;33"
CPE_NAME="cpe:2.3:o:amazon:amazon_linux:2"
HOME_URL="https://amazonlinux.com/"


$ uname -srvmpio
Linux 4.14.256-197.484.amzn2.x86_64 #1 SMP Tue Nov 30 00:17:50 UTC 2021 x86_64 x86_64 x86_64 GNU/Linux
Java 8をインストールする
GitBucketは、Java 8で動作します。
GitBucket requires Java8. You have to install it, if it is not already installed.
Amazon Linux 2での選択肢はyumでインストールできるものか
$ yum search java-1.8.0-openjdk
読み込んだプラグイン:langpacks, priorities, update-motd
====================================================================== N/S matched: java-1.8.0-openjdk =======================================================================
java-1.8.0-openjdk.x86_64 : OpenJDK 8 Runtime Environment
java-1.8.0-openjdk-accessibility.x86_64 : OpenJDK accessibility connector
java-1.8.0-openjdk-accessibility-debug.x86_64 : OpenJDK 8 accessibility connector for packages with debugging on and no optimisation
java-1.8.0-openjdk-debug.x86_64 : OpenJDK 8 Runtime Environment unoptimised with full debugging on
java-1.8.0-openjdk-demo.x86_64 : OpenJDK 8 Demos
java-1.8.0-openjdk-demo-debug.x86_64 : OpenJDK 8 Demos unoptimised with full debugging on
java-1.8.0-openjdk-devel.x86_64 : OpenJDK 8 Development Environment
java-1.8.0-openjdk-devel-debug.x86_64 : OpenJDK 8 Development Environment unoptimised with full debugging on
java-1.8.0-openjdk-headless.x86_64 : OpenJDK 8 Headless Runtime Environment
java-1.8.0-openjdk-headless-debug.x86_64 : OpenJDK 8 Runtime Environment unoptimised with full debugging on
java-1.8.0-openjdk-javadoc.noarch : OpenJDK 8 API documentation
java-1.8.0-openjdk-javadoc-debug.noarch : OpenJDK 8 API documentation for packages with debugging on and no optimisation
java-1.8.0-openjdk-javadoc-zip.noarch : OpenJDK 8 API documentation compressed in a single archive
java-1.8.0-openjdk-javadoc-zip-debug.noarch : OpenJDK 8 API documentation compressed in a single archive for packages with debugging on and no optimisation
java-1.8.0-openjdk-src.x86_64 : OpenJDK 8 Source Bundle
java-1.8.0-openjdk-src-debug.x86_64 : OpenJDK 8 Source Bundle for packages with debugging on and no optimisation

  Name and summary matches only, use "search all" for everything.
amazon-linux-extrasでインストールするAmazon Correttoなのですが。
$ amazon-linux-extras list | grep corretto -A 2
 27  corretto8                available    \
        [ =1.8.0_192  =1.8.0_202  =1.8.0_212  =1.8.0_222  =1.8.0_232
          =1.8.0_242  =stable ]
今回は、Amazon Correttoを使うことにしました。
$ sudo amazon-linux-extras install corretto8
バージョン。
$ java -version
openjdk version "1.8.0_312"
OpenJDK Runtime Environment Corretto-8.312.07.2 (build 1.8.0_312-b07)
OpenJDK 64-Bit Server VM Corretto-8.312.07.2 (build 25.312-b07, mixed mode)
余談ですが、11以降のAmazon Correttoはyumでインストールできるようです。
$ yum search corretto
読み込んだプラグイン:langpacks, priorities, update-motd
=========================================================================== N/S matched: corretto ============================================================================
java-11-amazon-corretto.x86_64 : Amazon Corretto development environment
java-11-amazon-corretto-headless.x86_64 : Amazon Corretto headless development environment
java-11-amazon-corretto-javadoc.x86_64 : Amazon Corretto 11 API documentation
java-17-amazon-corretto.x86_64 : Amazon Corretto development environment
java-17-amazon-corretto-devel.x86_64 : Amazon Corretto 17 development tools
java-17-amazon-corretto-headless.x86_64 : Amazon Corretto headless development environment
java-17-amazon-corretto-javadoc.x86_64 : Amazon Corretto 17 API documentation
java-17-amazon-corretto-jmods.x86_64 : Amazon Corretto 17 jmods

  Name and summary matches only, use "search all" for everything.
GitBucketをインストールして、systemdのユニットとして登録する
では、こちらを参照しながらGitBucketをインストールして、systemdのユニットとして登録します。
GitBucketのインストール先は、/opt/gitbucketとします。
$ sudo mkdir /opt/gitbucket
$ cd /opt/gitbucket
グループおよびユーザーを作成。ログイン不可のユーザーですが、ホームディレクトリは/opt/gitbucketに調整。
$ sudo groupadd -g 555 gitbucket
$ sudo useradd \
  -g gitbucket --no-user-group \
  --home-dir /opt/gitbucket --no-create-home \
  --shell /usr/sbin/nologin \
  --system --uid 555 gitbucket
GitBucketのダウンロード。
$ sudo curl -LO https://github.com/gitbucket/gitbucket/releases/download/4.37.2/gitbucket.war
/opt/gitbucketの所有者を変更します。
$ sudo chown -R gitbucket:gitbucket /opt/gitbucket
systemdのユニット定義ファイルを作成。
/etc/systemd/system/gitbucket.service
[Unit]
Description=GitBucket is a Git web platform powered by Scala offering
Documentation=https://github.com/gitbucket/gitbucket/wiki
After=network-online.target
Wants=network-online.target

[Service]
Type=simple
ExecStart=/usr/bin/java -jar /opt/gitbucket/gitbucket.war
User=gitbucket

[Install]
WantedBy=multi-user.target
daemon-reloadして、自動起動の設定も行います。
$ sudo systemctl daemon-reload
$ sudo systemctl enable gitbucket.service
起動。
$ sudo systemctl start gitbucket.service
statusで確認。
$ sudo systemctl status gitbucket.service
● gitbucket.service - GitBucket is a Git web platform powered by Scala offering
   Loaded: loaded (/etc/systemd/system/gitbucket.service; enabled; vendor preset: disabled)
   Active: active (running) since 火 2022-01-18 11:44:35 UTC; 6s ago
     Docs: https://github.com/gitbucket/gitbucket/wiki
 Main PID: 9152 (java)
   CGroup: /system.slice/gitbucket.service
           └─9152 /usr/bin/java -jar /opt/gitbucket/gitbucket.war

 1月 18 11:44:37 localhost java[9152]: 2022-01-18 11:44:37.683:INFO:oejs.session:main: DefaultSessionIdManager workerName=node0
 1月 18 11:44:37 localhost java[9152]: 2022-01-18 11:44:37.690:INFO:oejs.session:main: No SessionScavenger set, using defaults
 1月 18 11:44:37 localhost java[9152]: 2022-01-18 11:44:37.692:INFO:oejs.session:main: node0 Scavenging every 660000ms
 1月 18 11:44:38 localhost java[9152]: 11:44:38.312 [main] INFO  com.zaxxer.hikari.HikariDataSource - HikariPool-1 - Starting...
 1月 18 11:44:38 localhost java[9152]: 11:44:38.608 [main] INFO  com.zaxxer.hikari.HikariDataSource - HikariPool-1 - Start completed.
 1月 18 11:44:38 localhost java[9152]: 11:44:38.627 [main] WARN  slick.util.AsyncExecutor - Having maxConnection > maxThreads can result in deadlocks if transa...s are used.
 1月 18 11:44:38 localhost java[9152]: 11:44:38.648 [main] INFO  g.core.servlet.InitializeListener - Check version
 1月 18 11:44:38 localhost java[9152]: 11:44:38.648 [main] INFO  g.core.servlet.InitializeListener - Start schema update
 1月 18 11:44:39 localhost java[9152]: 11:44:39.895 [main] INFO  l.servicelocator.ServiceLocator - Can not use class liquibase.parser.core.yaml.YamlChangeLogPa...e classpath
 1月 18 11:44:39 localhost java[9152]: 11:44:39.896 [main] INFO  l.servicelocator.ServiceLocator - Can not use class liquibase.parser.core.json.JsonChangeLogPa...e classpath
Hint: Some lines were ellipsized, use -l to show in full.
ログはこちらで参照。
$ sudo journalctl -u gitbucket.service -f
http://[GitBucketが動作しているホスト]:8080にアクセス。
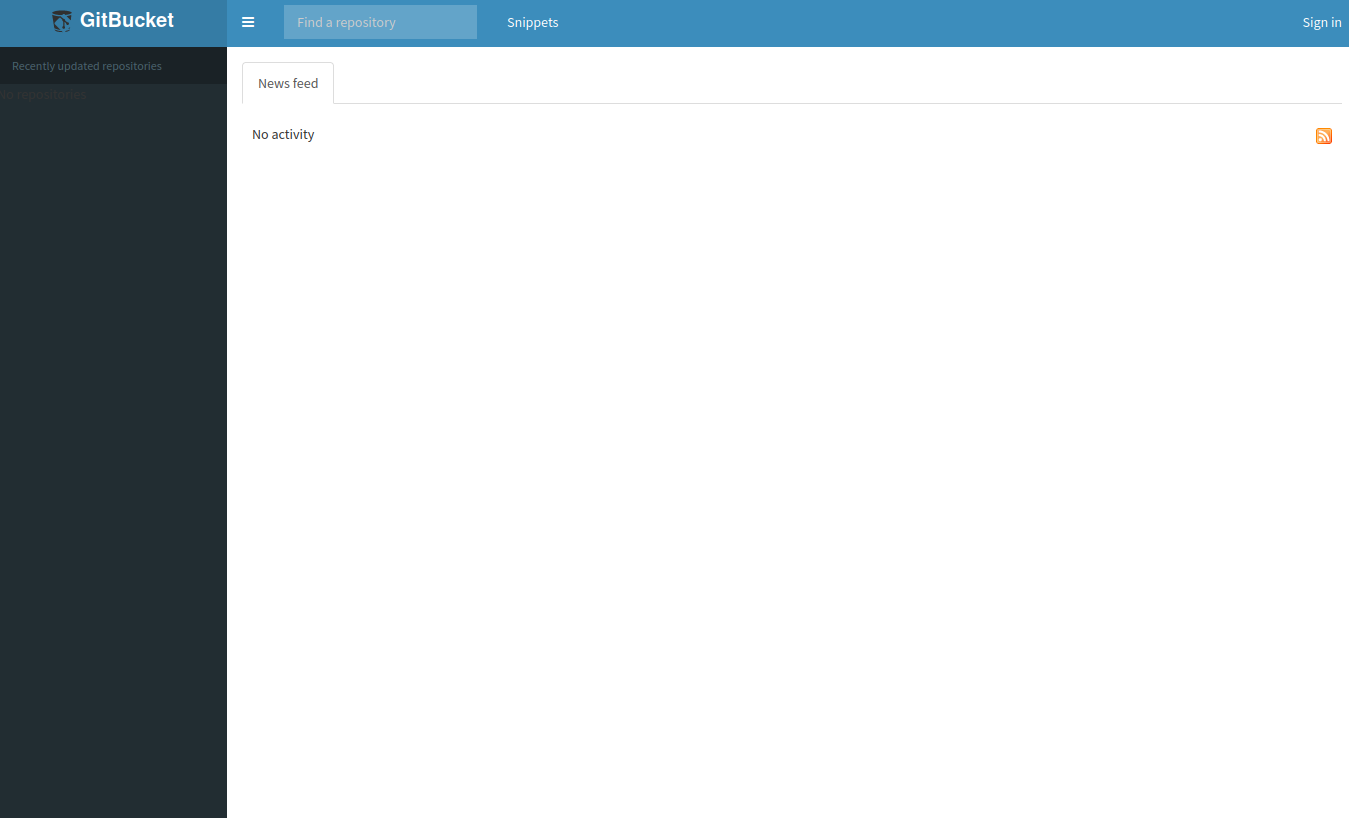
ユーザーID、パスワードは共にrootです。
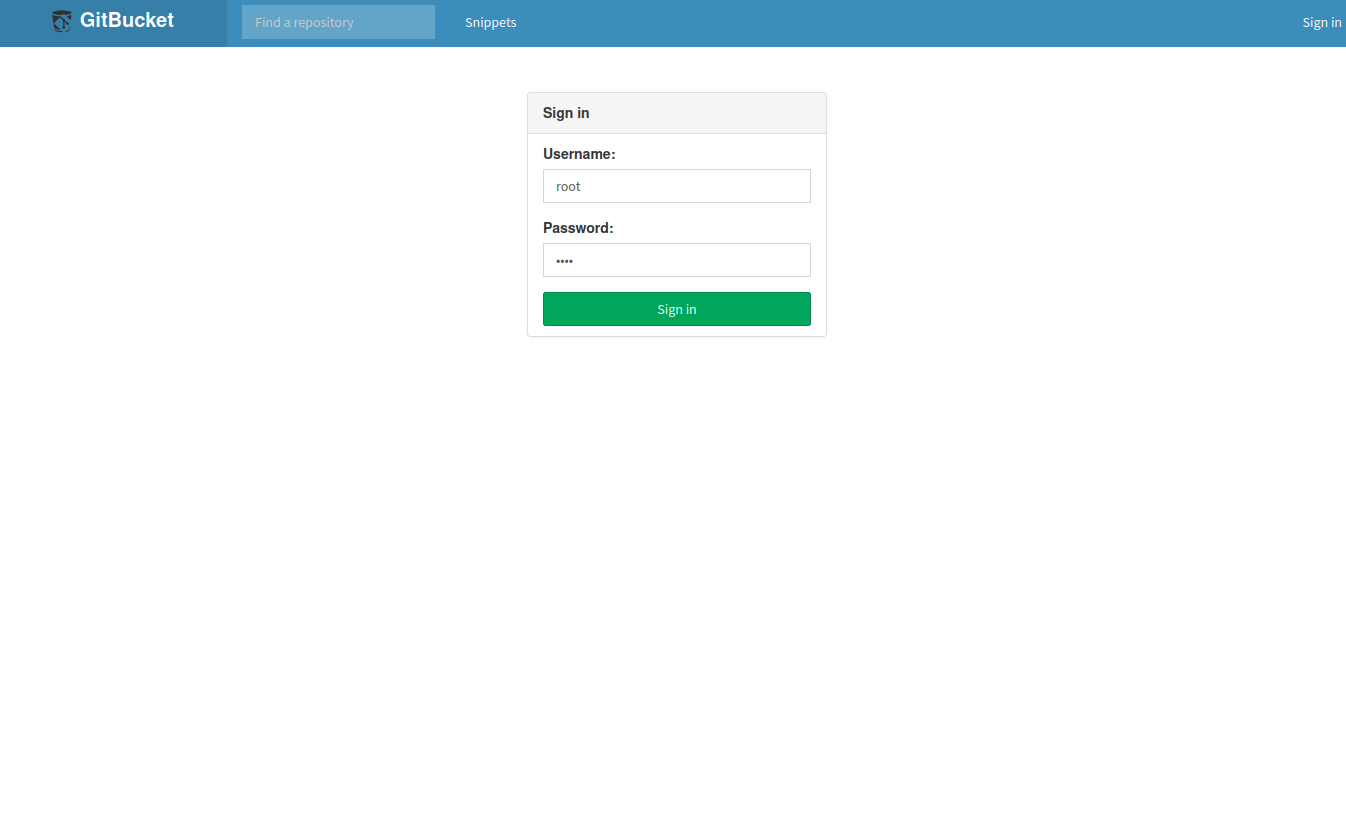
これで、GitBucketをsystemdのユニットとして登録しつつ、利用できます。