完成品
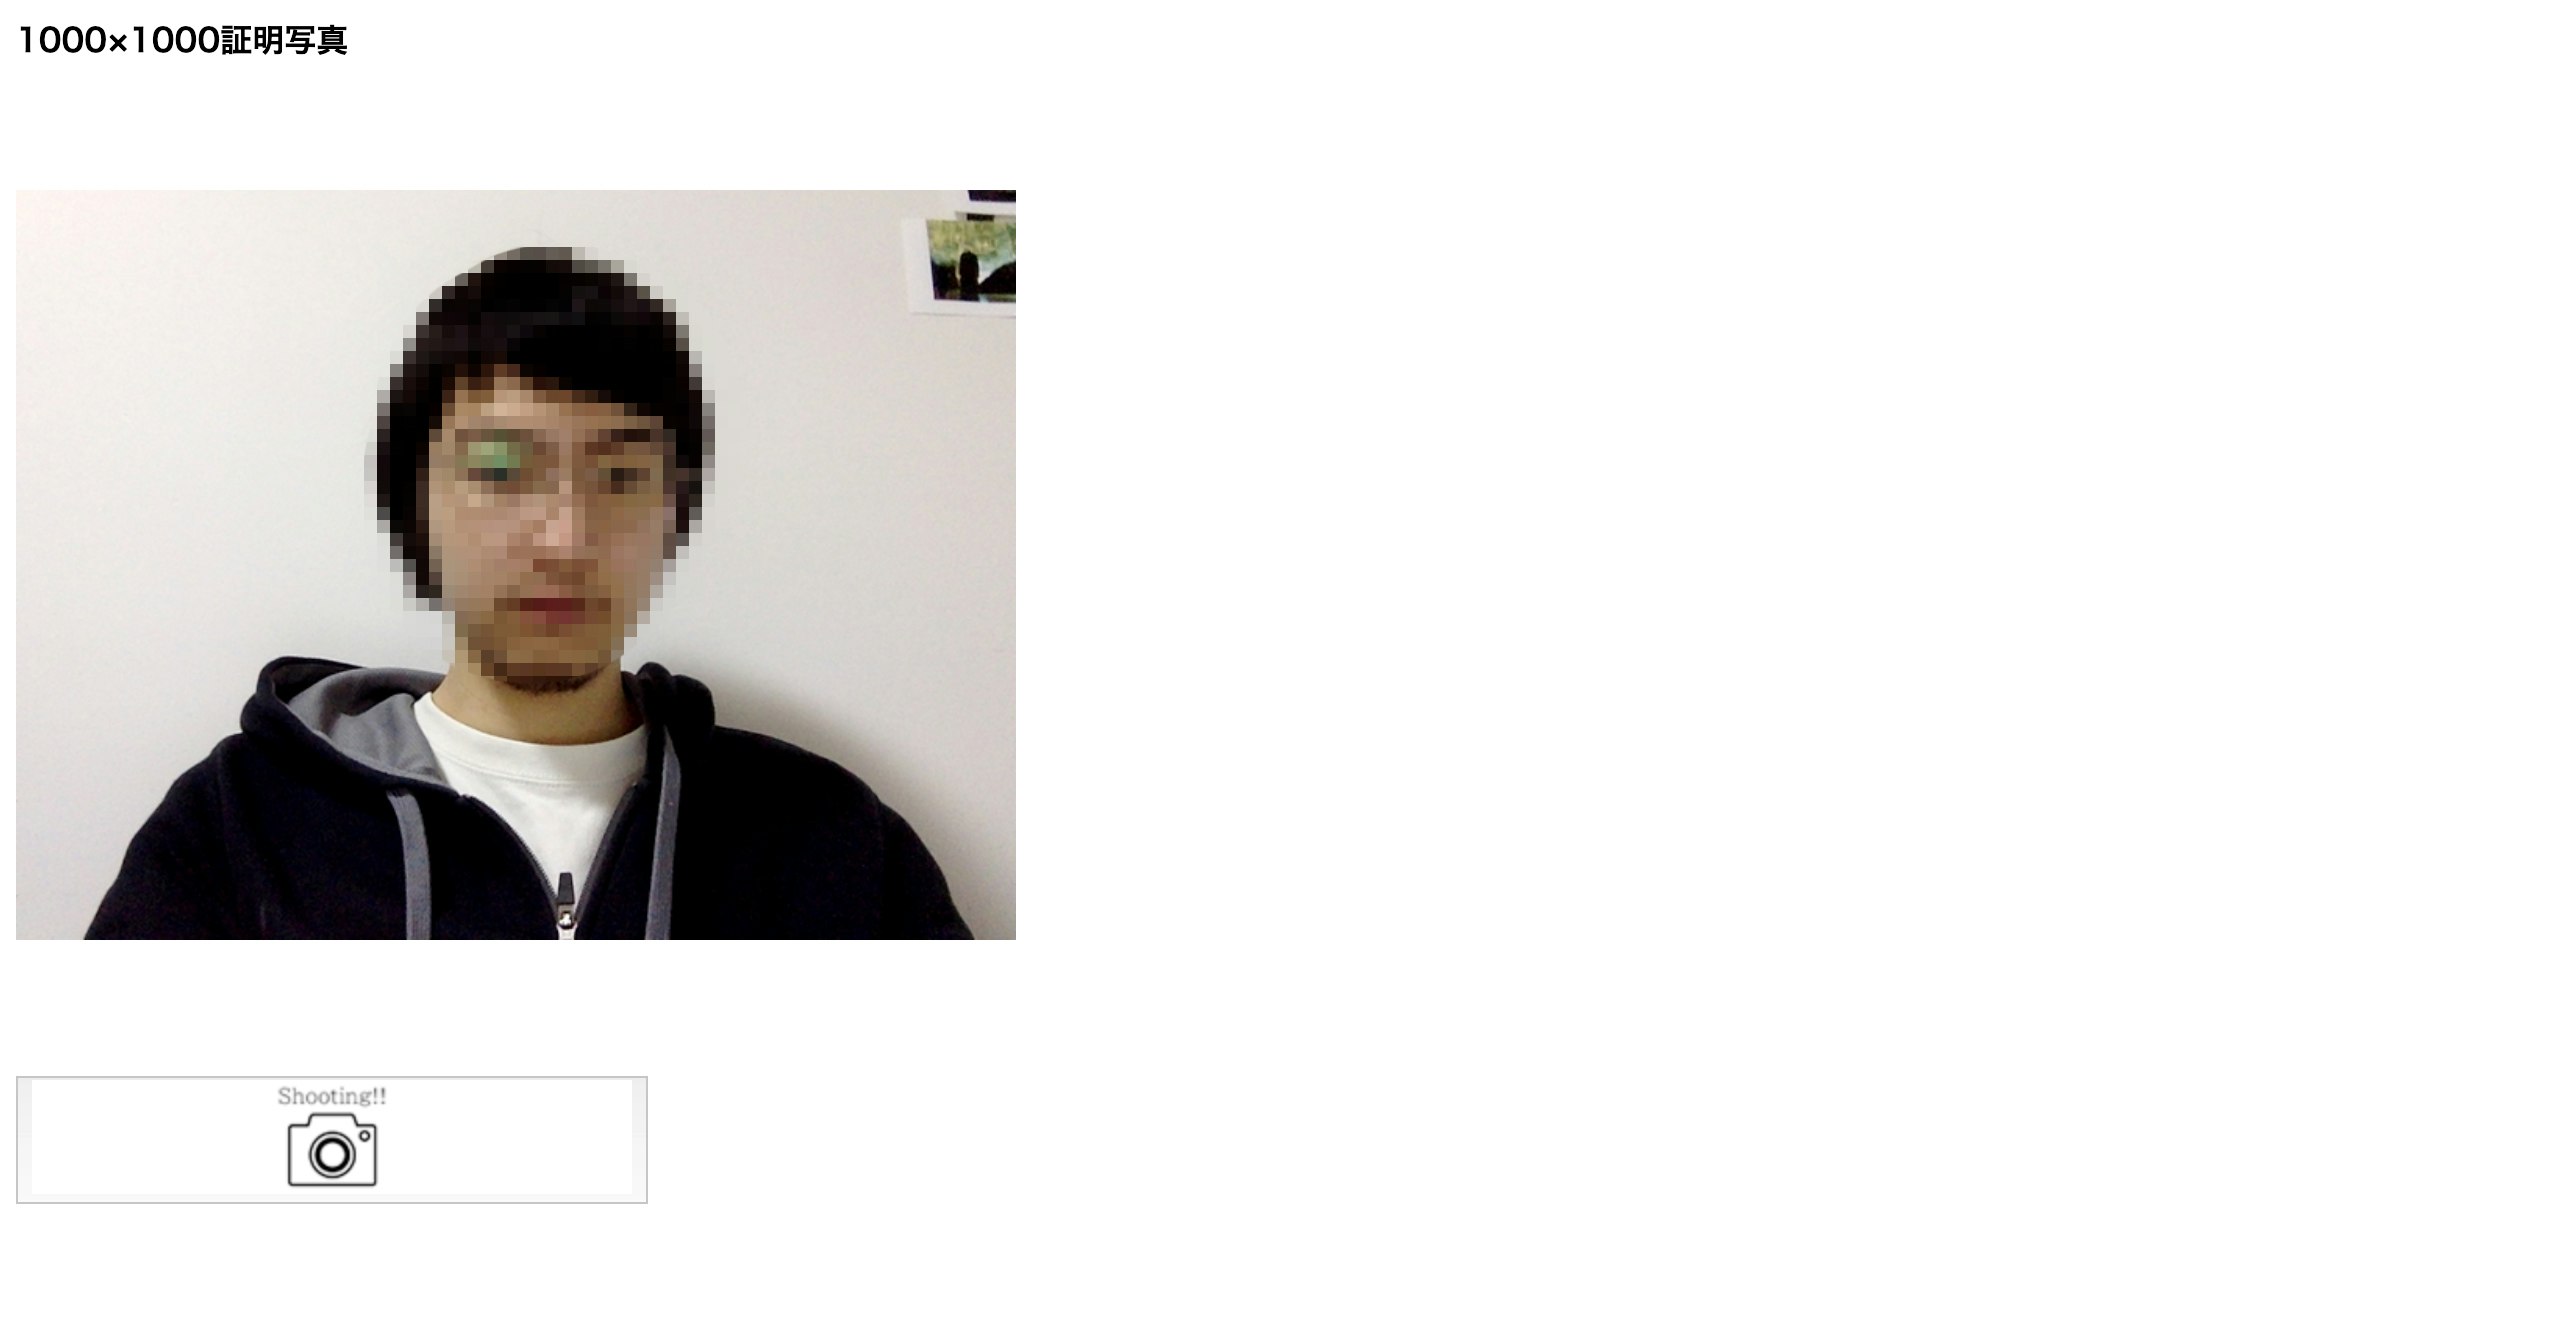
サイト名:1000×1000 証明写真
https://id-photo.ml (ダメだったらこっち:https://id-photo.herokuapp.com/)
作り方!!
・まずファイル構造はこんな感じ
今回herokuを使ってデプロイするために、gitやら何やらが入っています。(もしかしたら、必要ないファイルもあるかも。すみません...)
・コード記述内容
index.html
<!DOCTYPE html>
<html>

<head>
  <title>1000×1000証明写真</title>
</head>

<body>
  <b>1000×1000証明写真</b>
  <div id="app">
    <div>
      <video ref="video" id="video" width="500" height="500" autoplay></video>
      <div>
        <button color="info" id="snap" v-on:click="capture()"><img src="img/icon.png"></button>
      </div>
      <canvas ref="canvas" id="canvas" width="1000" height="1000"></canvas>
      <ul>
      <li class="capture" v-for="c in captures" v-bind:key="c.d">
        <img v-bind:src="c" height="50" />
      </li>
      </ul>
    </div>
  </div>

  <script src="https://cdn.jsdelivr.net/npm/vue/dist/vue.js"></script>
  <script>
    new Vue({
      el: '#app',
      data: {
        video: {},
        canvas: {},
        captures: []
      },
      mounted () {
        this.video = this.$refs.video
        if (navigator.mediaDevices && navigator.mediaDevices.getUserMedia) {
          navigator.mediaDevices.getUserMedia({ video: true }).then(stream => {
            this.video.srcObject = stream
            this.video.play()
          })
        }
      },
      methods: {
        capture () {
          this.canvas = this.$refs.canvas
          this.canvas.getContext('2d').drawImage(this.video, 0, 0, 1000, 1000)
          this.captures.push(this.canvas.toDataURL('image/png'))
          console.log(this.captures)
        }
      }
    });
  </script>

</body>
</html>

<style>
# canvas {
  display: none;
}
.capture {
  /* display: inline; */
  padding: 5px;
}
</style>
index.js
const express = require('express');
const app = express();

// public というフォルダに入れられた静的ファイルはそのまま表示
app.use(express.static(__dirname + '/public'));

// bodyParser
var bodyParser = require('body-parser');
app.use(bodyParser.json());

// POSTリクエストを受け付ける
app.post('/post', function (req, res) {

    for (key in req.body) {
        console.log(key, '=', req.body[key]);
    }
    res.end();

    res.send('hello world(POST)');
});

// GET リクエストを受け付ける
app.get('/get', function (req, res) {
    res.send('hello world(GET)');
});

//app.listen(8080);
app.listen(process.env.PORT || 8080);

console.log("server start! (heroku)");
.gitignore
# Dependency directories
node_modules/

# Optional npm cache directory
.npm
Procfile
web: node index.js
そのほかのファイルは下記コマンドからインストールできます。
npm init -y
npm i body-parser express
完成
触って遊んでみましょう。
step1「サイトへ飛ぶ」
https://id-photo.ml (ダメだったらこっち:https://id-photo.herokuapp.com/)
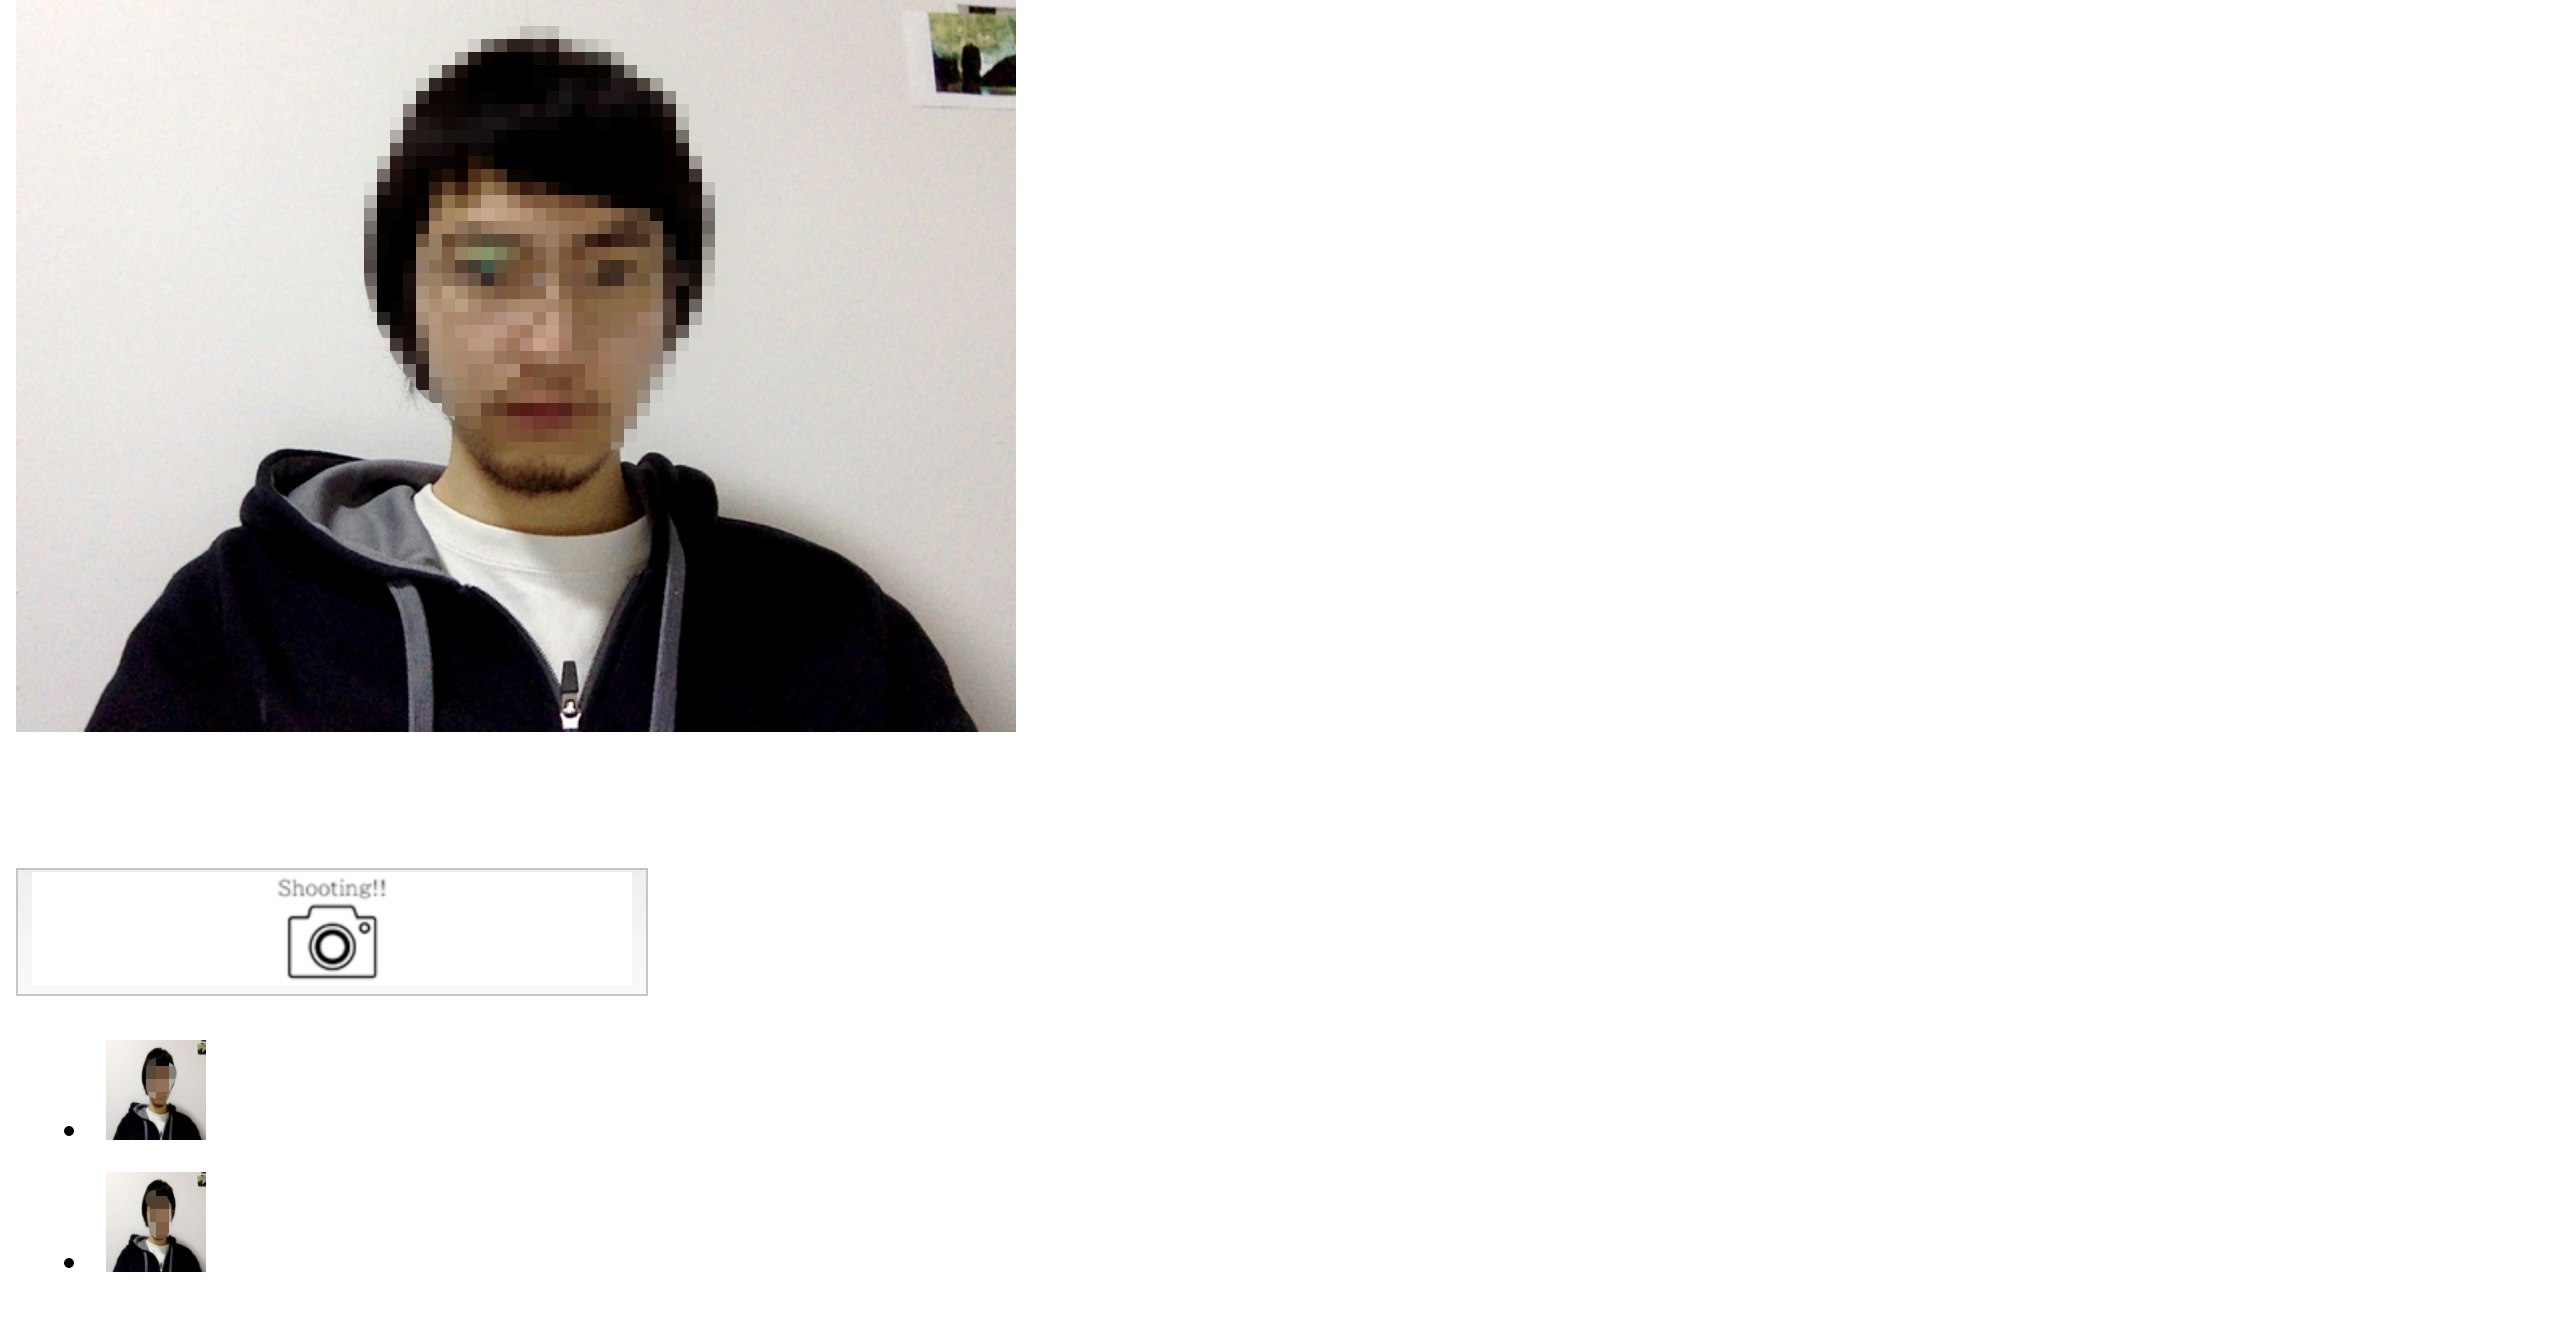
step2「カメラアイコンをクリックして撮影」
カメラのアイコンをクリックすると、1000px × 1000px の画像が下に量産されていきます。
step3「画像をダウンロード」
量産された画像の上で、右クリックをするとメニューがでるので、そこで「名前を付けて画像を保存...」を選択してください。
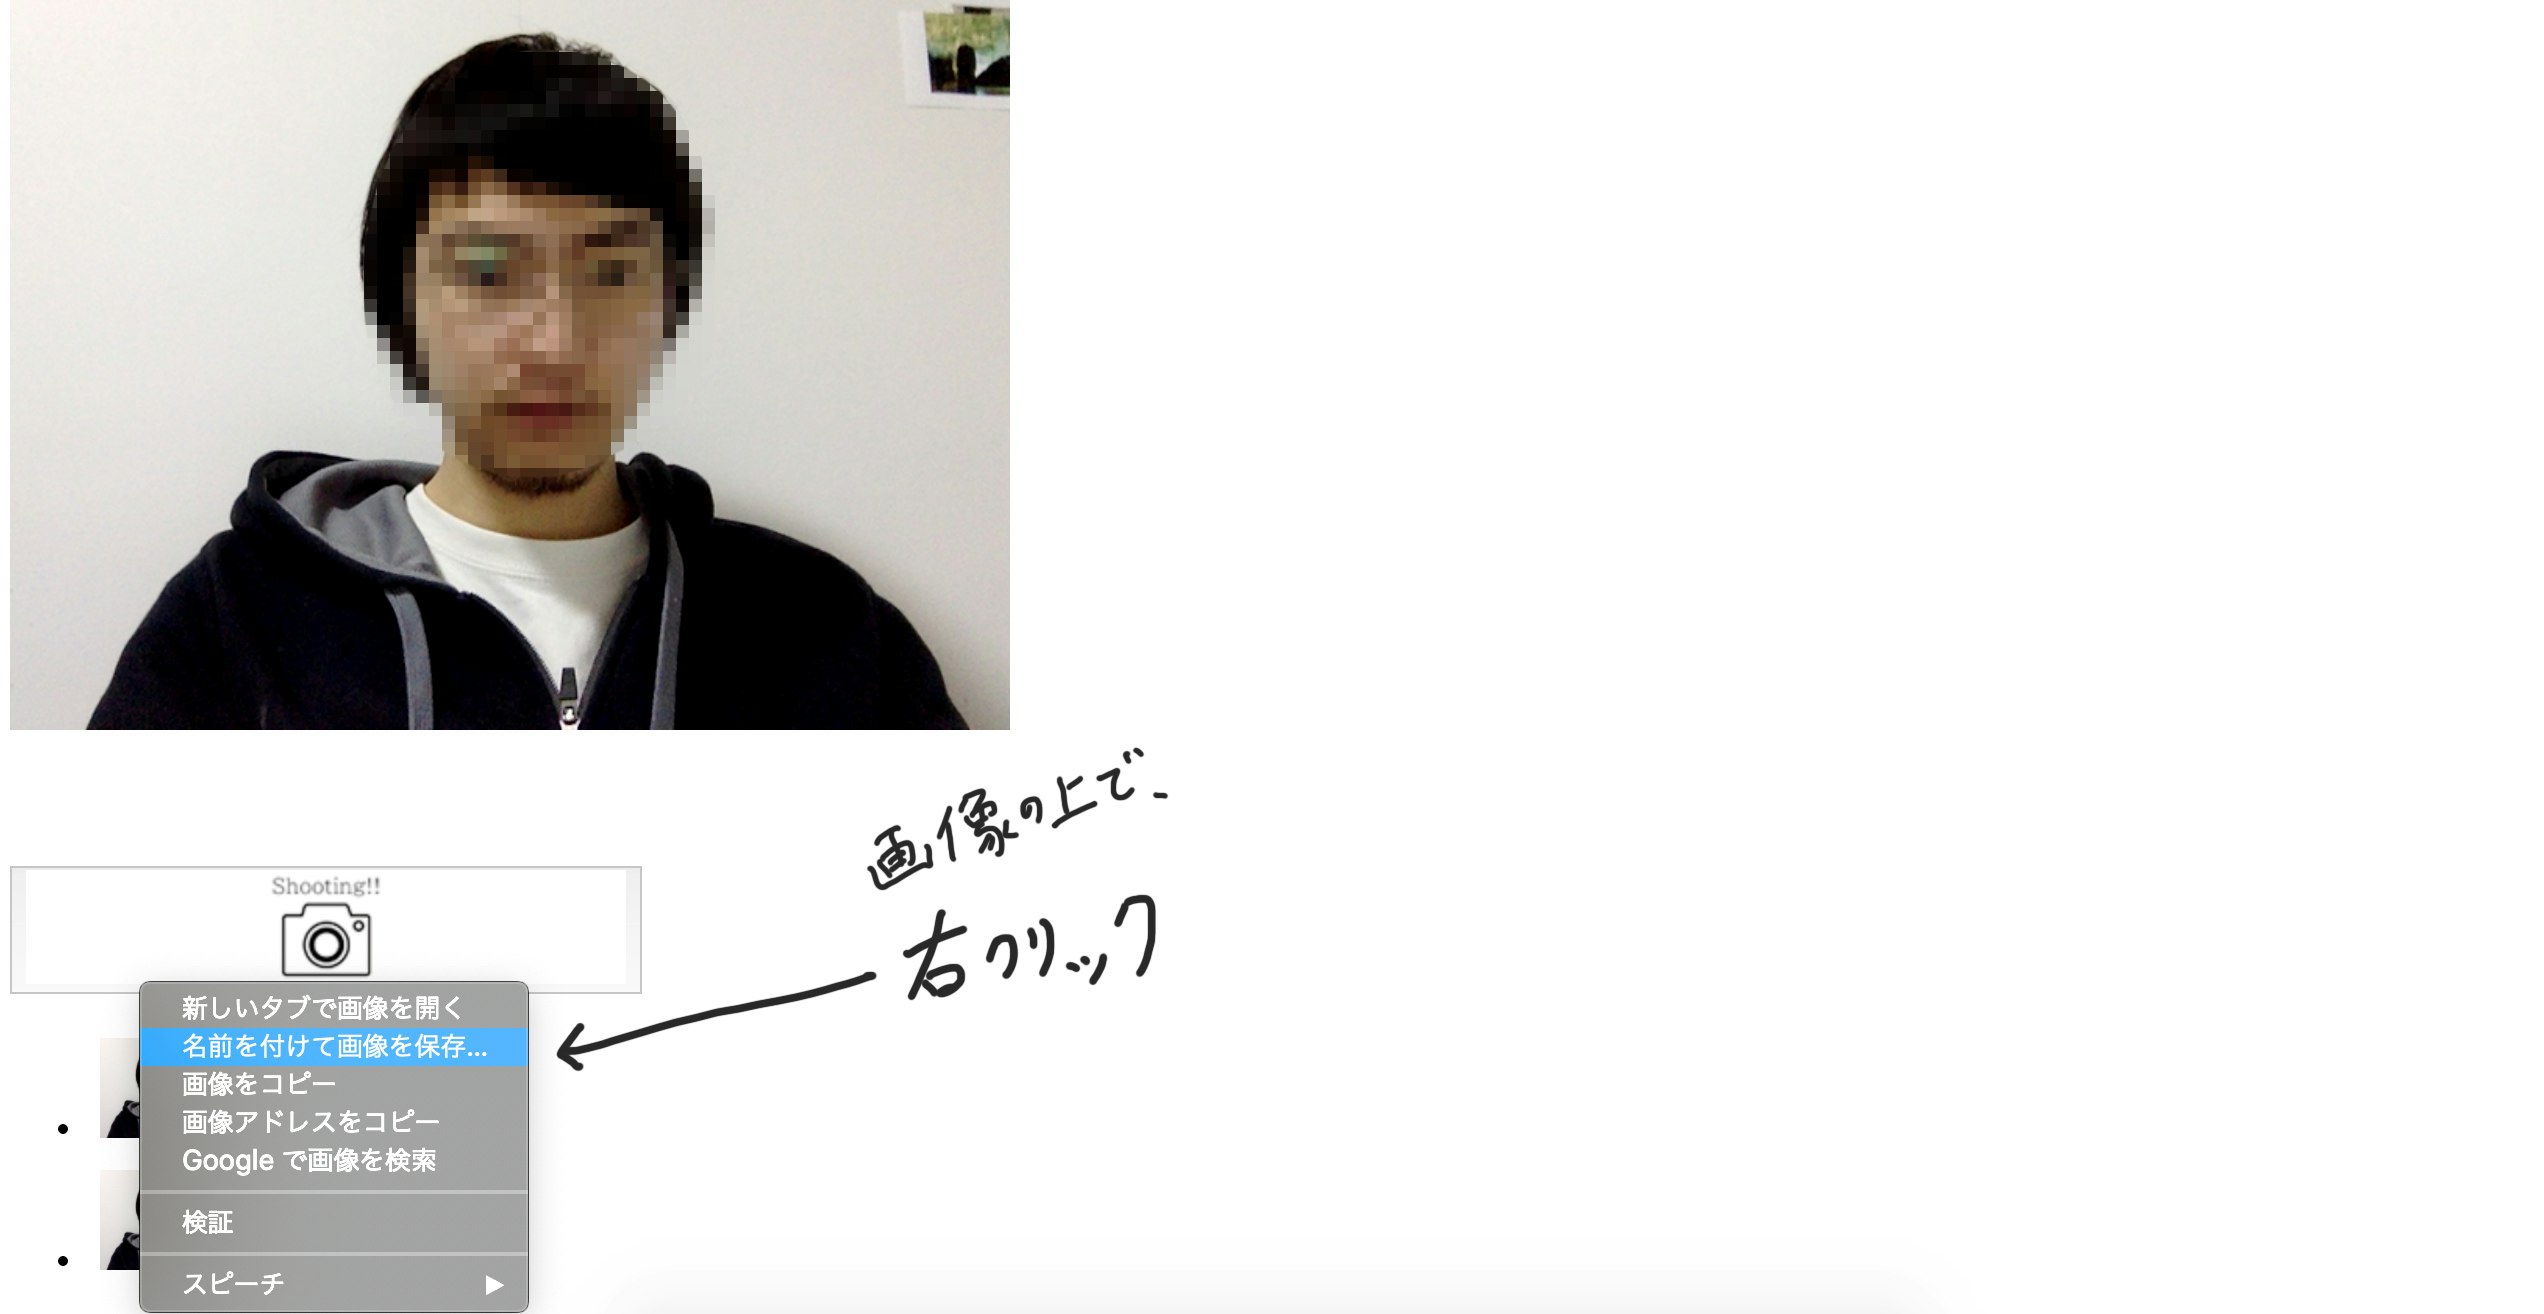
ダウンロードされた画像が、少し縦に伸びている感じになっているのはスリム効果です。
おわり
一応、今回使用した画像を貼っておきます。ご自由に使用してください。

また今回参考にさせていただいた記事です
・https://qiita.com/kino15/items/8f8feffca54015555f4b
最後まで読んでいただきありがとうございました。