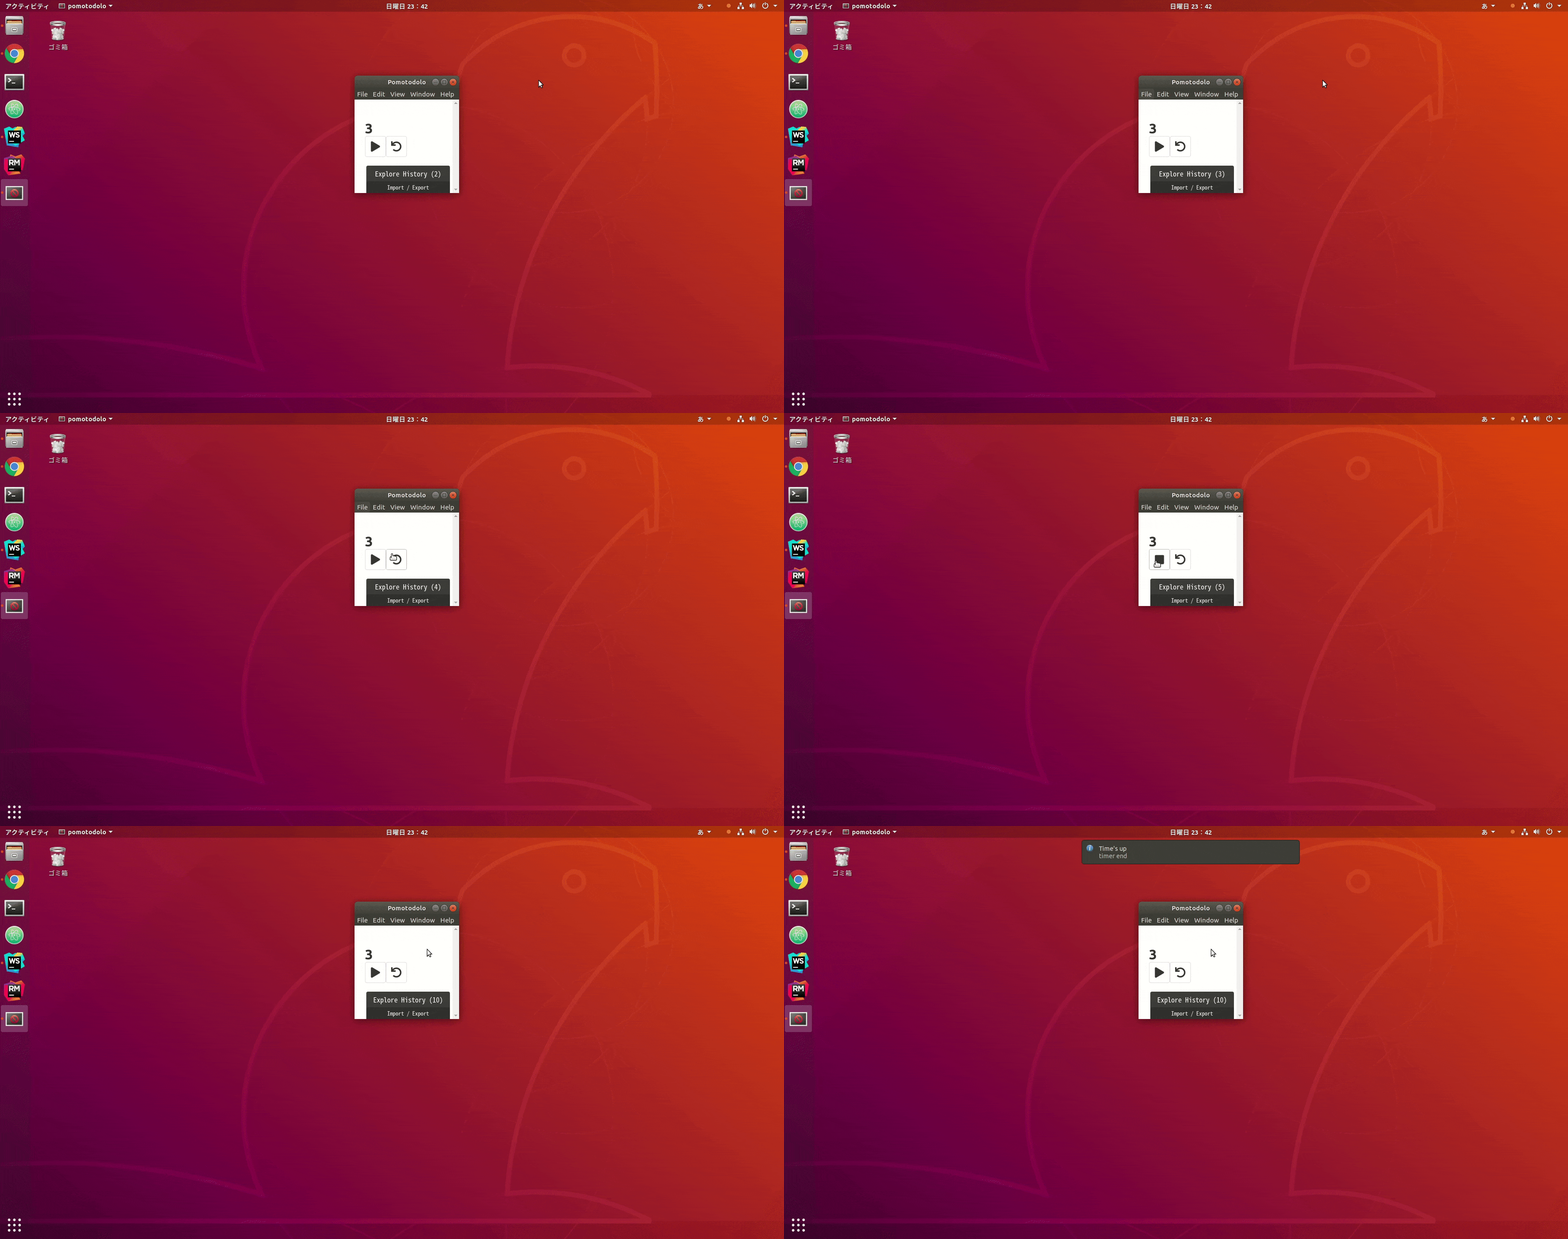
はじめに
これはElm/Electron初学者が シンプルなタイマーをElectronで構築するまでの話です。
完成品(まだ途中ですが)
構成
今回はwebpackでElmをコンパイルして一つのbundle.jsにまとめ、それをElectronのベースとなるindex.htmlから読み出すという構成を取っています。なのでwebpack.config.jsは
const HtmlWebpackPlugin = require('html-webpack-plugin')

module.exports = (env, argv) => {
    return {
        entry: `${__dirname}/src/index.js`,
        output: {
            path: `${__dirname}/dist`,
            filename: 'bundle.js',
            libraryTarget: 'window',
        },
        module: {
            rules: [
                {
                    test: /\.(css|scss)$/,
                    loader: ['style-loader', 'css-loader', 'sass-loader'],
                },
                {
                    test:    /\.elm$/,
                    loader: 'elm-webpack-loader',
                    options: {
                        debug: (argv.mode !== 'production')
                    }
                }
            ],
        },
        devServer: {
            port: '8080',
            compress: true,
            watchContentBase: true,
        }
    };
};
という感じになります。参考
またElectronのエントリーポイントとなるindex.jsは
"use strict";

const { app, BrowserWindow } = require("electron");

app.on('window-all-closed', function() {
    if (process.platform != 'darwin') {
        app.quit();
    }
});

app.on('ready', function() {
    let mainWindow = new BrowserWindow({width: 240, height: 240});
    // 起動時にベースとなるhtml
    mainWindow.loadURL('file://' + __dirname + '/index.html');

    mainWindow.on('closed', function() {
        mainWindow = null;
    });
});
としています。また、デザインのためにBulmaとFASを導入しています。
実装
src/Main.elm
ほぼすべての実装をMain.elmに書いています。ぶっちゃけ実装はこの記事とほどんど同じですが、独自性を出すためにタイマーが終了する際に通知を出すようにしています。 以下では上から部分的に紹介していきます。
port notifyUser : () -> Cmd msg

port notified : (Bool -> msg) -> Sub msg
いきなり結構重要なところですが、Notificationを叩くために外部のjsを呼び出すということを行っています。なのでここではportsを利用しています。実際にportsを使っている例としてはこの記事が非常に参考になります。
initTime = 3

type alias Model =
    { timer : Int
    , isStart : Bool
    }

init : () -> ( Model, Cmd Msg )
init _ =
    ( Model initTime False
    , Cmd.none
    )
Modelとしては現在のTimerの値(timer)とTimerが動いているかどうか(isStart)を持っています。そしてinitで適切に初期化しています。
type Msg
    = DoTimer
    | Tick Time.Posix
    | Notification
    | Notified Bool
    | Reset

update : Msg -> Model -> ( Model, Cmd Msg )
update msg model =
    case msg of
        DoTimer ->
            let
                isStart =
                    not model.isStart
            in
            ( { model | isStart = isStart }, Cmd.none )

        Tick _ ->
            let
                c =
                    if model.isStart then
                        model.timer - 1

                    else
                        model.timer

                status =
                    if c < 0 then
                        update Notification model

                    else
                        ( { model | timer = c }
                        , Cmd.none
                        )
            in
            status

        Notification ->
            ( model, notifyUser () )

        -- イケてない
        Notified _ ->
            update Reset model

        Reset ->
            ( { model | timer = initTime, isStart = False }
            , Cmd.none
            )
メインロジックに当たります。ボタンを押すとDoTimerが発火し、止まっていればisStartがtrueになります。すると毎秒発火しているTickにおいて、model.timerの値が減っていきます。(要はカウントダウンが始まります)
もし0以下になれば、Notificationが発火し、portsで設定していたnotifyUserが呼ばれます。あとで実装を紹介しますが、notifyUserが終わる際にNotifiedを発火させ、タイマーがリセットされます。
subscriptions : Model -> Sub Msg
subscriptions _ =
    Sub.batch [ notified Notified, Time.every 1000 Tick ]
js側から送られてくるnotifiedをSubしておきます。
src/index.js
Elmにおけるベースとなるjavascriptです。
document.addEventListener('DOMContentLoaded', function () {
    if (!Notification) {
        alert('Notification can not use.');
        return;
    }

    if (Notification.permission !== "granted") {
        Notification.requestPermission();
    }
});
function notify() {
    if (Notification.permission !== "granted")
        Notification.requestPermission();
    else {
        const notification = new Notification('Time\'s up', {
            body: "timer end"
        });
        notification.onclose = () => {}
    }
}
一応ブラウザを想定してNotification.permissionを確認していますが、このあたりはmozilaのサイトを見て学ぶほうが良い気がします。(Electronだけならいらないはずです)
app.ports.notifyUser.subscribe(_ => {
    notify()
    app.ports.notified.send(true) // イケてない
});
Elm側がnotifyUserを呼び出したときに、実際に動く部分になります。notifyを呼び出してpush通知を送ったあと、終わったことをElm側に通知しています。(何かを送らなければならないようなので後々のことも考えてbooleanを送っています。)
以上が実装の解説になります。
まとめ
振り返ると全くElectron要素がないので詐欺タイトルっぽくなっていますが、一応動くものは完成しました。Elmは少し触っただけでしたが、portsを使うことでElmの世界を壊すことなく、Native javascriptの資産を使えるところも非常に良いと感じました。
実はtodo機能のついたpomodolo timerを作ろうとしているので、まだまだスタートラインにたったところです。やるきの続く限り今後も開発を続けていくと思うのでたまに覗いていただければと思います。
