レイヤーの実装していきます。
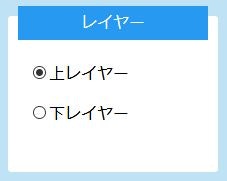
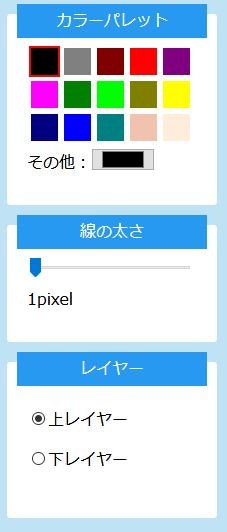
まず、ラジオボタンのname属性を同じにします。
<p><label><input type="radio" name="rdoLayer" checked>上レイヤー</label></p>
<p><label><input type="radio" name="rdoLayer">下レイヤー</label></p>
これで両方のラジオボタンにチェックが付く状態から、片方1つにチェックが付く状態になります。
次にレイヤーを作るに辺りcanvasが2枚必要なので増やしました。
↓変更前
<canvas id="canvas" width="800" height="600"></canvas>
↓変更後
<div id="canvasarea">
<canvas id="canvas" width="800" height="600"></canvas>
<canvas id="canvas2" width="800" height="600"></canvas>
<!--/#canvasarea--></div>
↓スタイルシートはこんな感じ。
#canvasarea{
	width: 800px;
	height: 600px;
	background-color:#FFF;
}
#canvasarea:after, #canvasarea:before {
	content: "";
	clear: both;
	display: block;
}
#canvas{
	z-index:2;
}
#canvas2{
	z-index:1;
}
#canvas2,#canvas {
	width: 800px;
	height: 600px;
	position: absolute;
}
canvas自体を position:absolute にして、canvasを入れている#canvasareaは疑似要素で clear:both を付けました。
そして、#canvasの方が上に来るようにz-indeを2にしています。(#canvas2は1)
最後にJSです。
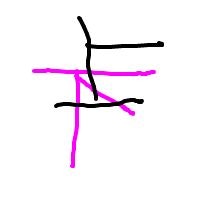
今までの処理に下レイヤー用の#canvas2をコピペし、各動作の前にレイヤーの上レイヤーと下レイヤーどちらを選ばれているかを確かめる処理を追加しました。


