今までRaspberry Pi 3+に16GBのmicroSDを挿してwebサーバとして運用していましたが、手狭になってきたので64GBに改めて環境構築をした時の自分の作業の忘備録です。以前導入した時とだいぶ変わっている部分が多かったので驚いたのが第一印象でした。
前提
- このラズベリーパイは外部に公開はしません。(twitterへのポストはします)
- 普段、このRaspberry Pi 3+は午前7時から午後11時まで30分毎にcronでbotを運用しています。
- そのため一日当たりの作業時間は夜間の23時から0時までの1時間ぐらいをメンテナンス時間として作業を行う予定です。
またこういう世界から遠ざかって久しいのでいろいろと拙い部分があると思います。ご指摘ください。
下準備
を参考に、mariaDBのインストール、rootを含む初期設定、ユーザーhoge-hogeを作成します。ユーザーの権限はGRANT ALL PRIVILEGESがついているはずです。以下、おさらい。
sudo mysqlでmysqlに入ります。
$ sudo mysql

Welcome to the MariaDB monitor.  Commands end with ; or \g.
Your MariaDB connection id is 37
Server version: 10.3.29-MariaDB-0+deb10u1 Raspbian 10

Copyright (c) 2000, 2018, Oracle, MariaDB Corporation Ab and others.

Type 'help;' or '\h' for help. Type '\c' to clear the current input statement.
MySQLに入ったらユーザーhoge-hogeを作成、さらにGRANT ALL PRIVILEGESの権限付け
MariaDB [mysql]> create user `hoge-hoge`@`localhost` IDENTIFIED BY 'hoge-hoge-password';
MariaDB [mysql]> GRANT ALL PRIVILEGES ON *.* TO `hoge-hoge`@'localhost' WITH GRANT OPTION;
ちゃんと反映されているかを確認
MariaDB [mysql]> use mysql;
MariaDB [mysql]> select user,password,plugin from user;
ユーザーhoge-hogeが追加されていた場合、以下のようになっていると思います。
+-------------+-------------------------------------------+-------------+
| user        | password                                  | plugin      |
+-------------+-------------------------------------------+-------------+
| root        | *xxxxxxxxxxxxxxxxxxxxxxxxxxxxxxxxxxxxxxxx | unix_socket |
| hoge-hoge   | *yyyyyyyyyyyyyyyyyyyyyyyyyyyyyyyyyyyyyyyy |             |
+-------------+-------------------------------------------+-------------+
ユーザーhoge-hogeに権限が付与されているかの確認は以下のSQL
SHOW GRANTS FOR `hoge-hoge`@`localhost`;

+---------------------------------------------------------------------------------------------------------------------------------------------+
| Grants for hoge-hoge@localhost                                                                                                              |
+---------------------------------------------------------------------------------------------------------------------------------------------+
| GRANT ALL PRIVILEGES ON *.* TO `hoge-hoge`@`localhost` IDENTIFIED BY PASSWORD '*yyyyyyyyyyyyyyyyyyyyyyyyyyyyyyyyyyyyyyyy' WITH GRANT OPTION |
+---------------------------------------------------------------------------------------------------------------------------------------------+
とりあえずDB側の準備はここまで。以降はphpMyAdminのインストールになりますのでmysqlから抜けましょう。
phpMyAdminのインストール
phpMyAdminをインストールします。
$ sudo apt install phpmyadmin
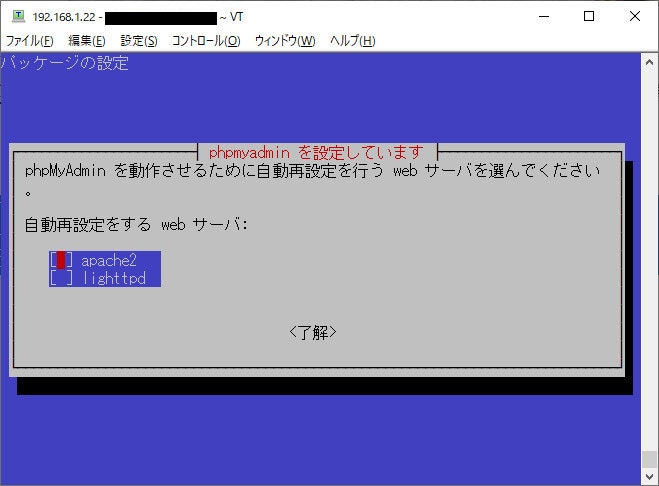
インストール中にいくつか聞かれます。
使っているwebサーバの種類。私はapache2を選択しました。
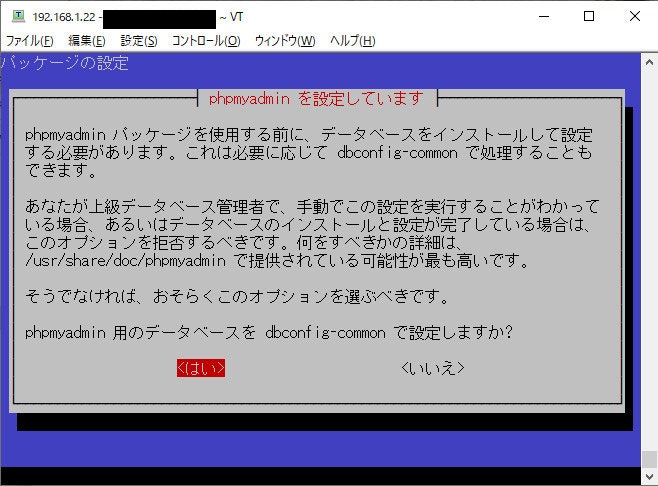
dbconfing-commonを使用するか。私は使用すると回答。
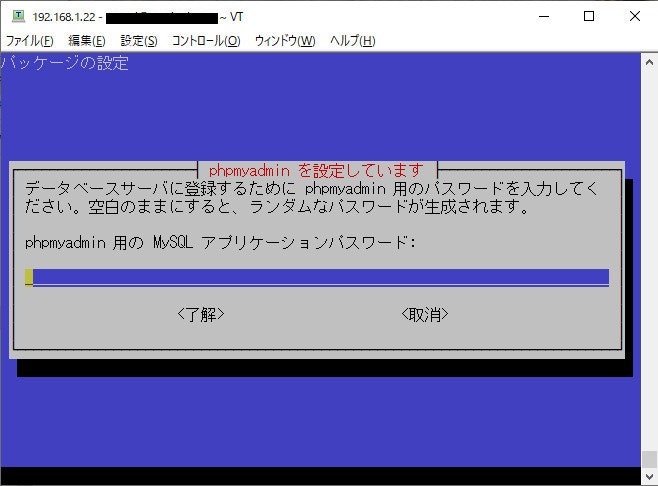
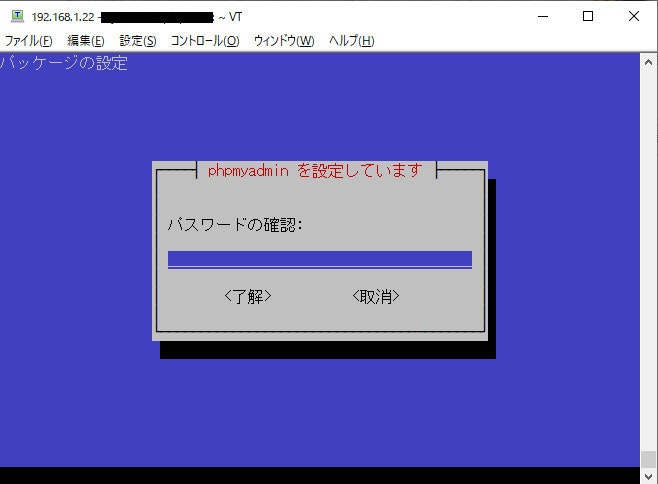
phpmyadminが使用するパスワード。2回聞かれます。値は忘れない方が無難です。ここで入力した値はmysqlのユーザーphpmyadminのパスワードになります。
上記の設定が済んだ後、重要な設定があります。
設定ファイルのIncludeです。/etc/apache2/apache2.confの最下行に以下を追記します。
Include /etc/phpmyadmin/apache.conf
追記後、apacheを再起動します。
$ sudo /etc/init.d/apache2 restart
これでログイン画面が出るはずです。
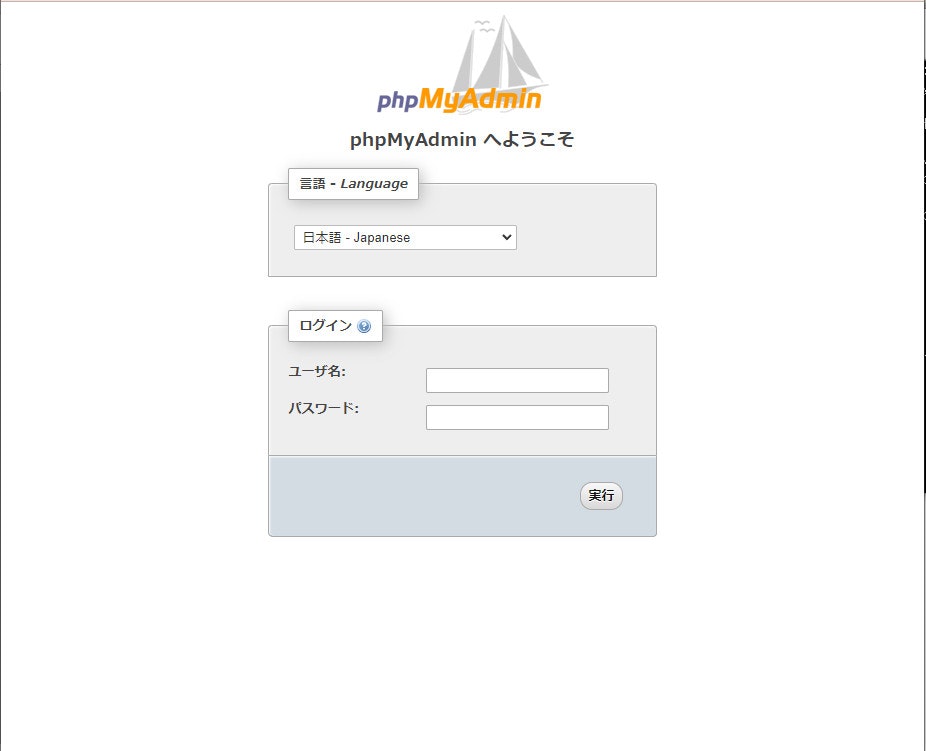
この画面でユーザーhoge-hogeにログインできるはずです。(この段階ではrootではログインできません)
ログインはできてもエラーが出る場合
ユーザーhoge-hogeはALL PRIVILEGES権限なのでなんでもできます。
ログインできたのでテーブルの内容やエクスポートなどの画面を見てみましょう。エラー画面が出ますか?

これは、リポジトリに含まれているphpMyAdminのソースコード上の問題だそうです。(このバージョンは4.6.6deb5)。
回避方法として、実際にエラーが出ている箇所のソースコードを直すか、もしくはバージョンをあげてやる必要があります。今回はバージョンを上げることで対応します。
方法はこちらのサイトをそのまま行います。
phpMyAdminを手動で最新版にする [WSL/Ubuntu環境]
https://www.petitmonte.com/linux/phpmyadmin_update.html
#サービスを止める
sudo /etc/init.d/apache2 stop
sudo systemctl stop mariadb.service

#旧環境のバックアップ
cd /usr/share
sudo rm -r phpmyadmin.old/
sudo mv phpmyadmin phpmyadmin.old

#指定バージョンのダウンロードおよび解凍・ソースコードの設置
sudo wget https://files.phpmyadmin.net/phpMyAdmin/4.9.7/phpMyAdmin-4.9.7-all-languages.zip
sudo unzip phpMyAdmin-4.9.7-all-languages.zip
sudo mv phpMyAdmin-4.9.7-all-languages phpmyadmin
sudo rm phpMyAdmin-4.9.7-all-languages.zip

#サービス再起動
sudo /etc/init.d/apache2 restart
sudo systemctl start mariadb.service
再度phpMyAdminにログインしてテーブルやエクスポート画面を見てみましょう。エラーが消えているはずです。
rootでログインしたい!
rootでログインできないのはすっきりしません。rootでログインできるようにunix_socketを無効にします。
mysqlにログインし、unix_socketをupdate文で無効にします。
$ sudo mysql

Welcome to the MariaDB monitor.  Commands end with ; or \g.
Your MariaDB connection id is 103
Server version: 10.3.29-MariaDB-0+deb10u1 Raspbian 10

Copyright (c) 2000, 2018, Oracle, MariaDB Corporation Ab and others.

Type 'help;' or '\h' for help. Type '\c' to clear the current input statement.
mysqlで以下のコマンドを実行します。
実行するデータベース指定
MariaDB [(none)]> use mysql;
Reading table information for completion of table and column names
You can turn off this feature to get a quicker startup with -A

Database changed
rootのunix_socket無効化
MariaDB [mysql]> update user set plugin='' where user='root';
Query OK, 1 row affected (0.005 sec)
Rows matched: 1  Changed: 1  Warnings: 0
変更を反映
MariaDB [mysql]> flush privileges;
unix_socketが無効になったかを確認
MariaDB [mysql]> select user,password,plugin from user;
+-------------+-------------------------------------------+--------+
| user        | password                                  | plugin |
+-------------+-------------------------------------------+--------+
| root        | *xxxxxxxxxxxxxxxxxxxxxxxxxxxxxxxxxxxxxxxx |        |
| hoge-hoge   | *yyyyyyyyyyyyyyyyyyyyyyyyyyyyyyyyyyyyyyyy |        |
+-------------+-------------------------------------------+--------+
pluginの中身がなくなっていれば成功です。rootでphpMyAdminにログインできるようになります。
ちなみにこれを実行するとコンソール上からsudo mysqlでのログインができなくなりますので注意してください。(普通にユーザー名とパスワードを入力すればrootでログインできます。)
関連ページ