参考
いろいろ注意
- 研究、調査の為に引用しました。
- 過去ログを見よ!!!
- 今風に改造した。
- M5Stack Nano C6
- ESP32 3.3.3
- ESP32 3.3.4
- いろいろ、Arduino Nesso N1発売記念は、特になし(C6なのは、たまたまか?
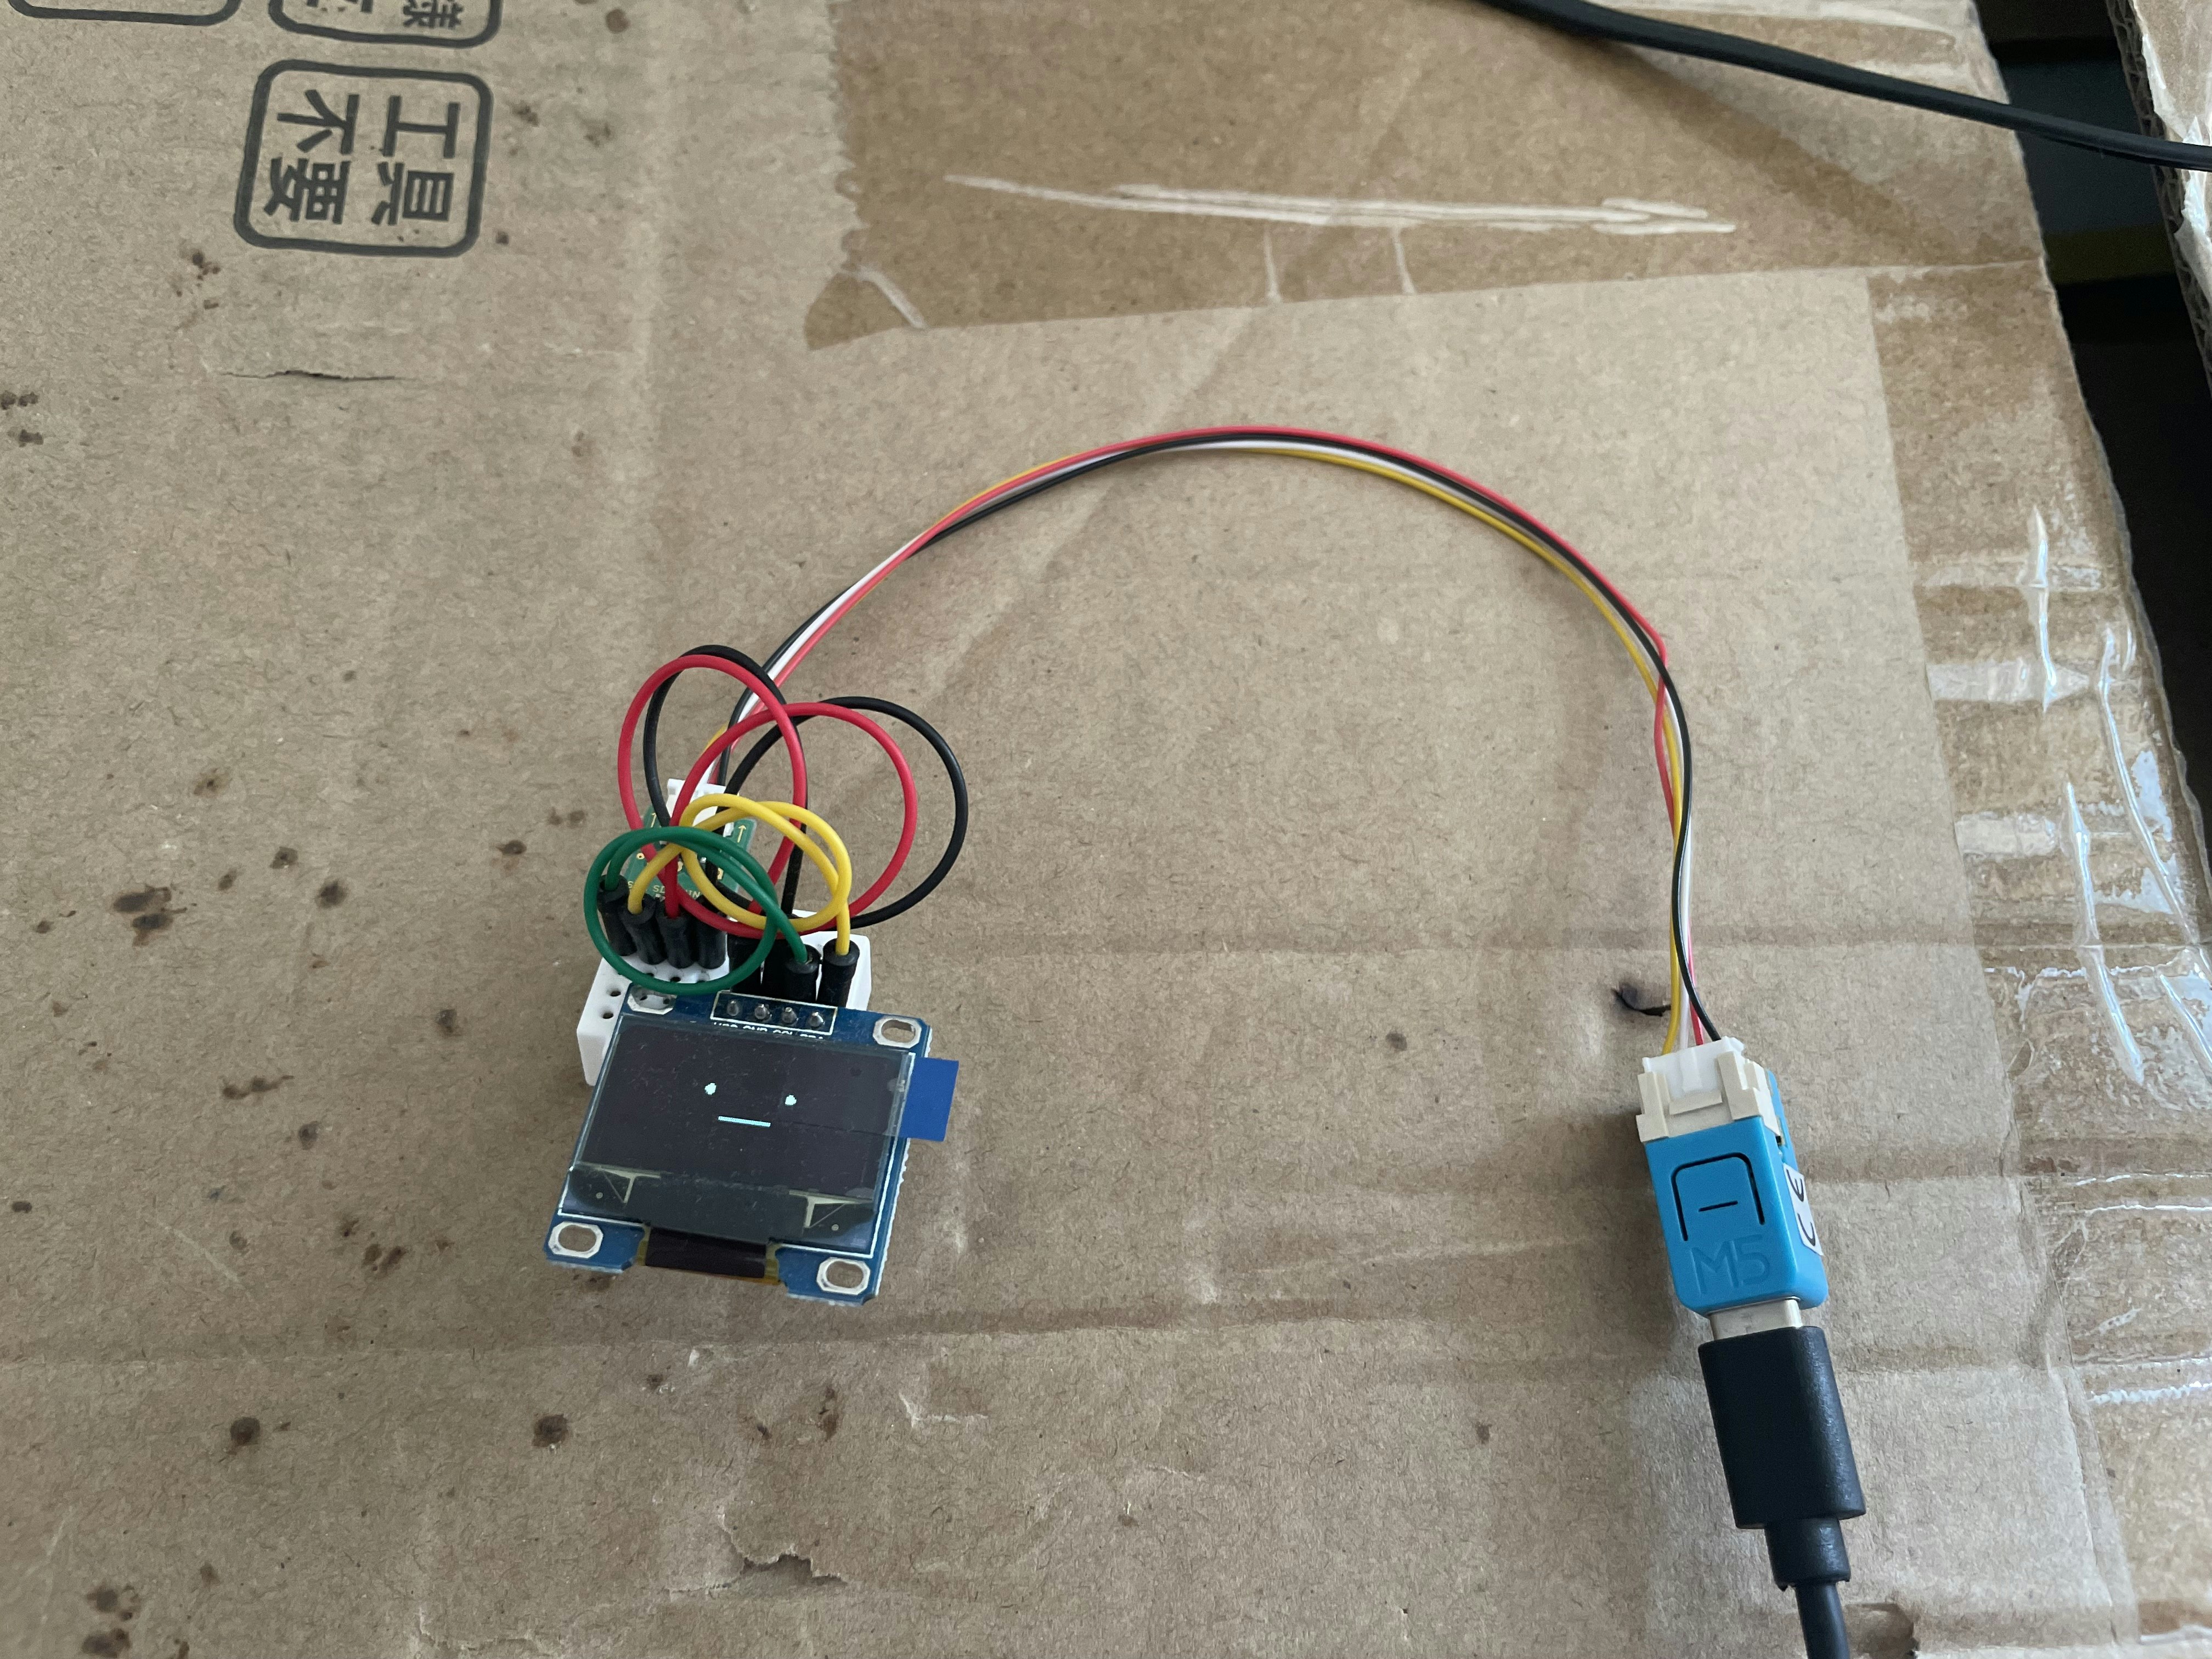
結果
- SSD1306
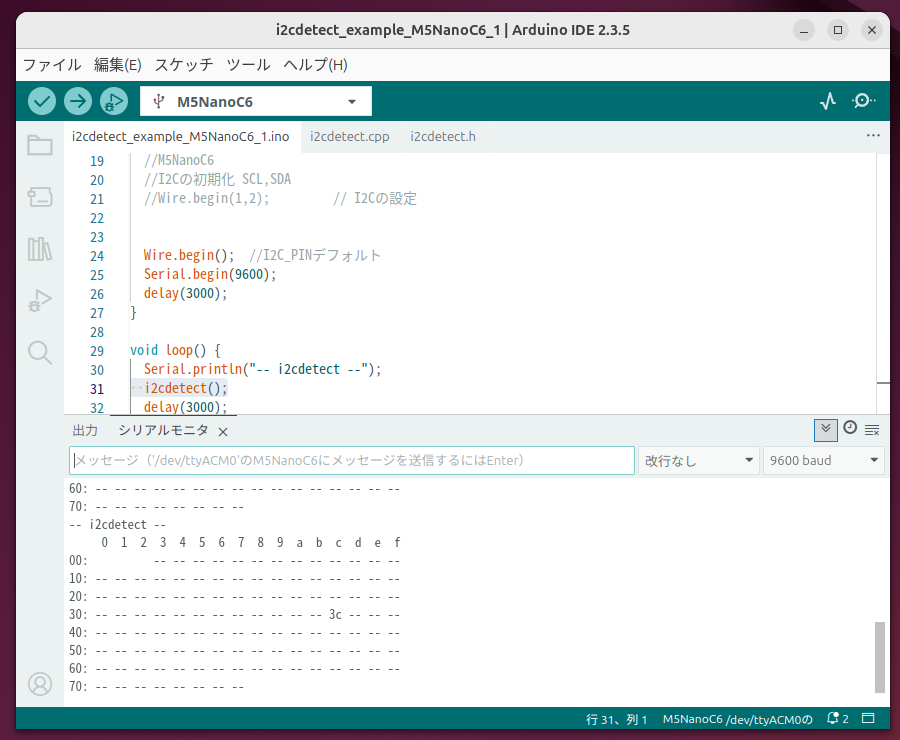
イメージ
プログラム
//stm32 esp32
//i2cdetect_example_M5NanoC6_1

#include <Arduino.h>
#include <Wire.h>
#include "i2cdetect.h"

void setup() {


  //STM32系
  //STM32G030F6
  //I2Cのポートの変更
  //Wire.setSDA(10);  //PA10
  //Wire.setSCL(9);   //PA9

  //ESP32系
  //M5NanoC6
  //I2Cの初期化 SCL,SDA
  //Wire.begin(1,2);         // I2Cの設定


  Wire.begin();  //I2C_PINデフォルト
  Serial.begin(9600);
  delay(3000);
}

void loop() {
  Serial.println("-- i2cdetect --");
  i2cdetect();
  delay(3000);
}
i2cdetect.cpp
//stm32 esp32

#include <Arduino.h>
#include <Wire.h>
#include "i2cdetect.h"

/*
// _printf base code: http://playground.arduino.cc/Main/Printf
#include <stdarg.h>
#define PRINTF_BUF 80 // define the tmp buffer size (change if desired)
void _printf(const char *format, ...)
{
  char buf[PRINTF_BUF];
  va_list ap;
  va_start(ap, format);
  vsnprintf(buf, sizeof(buf), format, ap);
  for(char *p = &buf[0]; *p; p++) // emulate cooked mode for newlines
  {
    if(*p == '\n')
      Serial.write('\r');
    Serial.write(*p);
  }
  va_end(ap);
}
*/

void i2cdetect(uint8_t first, uint8_t last) {
  uint8_t i, j, address, error;

  // header
  Serial.print("   ");
  for (i = 0; i < 16; i++) {
    //_printf("%3x", i);
    Serial.printf("%3x", i);  //stm32 esp32
  }
  Serial.println();

  for (j = 0; j < 8; j++) {
    //_printf("%02d:", j*10);
    Serial.printf("%02d:", j * 10);  //stm32 esp32
    for (i = 0; i < 16; i++) {
      address = i + j * 16;
      if (address >= first && address <= last) {
        Wire.beginTransmission(address);
        error = Wire.endTransmission();
        if (error) {
          Serial.print(" --");
        } else {
          //_printf(" %02x", address);
          Serial.printf(" %02x", address);  //stm32 esp32
        }
      } else {
        Serial.print("   ");
      }
    }
    Serial.println();
  }
}

void i2cdetect() {
  i2cdetect(0x03, 0x77);
}
i2cdetect.h
//stm32 esp32

#ifndef __I2CDETECT_H_
#define __I2CDETECT_H_

void i2cdetect(uint8_t first, uint8_t last);
void i2cdetect();

#endif