Why not login to Qiita and try out its useful features?

We'll deliver articles that match you.

You can read useful information later.

1
0

Delete article

Deleted articles cannot be recovered.

Draft of this article would be also deleted.

Are you sure you want to delete this article?

More than 5 years have passed since last update.

Affinity PhotoでHDRのDNGをあつかうメモ

Last updated at Posted at 2018-07-14

Adobe Lightroom mobileでHDRモードで撮影するとHDRのDNGが作られます。
とても手軽に本物のHDR画像が作れるのですが、本家はやる気がないらしくLightroomからexrやhdrに出力できません。
色々調べた結果とりあえずAffinity Photoでやる方法がAffinity Photoのフォーラムにありました。
これを軽くまとめた設定のメモ書きです。

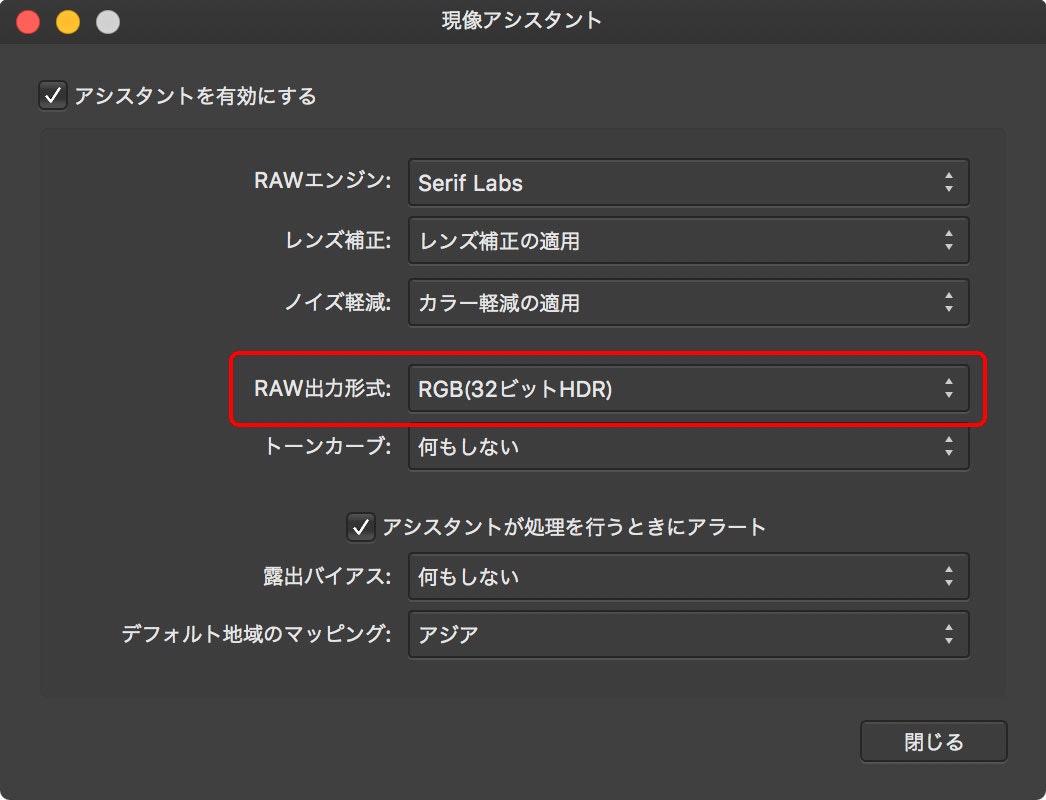
まず DNGを開く前 に現像アシスタントの設定を変更します。
assistant.jpg
このRAW出力形式を32ビットHDRにすると、現像結果をHDR形式で他のペルソナへ持ち込むことができます。
なお1回変更すれば覚えてくれるので、すでに開いてしまった場合は変更して開き直しましょう。

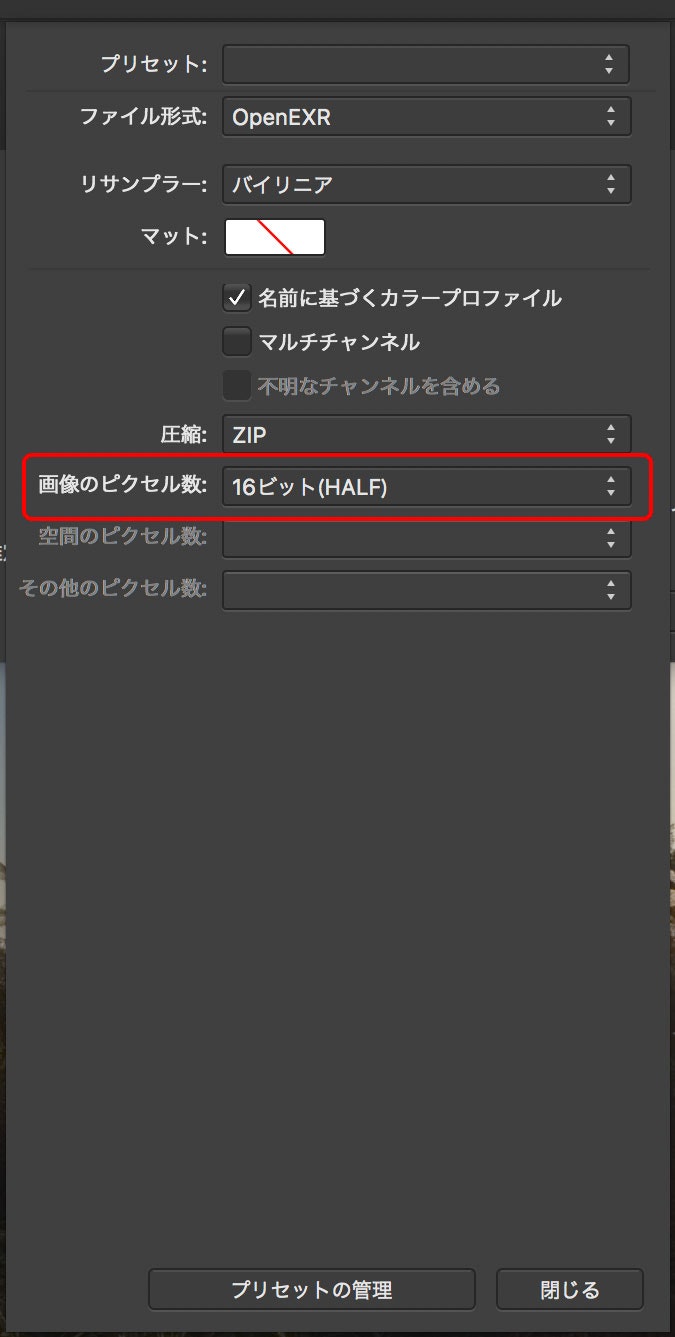
それからOpenEXRで書き出す際には16bit浮動小数点数形式を使うオプションがあります。
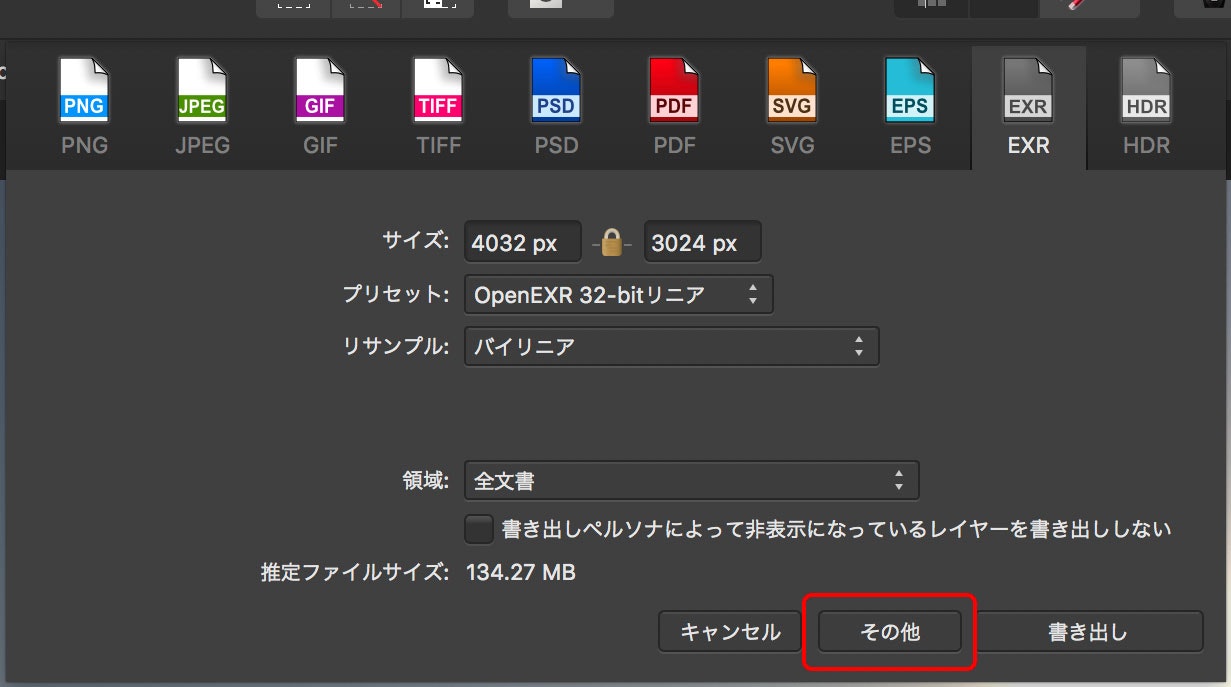
savesheet.jpg
saveoption.jpg
Half Floatのプリセットを作っておいてもいいかもしれません。

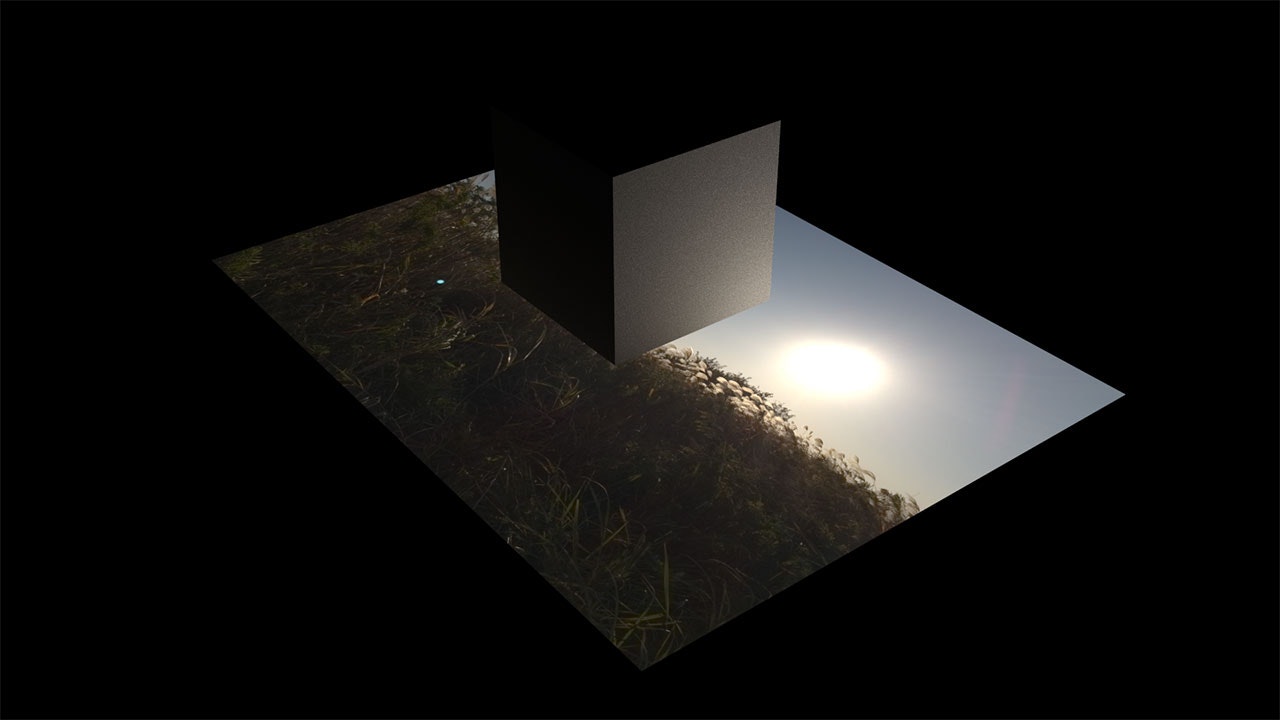
試しにこの手順で作ったEXRをBlenderのCyclesで使ってみます。
とりあえずライトを置かずにemissionのテクスチャとして板に貼り付けてみると…
untitled.jpg
きちんと画像の太陽の部分の輝度が高くなっていることが見てとれます。

これでLightroom mobileで撮影したHDRを手軽に活用できそうです。

1
0
0

Register as a new user and use Qiita more conveniently

  1. You get articles that match your needs
  2. You can efficiently read back useful information
  3. You can use dark theme
What you can do with signing up

Comments

No comments

Let's comment your feelings that are more than good

Qiita Advent Calendar is held!

Qiita Advent Calendar is an article posting event where you post articles by filling a calendar 🎅

Some calendars come with gifts and some gifts are drawn from all calendars 👀

Please tie the article to your calendar and let's enjoy Christmas together!

1
0

Delete article

Deleted articles cannot be recovered.

Draft of this article would be also deleted.

Are you sure you want to delete this article?

Login to continue?

Login or Sign up with social account

Login or Sign up with your email address