はじめに
vue-electron を使って見たかったので、使ってみたメモです。
Vue.js 公式例の Markdown エディタを vue-electron で作って雰囲気を理解しようと思います。
プロジェクト作成
2017年度版 electron-vueで始めるVue.jsを参考にプロジェクトを作成します。
$ vue init simulatedgreg/electron-vue vue-markdown
※プロジェクトの設定は割愛
生成されたプロジェクトのディレクトリ構造
.
├── README.md
├── appveyor.yml
├── build # ビルドされたアプリの格納場所
│   └── icons
│       ├── 256x256.png
│       ├── icon.icns
│       └── icon.ico
├── dist # web用buildの格納先(?)
│   ├── electron
│   └── web
├── package.json
├── src
│   ├── index.ejs
│   ├── main
│   │   ├── index.dev.js
│   │   └── index.js
│   └── renderer
│       ├── App.vue
│       ├── assets
│       │   └── logo.png
│       ├── components # 基本ここでアプリの中身を作る
│       │   ├── LandingPage
│       │   │   └── SystemInformation.vue
│       │   └── LandingPage.vue
│       ├── main.js
│       ├── router # vue-router
│       │   └── index.js
│       └── store # Vuex
│           ├── index.js
│           └── modules
│               ├── Counter.js
│               └── index.js
├── static
└── test
    ├── e2e # E2Eテスト
    │   ├── index.js
    │   ├── specs
    │   │   └── Launch.spec.js
    │   └── utils.js
    └── unit # ユニットテスト
        ├── index.js
        ├── karma.conf.js
        └── specs
            └── LandingPage.spec.js

20 directories, 24 files
いまいち、distの存在意義がわかりません…知っている方がいたら教えていただきたい(´・ω・`)
開発モードで起動
開発モードで起動するには、以下のコマンドを実行します。
$ npm run dev
ホットリロードがついているので、編集内容に応じてリアルタイムに変更が適応されます。
ビルド
プロダクション用にアプリケーションをビルドするには、以下のコマンドを実行します。
$ npm run build
以下のように、デスクトップアプリケーションとして build フォルダ以下に出力されます。
build
├── electron-builder.yaml
├── icons
├── mac
├── vue-markdown-0.0.0-mac.zip
├── vue-markdown-0.0.0.dmg
└── vue-markdown-0.0.0.dmg.blockmap

2 directories, 4 files
公式例をもとに Markdown エディタを作る
Vue.js Markdown エディタの例 をもとに、vue-electron で車輪の再発明を行います。
MarkdownPage.vue の作成
components 以下のファイルをすべて削除して、MarkdownPage.vueを作成します。
components
└── MarkdownPage.vue

0 directories, 1 file
marked を導入して、MarkdownPage.vueに記述
Markdown パーサーライブラリのmarkedを導入します。
$ npm install marked --save
続いて、公式例を参考に MarkdownPage.vue を編集します。
MarkdownPage.vue
<template>
  <div id="editor">
    <textarea :value="input" @input="update"></textarea>
    <div v-html="compiledMarkdown"></div>
  </div>
</template>

<script>
import marked from 'marked';

export default {
  data() {
    return {
      input: '# hello',
    };
  },
  computed: {
    compiledMarkdown() {
      return marked(this.input, { sanitize: true });
    },
  },
  methods: {
    update(e) {
      this.input = e.target.value;
    },
  },
};
</script>

<style>
html, body, #editor {
  margin: 0;
  font-family: 'Helvetica Neue', Arial, sans-serif;
  color: #333;
}

textarea, #editor div {
  display: inline-block;
  width: 49%;
  height: 100vh; // 公式では % ですが、うまく表示されないので vh にします
  vertical-align: top;
  box-sizing: border-box;
  padding: 0 20px;
}

textarea {
  border: none;
  border-right: 1px solid #ccc;
  resize: none;
  outline: none;
  background-color: #f6f6f6;
  font-size: 14px;
  font-family: 'Monaco', courier, monospace;
  padding: 20px;
}

code {
  color: #f66;
}
</style>
vue-router の編集
最後に、router を編集します。
router/index.js
import Vue from 'vue';
import Router from 'vue-router';

Vue.use(Router);

export default new Router({
  routes: [
    {
      path: '/',
      name: 'markdown-page',
      component: require('@/components/MarkdownPage').default,
    },
    {
      path: '*',
      redirect: '/',
    },
  ],
});
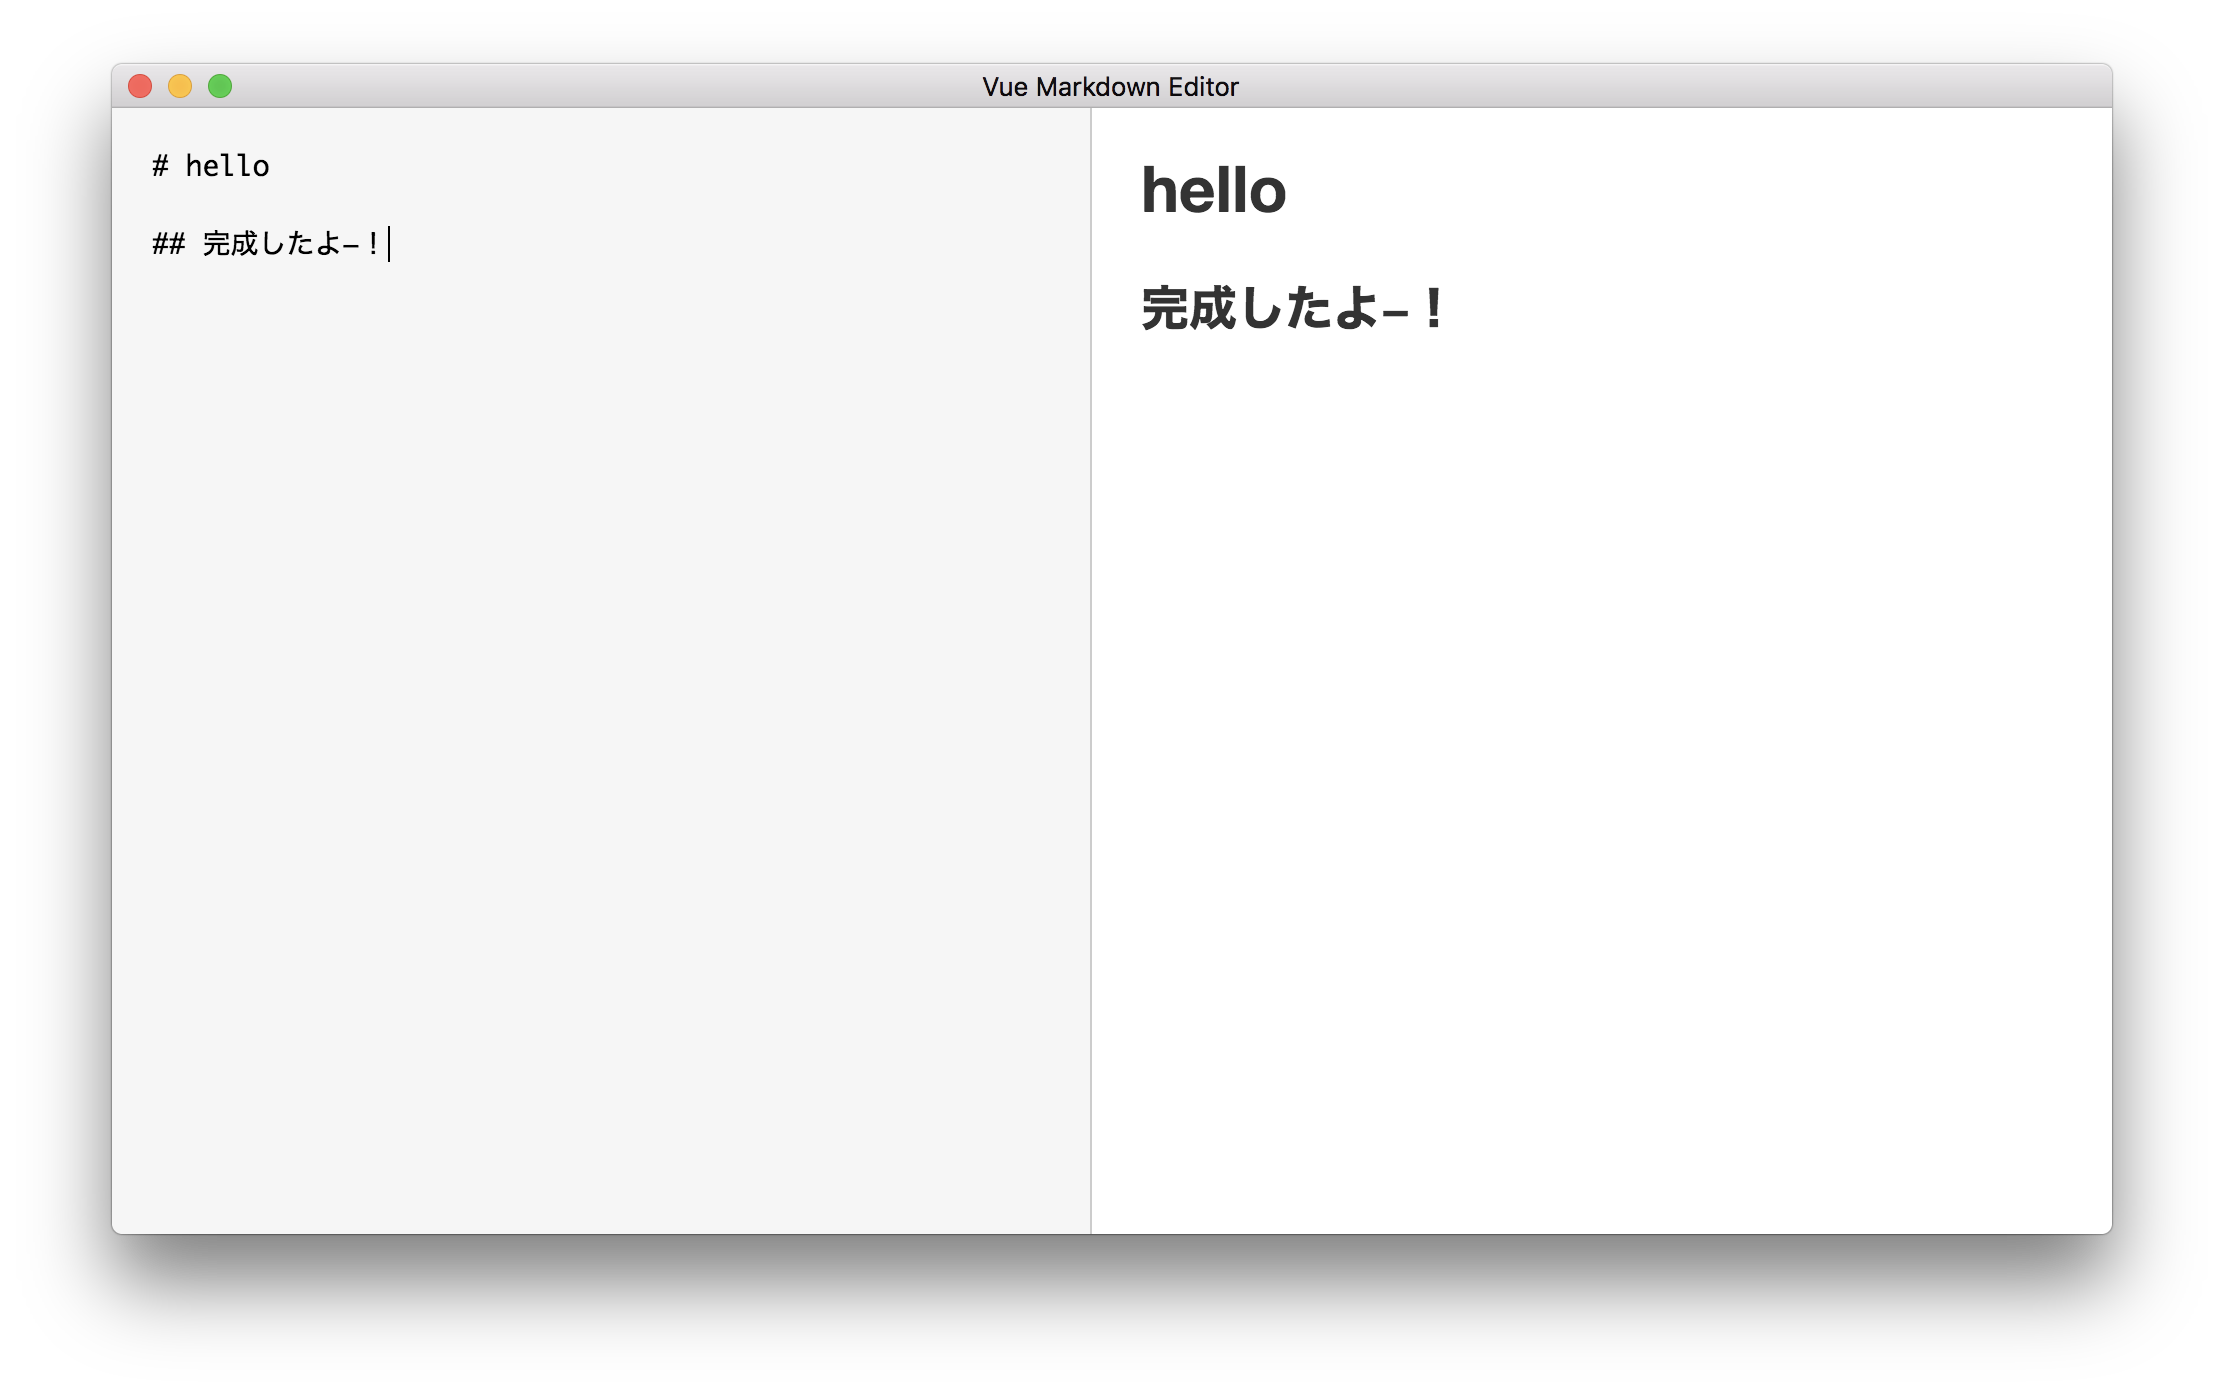
完成
おわりに
メモ書き程度ですが、vue-electron で markdown エディタを作るところまでやってみました。vue-electron は導入が簡単なので、すぐにアプリケーションの開発がスタートできて好印象でした。Vue.js を使ったことがあれば、src 以下は Vue.js のテンプレートのディレクトリ構造と同じなので、特に違和感なく始められると思います。