はじめに
FirebaseのAuthentication機能を利用し、WebアプリにGoogleログインを実装する機会があったので、その手順を記録しておきたいと思います。
事前準備
事前準備として、ディレクトリ構成はこのようにしたいと思います。
test
┗ public
┣ index.html
┣ home.html
┗ firebase.js
index.html (ログインボタンがあるページ)
<body>
    <h1>Firebase-test</h1>
    <button onclick="googleLogin()">Googleでログイン</button>
</body>
home.html (ログイン後のページ)
<body>
    <h1>ログイン後のページです</h1>
</body>
firebase.js (firebaseの設定を記述するページ)
// firebaseの設定を記述します
Firebaseのプロジェクト作成
通常通りFirebaseのプロジェクトを作成します。
初めての方はこちらの記事の、プロジェクト作成部分を参考にしてみてください。
Firebaseの設定
プロジェクトにWebアプリを追加

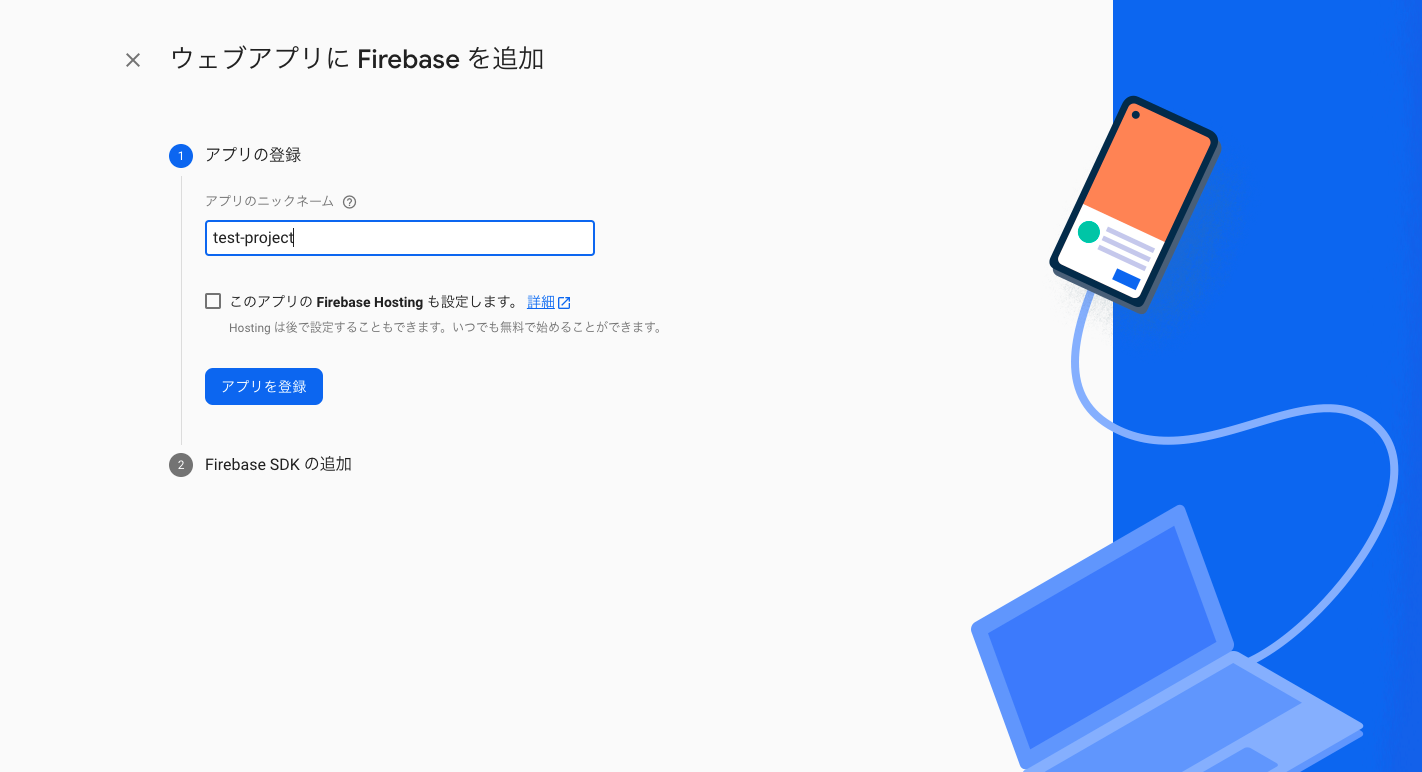
コンソールから、プロジェクトの概要→アプリを追加で、ウェブを選択します。

プロジェクト名を記述し、アプリを登録します。

赤枠の部分をコピーし、firebase.jsに貼り付けます
// firebaseの設定を記述します
var firebaseConfig = {
    apiKey: "Your_apiKey",
    authDomain: "Your_authDomein",
    projectId: "Your_projectId",
    storageBucket: "Your_storageBucket",
    messagingSenderId: "Your_messagingSenderId",
    appId: "Your_appId",
    measurementId: "Your_measurementId"
};
// Initialize Firebase
firebase.initializeApp(firebaseConfig);
firebase.analytics();
上記のようになります。
Authenticationの設定
Authentication → 始めるを選択

Sign-in method → Googleのステータスを選択 → 有効にする
HTMLファイルにコードを追記
<body>
    <h1>Firebase-test</h1>
    <button onclick="googleLogin()">Googleでログイン</button>
    <script src="https://www.gstatic.com/firebasejs/8.6.2/firebase-app.js"></script>
    <script src="https://www.gstatic.com/firebasejs/8.5.0/firebase-auth.js"></script>
    <script src="https://www.gstatic.com/firebasejs/8.6.2/firebase-analytics.js"></script>
    <script src="./firebase.js"></script>
    <script>
        const googleLogin = () => {
            const provider = new firebase.auth.GoogleAuthProvider();

            firebase.auth().signInWithPopup(provider)
                .then((result) => {
                    // ログイン後のページに飛ばす
                    location.href = "./home.html";
                })
                .catch(function(error) {
                    // エラー時の処理を記述
                    alert('正常にサインインできませんでした。');
                });
        }
    </script>
</body>
index.htmlにログイン機能を追記
<body>
    <h1>ログイン後のページです</h1>
    <script src="https://www.gstatic.com/firebasejs/8.6.2/firebase-app.js"></script>
    <script src="https://www.gstatic.com/firebasejs/8.5.0/firebase-auth.js"></script>
    <script src="https://www.gstatic.com/firebasejs/8.6.2/firebase-analytics.js"></script>
    <script src="./firebase.js"></script>
    <script>
        firebase.auth().onAuthStateChanged((user) => {
            if (!user) {
                // サインインしていない状態
                // サインイン画面に遷移する等
                location.href = './index.html';
            } else {
                // サインイン済み
                alert(user.displayName + "さん、こんにちは!");
            }
        });
    </script>
</body>
home.htmlにログイン後の処理を追記
Firebaseの初期化
おなじみの初期化処理を行います。
初めての方はこちらの記事のFirebase機能の設定 → firebase initの部分からやってみてください。
機能の検証
testディレクトリで
firebase serve
を実行し、ローカルサーバーを立ち上げます。


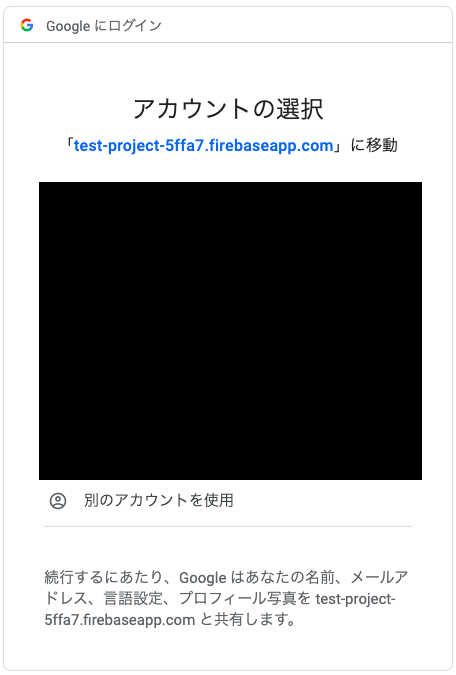
上記のようにログインフローが進み、アカウントの名前を取得できたら成功です。
あとがき
今回は、FirebaseでGoogleログインを実装するための手順を記述しました。
これからも、Firebaseの他の機能の使い方などを記述していきたいと思います。

