「御託はいいからやり方だけ教えてくれ」というあなたは → 実践 - Vue.jsでSSR
この記事は
別途私が書いている実践 - Vue.jsでSSRに、割とどうでもいい私の感情を交えながら、いくつかのパートに分けて書いていく実践形式のSSR with Vue.js説明記事です。
実際の開発フローに沿って、なるべく予備知識がなくても読み進められるように心がけています。
実践1. ビルド環境
実践2. SPA ← 当記事
実践3. SSR
誰に役立つ?
私のような
- フロントエンジニアなりにSSRの実際のやり方を知りたくてググったのに概念的なものしか見つけられない
検索能力の低い人 - 意を決してサーバサイドレンダリング — Vue.jsを通してやったのに、途中から「あれ、なんか違う」ってなって結局出来なかった
理解力の低い人 - 概要をザクッと知ってあとは自分流にやっていきたい人
ゴール
SSR環境を構築でき、拡張することができる
- 極シンプルなSSR環境を構築します
- ジェネレータ的なものは使わず、全体の概要を理解しながら進めていきます
実践2. SPA
Vue.jsで簡単なSPAを作っていきます。
単一ファイルコンポーネント
単一ファイルコンポーネント(.vue)を使えるようにしていきましょう。
必要パッケージをインストールします。
npm i -S vue
npm i -D vue-loader
vueはブラウザ上で使用するため、--saveのエイリアス-Sでインストールしておきます。
まずはブラウザ上で動かすコードから書いていきます。
vueを動かせるようにindex.htmlを作ります。
重要なのはビルド結果のdist/main.jsを読み込むことと、マウント先となる空div<div id="app"></div>を置くことです。
dist/main.jsはDOMContentLoaded後に走らせるようにscriptタグにdefer属性を追加しておきます。
index.html
<!doctype html>
<html lang="ja">
<head>
  <meta charset="UTF-8">
  <meta name="viewport"
        content="width=device-width, user-scalable=no, initial-scale=1.0, maximum-scale=1.0, minimum-scale=1.0">
  <meta http-equiv="X-UA-Compatible" content="ie=edge">
  <title>title</title>
  <script src="./dist/main.js" defer></script>
</head>
<body>
<div id="app"></div>
</body>
</html>
src/index.jsをvueを使用するように変更します。
マウント先に#appを、レンダリングにコンポーネントApp.vueを指定します。
src/index.js
import Vue from 'vue';
import App from './App.vue';

new Vue({
  el: '#app',
  render: h => h(App)
});
コンポーネントApp.vueを作成します。
src/App.vue
<template>
  <p>{{message}}</p>
</template>

<script>
  export default {
    data() {
      return {
        message: 'message'
      }
    }
  }
</script>
これでブラウザ上でvueを動かす準備は出来ました。
次に単一ファイルコンポーネントをコンパイルできるようにwebpack.config.jsを変更します。
webpack.config.js
const path = require('path');
const VueLoaderPlugin = require('vue-loader/lib/plugin');

const config = {
  entry: path.join(__dirname, 'src/index.js'),
  output: {
    filename: 'main.js',
    path: path.join(__dirname, 'dist')
  },
  module: {
    rules: [
      {
        test: /\.vue$/,
        loader: 'vue-loader'
      },
      {
        test: /\.m?js$/,
        exclude: /node_modules/,
        loader: 'babel-loader'
      }
    ]
  },
  plugins: [
    new VueLoaderPlugin()
  ]
};
ビルドして表示してみましょう。
npm run build:dev
ローカルサーバーを任意の方法で立ち上げてください。
macOSであれば以下のコマンドが利用できます。
# プロジェクトルートにて
python -m SimpleHTTPServer 8000

# localhost:8000にアクセス可能
# Ctrl + c で終了
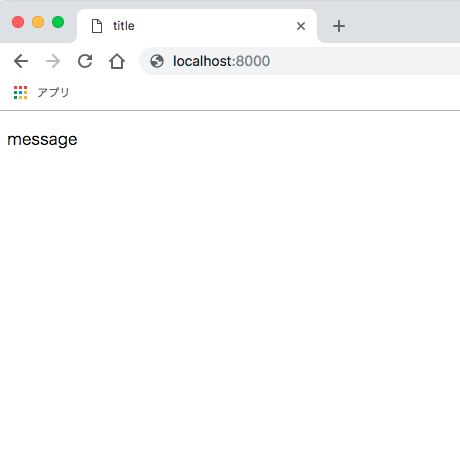
「message」という文字列が表示されていれば成功です。
コンポーネント内でcssも書けるようにしておきましょう。
src/App.vueにcssを追加します。
src/App.vue
<template>
  <p class="message">{{message}}</p>
</template>

...

<style>
  .message {
    color: red;
  }
</style>
必要パッケージをインストールし、webpack.config.jsにルールを追加します。
npm i -D vue-style-loader css-loader
webpack.config.js
  module: {
    rules: [
      {
        test: /\.vue$/,
        loader: 'vue-loader'
      },
      {
        test: /\.m?js$/,
        exclude: /node_modules/,
        loader: 'babel-loader'
      },
      // ここを追加
      {
        test: /\.css$/,
        use: [
          'vue-style-loader',
          'css-loader'
        ]
      }
    ]
  },
再度ビルド、(閉じていれば)ローカルサーバーを立ち上げて表示してみましょう。
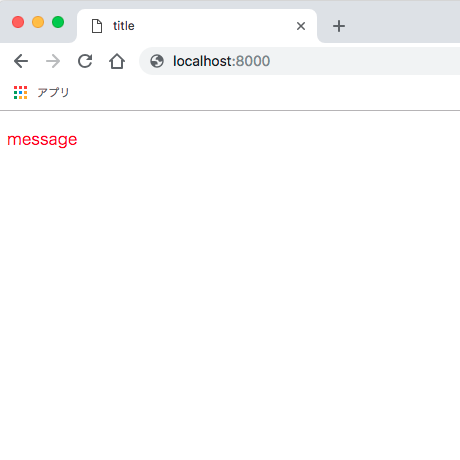
先ほどの「message」が赤くなっていれば成功です。
vueで出来ることやvue-loaderの設定について、より詳しく知りたい場合は以下を参照してください。
現在のディレクトリ構成は以下のようになっています。
root
|- /dist
  |- main.js
|- /node_modules
  |- /some_modules
|- /src
  |- App.vue
  |- index.js
|- .babelrc
|- index.html
|- package.json
|- package-lock.json
|- webpack.config.js
ルーティング
vue-routerでルーティングを行い、SPAにしていきます。
パッケージをインストールします。
npm i -S vue-router
src/router.jsを作成し、ルーティングの設定をします。
src/router.js
import Vue from 'vue';
import Router from 'vue-router';
import Top from './components/Top.vue';
import Page from './components/Page.vue';

Vue.use(Router);

const routes = [
  { path: '/', component: Top },
  { path: '/page', component: Page }
];

const router = new Router({ routes });

export default router;
パス/ではコンポーネントTop.vueを、パス/pageではコンポーネントPage.vueをレンダリングします。
それぞれのコンポーネントも作りましょう。
src/components/Top.vue
<template>
  <p>Top.</p>
</template>
src/components/Page.vue
<template>
  <p>under pages.</p>
</template>
これらを有効化させるために、src/index.jsでrouterを読み込みます。
src/index.js
import Vue from 'vue';
import App from './App.vue';
import router from './router';

new Vue({
  el: '#app',
  router,
  render: h => h(App)
});
src/App.vueにリンクと表示の設定を行います。
<template>
  <div>
    <p class="message">{{message}}</p>
    <ul>
      <li><router-link to="/">Top</router-link></li>
      <li><router-link to="/page">Page</router-link></li>
    </ul>
    <router-view></router-view>
  </div>
</template>

...
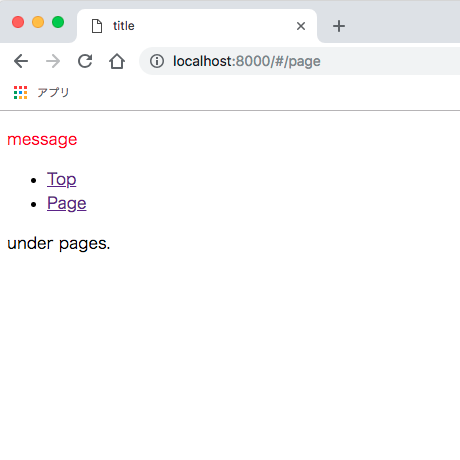
パスが変わると<router-view></router-view>の内容が対応するコンポーネントに変わる構成です。
ビルドして表示を確認してみましょう。
URLとコンテンツが変わっても画面の再読み込みは行われません。
とても簡単ですが、これでSPAができました。
vue-routerについてより詳しく知りたい場合は公式ガイドを参照してください。
現在のディレクトリ構成は以下のようになっています。
root
|- /dist
  |- main.js
|- /node_modules
  |- /some_modules
|- /src
  |- /components
    |- Page.vue
    |- Top.vue
  |- App.vue
  |- index.js
  |- router.js
|- .babelrc
|- index.html
|- package.json
|- package-lock.json
|- webpack.config.js


