前回に引き続き、AWS AmplifyでデプロイしているReactアプリケーションを修正してToDoアプリを作成してみます。
公式のチュートリアルをベースに、ユーザーごとに表示内容を切り替える実装を行います。
バックエンドの実装
Amplifyのバックエンドを設定していきます。
Admin UIでは設定できない
認証設定と同様にAdmin UIだけでGraphQLの設定が行えるかと思ってたのですが、開いてみるとAmplify CLIを使えとのこと。。。
多分時間が経てば設定できるようになると信じています。

Amplify CLIでAPIを作成する
ということで、諦めてAmplify CLIでGraphQLのAPIを実装していきたいと思います。
上記のGraphQL APIページにも書かれているamplify add apiコマンドでAPIを作成します。
質問にはすべてデフォルト値で回答しています。
amplify add api

? Please select from one of the below mentioned services: GraphQL
? Provide API name: amplifyreact
? Choose the default authorization type for the API API key
? Enter a description for the API key:
? After how many days from now the API key should expire (1-365): 7
? Do you want to configure advanced settings for the GraphQL API No, I am done.
? Do you have an annotated GraphQL schema? No
? Choose a schema template: Single object with fields (e.g., “Todo” with ID, name, description)
上記でAPIの準備が完了したら、下記のように質問されますので、Yesで回答します。
(デフォルトでNoとなっていますが、Noとした場合でもamplify/backend/api/***/schema.graphqlを開けばOKです)
? Do you want to edit the schema now? Yes
デフォルトではTodoという名前のスキーマが定義されていますね。
!がついているものは、そのフィールドがnullになることはないことを意味しています。
今回はこれをそのまま使用します。
type Todo @model {
  id: ID!
  name: String!
  description: String
}
後述しますが、この@model というディレクティブがついているおかげで、自動的にDynamoDBの設定がされたりすることになります。
APIのデプロイ
この状態でamplify pushコマンドでAPIのデプロイを実施します。
amplify push --y
すると、バックエンドでDynamoDBが作成されたり、AppSync APIが作成されたたりした上に、APIのクエリ用のデータがsrc/graphqlに作成されます。
フロントエンドの実装
App.jsを下記のように修正します。
import React, { useState, useEffect } from 'react';
import './App.css';
import { API } from 'aws-amplify';
import { withAuthenticator, AmplifySignOut } from '@aws-amplify/ui-react';
import { listTodos } from './graphql/queries';
import { createTodo as createTodoMutation, deleteTodo as deleteTodoMutation } from './graphql/mutations';

const initialFormState = { name: '', description: '' }

function App() {
  const [todos, setTodos] = useState([]);
  const [formData, setFormData] = useState(initialFormState);

  useEffect(() => {
    fetchTodos();
  }, []);

  async function fetchTodos() {
    const apiData = await API.graphql({ query: listTodos });
    setTodos(apiData.data.listTodos.items);
  }

  async function createTodo() {
    if (!formData.name || !formData.description) return;
    await API.graphql({ query: createTodoMutation, variables: { input: formData } });
    setTodos([ ...todos, formData ]);
    setFormData(initialFormState);
  }

  async function deleteTodo({ id }) {
    const newTodosArray = todos.filter(todo => todo.id !== id);
    setTodos(newTodosArray);
    await API.graphql({ query: deleteTodoMutation, variables: { input: { id } }});
  }

  return (
    <div className="App">
      <h1>My Todos App</h1>
      <input
        onChange={e => setFormData({ ...formData, 'name': e.target.value})}
        placeholder="Todo name"
        value={formData.name}
      />
      <input
        onChange={e => setFormData({ ...formData, 'description': e.target.value})}
        placeholder="Todo description"
        value={formData.description}
      />
      <button onClick={createTodo}>Create Todo</button>
      <div style={{marginBottom: 30}}>
        {
          todos.map(todo => (
            <div key={todo.id || todo.name}>
              <h2>{todo.name}</h2>
              <p>{todo.description}</p>
              <button onClick={() => deleteTodo(todo)}>Delete Todo</button>
            </div>
          ))
        }
      </div>
      <AmplifySignOut />
    </div>
  );
}

export default withAuthenticator(App);
下記のようなToDoアプリケーションが実装できました。
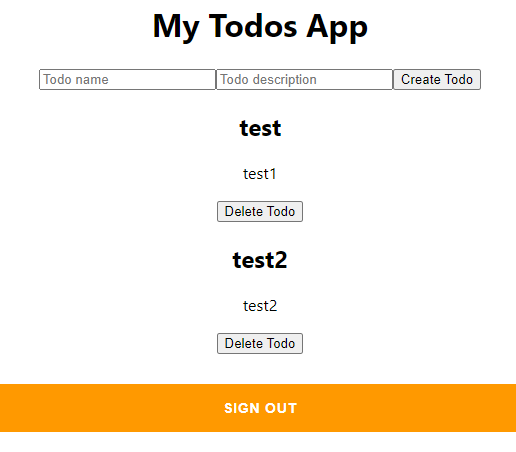
ただ、複数ユーザーでログインしてみるとわかるのですが、せっかくサインイン機能があるのに表示される内容が全ユーザーで同じになっています。
上記のアプリケーションをベースに、ユーザーごとにToDoリストの内容を分けていきたいと思います。
ユーザーごとにToDoリストの内容を分ける
通常のToDOアプリでは、サインインしたユーザーごとのToDoリストが表示され、サインインしたユーザーだけがその内容を操作できるはずです。
本来ならば、これを実装するには認可の機能を実施する必要がありかなり大変ですが、Amplifyでは簡単にそれを実装する事ができます。
@authディレクティブ
GraphQLのスキーマで@authディレクティブを指定することで、認可機能を実現できます。
@authについては公式のドキュメントがあります。
https://docs.amplify.aws/cli/graphql-transformer/auth
下記のようにschema.graphqlを修正します。
- type Todo @model {
+ type Todo @model @auth(rules: [{ allow: owner }]){
  id: ID!
  name: String!
  description: String
}
これでamplify pushコマンドを実行してみると、下記のように怒られました。

どうやら、認証方法をCognitoにする必要があるようで、amplify update apiで設定を変更します。
amplify update api

? Select from the options below Update auth settings
? Choose the default authorization type for the API Amazon Cognito User Pool
Use a Cognito user pool configured as a part of this project.
? Configure additional auth types? No
(node:14112) ExperimentalWarning: The fs.promises API is experimental
この状態でamplify pushを行うと、無事成功し、ユーザーごとに表示されるToDoリストの内容が異なるようになりました。


DynamoDBでデータを見てみる
DynamoDBに追加されたデータを見てみると、schema.graphqlに記載している内容に加えて、ownerという項目が追加されています。

Owner authorization specifies whether a user can access or operate against an object. To do so, each object will get an ownerField field (by default owner will be added to the object if not specified) that stores ownership information and is verified in various ways during resolver execution.
上記の通り公式にも記載がありますが、@authディレクティブを追加すると、特に指定がない限りはownerが追加され、そこにデータの所有者情報が入るようです。
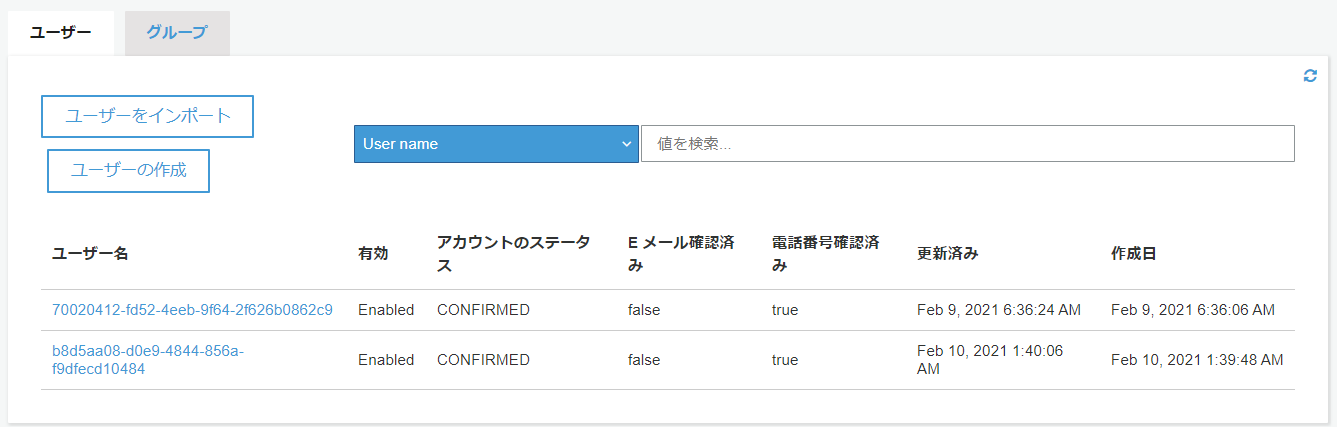
ちなみにここで記載されているIDのような値はユーザー作成時にCognito User Poolに追加されたユーザー名です。