記事の内容
Pythonを使ってAmazon Rekognitionを動かす基本について記述します。
また、AWS アクセスキーの取り扱いについても記載します。
○Amazon Rekognition オブジェクトとシーンの検出
○実行環境
○アクセスキーを記載したiniファイルの作成
○コード例
○出力
○おわり
Amazon Rekognition
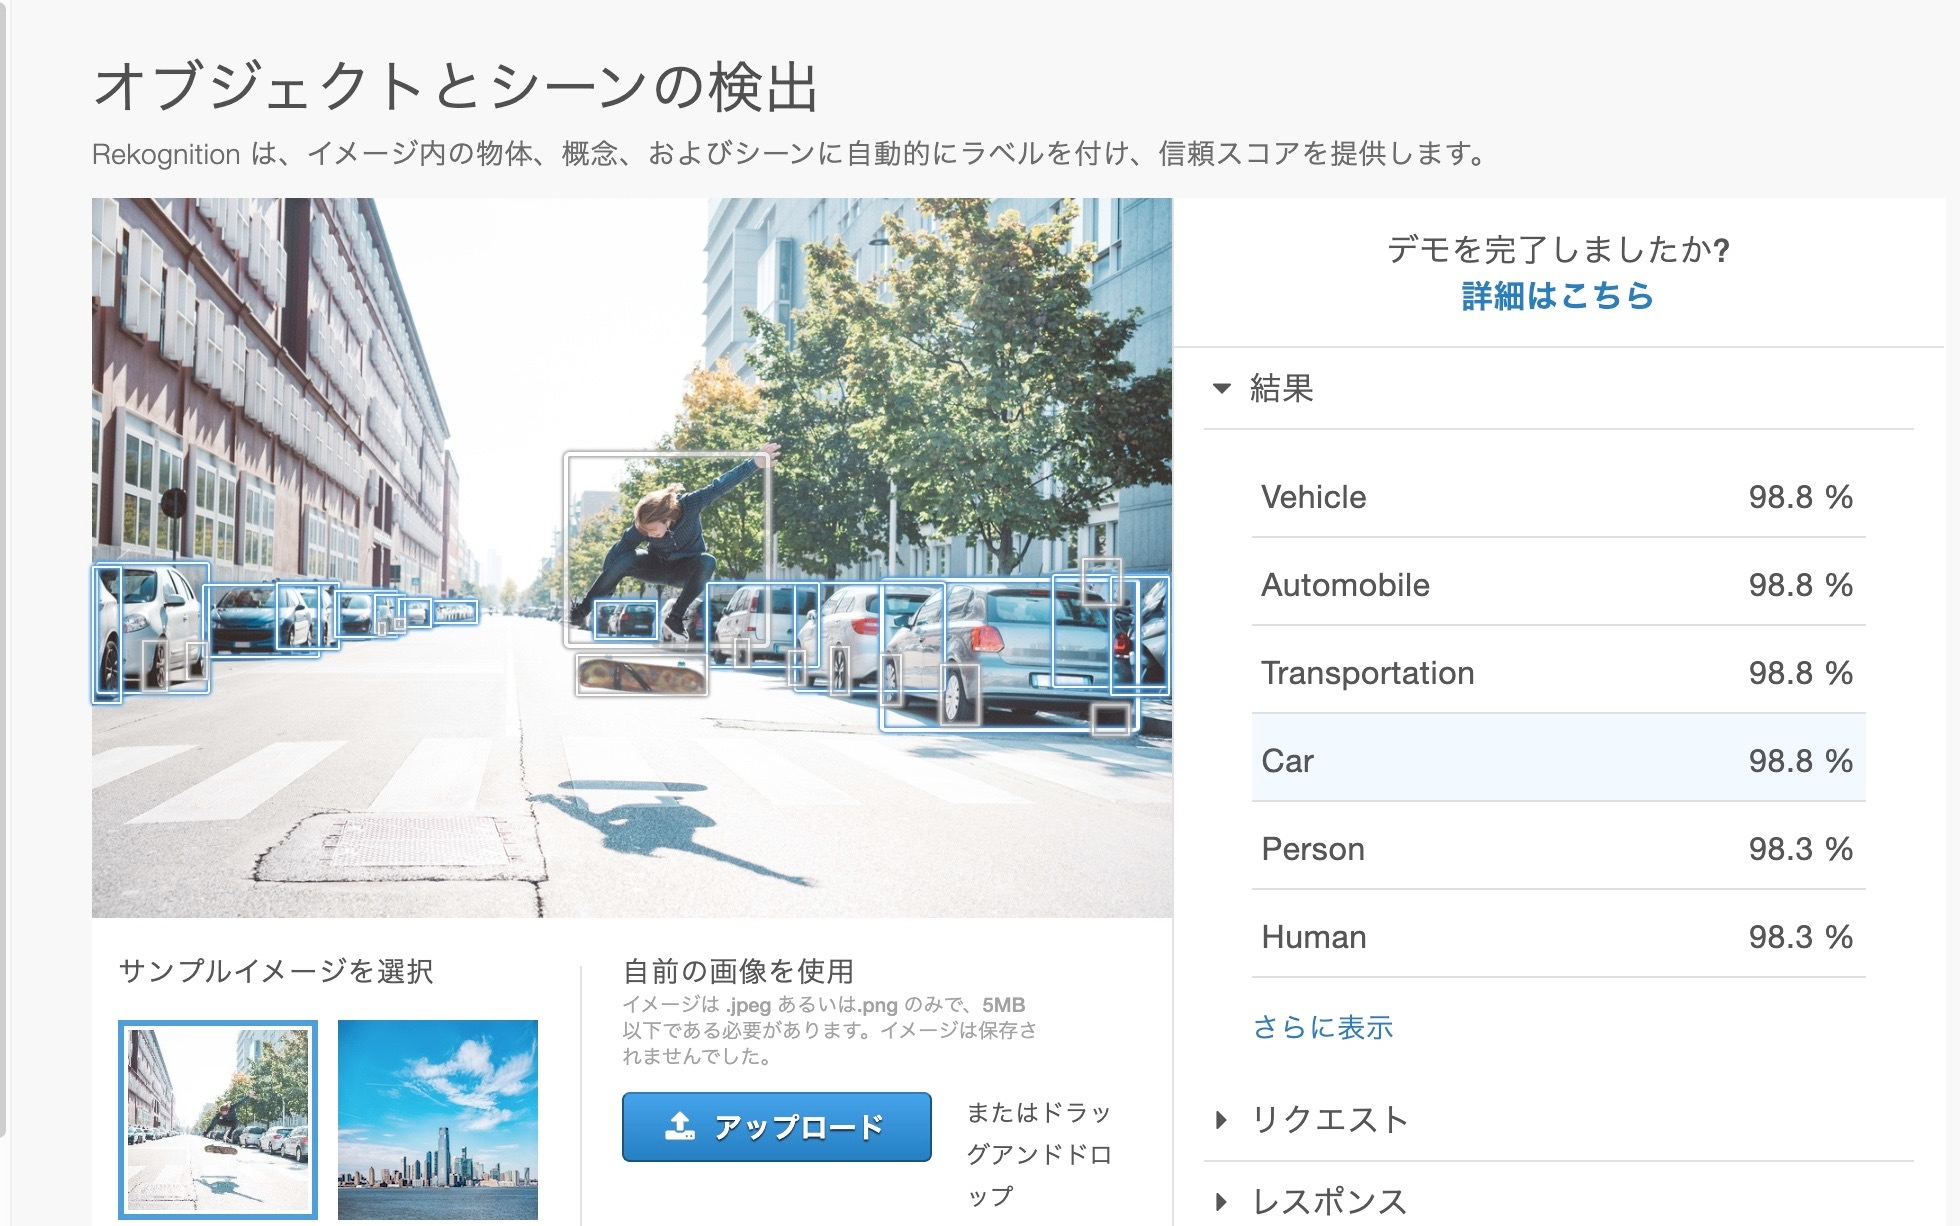
AWSの中にディープラーニングで学習された画像認識が使えるAmazon Rekognitionというサービスがあります。Amazon Rekognitionで提供されている「オブジェクトとシーンの検出」は以下の写真のように風景画から物体を検出し識別してくれるサービスです。
なお、サービスで使用するAmazon Rekognition Image APIは
初めて利用する場合、1年間は5,000枚/月の画像分析が無料でできます。
Amazon Rekognitionの料金:
https://aws.amazon.com/jp/rekognition/pricing/
実行環境
MacBook Pro (Retina, 13-inch, Early 2015)
・macOS:Mojave version10.14.6
・プロセッサ:2.7 GHz Intel Core i5
・メモリ:8 GB 1867 MHz DDR3
Python 3.7.3
・boto3 1.9.228
・configparser 4.0.2
・matplotlib 3.1.0
・PIL 1.1.7
アクセスキーを記載したiniファイルの作成
AWS アクセスキーをコードにそのまま書くと流出するリスクがあるのでiniファイルを作成し、
そこから読み込むことにします。まず、iniファイルを作成します。
iniファイル作成に必要なconfigparserをダウンロードします。
..$ pip install configparser
次に、ターミナルに以下を打ち込み、iniファイルを作成します。
..$ python
Python 3.7.3 (default, Mar 27 2019, 16:54:48)
[Clang 4.0.1 (tags/RELEASE_401/final)] :: Anaconda, Inc. on darwin
Type "help", "copyright", "credits" or "license" for more information.

>>> import configparser
>>> config = configparser.ConfigParser()
>>> config['AWS_KEY'] = {'awsaccesskeyid': 'アクセスキー ID',
...'awssecretkey': 'シークレットアクセスキー'}
>>> with open('config.ini', 'w') as configfile:
...     config.write(configfile)
AWS_KEY 、awsaccesskeyid、awssecretkey、config.iniのファイル名は任意でOKです。
アクセスキー ID、シークレットアクセスキー にはAWSのアクセスキー IDとシークレットアクセスキーをそれぞれ入れてください。上記を実行すると、以下の内容が記載された「config.ini」が作成されます。
[AWS_KEY]
awsaccesskeyid = アクセスキー ID
awssecretkey = シークレットアクセスキー
これをPythonコードから読み込み、AWSにアクセスします。
以下を参考にさせていただきました。
アクセスキーの取り扱い事例:
https://qiita.com/mochizukikotaro/items/a0e98ff0063a77e7b694
iniファイルの作り方:
https://docs.python.org/ja/3/library/configparser.html#module-configparser
コード例
次にPythonを使ってAmazon Rekognitionを動かすコードを書きます。
# AWSを使用するためのライブラリを読み込む
import boto3
# iniファイルを使用するためのライブラリを読み込む
import configparser
# 認識結果を表示するためのライブラリを読み込む
from matplotlib import pyplot as plt
from PIL import Image
import random

# configparserのインスタンスを作る
ini = configparser.ConfigParser()
# あらかじめ作ったiniファイルを読み込む
ini.read("iniファイルのパス.../config.ini", "UTF-8")

# 認識させるファイルを指定する
filename = "画像ファイルのパス.../landscape.jpg"

# 画像を開いて、サイズを取得する
img = Image.open(filename)
img_width = img.size[0]
img_height = img.size[1]

# 使用するバケットを指定する
bucket = "Amazon S3のバケット名"
# 使用するリージョンを指定する
region = "us-east-1"

# サービスを利用するための識別情報(iniファイルの中身)を読み込む
access_key = ini["AWS_KEY"]["awsaccesskeyid"]
secret_key = ini["AWS_KEY"]["awssecretkey"]
# サービスへの接続情報を取得する
session = boto3.Session(
    aws_access_key_id=access_key, aws_secret_access_key=secret_key, region_name=region
)

# S3サービスに接続する
s3 = session.client("s3")
# Rekognitionサービスに接続する
rekognition = session.client("rekognition")

# ファイルを読み込む
with open(filename, "rb") as f:
    # 読み込んだファイルをS3サービスにアップロード
    s3.put_object(Bucket=bucket, Key=filename, Body=f)

# S3に置いたファイルをRekognitionに認識させる
res = rekognition.detect_labels(
    Image={"S3Object": {"Bucket": bucket, "Name": filename}})

# Rekognitionの認識結果を表示する
print("Detected labels for " + filename)
print()
for label in res["Labels"]:
    print("Label: " + label["Name"])
    print("Confidence: " + str(label["Confidence"]))
    print("Instances:")
    for instance in label["Instances"]:
        print("  Bounding box")
        print("    Top: " + str(instance["BoundingBox"]["Top"]))
        print("    Left: " + str(instance["BoundingBox"]["Left"]))
        print("    Width: " + str(instance["BoundingBox"]["Width"]))
        print("    Height: " + str(instance["BoundingBox"]["Height"]))
        print("  Confidence: " + str(instance["Confidence"]))
        print()

        print("Parents:")
        for parent in label["Parents"]:
            print("   " + parent["Name"])
        print("----------")
        print()

# 画像と枠を表示させる
colors = {}
for label in res["Labels"]:
    label_name = label["Name"]
    if label_name not in colors:
        colors[label_name] = (random.random(), random.random(), random.random())
        for instance in label["Instances"]:
            bb = instance["BoundingBox"]

            rect = plt.Rectangle(
                (bb["Left"] * img_width, bb["Top"] * img_height),
                bb["Width"] * img_width,
                bb["Height"] * img_height,
                fill=False,
                edgecolor=colors[label_name],
            )
            plt.gca().add_patch(rect)

plt.imshow(img)
plt.show()

# S3サービスにアップロードしたファイルを削除する
s3.delete_object(Bucket=bucket, Key=filename)
大まかな流れとしては、
Amazon S3に画像を保存 → Amazon Rekognitionに読み込ませて認識 → 認識結果を表示
→ S3に上げた画像を削除 となります。
S3に画像をアップロードするためには、あらかじめAWSリージョンにS3バケットを作っておく必要があります。そしてバケットの指定をbucket = "Amazon S3のバケット名"の箇所で行っています。
Amazon S3 バケットについて:
https://docs.aws.amazon.com/ja_jp/AmazonS3/latest/dev/UsingBucket.html#create-bucket-intro
認識結果の表示は以下を参考にさせていただきました。
https://qiita.com/shitsumu/items/fed77d6898060ddfccb5
出力
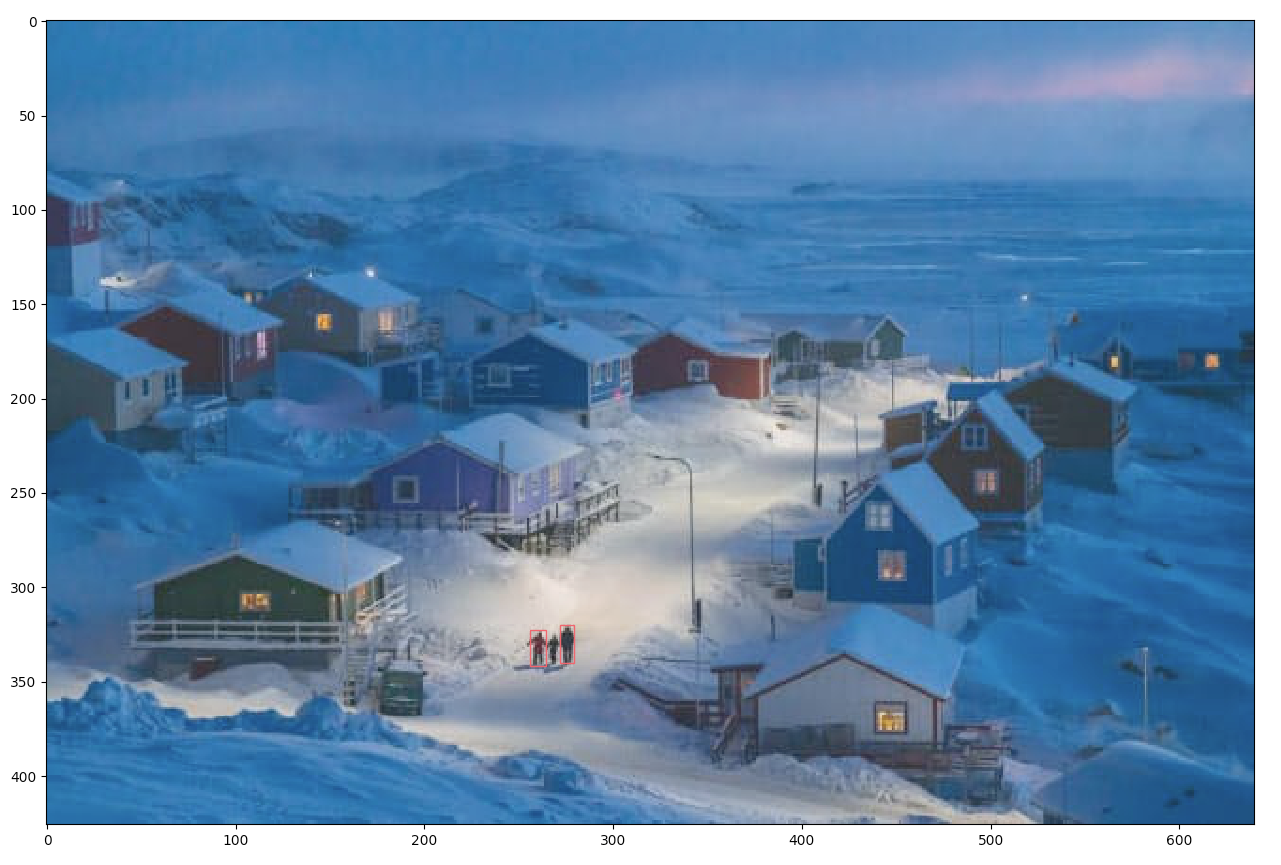
上記コードのfilenameに以下の画像を指定して認識させてみました。

出力画像が以下です。

見にくいですが、中央下部の3人の人物のうち2人に枠がついています。
また、同時に出力された以下の内容から、おおよそ写真に含まれる物体が検出できていることが分かります。
枠がついた人物の位置も出力されています。
Label: Nature
Confidence: 99.57954406738281
Instances:
Label: Outdoors
Confidence: 99.14937591552734
Instances:
Label: Ocean
Confidence: 98.70587921142578
Instances:
Label: Sea
Confidence: 98.70587921142578
Instances:
Label: Water
Confidence: 98.70587921142578
Instances:
Label: Human
Confidence: 98.06352233886719
Instances:
Label: Person
Confidence: 98.06352233886719
Instances:
  Bounding box
    Top: 0.7575008869171143
    Left: 0.3999026417732239
    Width: 0.013077735900878906
    Height: 0.04434533789753914
  Confidence: 98.06352233886719

Parents:
----------

  Bounding box
    Top: 0.7505233883857727
    Left: 0.4243009686470032
    Width: 0.012147617526352406
    Height: 0.04820201173424721
  Confidence: 96.61809539794922

Parents:
----------

Label: Land
Confidence: 84.5143814086914
Instances:
Label: Snow
Confidence: 84.4079818725586
Instances:
Label: Building
Confidence: 74.3116226196289
Instances:
Label: Weather
Confidence: 72.27456665039062
Instances:
Label: Sea Waves
Confidence: 67.93929290771484
Instances:
Label: Winter
Confidence: 61.16356658935547
Instances:
Label: Tsunami
Confidence: 58.126712799072266
Instances:
Label: Shoreline
Confidence: 57.92975997924805
Instances:
Label: Ice
Confidence: 56.95417404174805
Instances:
おわり
初めてAWSをPythonで動かしてみましたが、他のPythonフレームワークと連携させて色々面白いものが作れそうです。AWSの使い方よりもアクセスキーの管理方法が勉強になりました。
