Spresenseに内蔵されているGPS機能を使って、GPSトラッカーもどきを作成します。GPSから取得した位置情報をLTEを使ってクラウドに打ち上げて、スマホのBlynkアプリからそれを監視します。スマホから監視するので、自分の位置ならスマホのGPSを使えば良いのですが、どちからといえば、モノに取り付けての物流監視や、子供・お年寄りに持たせての見守り端末や、誰かのカバンに忍ばせての浮気調査![]() 、のようなものをイメージしています。そう用途は無限大です。
、のようなものをイメージしています。そう用途は無限大です。
用意するもの
- SPRESENSEメインボード
- SPRESENSE LTE拡張ボード
- Blynkスマホアプリ
- モバイルバッテリー (ダイソーの500円のやつとか)
LTEにはSIMが必要です。導入についてはSPRESENSE LTE拡張ボードをはじめてみようにまとめています。
Blynk を LTE 拡張ボードに対応させる
Blynkってナニという方は、BlynkアプリでSPRESENSEをリモートコントロールするを参照してみてください。前回は Ethernet を使って通信していましたが、今回は目的が移動端末なのでLTE通信に対応してみました。スマホからLTE越しにデバイスをコントールすることができます。WiFi入らずです。
blynkライブラリをforkして拡張したものをこちらに置きました。
https://github.com/baggio63446333/blynk-library
TinyGSMを参考にしつつ、Spresense LTE用のAdapterを追加しています。
Arduino の libraries フォルダ以下にインストールしてください(以下はLinuxでの例です)。
$ cd ~/Arduino/libraries
$ git clone https://github.com/baggio63446333/blynk-library
既に clone 済みであれば、リモートリポジトリとして追加してください。
$ cd ~/Arduino/libraries/blynk-library
$ git remote add baggio https://github.com/baggio63446333/blynk-library
$ git checkout -b baggio-master baggio/master
サンプル
Blynk->Boards_GSM->Spresense_LTEのスケッチを開きます。
~/Arduino/libraries/blynk-library/examples/Boards_GSM/Spresense_LTE/Spresense_LTE.ino
サンプルスケッチのAuthToken, APN, ユーザー名、パスワードを自分の環境に合わせて書き換えてください。
// You should get Auth Token in the Blynk App.
// Go to the Project Settings (nut icon).
char auth[] = "YourAuthToken";

// Your GPRS credentials
// Leave empty, if missing user or pass
char apn[]  = "YourAPN";
char user[] = "";
char pass[] = "";
authは、Blynkアプリを登録したときにメールで送られてくる32文字ぐらいの文字列です。
apn,user,passは、IIJmioならこんな感じです。
char auth[] = "xxxxxxxxxxxxxxxxxxxxxxxxxxxxxxxx"; // ユーザに合わせて変更
char apn[]  = "iijmio.jp";
char user[] = "mio@iij";
char pass[] = "iij";
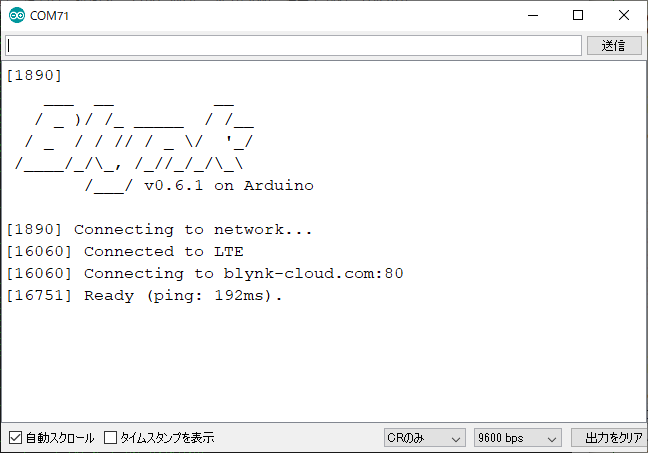
ビルドして動かしたときにシリアルモニタにReadyと表示されればうまく接続できています。
GPSを使って現在位置の取得
Blynk アプリ
Blynk の Map Widget を使います。
| 手順 | |
|---|---|
| Map Widgetを追加します。 | 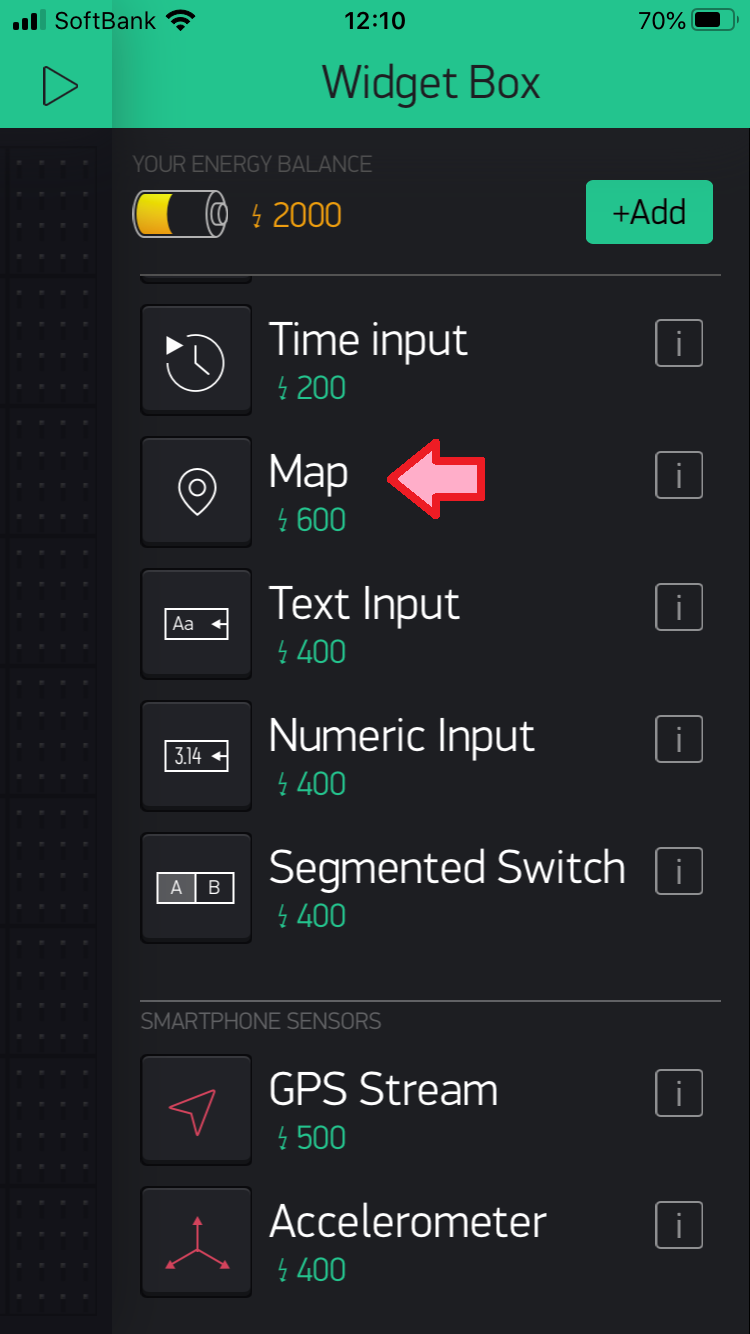 |
| 地図が表示されます。 | 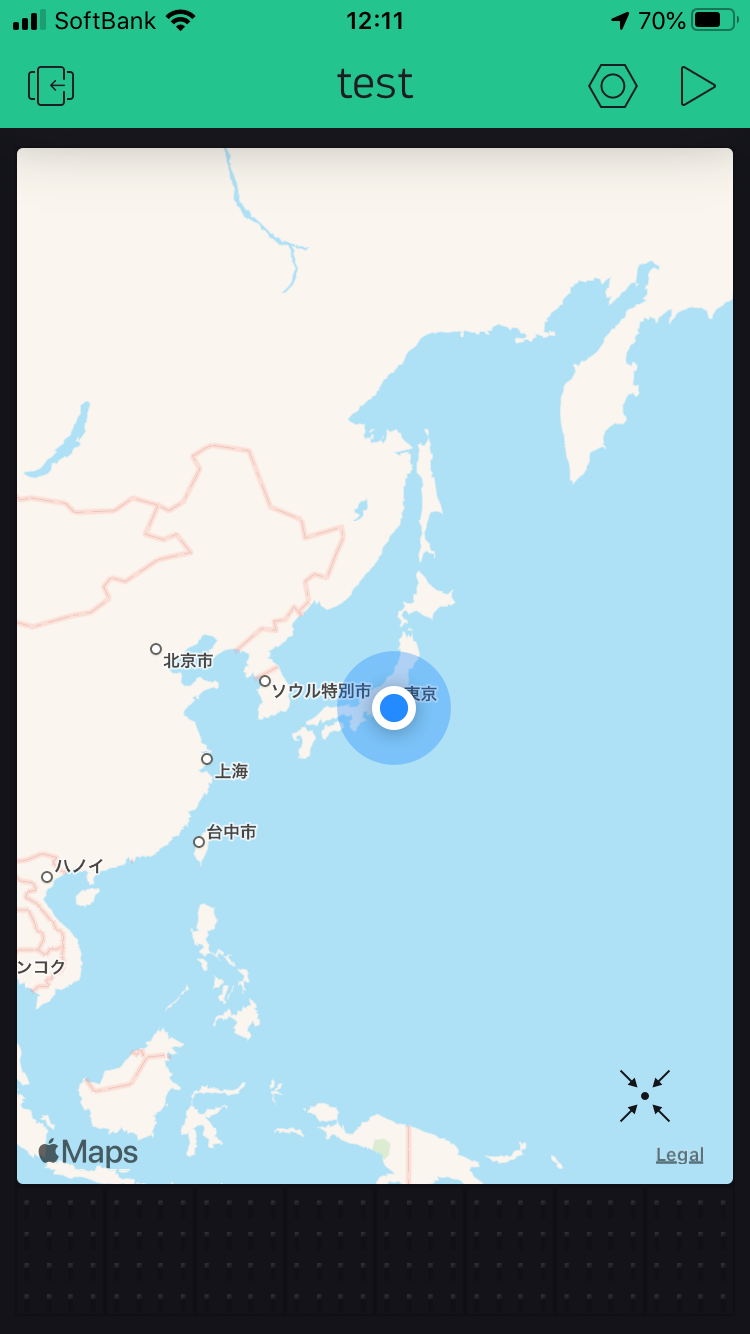 |
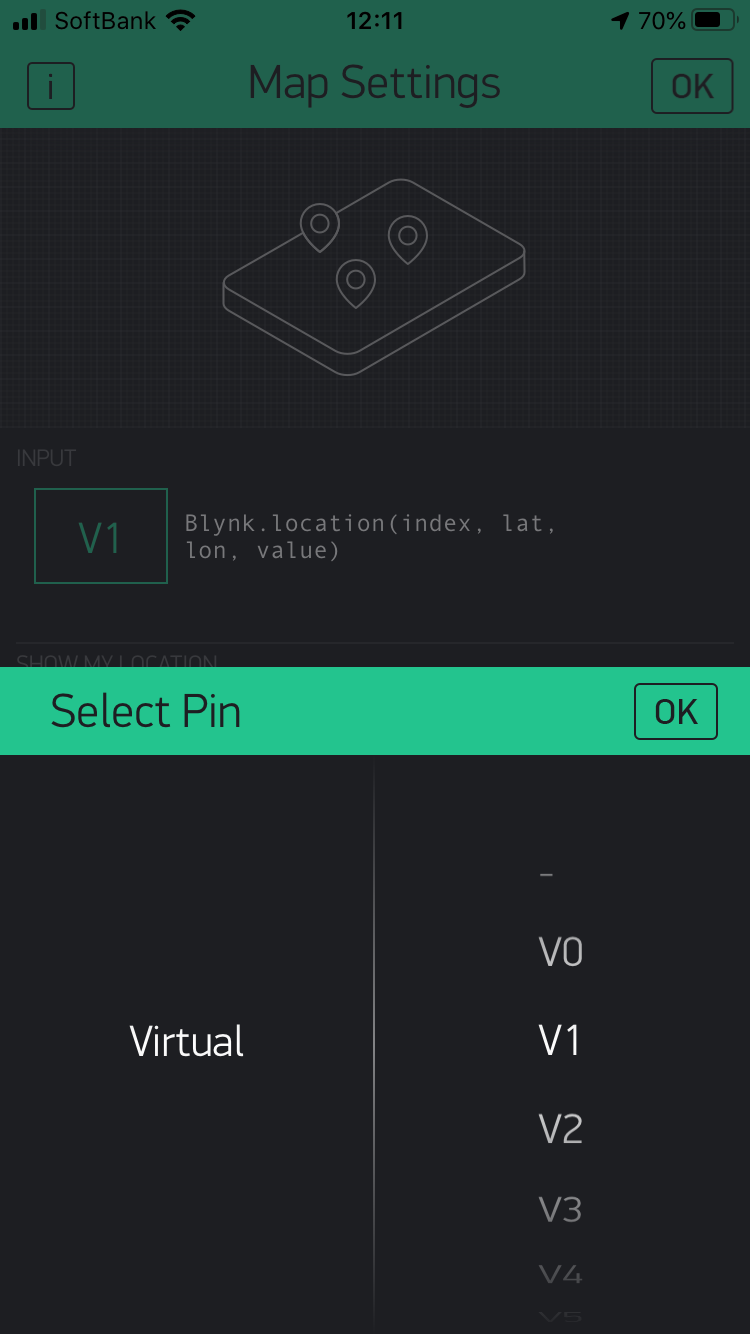
| Map Settingsを開いてSelect PinでVirutalのV1ピンを選択します。 これは後ほど出てくるスケッチ上でV1ピンを使っているのでそれに合わせています。 |
 |
Map スケッチ
GPS情報を打ち上げるためのスケッチはこちらです。デバッグのし易さは置いておいて必要最低限の記述にしています。
/* Comment this out to disable prints and save space */
# define BLYNK_PRINT Serial

# include <BlynkSimpleSpresenseLTE.h>

# include <GNSS.h>
static SpGnss Gnss;

char auth[] = "xxxxxxxxxxxxxxxxxxxxxxxxxxxxxxxx"; // ユーザに合わせて変更
char apn[]  = "iijmio.jp"; // SIMに合わせて変更
char user[] = "mio@iij";
char pass[] = "iij";

WidgetMap myMap(V1);

void setup()
{
  // Debug console
  Serial.begin(115200);

  Blynk.begin(auth, apn, user, pass);

  // If you want to remove all points:
  myMap.clear();

  // Start GPS
  Gnss.begin();
  Gnss.select(GPS);
  Gnss.select(QZ_L1CA);
  Gnss.start(COLD_START);
}

void loop()
{
  Blynk.run();

  static int index = 0;
  if (Gnss.waitUpdate(-1)) {
    SpNavData nav;
    Gnss.getNavData(&nav);
    if (nav.posFixMode != FixInvalid) {
      // Get the location
      float lat = (float)nav.latitude;
      float lon = (float)nav.longitude;
      char utc[10];
      sprintf(utc, "%02d:%02d:%02d",
              nav.time.hour, nav.time.minute, nav.time.sec);
      // Send the location to my map
      myMap.location(index++, lat, lon, utc);
    }
  }
}
できあがり
Mapスケッチを動かしてBlynkアプリから監視した様子がこちら。
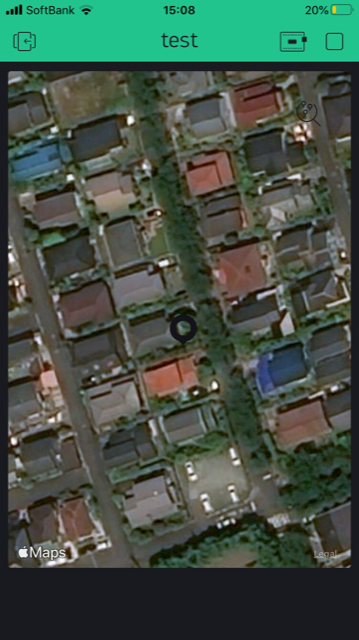
地図上に黒丸が表示されていることが分かります。
これ1秒ごとに位置情報を送っているので軌跡を描いてくれるのかと思っていたのですが、アプリ側の位置情報の更新がどうも不定期にしか行われません。Blynkアプリを一旦切断して再接続すると確実に座標位置を更新してくれます。Map Widgetがそういう仕様なのでしょうか。。
当初思い描いていたものにはなりませんでしたが、不要不急の外出は控えた方が良い昨今、移動軌跡なんて要らないよね、ということでここまでで完成にしておきます![]()