About
- このサイトではHanamiとassets-webpack-pluginを使ってバックエンドとフロントエンドを綺麗に分離してる、かっこいい
- でもwebpack.config.jsの書き方(ネスト)が気に入らない...
- それに他のassets(CSS)とかはどうすればいいんだろう...?
- webpack以外のタスクランナーでいいものってあるのかな?
- FuseBoxを見つける
というわけでその他にもやってみたかったことを付け加えて実践します。(HamlとPostgreSQL)
環境構築ばっかでアプリが作れない...
FuseBoxとは
公式サイトより
FuseBox is a blazing fast bundler/module loader, where you measure you build time in millseconds.
Blazing fast, TypeScript First, Minimalist configs
とあるように、TypeScriptベースの高速なモジュールバンドラーです(適当)。
比較できるほど他のバンドラーを使っていないのですが、webpackより格段に早いです。webpack実行後と同じくらい待つつもりでいたら一瞬で終わり驚きました。
加えて、設定ファイルがシンプルです。Gulpに似てるかな?
const fuse = FuseBox.init({ /* ..settings.. */ })のようにタスク系の指定をして、fuse.run()で動作させます。「やるべきこと(タスク)」と「タスクのための設定」のように分かれてるので見やすく、かつ簡単に書けるという利点があります。
Environment
- ruby 2.5.1
- bundler 1.16.1
- node 9.7.1
- yarn 1.7.0
- ブラウザ : Google Chrome
Setup
前の記事をもとにグローバルを汚さないようにhanamiのアプリを作ります。
mkdir hanami-fusebox-test && cd hanami-fusebox-test
bundle init
# ...
# Gemfileの編集をする
# ...
bundle install --path=vendor/bundle --binstubs=vendor/bin
hanami new hanami-fusebox-test --database=postgres --application-name=default --template=haml
mv hanami-fusebox-test/* ./ && rm -rf hanami-fusebox-test
bundle update
hanami s # localhost:2300で確認
source 'https://rubygems.org'
gem 'hanami'
PostgreSQLは初利用だったのでこの記事を参考に初期設定をしました。手順については必要とあらば後述します。
あと忘れがちなのでこの時点で.gitignoreに追記をします。
# ...(中略)
/vendor
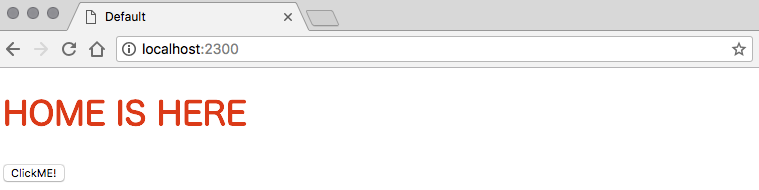
確認用ページとしてトップページを作ります。
hanami g action default static#home
root to: 'static#home'
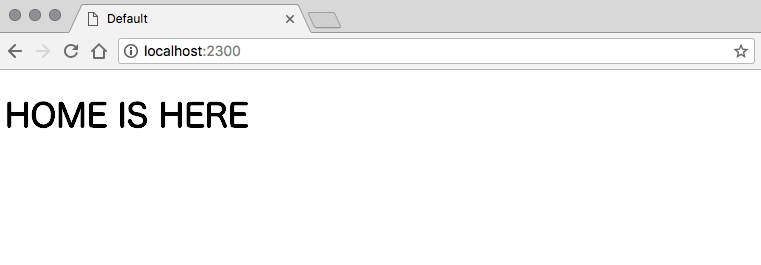
%h1#home HOME IS HERE
hanami sでサーバを起動してこんな感じになればOK。
Main
Assets不使用
こちらの記事を参考にhanamiのassetsを利用しない設定にします。
rm -rf apps/default/assets
次に以下の部分をコメントアウト(or 削除)します。
- require 'hanami/assets'
# ...
configure do
  # ...
-  assets do
-   # ...
-  end
end

configure :production do
-  assets do
-    # ...
-  end
end
FuseBox インストール・設定
apps/defaultディレクトリ内にFuseBoxをインストールします。
以降は追記しない限りこのディレクトリで作業するものとします。
# cd apps/default
yarn init -y
yarn add fuse-box typescript -D
同じディレクトリに設定ファイルfuse.jsを作成します。
const path = require('path');
const publicPath = path.resolve(__dirname, '..', '..', 'public');

const { FuseBox } = require('fuse-box');
const fuse = FuseBox.init({
  homeDir : 'frontend',
  target  : 'browser@es6',
  output  : `${publicPath}/$name.js`
});
fuse.bundle('app').instructions('> application.ts');
fuse.run();
エントリーポイントのapplication.tsをfrontend/へ作成します。
console.log('Hello, FuseBox');
package.jsonへscriptsを追記します。
{
  "name": "default",
  "version": "1.0.0",
  "devDependencies": {
    "fuse-box": "^3.2.2",
    "typescript": "^2.9.1"
  },
+ "scripts": {
+   "build": "node fuse.js"
+ }
}
こうするとyarn buildでバンドラーが起動できます。これを書かずにnode fuse.jsでもできます。
次にメインテンプレートへJSが読み込まれるように追記します。
!!!
%html
  %head
    %title Default
    = favicon
  %body
    = yield
+   %script{type: 'text/javascript', src: 'app.js'}
最後に、.gitignoreへ追記をします。
FuseBoxは.fuseboxへcacheを作成するためそれも必要に応じて.gitignoreへ追記します。
バンドルされるpublic/app.jsも除外するようにします。
+ /apps/*/node_modules
+ /apps/*/.fusebox
+ /public/*.js
確認
上述したようにyarn buildを実行するとFuseBoxが起動し、成功すればhanami-fusebox-test/publicへapp.jsとして吐き出されます。
hanami sで実際にJSが動作しているか確認しましょう(アプリケーションのルートディレクトリで起動してください)。
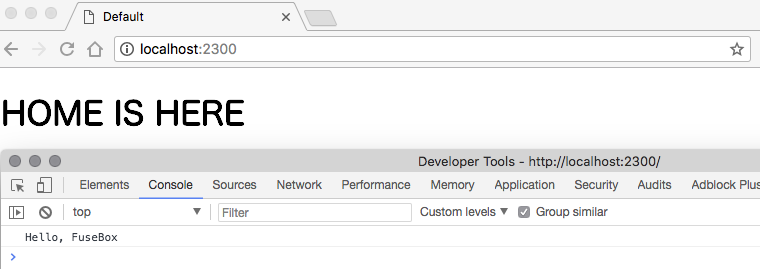
Got it!
Addition
FuseBoxの追加設定として有用なものの一部を紹介します。
Shimming(jQuery)
FuseBoxにはShimmingという設定があります。
バンドルされるファイルに対して読み込んでおきたい変数などを「継ぎ足す(shimming)」ものです。
今回はjQueryを導入します。
yarn add jquery
const path = require('path');
const publicPath = path.resolve(__dirname, '..', '..', 'public');

const { FuseBox } = require('fuse-box');
const fuse = FuseBox.init({
  homeDir : 'frontend',
  target  : 'browser@es6',
  output  : `${publicPath}/$name.js`,
+ shim : {
+   jquery : {
+     source  : 'node_modules/jquery/dist/jquery.min.js',
+     exports : '$'
+  }
+ }
});
fuse.bundle('app').instructions('> application.ts');
fuse.run();
%h1#home HOME IS HERE
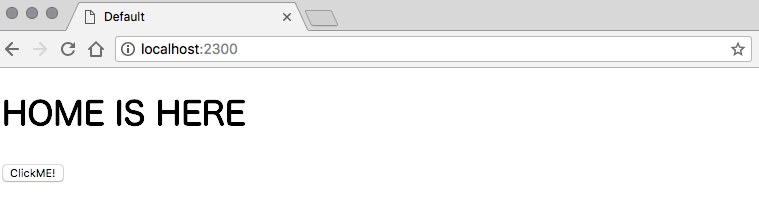
+ %button.btn ClickME!
function add() {
  $('#home').after('<p>Hello FuseBox with jQuery!</p>');
}

$('.btn').on('click', add);
yarn build

# in hanami-fusebox-test/
hanami s
クリック前

クリック後
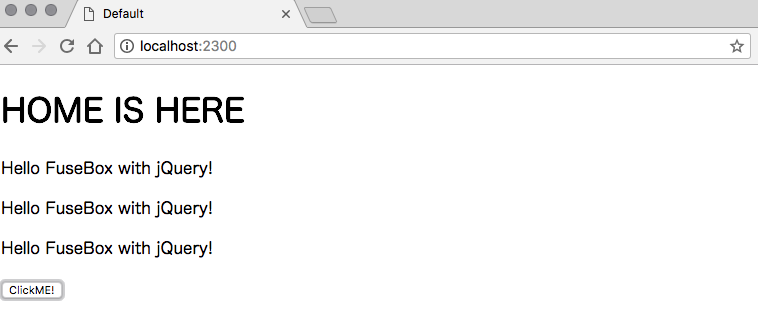
うまくいくと多分こうなります。
Plugin(Sass)
FuseBoxの主要なPluginsというものがあります。
チェーン(複数のプラグインをパイプでつなぐ)が利用できるため、組み合わせによっては色々な機能が実装できるかも...?
色々種類はありますが今回はSassでスタイルを書けるようにします。
yarn add node-sass -D
const path = require('path');
const publicPath = path.resolve(__dirname, '..', '..', 'public');

+ const { FuseBox, CSSPlugin, SassPlugin } = require('fuse-box');
const fuse = FuseBox.init({
  homeDir : 'frontend',
  target  : 'browser@es6',
  output  : `${publicPath}/$name.js`,
+ plugins : [
+   [SassPlugin(), CSSPlugin()]
+ ],
  shim : {
    jquery : {
      source  : 'node_modules/jquery/dist/jquery.min.js',
      exports : '$'
    }
  }
});
fuse.bundle('app').instructions('> application.ts');
fuse.run();
# home {
  &:hover {
    color: red;
  }
}
+ import './application.scss';

function add() {
  $('#home').after('<p>Hello FuseBox with jQuery!</p>');
}

$('.btn').on('click', add);
ビルドをお忘れなく...
yarn build

# in hanami-fusebox-test/
hanami s
カーソル乗せる前
カーソル乗せた後
Watching
最後にWatchingについて説明します。
変更のたびにyarn buildするのは手間なので、他のモジュールバンドラーによくあるwatchをFuseBoxでも活用させましょう、あるので。
- fuse.bundle('app').instructions('> application.ts');
+ fuse.bundle('app').instructions('> application.ts').watch('frontend/**');
fuse.watch(dir)とするとdir内のファイル変更を監視し、変更時にfuse.run()が行われます。
yarn buildを一度実行しておけばあとは触らなくてよくなります、便利。
おまけ
実際のソースが確認できるようにこちらに上げました、よろしければご参考に。