前置き
この記事では、Folioのチュートリアルのうち、Single Server Deploymentの内容を紹介します。
元ネタ→https://github.com/folio-org/folio-install/tree/master/runbooks/single-server#folio-deployment-single-server
このチュートリアルのDockerについて(https://qiita.com/ayungn/items/b15979d26e0a8e354ef2)
このチュートリアルのDBについて(https://qiita.com/ayungn/items/2ef718846424ca581282)
Q&A
- 元ネタの中にmainbar/sidebarとありますが、mainbar/sidebarとは何ですか?
- sidebarを実行すると「最新スナップショット」をもとにしたビルドができます。mainbarは四半期に一度のリリースをもとにビルドします。
- plartform-core/platform-completeとは何ですか?
- platform-coreは基本機能、platform-comleteは全機能をビルドします。バックエンドモジュールの数でいうとplatform-coreは25、platform-completeは55です。この記事では、platform-coreのビルドについて説明します。
要件
- PstgreSQL 10
- RAM 12GB以上(バックエンドモジュールごとに、平均160MBのDocker Imageを使います。DB I/Oがある場合もあります。環境構築時にもっとメモリが必要になる場合もあります。)
事前準備
参考:https://qiita.com/ayungn/items/45c3f8bbe419308106a6
- gitをインストールしておく。
- VirtualBoxをインストールしておく。
- Vagrantをインストールしておく。
Linuxホストのビルド
①適当なディレクトリに、このチュートリアル用のスクリプトなどが入っているリポジトリをクローンします。
git clone https://github.com/folio-org/folio-install
cd folio-install
git checkout q2-2020
cd runbooks/single-server
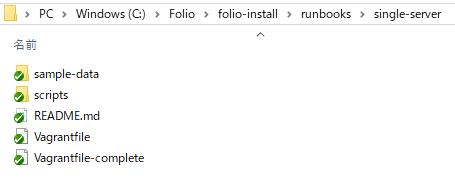
cd runbooks/single-serverで、Vagrantfileがあるディレクトリに移動しています。
このVagrantfileは、以下の設定のVirtualBox VMを作ります。
- Ubuntu Xenial OS(12 GB RAM、 2 CPU)
- ポートフォワード:ゲストのポート9130→ホストの9130 と ゲストのポート80→ホストの3000
- ここから先、
/vagrantが出てきたら、↑ここ(folio-install/runbooks/single-server)のことだと思ってください。
② VagrantからVMを起動して、VMにログインする
vagrant box update
vagrant up
vagrant ssh
※vagrantの初期PWはvagrant
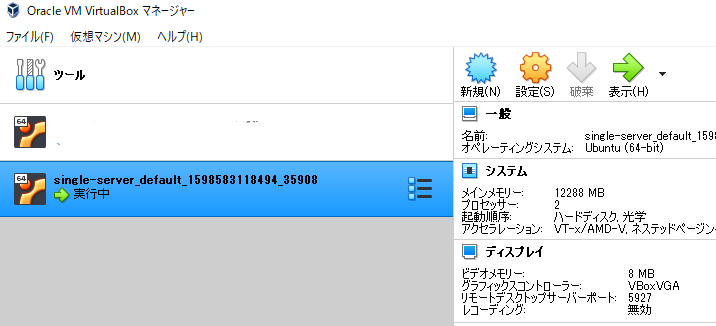
ここまでやるとこんな感じ
必要なパッケージをインストールして構成する
実行環境の要件: Java 8, nginx(エンジンエックス), PostgreSQL 10, Docker
①apt cacheのアップデート
sudo apt-get update
②Java8とnginxをインストールし、Java8をシステムデフォルトにする
sudo apt-get -y install openjdk-8-jdk nginx
sudo update-java-alternatives --jre-headless --jre --set java-1.8.0-openjdk-amd64
③PostgreSQLのキーをインポートし、PostgreSQL aptリポジトリを追加し、PostgreSQLをインストールする
wget --quiet -O - https://www.postgresql.org/media/keys/ACCC4CF8.asc | sudo apt-key add -
sudo add-apt-repository "deb http://apt.postgresql.org/pub/repos/apt/ xenial-pgdg main"
sudo apt-get update
sudo apt-get -y install postgresql-10 postgresql-client-10 postgresql-contrib-10 libpq-dev
④Dockerから接続できるようにPostgreSQLを構成する。
- /etc/postgresql/10/main/postgresql.confの「Connection Settings」に
listen_addresses = '*'を追記 - /etc/postgresql/10/main/pg_hba.confに
host all all 0.0.0.0/0 md5を追記 - PostgreSQLを
sudo systemctl restart postgresqlでリスタート
sudo vim /etc/postgresql/10/main/postgresql.conf
sudo vim /etc/postgresql/10/main/pg_hba.conf
sudo systemctl restart postgresql
⑤DockerのキーをインポートしてDocker apotリポジトリを追加し、Dockerエンジンをインストールする
sudo apt-get -y install apt-transport-https ca-certificates gnupg-agent software-properties-common
wget --quiet -O - https://download.docker.com/linux/ubuntu/gpg | sudo apt-key add -
sudo add-apt-repository "deb https://download.docker.com/linux/ubuntu $(lsb_release -cs) stable"
sudo apt-get update
sudo apt-get -y install docker-ce docker-ce-cli containerd.io
⑥Dockerエンジンの構成
sudo mkdir -p /etc/systemd/system/docker.service.d
sudo cp /vagrant/scripts/docker-opts.conf /etc/systemd/system/docker.service.d
sudo systemctl daemon-reload
sudo systemctl restart docker
⑦docker-composeのインストール
sudo curl -L \
  "https://github.com/docker/compose/releases/download/1.26.2/docker-compose-$(uname -s)-$(uname -m)" \
  -o /usr/local/bin/docker-compose
sudo chmod +x /usr/local/bin/docker-compose
git, curl, NodeJS, npm, Yarn, libjson-perl, libwww-perl libuuid-tiny-perl
①Ubuntuのaptリポジトリからインストール
sudo apt-get -y install git curl nodejs npm libjson-perl libwww-perl libuuid-tiny-perl
②npmからnをインストール
※nというのは、nodeの管理コマンドです。
sudo npm install n -g
③Yarnのキーをインポートし、Yarn aptレジストリを追加し、Yarnをインストールする
wget --quiet -O - https://dl.yarnpkg.com/debian/pubkey.gpg | sudo apt-key add -
sudo add-apt-repository "deb https://dl.yarnpkg.com/debian/ stable main"
sudo apt-get update
sudo apt-get -y install yarn
Apache KafkaとApache ZooKeeperのインストール
※上記はmod-subpubで必要です。
sudo mkdir /opt/kafka-zk
sudo cp /vagrant/scripts/docker-compose-kafka-zk.yml /opt/kafka-zk/docker-compose.yml
cd /opt/kafka-zk
sudo docker-compose up -d
cd -
データベースとロールの作成
PostgreSQLにスーパーユーザーでログイン
$ sudo su -c psql postgres postgres
OkapiとテナントのDBとロールを作成する。
CREATE ROLE okapi WITH PASSWORD 'okapi25' LOGIN CREATEDB;
CREATE DATABASE okapi WITH OWNER okapi;
CREATE ROLE folio WITH PASSWORD 'folio123' LOGIN SUPERUSER;
CREATE DATABASE folio WITH OWNER folio;
\q でpsqlを抜ける。
Okapiのインストールと構成
wget --quiet -O - https://repository.folio.org/packages/debian/folio-apt-archive-key.asc | sudo apt-key add -
sudo add-apt-repository "deb https://repository.folio.org/packages/ubuntu xenial/"
sudo apt-get update
sudo apt-get -y install okapi=3.1.2-1
sudo apt-mark hold okapi
Okapiの構成
/etc/folio/okapi/okapi.confの以下を編集する
- role="dev"
- port_end="9230"
- host="10.0.2.15"
- storage="postgres"
- okapiurl="http://10.0.2.15:9130"
修正後のokapi.confは以下のようになります。
#
# FOLIO Okapi configuration
#

#  Okapi requires exactly one command to be given depending on how
#  it is utilized.
#
# 'cluster' - for running in clustered mode/production
# 'dev' - for running in development, single-node mode
# 'deployment' - for okapi deployment only. Clustered mode
# 'proxy' -  for proxy + discovery. Clustered mode
#
#
role="dev"

# 'cluster' config options
#
# -hazelcast-config-cp file -- Read config from class path
# -hazelcast-config-file file -- Read config from local file
# -hazelcast-config-url url -- Read config from URL
#
# cluster_config="-hazelcast-config-file /etc/folio/okapi/hazelcast.xml"

# Specify the network interface Vertx cluster should bind to.
# By default, it will bind to all network interfaces.  This may have
# unintended consequences.
# cluster_interface="eth0"

# Specify which port the cluster should bind to for cluster
# communication.  (Note: This different from '5701' which is used for
# cluster discovery).  If not set, a random port will be used.
# cluster_port="9001"

# Enable the sending of various metrics to a Carbon back end.
# Boolean '0' or '1'. Set to '1' to enable and set Carbon/Graphite
# host and port.
enable_metrics=0
carbon_host="localhost"
carbon_port="2003"

# Default okapi port
port="9130"

# Define port range for modules. Default range: 9131-9141.
port_start="9131"
port_end="9230"

# Hostname to be used in the URLs returned by the deployment service.
# Defaults to 'localhost'
host="10.0.2.15"

# Set '-Dnodename'.  Required for deployment persistence when
# running Okapi in cluster mode.  Defaults to `/bin/hostname`
# nodename=

# Define the storage back end - 'postgres' or 'inmemory'
# ('postgres' only valid when 'role' is set to 'cluster' or 'dev')
# (valid only when 'role' is set to 'dev' or 'cluster')
# If set to 'postgres', make sure the okapi database has been
# created and okapi user has been configured in the postgres
# instance and then run:
#   /usr/share/folio/okapi/bin/okapi.sh --initdb
# to initialize the okapi database for restarting okapi.
storage="postgres"

# Set Postgres parameters.  Ignored unless 'storage="postgres"'
postgres_host="localhost"   # default 'localhost'
postgres_port="5432"        # default postgres port
postgres_username="okapi"   # default
postgres_password="okapi25" # default
postgres_database="okapi"   # default

# Define Docker URL if we are deploying modules via Docker.
dockerurl="http://localhost:4243"

# Tell Okapi its own official URL.  This gets passed to the
# modules as X-Okapi-Url header, and the modules can use this
# to make further requests to Okapi.  Defaults to 'http://localhost:9130'
# or whatever port specified. There should be no trailing slash, but if
# there happens to be one, Okapi will remove it.
okapiurl="http://10.0.2.15:9130"

# Okapi Logging options
#
# Define logging level.  Defaults to 'INFO'; other valid values are 'DEBUG',
# 'TRACE', 'WARN', and 'ERROR'
loglevel="INFO"

# Specify external log4j2 configuration file.  Otherwise logging defaults
# to STDOUT.  If defined, 'loglevel' is ignored.
log4j_config="/etc/folio/okapi/log4j2.properties"
Okapiのリスタート
sudo systemctl daemon-reload
sudo systemctl restart okapi
module descriptorsをセントラルレジストリからプル
curl -w '\n' -D - -X POST -H "Content-type: application/json" \
  -d @/vagrant/scripts/okapi-pull.json \
  http://localhost:9130/_/proxy/pull/modules
上記は、以下と同じ意味。
curl -w '\n' -D - -X POST -H "Content-type: application/json" -d '{"urls":["http://folio-registry.aws.indexdata.com"]}' http://localhost:9130/_/proxy/pull/modules
Folioテナントを作成する
テナント初期化をOkapiにポストする
curl -w '\n' -D - -X POST -H "Content-type: application/json" \
  -d @/vagrant/scripts/tenant.json \
  http://localhost:9130/_/proxy/tenants
これは以下と同じ意味。
curl -w '\n' -D - -X POST -H "Content-type: application/json" -d '{"id" : "diku","name" : "Datalogisk Institut","description" : "Danish Library Technology Institute"}' http://localhost:9130/_/proxy/tenants
Okapiの内部モジュールをテナント用に有効化する。
curl -w '\n' -D - -X POST -H "Content-type: application/json" -d '{"id":"okapi"}' http://localhost:9130/_/proxy/tenants/diku/modules
FolioStropesプラットフォームの最新版をビルドする
n <バージョン> で指定したNodeのバージョンに更新できます。
ここではltsに更新します。
sudo n lts
git clone https://github.com/folio-org/platform-core
cd platform-core
git checkout q2-2020
yarn install
NODE_ENV=production yarn build output
cd ..
ウェブサーバを構成してStripes webpackをサーブする
nginxサーバを構成する。
sudo cp folio-install/runbooks/single-server/scripts/nginx-stripes.conf /etc/nginx/sites-available/stripes
sudo ln -s /etc/nginx/sites-available/stripes /etc/nginx/sites-enabled/stripes
sudo rm /etc/nginx/sites-enabled/default
sudo systemctl restart nginx
対応するFolioバックエンドをデプロイしてテナントに有効にする
デプロイしたモジュールが利用するデータソースの情報をOkapiにポストする
curl -w '\n' -D - -X POST -H "Content-Type: application/json" -d "{\"name\":\"DB_HOST\",\"value\":\"10.0.2.15\"}" http://localhost:9130/_/env
curl -w '\n' -D - -X POST -H "Content-Type: application/json" -d "{\"name\":\"DB_PORT\",\"value\":\"5432\"}" http://localhost:9130/_/env
curl -w '\n' -D - -X POST -H "Content-Type: application/json" -d "{\"name\":\"DB_DATABASE\",\"value\":\"folio\"}" http://localhost:9130/_/env
curl -w '\n' -D - -X POST -H "Content-Type: application/json" -d "{\"name\":\"DB_USERNAME\",\"value\":\"folio\"}" http://localhost:9130/_/env
curl -w '\n' -D - -X POST -H "Content-Type: application/json" -d "{\"name\":\"DB_PASSWORD\",\"value\":\"folio123\"}" http://localhost:9130/_/env
バックエンドモジュールのリストをポストして有効にする。テナントパラメータをセットして、サンプルデータと参照データをロードする。
curl -w '\n' -D - -X POST -H "Content-type: application/json" \
  -d @platform-core/okapi-install.json \
  http://localhost:9130/_/proxy/tenants/diku/install?deploy=true\&preRelease=false\&tenantParameters=loadSample%3Dtrue%2CloadReference%3Dtrue
注意:Docker HubからDocker imageを持ってくるため、これは時間がかかります。
進捗を見る→Okapi log at /var/log/folio/okapi/okapi.log または sudo docker ps | grep -v "^CONTAINER" | wc -l
Stripesモジュールのリストをポストして有効にする
curl -w '\n' -D - -X POST -H "Content-type: application/json" \
  -d @platform-core/stripes-install.json \
  http://localhost:9130/_/proxy/tenants/diku/install?preRelease=false
Folioのスーパーユーザを作成し、パーミッションをロードする
perl folio-install/runbooks/single-server/scripts/bootstrap-superuser.pl --tenant diku --user diku_admin --password admin --okapi http://localhost:9130
done!と表示されればOK。
サンプルデータのロード
MODSレコードをロードする
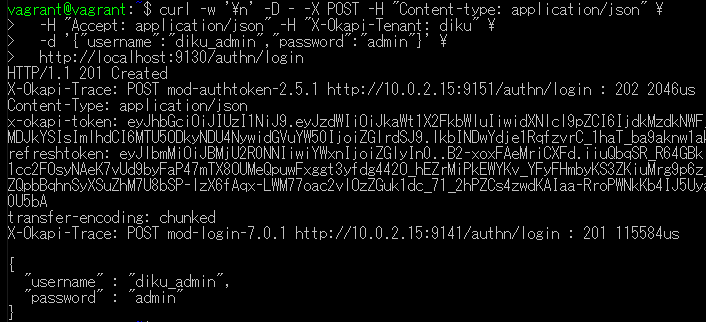
curl -w '\n' -D - -X POST -H "Content-type: application/json" -H "Accept: application/json" -H "X-Okapi-Tenant: diku" -d '{"username":"diku_admin","password":"admin"}' http://localhost:9130/authn/login
下記の<okapi token>には、返ってきたtokenの値を入れる。
for i in /vagrant/sample-data/mod-inventory/*.xml; do curl -w '\n' -D - -X POST -H "Content-type: multipart/form-data" -H "X-Okapi-Tenant: diku" -H "X-Okapi-Token: <okapi token>" -F upload=@${i} http://localhost:9130/inventory/ingest/mods; done
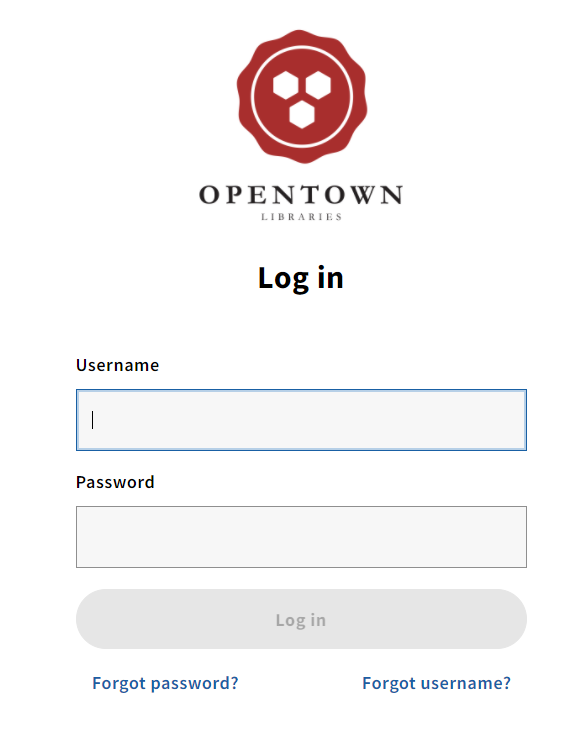
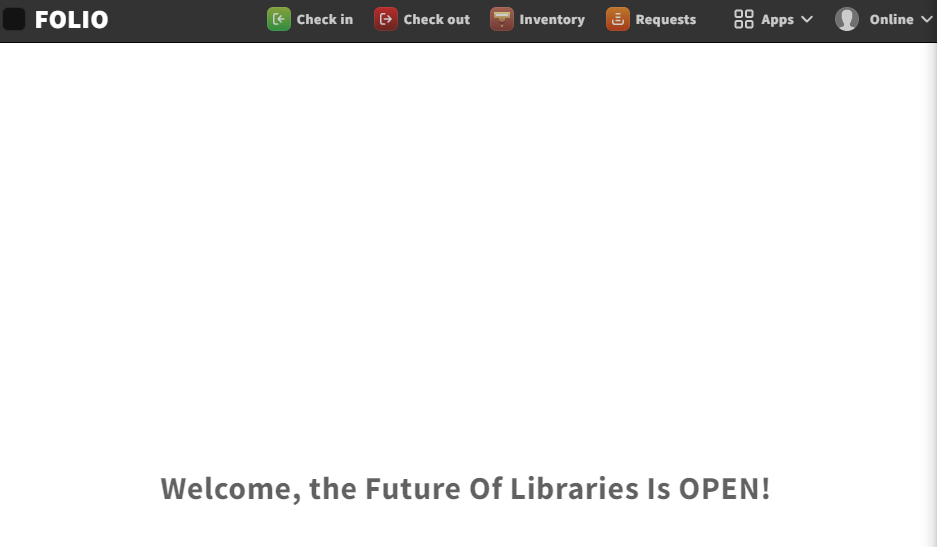
diku_admin/adminでログイン
