もくじ
- Android TV Input Framework ざっくり説明
- 公式の TV Input Service サンプルを動かす
Android TV Input Framework ざっくり説明
Android TV とは
Android TV とは、テレビに組み込まれることを想定した Android OS です。Android = スマートフォンのイメージが強いと意外な組み合わせに感じると思います。
Linux が組み込まれたテレビは少なくないこと、Android が組み込み Linux の代替で生まれた経緯を思い出せば、Android TV が生まれることは必然的だったかもしれません。
詳細は公式サイトを参照してください。https://www.android.com/intl/ja_jp/tv/
スマートフォンの Android 同様、Android TV 向きの Android アプリの開発もできます。
Android TV Input Framework
「番組を受信する」「番組を選択して再生する」という機能が無いと誰もテレビと認識しないと思います。
これらの機能を開発しやすく構築されたアーキテクチャが Android TV に用意されていて、それが
Android TV Input Framework (TIF) です。
TIFを使ったアプリは、主に以下の2種類に分別されます。
- 番組を受信するアプリ (TV Input Service(TIS))
- 例:androidtv-sample-inputs
- 番組を選局するアプリ
- 例:LiveTV
以下では、androidtv-sample-inputs をエミュレータ上で動かしてみます。
公式の TV Input Service サンプルを動かす
ダウンロードしてビルドしてインストールするだけのはずですが、ハマりポイントが多いので、手順を紹介しています。
環境
- Ubuntu 19.10
- Android Studio 3.5.2
- Android TV API 27 (x86 Emulator)
(API 28 はLiveTVの挙動がおかしいです…)
androidtv-sample-inputs を取得してビルドする
GitHub にあるので、git clone します。
git clone https://github.com/googlesamples/androidtv-sample-inputs.git
取得できたら、Android Studio で repository を開き、Gradle Sync1 します。
Make Project をクリックすればビルド出来る、と思ったのですが。
2019/11/13 時点では、以下のようなビルドエラーが発生します。
More than one file was found with OS independent path 'error_prone/Annotations.gwt.xml'
Gradle Scripts / build.gradle (Module: app) に以下の変更を加えて解決。
diff --git a/app/build.gradle b/app/build.gradle
index 4651b79..f380054 100644
--- a/app/build.gradle
+++ b/app/build.gradle
@@ -18,6 +18,13 @@ android {
             proguardFiles getDefaultProguardFile('proguard-android.txt'), 'proguard-rules.txt'
         }
     }
+
+    packagingOptions {
+        exclude 'error_prone/Annotations.gwt.xml'
+        exclude 'third_party/java_src/error_prone/project/annotations/Annotations.gwt.xml'
+        exclude 'third_party/java_src/error_prone/project/annotations/Google_internal.gwt.xml'
+        exclude 'jsr305_annotations/Jsr305_annotations.gwt.xml'
+    }
 }

 ext {
エミュレータ上で実行する。
通常の Android アプリ開発と同様、Run App で実行できます。
実行してみると、 readme.md のページが WebView で表示されるだけで、初見ではナニコレ?という気持ちになります。。
が、 Activity は、 TV Input Service の実装とは関係ありませんので、閉じてください。
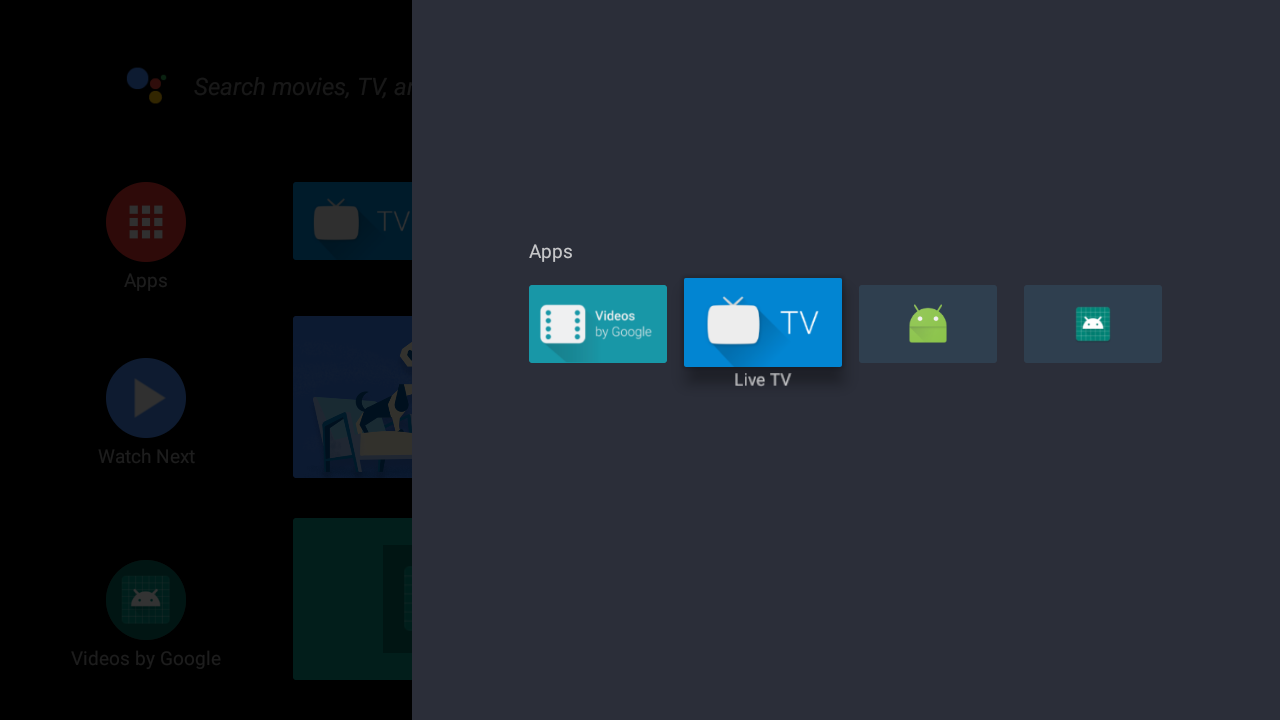
ホーム画面からアプリ一覧を開きます。
androidtv-sample-inputs インストール前には無かった、LiveTV が出現しているはずです。
もし表示されていない場合、LiveTVを以下の手順で再起動させます。
- Settings -> Apps -> See All apps -> Live TV
- Disable を選択後 Enable を選択。
- Open を選択して開く。
Android TV Emulator 構成直後に Live TV が存在しないのは、以下の仕様によるものだそうです。
(https://github.com/googlesamples/androidtv-sample-inputs から)
Note that the Live Channels app does not show up in Apps on Home screen unless there is at least one TV input service or a physical input like HDMI1.
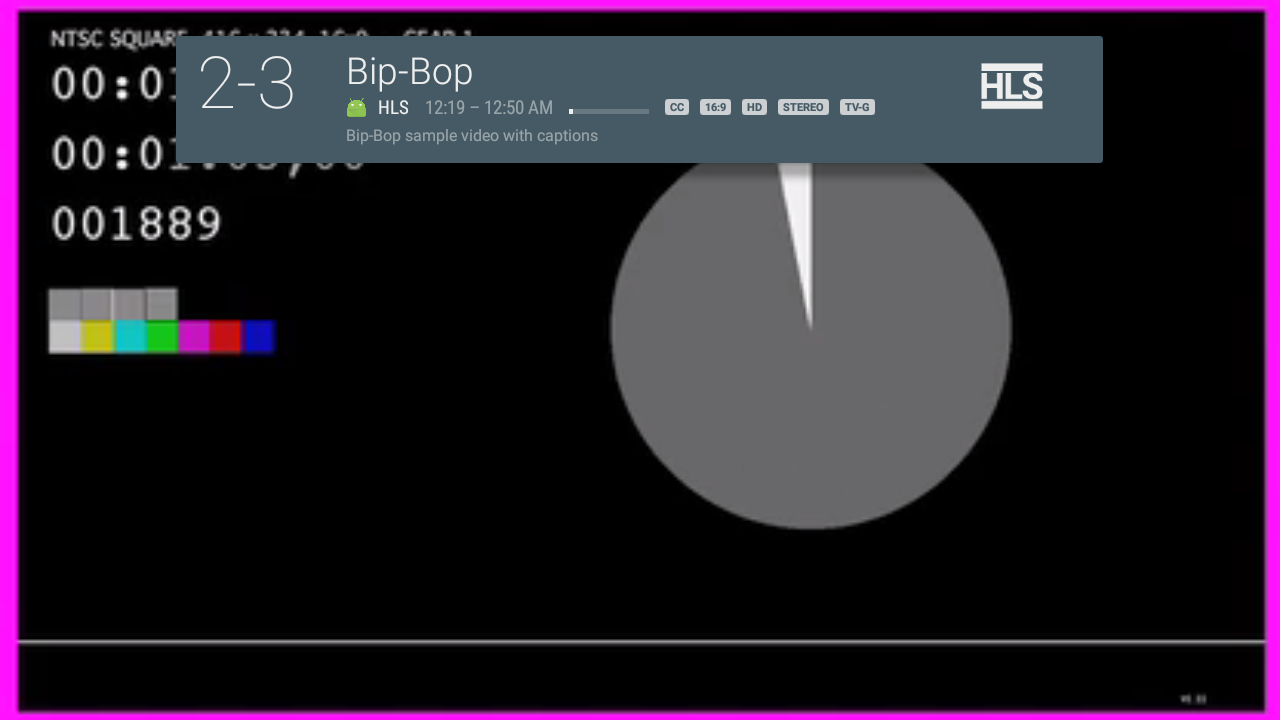
LiveTV のウィザード画面に沿って設定を進めると、テレビのような画面が表示できるようになります。
おわりに
Android TV Emulator を TV として使うにも手間がかかるんですね…
以上、株式会社ACCESS Advent Calendar 19日目でした。
まだあと6日ありますよ!
-
メニューバー → File → Sync project with gradle files ↩

