はじめに
クラウドをインターネット回線で利用する場合、ネットワーク性能が気になるところです。
今回は「データ連携などのため、Oracle Cloud Infrastructure(OCI)にファイルを転送するのにどの程度時間がかかるのか?」という素朴な疑問に対して、実際の環境での測定方法について記載してみたいと思います。
一番簡単なのは、クラウド・コンソールから OCIのオブジェクト・ストレージにファイルをアップロードして、ストップウォッチで測る方法ですが、このやり方だとファイル転送が終わるまで画面を凝視し続けるという苦行が伴います。
そのため、今回はOCI CLI(コマンドライン・インターフェース)から、OCIのオブジェクト・ストレージにアップロード(およびダウンロード)する方法で測定してみたいと思います。
それでは、順を追って記載していきます。
1.OCI CLIインストール
まずは、送信元のマシン(今回は自分のWindows PCを利用)に、OCI CLIをセットアップします。
※詳しくはマニュアル「コマンド・ライン・インターフェース(CLI)クイックスタート」を参照ください。
(1)PowerShellコンソールを管理者として実行します。
(2)PowerShellのRemoteSigned実行ポリシーを有効にするため、以下のコマンドを実行します。
Set-ExecutionPolicy RemoteSigned
※実行後、確認を求められるので「Y」を入力します。
C:\Windows\system32> Set-ExecutionPolicy RemoteSigned

Execution Policy Change
The execution policy helps protect you from scripts that you do not trust. Changing the execution policy might expose
you to the security risks described in the about_Execution_Policies help topic at
http://go.microsoft.com/fwlink/?LinkID=135170. Do you want to change the execution policy?
[Y] Yes  [A] Yes to All  [N] No  [L] No to All  [S] Suspend  [?] Help (default is "N"): Y
(3)以下のインストーラ・スクリプトを実行します。
powershell -NoProfile -ExecutionPolicy Bypass -Command "iex ((New-Object System.Net.WebClient).DownloadString('https://raw.githubusercontent.com/oracle/oci-cli/master/scripts/install/install.ps1'))"
※実行後、Pythonをインストールするか確認を求められるので「Y」を入力します。
(すでに。Pythonがインストール済の場合は「N」でOKです)
C:\Windows\system32> powershell -NoProfile -ExecutionPolicy Bypass -Command "iex ((New-Object System.Net.WebClient).D
ownloadString('https://raw.githubusercontent.com/oracle/oci-cli/master/scripts/install/install.ps1'))"

        ******************************************************************************
        You have started the OCI CLI Installer in interactive mode. If you do not wish
        to run this in interactive mode, please include the -AcceptAllDefaults option.
        If you have the script locally and would like to know more about
        input options for this script, then you can run:
        help .\install.ps1
        If you would like to know more about input options for this script, refer to:
        https://github.com/oracle/oci-cli/blob/master/scripts/install/README.rst
        ******************************************************************************
VERBOSE: No valid Python installation found.

Python is required to run the CLI.
Install Python now? (Entering "n" will exit the installation script)
[Y] Yes  [N] No  [?] Help (default is "Y"): Y
Pythonのインストール後、インストール先などの確認に対しては、そのまま改行してデフォルト設定を利用します。
ちなみに、デフォルト設定は以下のとおりです。
・OCI CLIのインストール先 → C:\Users\opc\lib\oracle-cli
・oci.exeの配置先 → C:\Users\opc\bin
・ociスクリプトの配置先 → C:\Users\opc\bin\oci-cli-scripts
※「opc」はユーザー名なので、環境によって異なります。
VERBOSE: Downloading Python...
VERBOSE: Download Complete! Installer executable written to: C:\Users\opc\AppData\Local\Temp\tmpD6F.tmp.exe
VERBOSE: Installing Python to C:\Users\opc\Python...
VERBOSE: Successfully installed Python!
VERBOSE: Downloading install script to C:\Users\opc\AppData\Local\Temp\tmp97BF.tmp
VERBOSE: C:\Users\opc\Python False    False
VERBOSE: Using Python executable: C:\Users\opc\Python\python.exe to run install script...
VERBOSE: Arguments to python script: "C:\Users\opc\AppData\Local\Temp\tmp97BF.tmp"
-- Verifying Python version.
-- Python version 3.6.5 okay.

===> In what directory would you like to place the install? (leave blank to use 'C:\Users\opc\lib\oracle-cli'):
-- Creating directory 'C:\Users\opc\lib\oracle-cli'.
-- We will install at 'C:\Users\opc\lib\oracle-cli'.

===> In what directory would you like to place the 'oci.exe' executable? (leave blank to use 'C:\Users\opc\bin'):
-- Creating directory 'C:\Users\opc\bin'.
-- The executable will be in 'C:\Users\opc\bin'.

===> In what directory would you like to place the OCI scripts? (leave blank to use 'C:\Users\opc\bin\oci-cli-scripts'):

-- Creating directory 'C:\Users\opc\bin\oci-cli-scripts'.
-- The scripts will be in 'C:\Users\opc\bin\oci-cli-scripts'.

===> Currently supported optional packages are: ['db (will install cx_Oracle)']
What optional CLI packages would you like to be installed (comma separated names; press enter if you don't need any opti
onal packages)?:
インストールの最後に「PATHの追加」について確認されるので「Y」で答えます。
     ・
     ・
     ・
Successfully installed PyYAML-5.1.2 arrow-0.14.7 certifi-2020.6.20 cffi-1.14.2 click-6.7 configparser-4.0.2 cryptography
-2.8 jmespath-0.9.4 oci-2.21.1 oci-cli-2.12.8 pyOpenSSL-18.0.0 pycparser-2.20 python-dateutil-2.8.1 pytz-2020.1 retrying
-1.3.3 six-1.14.0 terminaltables-3.1.0
You are using pip version 9.0.3, however version 20.2.2 is available.
You should consider upgrading via the 'python -m pip install --upgrade pip' command.

===> Modify PATH to include the CLI and enable tab completion in PowerShell now? (Y/n): Y
--
-- ** Close and re-open PowerShell to reload changes to your PATH **
-- In order to run the autocomplete script, you may also need to set your PowerShell execution policy to allow for runni
ng local scripts (as an Administrator run Set-ExecutionPolicy RemoteSigned in a PowerShell prompt)
--
-- Installation successful.
-- Run the CLI with C:\Users\opc\bin\oci.exe --help
VERBOSE: Successfully installed OCI CLI!
以上で、OCI CLIのインストールが完了しました。
2.構成ファイルの設定
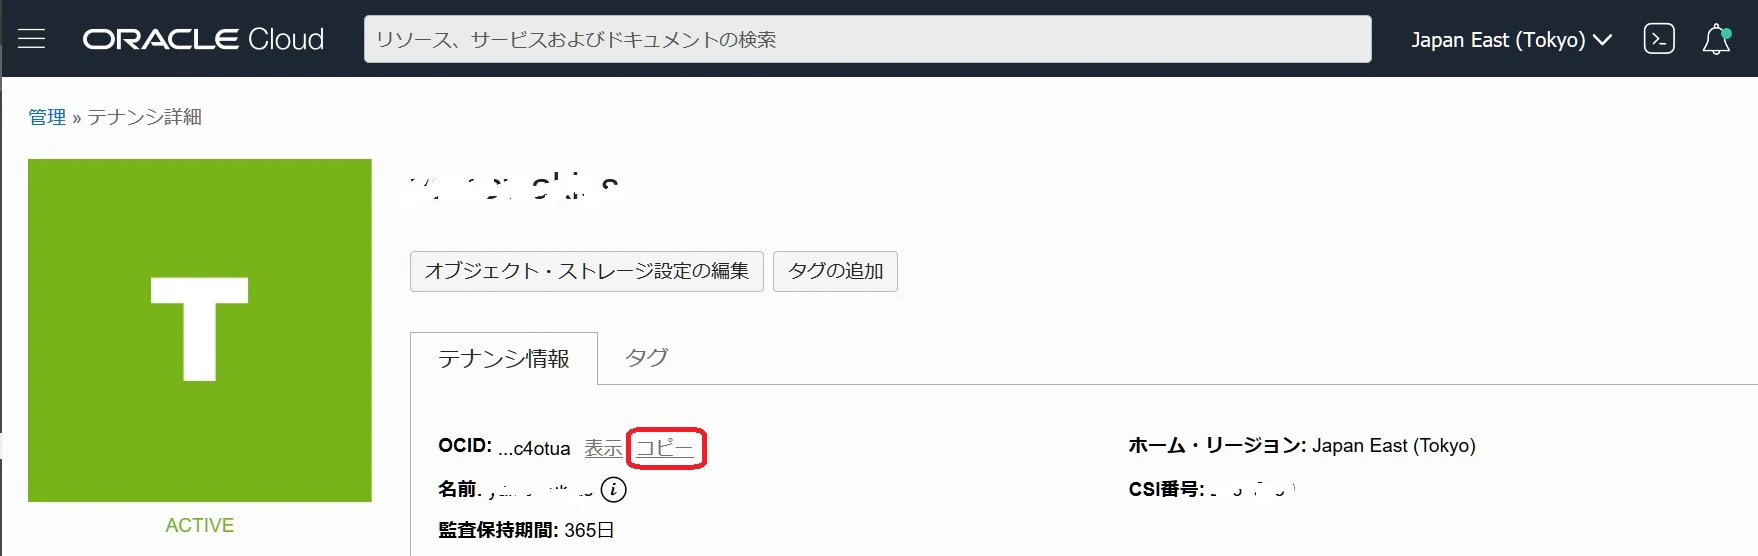
2-1.テナントのOCIDの確認
OCIクラウド・コンソールの左上にある三本線のメニューアイコンから、「管理>テナンシ詳細」を選択します。
テナントのOCIDをコピーして控えておきます。
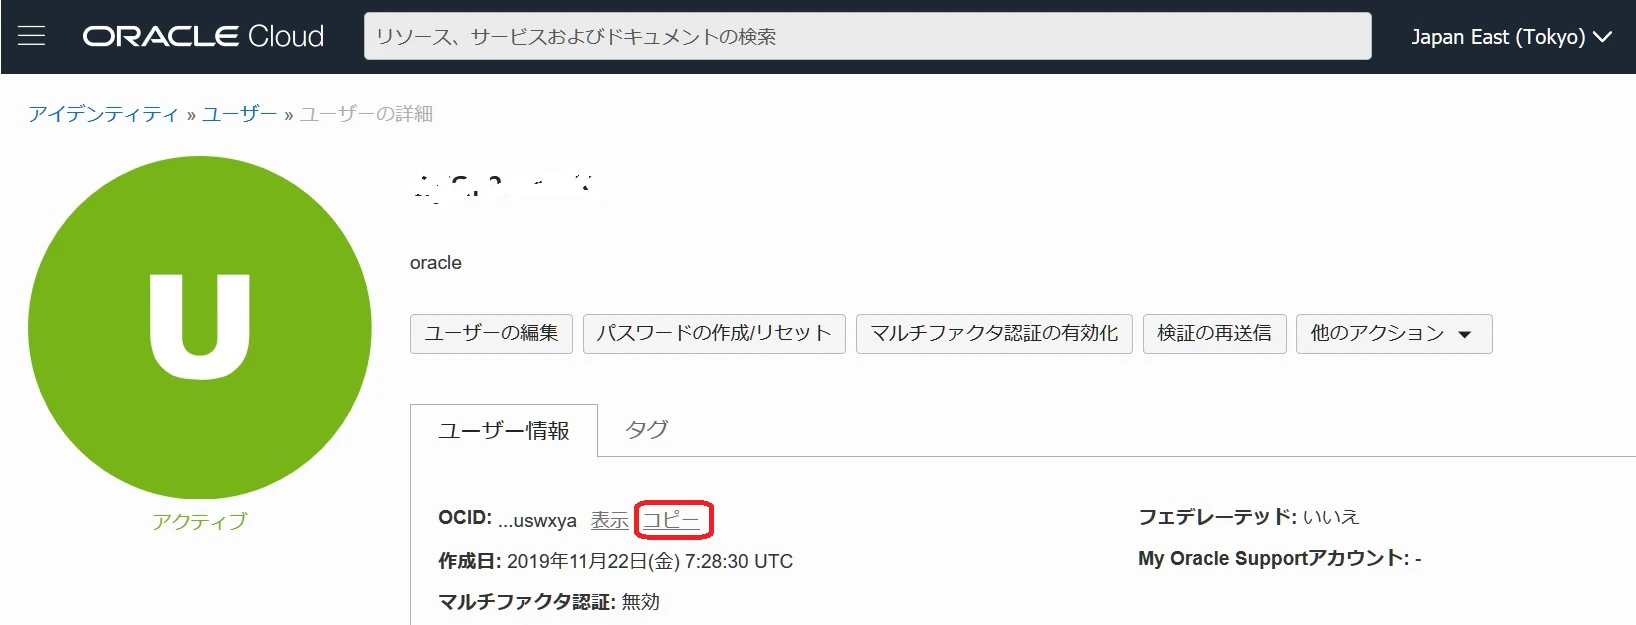
2-2.ユーザーのOCIDの確認
OCIクラウド・コンソールの左上にある三本線のメニューアイコンから、「アイデンティティ>ユーザー」を選択し、オブジェクト・ストレージを利用するユーザーを選択します。
ユーザーのOCIDをコピーして控えておきます。
2-3.構成ファイルの設定
(1)コマンド・プロンプトを管理者として実行します。
(2)以下のコマンドを実行します。
oci setup config
C:\Windows\system32>oci setup config
    This command provides a walkthrough of creating a valid CLI config file.

    The following links explain where to find the information required by this
    script:

    User API Signing Key, OCID and Tenancy OCID:

        https://docs.cloud.oracle.com/Content/API/Concepts/apisigningkey.htm#Other

    Region:

        https://docs.cloud.oracle.com/Content/General/Concepts/regions.htm

    General config documentation:

        https://docs.cloud.oracle.com/Content/API/Concepts/sdkconfig.htm
構成情報について聞かれるので、以下のとおり入力します。
・Enter a location for your config [C:\Users\opc.oci\config]:
=> そのまま改行(configファイルは C:\Users\opc.oci\config に作成されます)
・Enter a user OCID:
=> 先ほど控えたユーザーのOCIDを入力
・Enter a tenancy OCID:
=> 先ほど控えたテナントのOCIDを入力
・Enter a region (e.g. ap-chuncheon-1, ap-hyderabad-1, ap-melbourne-1, ap-mumbai-1, ap-osaka-1, ap-seoul-1, ap-sydney-1, ap-tokyo-1, ca-montreal-1, ca-toronto-1, eu-amsterdam-1, eu-frankfurt-1, eu-zurich-1, me-jeddah-1, sa-saopaulo-1, uk-gov-cardiff-1, uk-gov-london-1, uk-london-1, us-ashburn-1, us-gov-ashburn-1, us-gov-chicago-1, us-gov-phoenix-1, us-langley-1, us-luke-1, us-phoenix-1, us-sanjose-1):
=> 利用リージョンを入力(日本の場合は「ap-tokyo-1」または「ap-osaka-1」)
・Do you want to generate a new API Signing RSA key pair? (If you decline you will be asked to supply the path to an existing key.) [Y/n]:
=> Y(ここで、APIキーを生成)
・Enter a directory for your keys to be created [C:\Users\opc.oci]:
=> そのまま改行(APIキーの作成先 → C:\Users\opc.oci)
・Enter a name for your key [oci_api_key]:
=> そのまま改行(APIキーの名前 → oci_api_key)
・Enter a passphrase for your private key (empty for no passphrase):
=> そのまま改行(APIキーのパスフレーズなし)
Enter a location for your config [C:\Users\opc\.oci\config]:
Enter a user OCID: ocid1.user.oc1..aaaaaaaabbbbbbbbbccccccccccddddddddddeeeeeeeeeeffffffffff
Enter a tenancy OCID: ocid1.tenancy.oc1..aaaaaaaabbbbbbbbccccccccddddddddeeeeeeeeffffffff
Enter a region (e.g. ap-chuncheon-1, ap-hyderabad-1, ap-melbourne-1, ap-mumbai-1, ap-osaka-1, ap-seoul-1, ap-sydney-1, ap-tokyo-1, ca-montreal-1, ca-toronto-1, eu-amsterdam-1, eu-frankfurt-1, eu-zurich-1, me-jeddah-1, sa-saopaulo-1, uk-gov-cardiff-1, uk-gov-london-1, uk-london-1, us-ashburn-1, us-gov-ashburn-1, us-gov-chicago-1, us-gov-phoenix-1, us-langley-1, us-luke-1, us-phoenix-1, us-sanjose-1): ap-tokyo-1
Do you want to generate a new API Signing RSA key pair? (If you decline you will be asked to supply the path to an existing key.) [Y/n]: Y
Enter a directory for your keys to be created [C:\Users\opc\.oci]:
Enter a name for your key [oci_api_key]:
Public key written to: C:\Users\opc\.oci\oci_api_key_public.pem
Enter a passphrase for your private key (empty for no passphrase):
Private key written to: C:\Users\opc\.oci\oci_api_key.pem
Fingerprint: 75:cd:82:37:54:4c:68:e8:3b:17:c1:3a:69:80:74:eb
Config written to C:\Users\opc\.oci\config


    If you haven't already uploaded your API Signing public key through the
    console, follow the instructions on the page linked below in the section
    'How to upload the public key':

        https://docs.cloud.oracle.com/Content/API/Concepts/apisigningkey.htm#How2
2-4.APIキーの追加
2-2.と同様に、OCIクラウド・コンソールの左上にある三本線のメニューアイコンから、「アイデンティティ>ユーザー」を選択し、オブジェクト・ストレージを利用するユーザーを選択します。
左下メニューで「APIキー」を選択します。
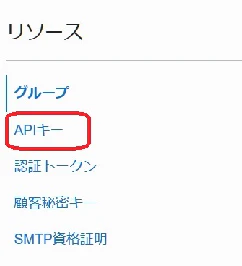
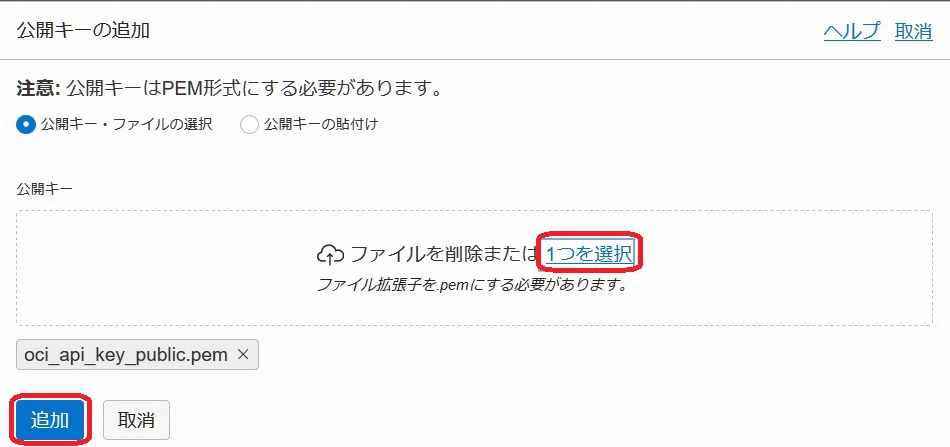
「公開キーの追加」ボタンを押し、「公開キーの追加」画面を表示します。
先ほど生成された公開キー・ファイル(C:\Users\opc.oci\oci_api_key_public.pem)を指定し、「追加」ボタンを押します。
以上で、構成ファイルの設定が完了しました。
3.OCI CLIのテスト
セットアップが終わったので、実際にOCI CLIを使ってみます。
※詳しくはマニュアル「コマンド・ライン・インターフェース(CLI)CLIの使用」を参照ください。
3-1.CLIセッションの起動
(1)コマンド・プロンプトを管理者として実行します。
(2)作業ディレクトリをOCI CLIのインストール先(C:\Users\opc\lib\oracle-cli)配下のScriptsに変更します。
cd C:\Users\opc\lib\oracle-cli\Scripts
(3)アクティブ化バッチ・ファイルを実行します。
activate
3-2.OCI CLIのテスト実行
OCI CLIのテストとして、以下のコマンドで Object Storage Namaepaceの確認を行ってみます。
oci os ns get
C:\Windows\System32>cd C:\Users\opc\lib\oracle-cli\Scripts

C:\Users\opc\lib\oracle-cli\Scripts>activate

(oracle-cli) C:\Users\opc\lib\oracle-cli\Scripts>oci os ns get
{
  "data": "xxxxxxxxxx"
}
Object Storage Namaepace(上記"xxxxxxxxxx"の部分)が確認できました。
Object Storage Namaepaceはあとで利用するので控えておきます。
4.Object Storage バケットの準備
Object Storageにアップロードするためのバケットを作成します。
(すでにバケットが作成済の場合はとばしても問題ありません)
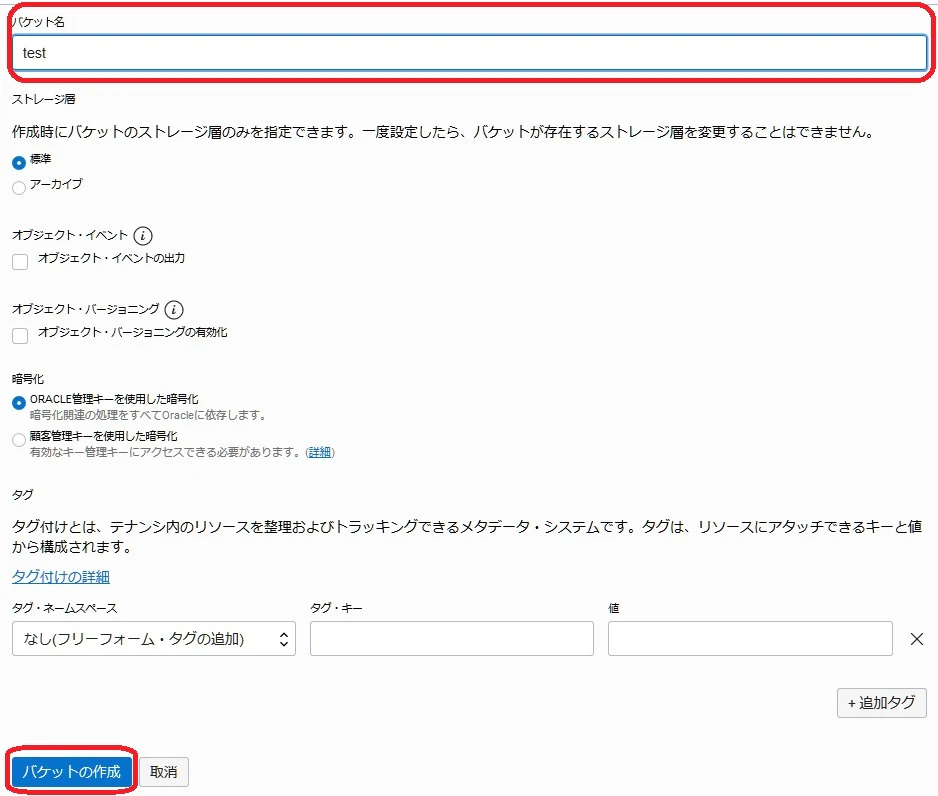
OCIクラウド・コンソールの左上にある三本線のメニューアイコンから、「オブジェクト・ストレージ>オブジェクト・ストレージ」を選択し、「バケットの作成」ボタンを押します。
バケット名を入力し、「バケットの作成」ボタンを押します。
5.ネットワーク転送性能の測定
ファイルをオブジェクト・ストレージに出し入れするOCI CLIコマンドは以下のとおりです。
※詳しくはマニュアル「OCI CLI Command Reference 」を参照ください。
例では、testバケットに、sample.csvを出し入れしています。
■ アップロード
oci os object put -ns <object_storage_namespace> -bn <bucket_name> --file <file_location> --name <object_name> --no-multipart
例:
oci os object put -ns xxxxxxxxxx -bn test --file C:\Users\opc\Documents\sample.csv --name sample.csv --no-multipart
■ アップロード(マルチパート)
oci os object put -ns <object_storage_namespace> -bn <bucket_name> --file <file_location> --name <object_name> --part-size <upload_part_size_in_MB> --parallel-upload-count <maximum_number_parallel_uploads>
--part-size [integer]
マルチパート利用時の各パートのサイズ(MiB)
デフォルト値は 128 MiB
--parallel-upload-count [integer range]
マルチパート利用時の最大並列度
デフォルト値は 3
最大値は 1000
例:
oci os object put -ns xxxxxxxxxx -bn test --file C:\Users\opc\Documents\sample.csv --name samplem.csv --part-size 4 --parallel-upload-count 32
■ ダウンロード
oci os object get -ns <object_storage_namespace> -bn <bucket_name> --name <object_name> --file <file_location>
例:
oci os object get -ns xxxxxxxxxx -bn test --name sample.csv --file C:\Users\opc\Documents\sample_dl.csv
■ ダウンロード(マルチパート)
oci os object get -ns <object_storage_namespace> -bn <bucket_name> --name object_name> --file <file_location> --part-size <download_part_size_in_MB> --parallel-download-count <maximum_number_parallel_uploads>
--part-size [integer range]
マルチパート利用時の各パートのサイズ(MiB)
最小値は 128 MiB
--parallel-download-count [integer]
マルチパート利用時の並列度
デフォルト値は 10
例:
oci os object get -ns xxxxxxxxxx -bn test --name sample.csv --file C:\Users\opc\Documents\sample_dlm.csv --part-size 128 --parallel-download-count 32
これらのコマンドの前後に時間取得を含んだバッチファイルを作成して流せば、ネットワーク転送速度を取得することができます。
アップロードであれば、以下のようなバッチファイルを作成します。
echo %time% >>upload.txt
oci os object put -ns xxxxxxxxxx -bn test --file C:\Users\opc\Documents\sample.csv --name sample.csv --no-multipart
echo %time% >>upload.txt
実行結果は以下のようになります。
(oracle-cli) C:\Users\opc\lib\oracle-cli\Scripts>upload

(oracle-cli) C:\Users\opc\lib\oracle-cli\Scripts>echo  7:16:01.39  1>>upload.txt

(oracle-cli) C:\Users\opc\lib\oracle-cli\Scripts>oci os object put -ns xxxxxxxxxx -bn test --file C:\Users\opc\Documents\sample.csv --name sample.csv --no-multipart
Uploading object  [####################################]  100%
{
  "etag": "0eeb1719-2d53-4e93-ace5-5b822a51c3bb",
  "last-modified": "Tue, 01 Sep 2020 07:16:12 GMT",
  "opc-content-md5": "w8rlZdFYbIyVsHQVn1m1vA=="
}

(oracle-cli) C:\Users\opc\lib\oracle-cli\Scripts>echo  7:16:12.73  1>>upload.txt