1. はじめに
NRI OpenStandia Advent Calendar 2022の 12 日目は、React 用のアニメーションライブラリである Framer Motionの基本的な使い方をご紹介します!
また、ReactのUIコンポーネントライブラリであるMUIとFramer Motionを一緒に使うときの実装方法についても話します!
2. Framer Motion とは
今回の記事のメインとなるFramer Motionとは何者でしょうか。
公式サイトの紹介文を和訳すると「React 用のオープンソースのプロダクション対応モーションライブラリ」とのこと。
つまり、React で使用できるアニメーションライブラリです。
デザインツールFramerを開発しているFramer社が提供しています。
要素にプロパティを設定して直接アニメーションの挙動を制御できます。
3. やりたいこと
Framer Motion を使ってアプリを作りたいと思います。
アプリで使う技術の前提条件としては
- 言語は TypeScript で、React、画面 UI はMUIを使う。
- もちろんFramer Motionを使ってアニメーションをつける。(うるさいくらいに多用する)
- 入力ページにはバリデーションも実装したいので、React Hook Formとzodも使う。
です。
4. Framer Motionの使用方法
アプリの実装の前にFramer Motionの使い方を見ていきます。
インストール
npm install framer-motion
基本の書き方
もとになる要素はこれです。
<motion.div />
このモーションコンポーネントに基本的なアニメーション機能を追加していきます。
import { motion } from 'framer-motion'
export const AnimateSample = () => (
    <motion.div
      style={{ width: 300, height: 300, backgroundColor: 'blue' }}
      animate={{ x: 1000 }} // x方向に1000移動
    />
)
animate={{ x: 1000 }}とすることで、このように対象となるdivをx方向に1000だけ移動させることができます。
animateで対象物をどのように動かすかを設定できます。
他にもinitialでアニメーション開始時の状態、exitで終了時の状態を設定できます。
不透明度を表すopacityを用いて、開始時と終了時はinitial={{ opacity: 0 }}、アニメーションはanimate={{ opacity: 1 }}のように設定できます。
続いて、マウスホバーをイベントとしたアニメーションを設定してみます。
import { motion } from 'framer-motion'
export const HoverSample = () => (
    <motion.div
      style={{ width: 300, height: 300, backgroundColor: 'blue' }}
      whileHover={{ scale: 1.2 }} // ホバー時に大きさ1.2倍
    />
)
whileHover={{ scale: 1.2 }}とすると、マウスホバーしたら大きさを1.2倍にする、というアニメーションを書けます。
whileHoverでマウスホバー時どうするかを設定できます。scaleは大きさの変化です。
whileHoverの他にも以下のようなイベントリスナーがあります。
| 項目名 | 説明 |
|---|---|
| whileHover | ホバージェスチャが認識されている間にアニメーション化するプロパティ |
| whileTap | コンポーネントが押されている間にアニメーション化するプロパティ |
| whileFocus | フォーカス ジェスチャが認識されている間にアニメーション化するプロパティ |
| whileDrag | ドラッグジェスチャが認識されている間にアニメーション化するプロパティ |
| whileInView | 要素が表示されている間にアニメーション化するプロパティ |
次に親要素の中に複数の子要素を持つ場合のアニメーション設定を見ていきます。
import { motion } from 'framer-motion'

const list = {
  visible: {
    opacity: 1, // 不透明度1
    transition: {
      staggerChildren: 1, // 子要素に1秒間隔でアニメーションを行う
    },
  },
  hidden: {
    opacity: 0, // 不透明度0
  },
}

const item = {
  visible: { x: 0 },
  hidden: { x: -100 },
}

export const VariantsSample = () => (
    <motion.ul initial="hidden" animate="visible" variants={list}>
      <motion.li variants={item}> いち</motion.li>
      <motion.li variants={item}> に</motion.li>
      <motion.li variants={item}> さん</motion.li>
    </motion.ul>
)
variantsを使用すると、親要素にだけinitialやanimateを書けば、子要素含めたサブツリー全体をアニメーション化できます。
手順としては以下です。
- 親要素に
initialの状態名(ここでは"hidden")とanimateの状態名(ここでは"visible")を書く。 - コンポーネントの外に親要素と子要素それぞれのアニメーションを設定する。
-
variantsで要素にアニメーションを指定する。
親要素のanimateに指定したstaggerChildren: 1とは、子要素を1秒間隔で表示させるというものです。
表示するとこうなります。

Framer Motionには、他にもhooksや3Dアニメーションなどの機能があります。
5. Framer MotionとMUIをコラボさせる
4. Framer Motionの使用方法で表示したアニメーションと同じものをMUIを使って書いてみようと思います。
まず、特に何も調査せずに「<motion.div>でMUIのコンポーネントを囲めば動くのでは?」と思い書いてみました。こんな感じです。
import { Box } from '@mui/material'
import { motion } from 'framer-motion'

export const AnimateMuiSample = () => (
  <motion.div animate={{ x: 1000 }}> {/* Box要素をmotion.divで囲む */}
    <Box sx={{ width: 300, height: 300, backgroundColor: 'blue'}} />
  </motion.div>
)
表示すると

のようになりました。
MUIを使わないで書いた4. Framer Motionの使用方法のアニメーションと同じように見えます。
続いて、マウスホバー時のアニメーションも書いてみます。
import { Box } from '@mui/material'
import { motion } from 'framer-motion'

export const HoverMuiIncorrectSample = () => (
  <motion.div whileHover={{ scale: 1.2 }}> {/* Box要素をmotion.divで囲む */}
    <Box sx={{ width: 300, height: 300, backgroundColor: 'blue'}} />
  </motion.div>
)

マウスホバーをBoxの横から外に出したときは元に戻らない、、?
4. Framer Motionの使用方法とは違う挙動になってしまったようです。
このような挙動となってしまった理由としては、
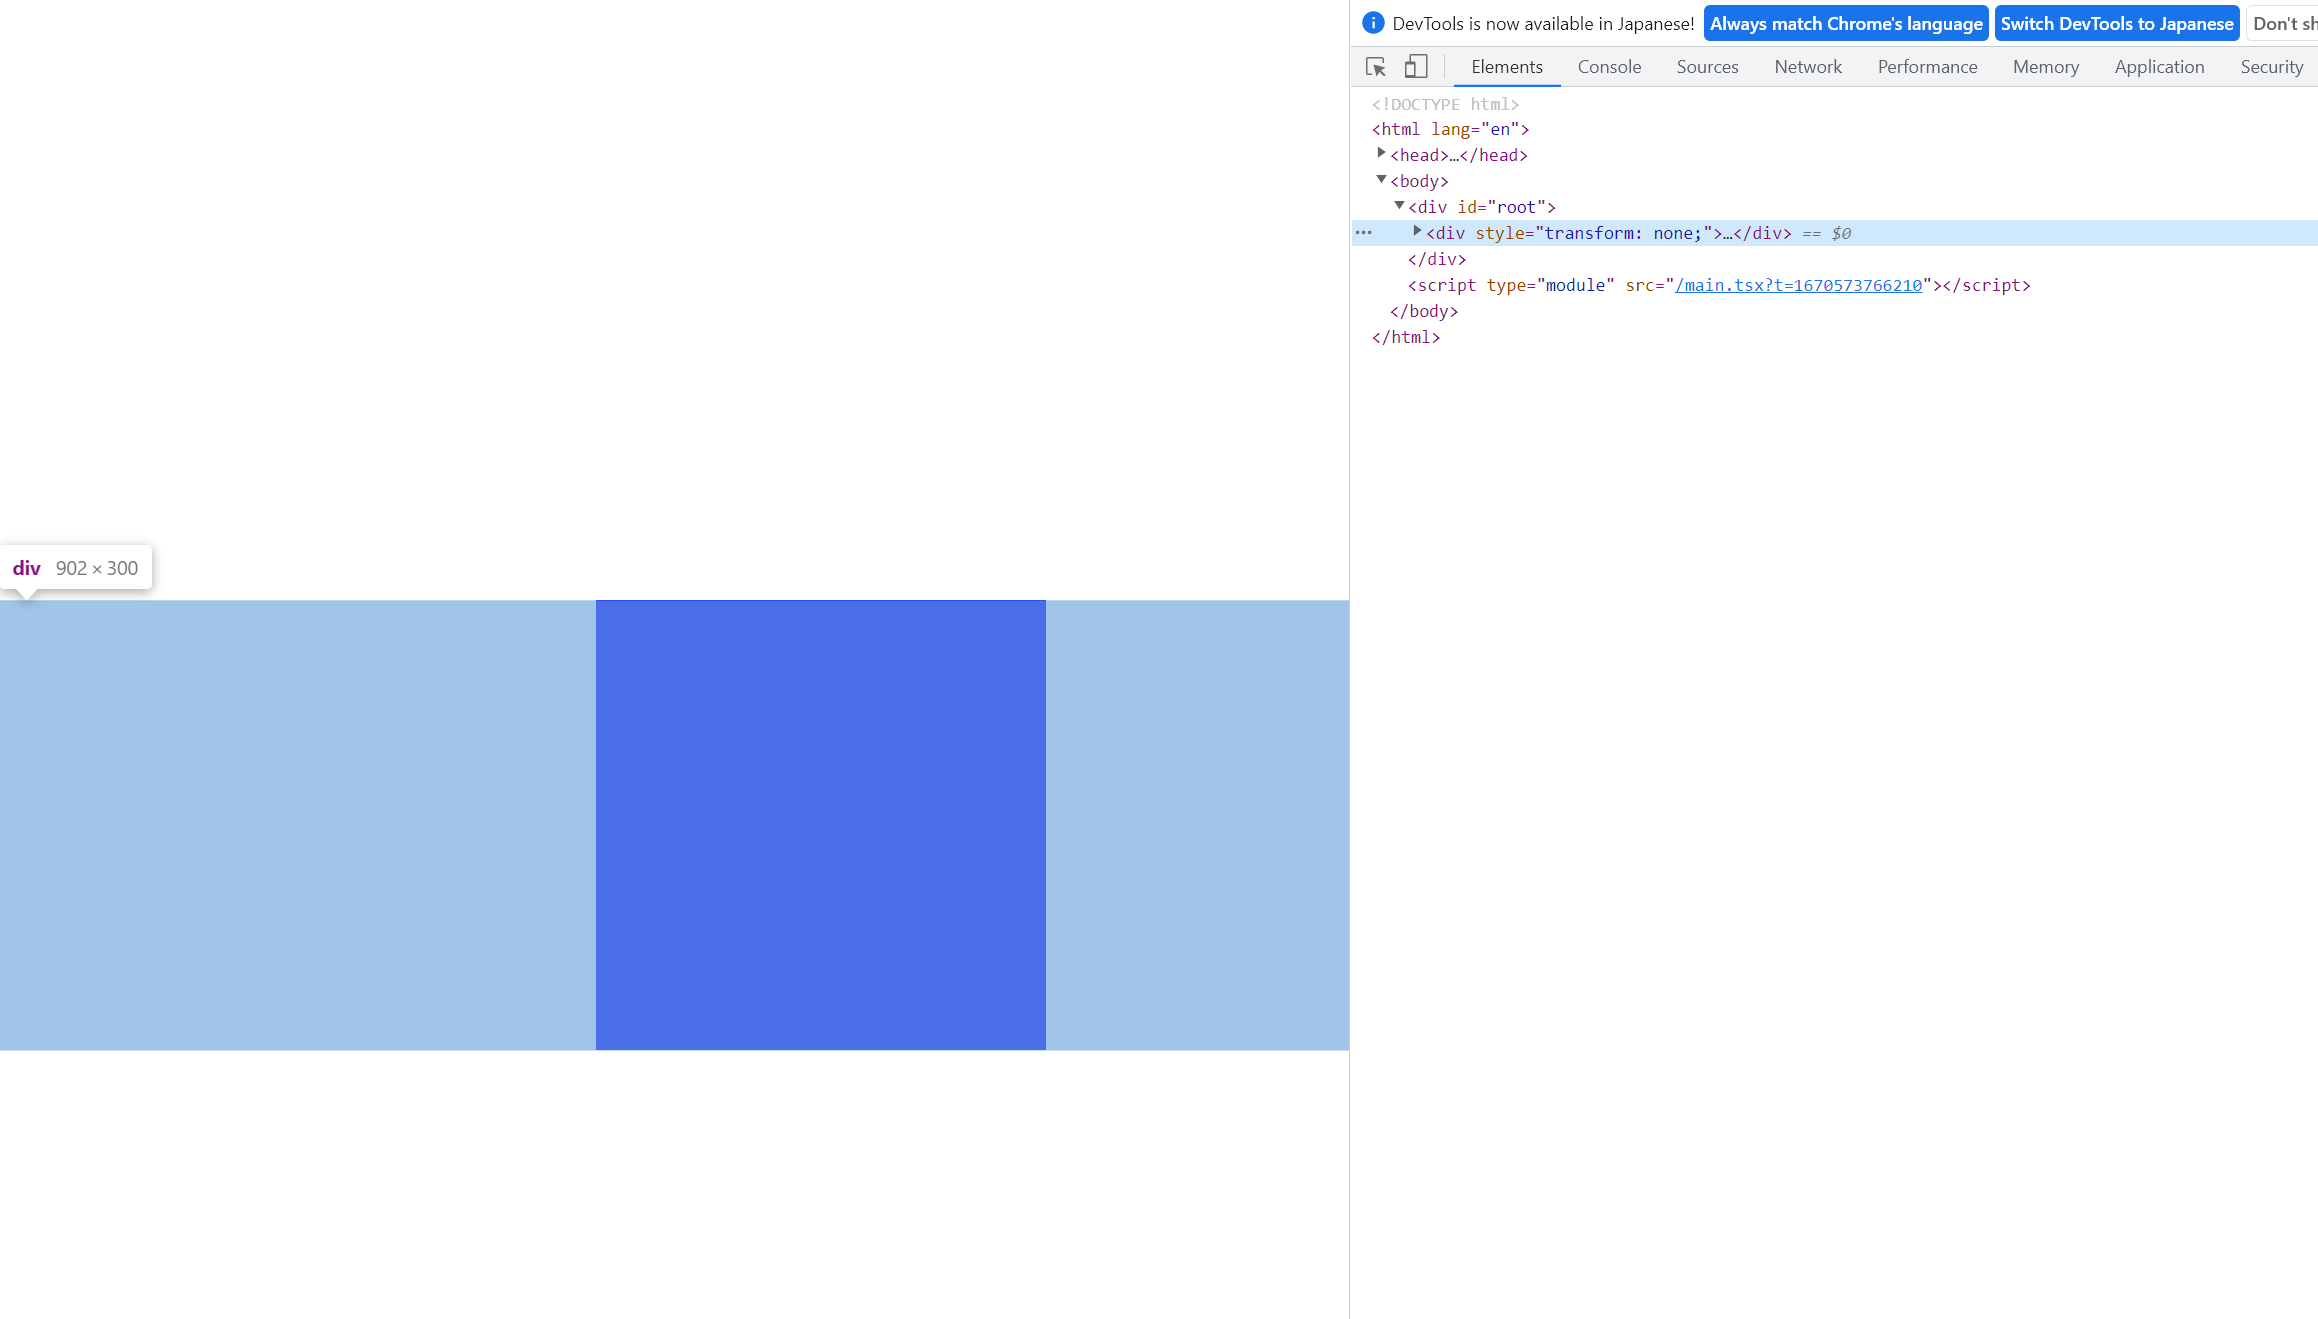
<motion.div>の部分でdiv要素にmotionをつけていて、Box自体にはmotionをつけていないからです。よって、div内かつBox外では、motion的にはホバーされている状態と把握されているのです。
ブラウザの開発者ツールで確認すると、motionをつけたdivの部分がBoxより横に大きいことが分かります。

下の図は要素にマウスホバーした時のスクリーンショットですが、上の図と比較すると、motionをつけたdiv要素のtransformの値が変化していることが分かります。

Boxの外に出たらscaleを戻すという、4. Framer Motionの使用方法と同じアニメーションにする実装方法はこちらです。
import { Box } from '@mui/material'
import { motion } from 'framer-motion'

export const HoverMuiCorrectSample1 = () => (
    <Box
      component={motion.div} {/* Box要素のcomponentにmotion.divを設定 */}
      whileHover={{ scale: 1.2 }}
      sx={{ width: 300, height: 300, backgroundColor: 'blue' }}
    />
)

MUIコンポーネントのBox要素のcomponentにmotion.divを指定して、動きはBox要素に直接設定します。
別の実装方法として
import { Box } from '@mui/material'
import { motion } from 'framer-motion'

export const HoverMuiCorrectSample2 = () => {
 const MuiMotionBox = motion(Box)  // motionの引数にBoxを指定
 return(
    <MuiMotionBox
      whileHover={{ scale: 1.2 }}
      sx={{ width: 300, height: 300, backgroundColor: 'blue' }}
    />
 )
}
ともできますが、今回はcomponent={{motion.div}}の方法にしたいと思います。
ちなみに、上記はBox要素の場合を記載しましたが、
-
Button要素の場合は
component={motion.button} -
Typography要素の場合は
component={motion.p}
と書きます。
6. Framer Motionを使って、麻雀の点数表示アプリ作ってみる
Framer Motionを使ったアプリを作りたいけどアプリの題材どうしよう、、と迷った挙句、麻雀の点数表示アプリを作ることにしました。
理由は単純で、私がどうしても点数計算を覚えられないからです。。。(3900 点とかがややこしくさせてくるから覚えられない)
アプリの要件としては
- インプットは
- 何翻
- 何符
- 和了がロン or ツモ
- 和了の人が親 or 子
- アウトプットは点数。
- ツモの場合は和了以外の人が 1 人いくら払うかまで表示する。
とします。
まずは、入力画面!
最初に背景と文字を作っていきます。
  <Box
    component={motion.img}
    animate={{ x: 0 }}
    initial={{ x: -500 }}
    transition={{
      duration: 0.5,  // 0.5秒間でアニメーション
    }}
    sx={{
      width: '100%',
      minHeight: '100vh',
    }}
    alt="majan"
    src={MahjongImage1}
    position="absolute"
  />
背景は、Boxコンポーネントでanimateとinitialを指定しました。開始地点であるx方向-500の位置からx方向0の位置に移動させます。
また、transitionをduration: 0.5と設定することによって、0.5秒間で移動させるようにしています。
こんな感じになります。

文字を入れていきます。
  <Grid
    container
    component={motion.div}
    animate={{
      x: [0, -200, -100],  // 一連のアニメーションをフレームとして設定
      y: [0, 200, 100],
    }}
    transition={{
      duration: 0.5,
    }}
    alignItems="center"
    justifyContent="center"
    sx={{
      position: 'absolute',
    }}
  >
    <Box sx={{ backgroundColor: 'primary.dark', width: '2000px' }} textAlign="center">
      <Typography variant="h1" color="common.white">
        Mahjong Score Calculation
      </Typography>
    </Box>
  </Grid>
  <Grid
    container
    component={motion.div}
    animate={{
      x: [0, -200, -100],  // 一連のアニメーションをフレームとして設定
      y: [0, 300, 220],
    }}
    transition={{
      duration: 0.5,
    }}
    alignItems="center"
    justifyContent="center"
    sx={{
      position: 'absolute',
    }}
  >
    <Box sx={{ backgroundColor: 'primary.dark', width: '600px' }} textAlign="center">
      <Typography variant="h5" color="common.white">
        Enter "han" and "fu" to see your score!
      </Typography>
    </Box>
  </Grid>
animateの値を配列で書くことによって一連のアニメーションをフレームとして設定しています。これにより、各値が順番にアニメーション化されます。
x方向でいうと最初は0の位置、次に-200の位置、最後に-100の位置と移動します。
y方向でいうと最初は0の位置、次に200の位置、最後に100です。
duration: 0.5により、一連の動きが0.5秒で動くようにしています。

次に翻と符を入力するPaperの中身を書いていきます。
  <Paper
    component={motion.div}
    animate={{
      scale: 1, // スケールを1へ
      position: 'absolute',
      top: '30%',
      width: '30%',
      left: '10%',
    }}
    initial={{
      scale: 0,
      position: 'absolute',
      top: '30%',
      width: '30%',
      left: '10%',
    }}
    transition={{
      duration: 2, // 2秒間
    }}
    sx={{ m: 5, p: 5 }}
  >
    <Grid container alignItems="center" justifyContent="center" direction="column">
      <Typography variant="h5">翻を入力してください。</Typography>
      <Typography>※役満の場合は13と入力してください。</Typography>
      <TextField
        sx={{ mt: 2 }}
        error={!!errors.han}
        helperText={errors.han?.message}
        {...register('han', {
          setValueAs: (value?: string) =>
            value == null || value === '' ? undefined : parseInt(value, 10),
        })}
      />
      {watch('han') < 5 && watch('han') > 0 && (   // 1以上4以下の場合のみ
        <>
          <Typography variant="h5" sx={{ mt: 5 }}>
            符を入力してください。
          </Typography>
          <TextField
            sx={{ mt: 2 }}
            error={!!errors.hu}
            helperText={errors.hu?.message}
            {...register('hu', {
              setValueAs: (value?: string) =>
                value == null || value === '' ? undefined : parseInt(value, 10),
            })}
          />
        </>
      )}
    </Grid>
  </Paper>
Paperのアニメーションは、2秒間でPaperのscaleを0から1にして登場させるようにしています。
あとは、Framer Motionとは関係ないですが、React Hook Formのwatchを使って、入力された翻が4以下の場合のみ符の入力フォームを出すようにしています。
同じように和了の入力をするPaperを実装していきます。
  <Paper
    component={motion.div}
    animate={{
      scale: 1,
      position: 'absolute',
      top: '30%',
      width: '30%',
      left: '53%',
    }}
    initial={{
      scale: 0,
      position: 'absolute',
      top: '30%',
      width: '30%',
      left: '53%',
    }}
    transition={{
      duration: 2,
    }}
    sx={{ m: 5, p: 5 }}
  >
    <Grid container alignItems="center" justifyContent="center" direction="column">
      <Typography variant="h5">和了を選択してください。</Typography>
      <Controller
        name="agari"
        control={control}
        render={({ field }) => (
          <FormControl sx={{ width: '300px', mt: 2 }}>
            <Select {...field} error={!!errors.agari}> {/* Controller内でSelectを書く */}
              <MenuItem value="ron">ロン</MenuItem>
              <MenuItem value="tumo">ツモ</MenuItem>
            </Select>
            <FormHelperText error>{errors?.agari?.message}</FormHelperText>
          </FormControl>
        )}
      />
      <Typography variant="h5" sx={{ mt: 5 }}>
        和了が親か子を選択してください。
      </Typography>
      <Controller
        name="oyako"
        control={control}
        render={({ field }) => (
          <FormControl sx={{ width: '300px', mt: 2 }}>
            <Select {...field} error={!!errors.oyako}>
              <MenuItem value="oya">親</MenuItem>
              <MenuItem value="ko">子</MenuItem>
            </Select>
            <FormHelperText error>{errors?.oyako?.message}</FormHelperText>
          </FormControl>
        )}
      />
    </Grid>
  </Paper>
並んでいる2つのPaperが違う動きだと気持ち悪いので、アニメーションは同じです。
React Hook FormのControllerを使ってSelectで選んだ選択肢を登録していきます。

最後に「点数を表示する」ボタンです。
useAnimationFrameというものを使います。
export const DisplayButton = () => {
  const ref = useRef<HTMLButtonElement>(null)
  useAnimationFrame((time, delta) => {  // アニメーションループ
    if (!ref.current) return
    ref.current.style.transform = `rotateX(${delta}deg) rotateY(${time / 10}deg)`
  })

  return (
        <Button
          ref={ref}
          variant="contained"
          color="primary"
          type="submit"
          size="large"
          sx={{ position: 'absolute', top: '80%', left: '45%' }}
        >
          点数を表示する
        </Button>
  )
}
useAnimationFrameとは指定したコールバックに最新のフレーム時間を出力するアニメーションループです。アニメーションフレームごとに1回、コールバックを実行します。
第1引数であるtimeはコールバックが最初に呼び出されてからの合計時間、第2引数であるdeltaは最後のアニメーションフレームからの合計時間です。

アニメーションをつけたことによって、表示ボタンがすごく押しにくくなりました。笑
続いて、結果出力画面!
まず、Framer Motionを使う画面表示ではなく、結果の点数を出す処理の部分を実装していきます。
以下コードのvalueは前の画面で入力したデータを指します。
contextを使用してデータを渡していますが、ここでは実装を省略します。
  // 13翻より大きい場合は13翻とする。valueがfalseの場合は0翻とする。
  if (value && value.han > 13) {
    han = 13
  } else {
    han = value ? value.han : 0
  }

 // 和了の人がもらえる点数と、その他の人が払う点数を計算
  // 和了が親の場合
  if (value?.oyako === 'oya') {
    totalScore = OyaPointCalculation(han, value.hu)
    // ツモの場合は、子供1人あたりの支払う額も算出
    if (value?.agari === 'tumo') {
      koPayment = OyaTumoPointCalculation(han, value.hu, totalScore)
    }
  // 和了が子の場合
  } else if (value?.oyako === 'ko') {
    totalScore = KoPointCalculation(han, value.hu)
    // ツモの場合は、親と子それぞれの1人あたりの支払う額も算出
    if (value?.agari === 'tumo') {
      [oyaPayment, koPayment] = KoTumoPointCalculation(han, value.hu, totalScore)
    }
  }
もらえる点数と、ツモの場合の親子それぞれ1人が支払う点数を計算します。
OyaPointCalculation、KoPointCalculation、OyaTumoPointCalculation、KoTumoPointCalculationは翻と符、点数を与えると結果を返してくれる関数です。
関数の定義部分の実装は省略します。
続いて、表示する画面を作っていきます。
表示するアウトプットは、和了の人がもらえる点数と、支払い点数(ツモの場合のみ)です。
点数表示部分を書いていきます。
  <Paper sx={{ m: 5, p: 5 }}>
    <Typography variant="h2" color="#AFC87D" textAlign="center">
      結果は...
    </Typography>
    <Grid container alignItems="center" sx={{ mt: 6 }}>
      <Grid
        item
        xs={7}  // 12の横の長さのうち7
        component={motion.div}
        animate={{ scale: 1 }}
        initial={{ scale: 0 }}
        transition={{ delay: 2 }}
        sx={{ pr: '2%' }}
      >
        <Typography variant="h1" textAlign="right" color="#004F2A" sx={{ mb: 10 }}>
          {totalScore}点
        </Typography>
        {value?.agari === 'tumo' && (
          <>
            {value?.oyako === 'ko' && (
              <Typography variant="h4" textAlign="right" sx={{ mb: 1 }}>
                親の支払いは{oyaPayment}点
              </Typography>
            )}
            <Typography variant="h4" textAlign="right">
              子の支払いは{koPayment}点
            </Typography>
          </>
        )}
      </Grid>
    </Grid>
  </Paper>
表示するとこうなりました。
右に赤ドラの絵を入れたいので、Gridはxsで指定しています。

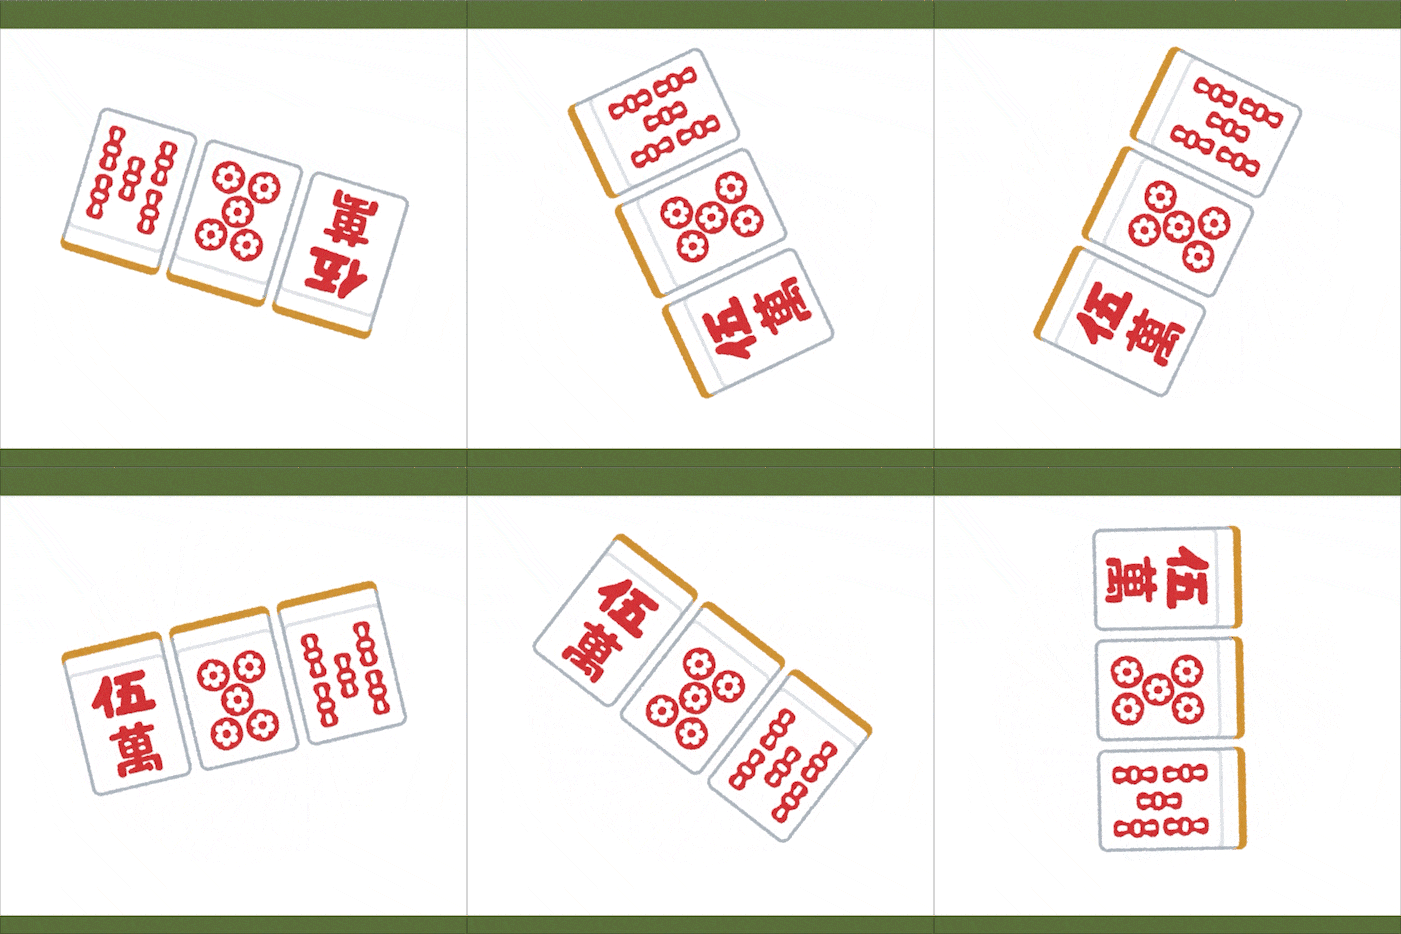
赤ドラを表示していきます。useTransformとuseTimeを使います。
export const Dora = () => {
  const time = useTime  // 1フレームごとに毎回更新されるモーション値を返す
  const rotate = useTransform(time, [0, 4000], [0, 360], { clamp: false }) // 4秒で360度回転
  return(
    <Grid item xs={5} textAlign="right" sx={{ mb: 20, pr: 8 }}>    {/* 12の横の長さのうち5 */}
      <motion.img alt="dora" src={DoraImage} width="50%" style={{ rotate }} />
    </Grid>
  )
}
useTransformは片方が動いている間に別のアニメーションを実行します。
つまりここでは、timeが[0,4000]すなわち4秒の間に、対象物を[0, 360]つまり360度回転させるとなります。
{ clamp: false }は永続的にその2つの動きをマッピングする、ということです。
また、useTimeは永続的なアニメーションを作りたいときに便利です。
モーション値が最初に作成されてから、1フレームごとに毎回更新されるモーション値を返します。
ここでいうモーション値とは、アニメーション値の状態と速度を追跡しているものです。
Framer Motionの全てのモーションコンポーネントは、内部でモーション値MotionValuesを使用して、アニメーション値の状態と速度を追跡します。

最後に、戻るボタンを実装して出来上がりです。
  <Grid container alignItems="center" direction="column">
    <Button
      component={motion.button}
      initial={{ x: -200 }}
      animate={{ x: 200 }}
      transition={{            // transitionに項目設定
        type: 'spring',
        repeat: Infinity,
        repeatType: 'mirror',
        repeatDelay: 0.1,
      }}
      whileHover={{ scale: 2 }}  // ホバーしたら大きさを倍にする
      variant="contained"
      color="secondary"
      type="submit"
      size="large"
      onClick={() => {
        back()
      }}
    >
      戻る
    </Button>
  </Grid>
transitionにtype、repeat、repeatType、repeatDelayを設定しています。
それぞれの項目の説明は以下の通りです。
| 設定項目 | 値 | 説明 |
|---|---|---|
| type | spring | バネのような自然な動きのあるアニメーションタイプ |
| repeat | Infinity | アニメーションを永続的にする |
| repeatType | mirror | 順方向→逆方向→再び順方向で実行される動き |
| repeatDelay | 0.1 | 繰り返しの動きの間を0.1秒間止める |
完成!
7. 感想
- Framer Motionを使うと思っていたよりもアニメーションを簡単に直感的に書くことができました。
- Framer Motionにはこれ以外にもたくさん機能があるので深いですね。3Dアニメーションまでありました。
- React Routerとも連携できるらしいので、今後試してみたいです。
- Framerと組み合わせて、デザインツールでデザインしたもののコード化も出来るようなので、そちらも試そうと思います。
- (符計算も覚えられないので、インプット画面に何符ではなく条件を入力できるようにしたいです。)
8. さいごに
Framer MotionとMUIを使ったReactアプリをご紹介しました。
レスポンシブ化できておらず、画面の位置調整が下手な部分が多くありますが、多めに見てください。
もっと良い実装方法等ありましたら、コメントいただけると幸いです。
9. 参考リンク


