RaspberryPi PICO に CirciutPython を入れて CromeBookで Pico LCD 1.14のサンプルを動かしてみた
Wavwshare から発売されている 1.14inch LCD Display Module for Raspberry Pi Pico をRaspberryPi PICO に CirciutPython を入れてCromeBookでサンプルを動かして見ました
1.14inch LCD Display Module for Raspberry Pi Pico
手順
ChromeBookの準備
(1) テキストエディタ:Caret
(2) シリアルターミナルエミュレータ:Beagle Term
RaspberryPi PICO にCircuitPython を入れる
(1) ダウンロードUF2:CircuitPython for PICO
(2) インストール:Installing CircuitPython
動作確認
(1) CircuitPython をインストールしたRaspberryPi PICO を ChromeBook に USBケーブルで接続
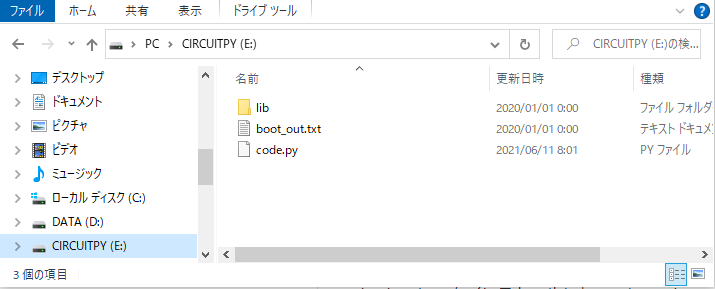
(2) ChromeBook にドライブ(CIRCUITPY)として認識されるのを待つ
(3) ドライブ(CIRCUITPY)の内容を確認
(4) Caret でコードを記述(サンプル1:オンボードLEDの点滅)code.py で保存
import digitalio
from board import *
import time

led = digitalio.DigitalInOut(GP25)
led.direction = digitalio.Direction.OUTPUT
while True:
    led.value = True
    time.sleep(0.3)
    led.value = False
    time.sleep(1.0)
Caret での編集 code.py という名前で保存
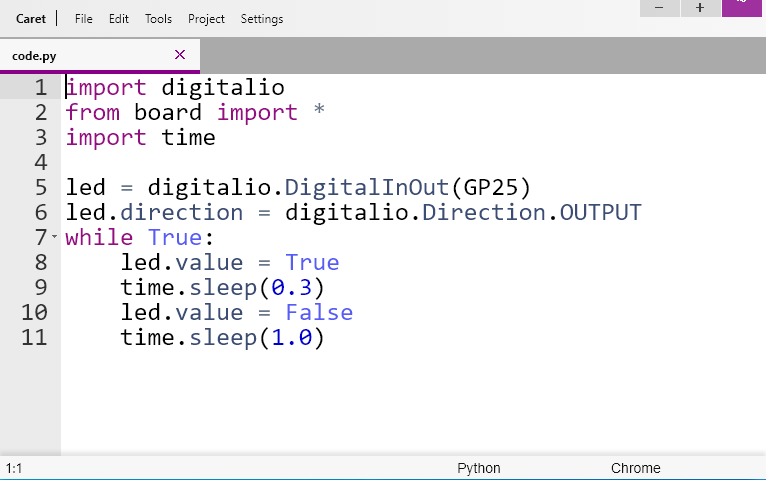
コードが自動実行されオンボードLEDが点滅する
Beagle term で接続
認識されたポートを確認して接続
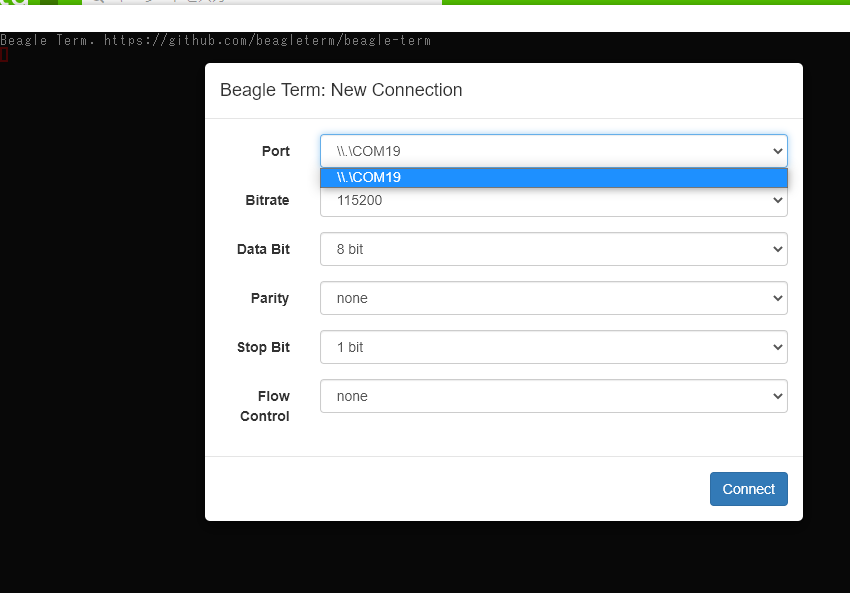
接続が確立 ctrl+c で実行中断すると以下のように通信可能となる
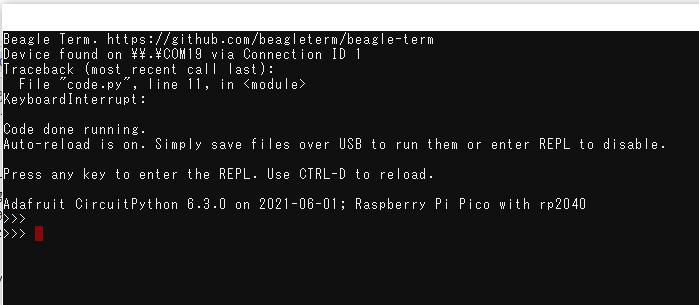
中断されている code.py は、ctrl+d でソフトリセットされ再実行される
これで、準備完了!
1.14inch LCD Display Module for Raspberry Pi Pico
を購入してPICOに接続して動作確認しよう
Raspberry Pi Pico/CircuitPython + ST7789 SPI IPS LCD
を参考に動作確認
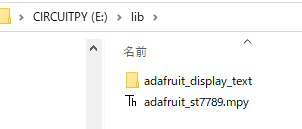
必要なライブラリの入手
CircuitPython Libraries
から自分の環境(CircuitPythonのバージョンなど)にあったものをダウンロードして展開する。
adafruit_st7789.mpy
adafruit_display_textのフォルダ
を探してCircuitPythonのlibフォルダにコピーする
サイトのサンプルコードをPicoLCDの環境に合わせて編集する
Example of CircuitPython/RaspberryPi Pico
to display on 1.14" 135x240 (RGB) IPS screen
with ST7789 driver via SPI interface.

Connection between Pico and
the IPS screen, with ST7789 SPI interface.
3V3  - BLK (backlight, always on)
GP11 - CS
GP12 - DC
GP13 - RES
GP15 - SDA
GP14 - SCL
3V3  - VCC
GND  - GND
"""
・・・・・
中略
・・・・・
# Release any resources currently in use for the displays
displayio.release_displays()

tft_cs = board.GP11
tft_dc = board.GP12
tft_res = board.GP13
spi_mosi = board.GP15
spi_clk = board.GP14
の部分を
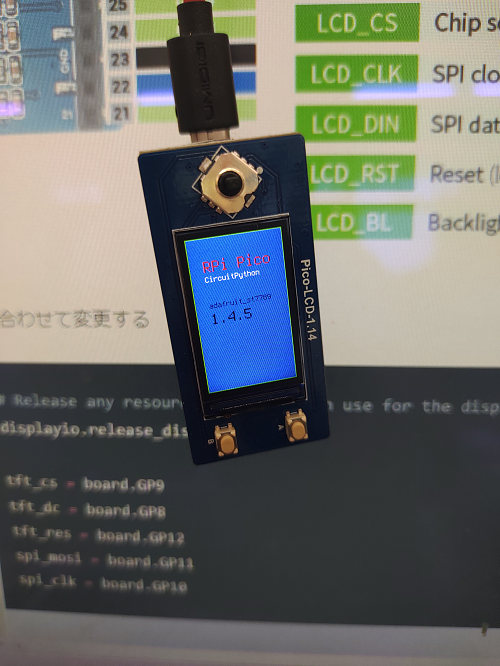
Pico LCD 1.14Pinout
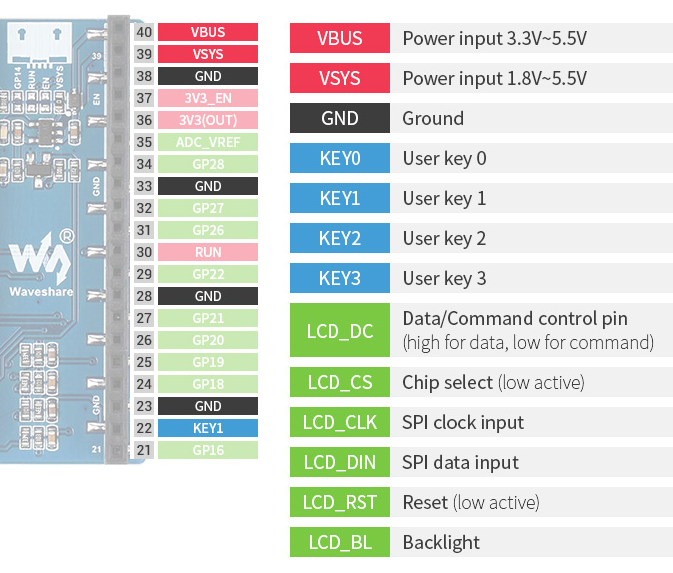
に合わせて変更する
# Release any resources currently in use for the displays
displayio.release_displays()

tft_cs = board.GP9
tft_dc = board.GP8
tft_res = board.GP12
spi_mosi = board.GP11
spi_clk = board.GP10
code.py として保存すると自動実行され画面に表示される