作るもの
ラズパイのような軽量なデバイスで、ディープラーニングを動かすプロトタイプを作ってみる。
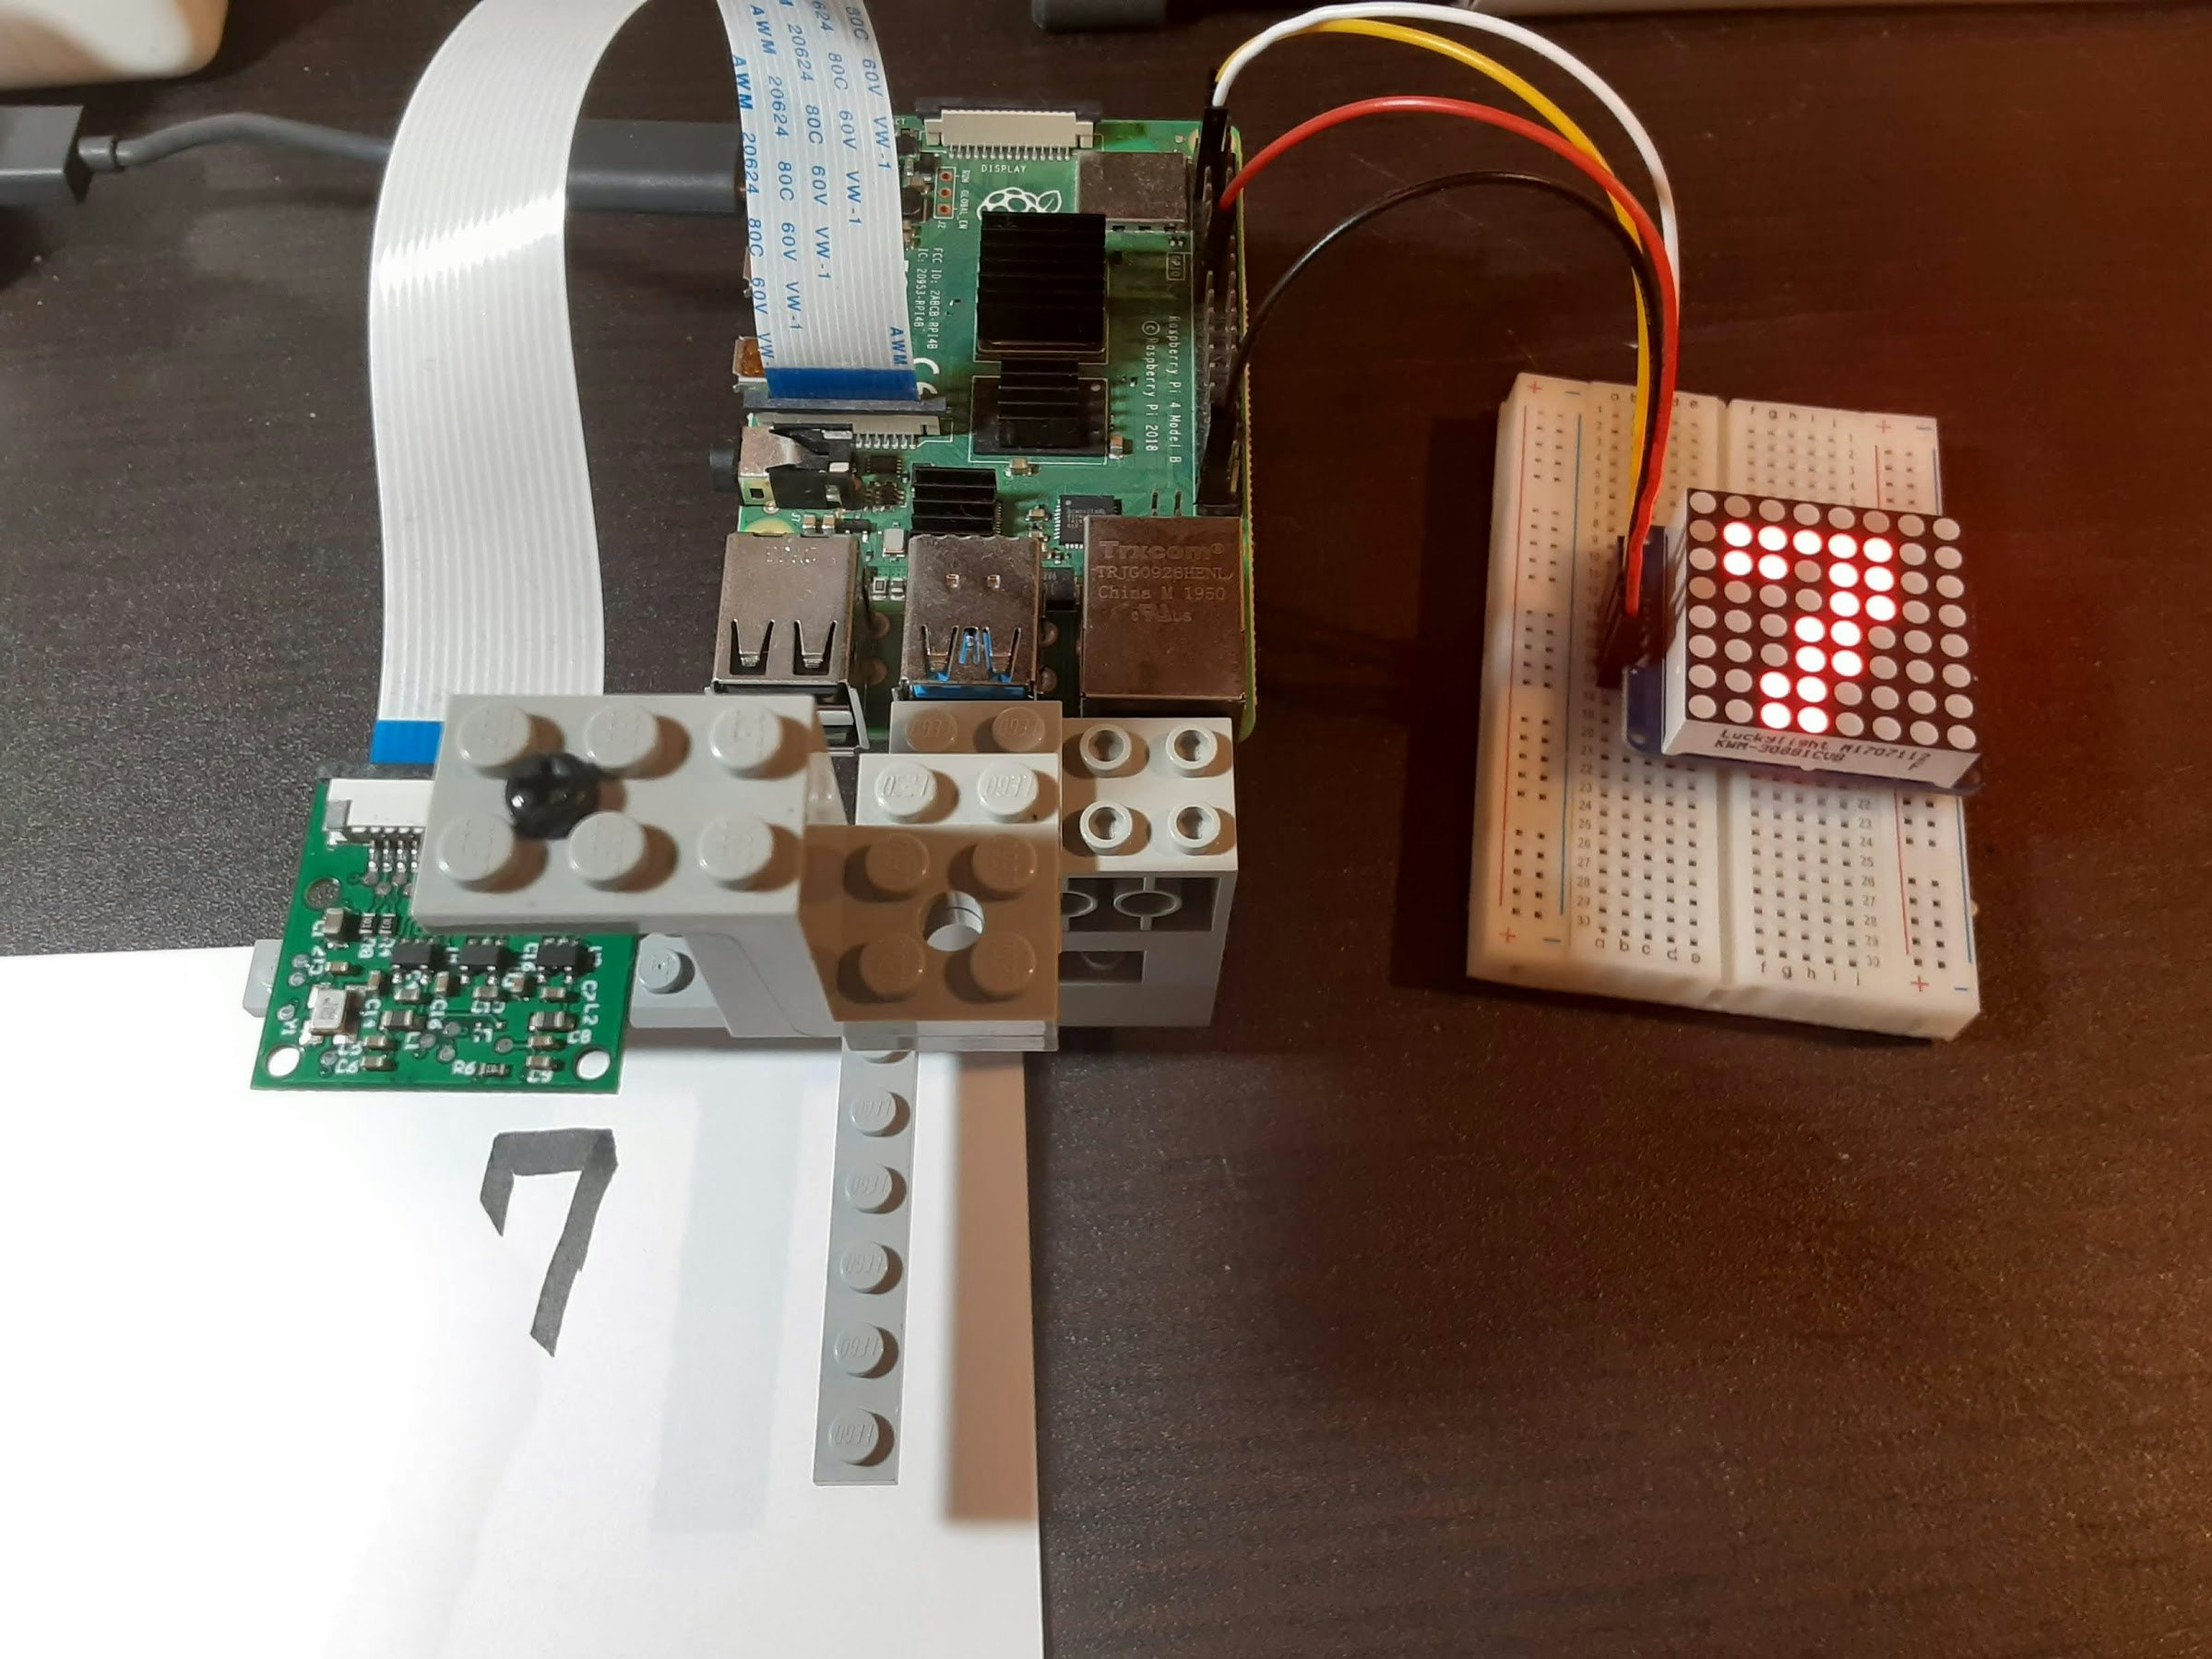
手書き文字 → カメラ → ラズパイ(Tensorflowで処理)→ 8x8 LED(結果表示)
ラズパイにTensorflow環境を構築する
https://www.tensorflow.org/install/pip?hl=ja#raspberry-pi_1
今回は仮想環境ではなく普通にインストール。
$ sudo apt update
$ sudo apt install python3-dev python3-pip
$ sudo apt install libatlas-base-dev        # required for numpy

$ pip3 install --user --upgrade tensorflow  # install in $HOME
MNISTデータを学習しモデルを保存
MNISTデータとは、
learnNum.py
[githubリンク]
プログラムを動かす
MacのDocker環境だと動いていたが、ラズパイに作った環境だと下記修正が必要になった。
# h5pyがないエラーが出たのでインストール
ImportError: `save_model` requires h5py.
$ sudo apt-get install python3-h5py

# tf.image.decode_image だと怒られたので、下記に変更。
tf.image.decode_jpeg

# np.expand_dims だと怒られたので、下記に変更。
tf.expand_dims

# steps引数の指定が必要だと怒られた。
ValueError: When using data tensors as input to a model, you should specify the `steps` argument.
predictions = new_model.predict(img_expand, steps=1)
MNISTモデルの読み込み
predictNum.py
mnist = keras.datasets.mnist
(train_images, train_labels), (test_images, test_labels) = mnist.load_data()
テスト画像を食わせてみる。
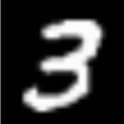
「3」と認識し、動作確認は成功。
[githubリンク]
カメラ画像の取得
predictNum.py
import picamera

camera = picamera.PiCamera()
camera.capture('image.jpg')
画像を切り取り黒背景化する
predictNum.py
# 画像の読み込み
img_path = "./image.jpg"
img_raw = tf.io.read_file(img_path)
img_tensor = tf.image.decode_jpeg(img_raw)
img_crop = tf.image.crop_to_bounding_box(img_tensor, 0, 300, 620, 620) #切り取り
img_rot = tf.image.rot90(img_crop, k=2) #180度回転
img_inv = tf.bitwise.invert(img_rot) #白黒反転
img_final = tf.image.resize(img_inv, [28, 28])
img_final = img_final/255.0

# 次元をそろえる
img_gray = tf.image.rgb_to_grayscale(img_final)
img_squeeze = tf.squeeze(img_gray)
img_expand = (tf.expand_dims(img_squeeze,0))
これだけだと画像のコントラストがはっきりせず正しく判定されない。
Pillowで画像を前処理する
コントラストを強くし、明るくしてみる。
predictNum.py
from PIL import Image
from PIL import ImageEnhance
filename = 'image.jpg'
img = Image.open(filename)
con1 = img.convert('L')
con2 = ImageEnhance.Contrast(con1)
con3 = con2.enhance(3.0)
con4 = ImageEnhance.Brightness(con3)
con5 = con4.enhance(3.0)
con5.save('./image_con.jpg', quality=95)
いけた!!
8x8LEDに結果を表示する
Adafruit公式のライブラリを使用する。
led.py
from PIL import Image
from PIL import ImageDraw
from PIL import ImageFont
from Adafruit_LED_Backpack import Matrix8x8

display = Matrix8x8.Matrix8x8()
display.begin()
display.clear()

image = Image.new('1', (8, 8))
draw = ImageDraw.Draw(image)

font = ImageFont.load_default()
draw.text((1, -1), '8', font=font, fill=255)

display.set_image(image)
display.write_display()
注意点は、結果は数値でなく文字列で入力すること。