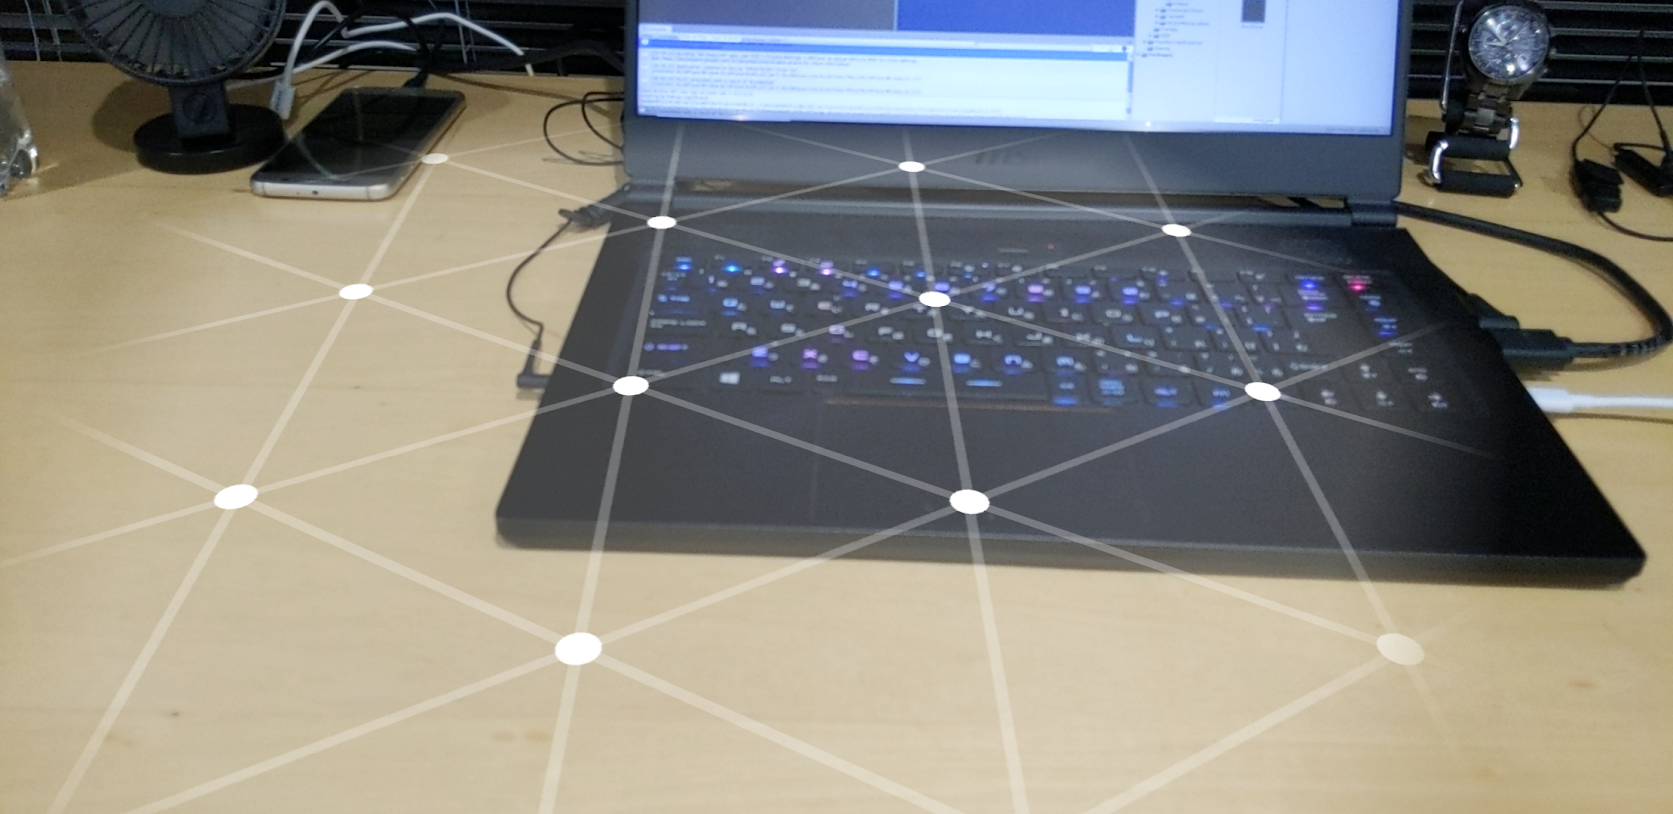
世に出ている記事が古くなってきているので、現時点(2019/10/31)最新の情報を備忘録として残します。
環境構築
1.Unityをインストール
2019/10/31時点の最新バージョン 2019.2.10f1
Unity download
その他Android SDK、JDK、NDKが必要ですが、下記のような詳細手順からインストールします。
Unity2018インストールからAndroidビルドするまでの手順
2.GitHubからARCore SDKをダウンロード
2019/10/31時点の最新バージョン 1.13.0
arcore-unity-sdk
3.Unityで必要なパッケージをインストール
下記2つのパッケージが無いとエラーが出るのでインストールします。
Multiplayer HLAPI
XR Legacy Input Helper
手順:Unityのメニュー「Window>Package Manager」を起動して、一覧から検索かけてウィンドウの右下にある「install」ボタンを押します。
4.ARCore SDKをインポート
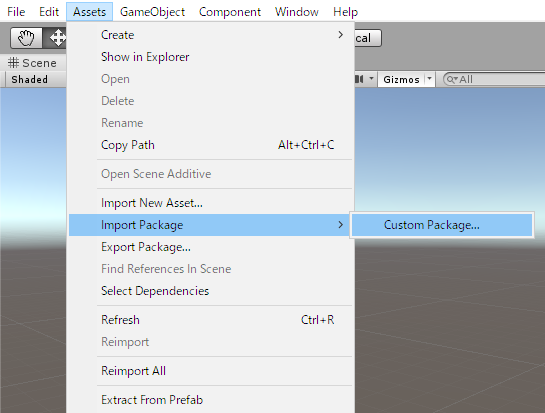
Assets>Import Package>Custom Packageのメニューから、2でダウンロードしたARCore SDKを選択し全てインポートします。
インポートに成功するとAsset Browser内に「GoogleARCore」というフォルダが作成されます。
5.PlatformをAndroidに変更
UnityのBuild Settingsで「Android」を選択し「Switch Platform」を押します。
6.Player Settingsを変更
Player Settingsを開いて下記の設定をします。
Other Settings:Graphics APIからVulkanを削除する
Other Settings:Minimum API Levelを7.0以上にする
XR Settings:ARCore Supportedにチェックを入れる
ARCoreプロジェクトの基本(平面の検出)
1.SDK内のprefabを配置
Asset Browserの「GoogleARCore>Prefabs」内にある下記2つのPrefabをHierarchy Viewにドラッグドロップして配置します。
ARCore Device
Environmental Light
2.SessionConfigファイルを作成
Asset Browserで「Crerate>Google ARCore」からSession Configを選択し新規作成します。
そして1で配置したARCore DeviceオブジェクトのInspectorを開きSession Configに、今作成したSessionConfigファイルを設定します。
3.平面検出用オブジェクトを作成
Hierarchy Viewで空のGame Objectを作成します。
Inspectorの「Add Component」から「Detected Plane Generatorコンポーネント」を選択します。
アタッチしたDetect Plane Generatorコンポーネントの「Detected Plane Prefab」に、Asset Browserの「GoogleARCore>Examples>Prefabs>DetectedPlaneVisualizer」を指定します。
4.Build And Run!!
あとは実機をUSBでつなげてBuild And Runすれば平面を検出するアプリが起動されます。

環境構築は大変だけど、そのあとは素敵なARライフが待ってますね😀


