155
129

Delete article

Deleted articles cannot be recovered.

Draft of this article would be also deleted.

Are you sure you want to delete this article?

More than 5 years have passed since last update.

UIに枠線、角丸を適用する

Last updated at Posted at 2015-03-17

はじめに

UIImageViewやUIButtonに枠線や角丸を適用する方法をSwiftで書きます。

画像を表示する

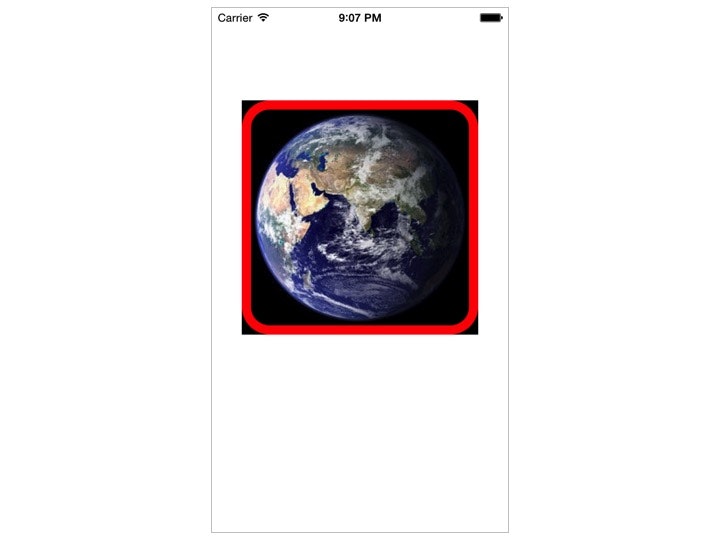
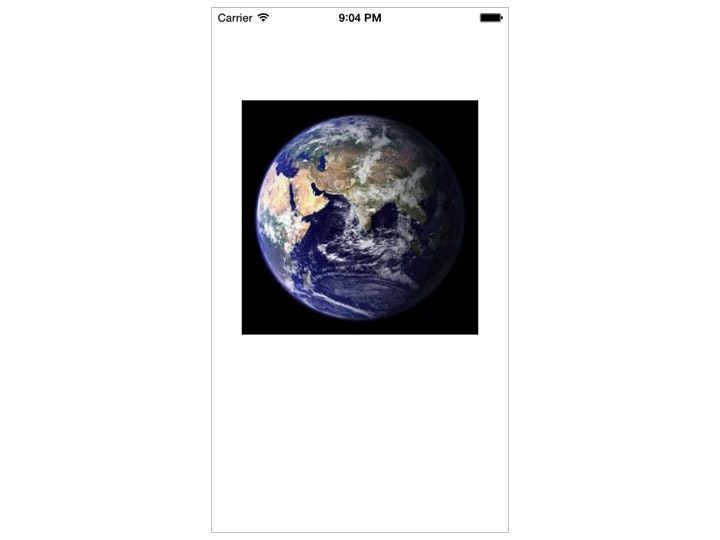
UIImageViewを配置して画像(NASA Blue Marble of Eastern Hemisphere)を読み込みます。

実行すると画像が表示されます。

地球1

枠線

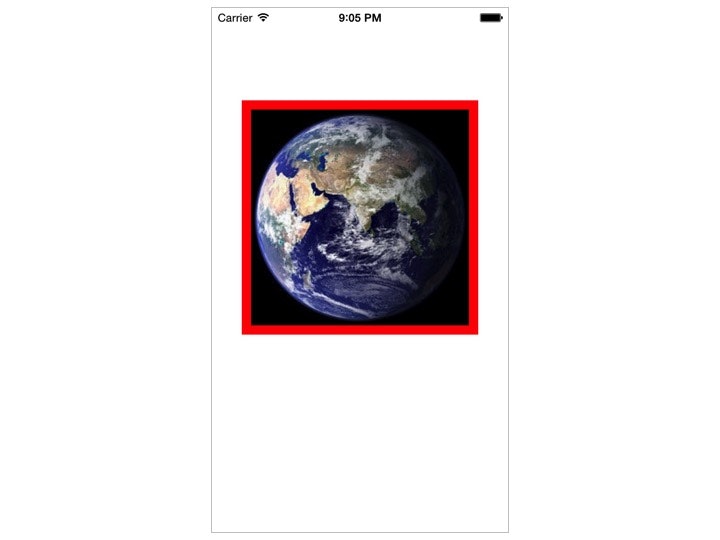
枠線を適用します。ここでは枠線の色を赤にします。

sample1.swift
self.imageView.layer.borderColor = UIColor.redColor().CGColor
self.imageView.layer.borderWidth = 10

地球2

角丸

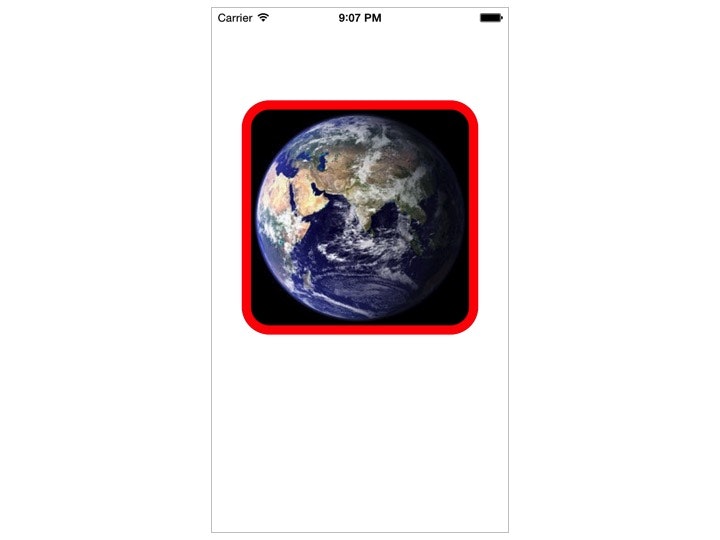
次に角丸を適用します。

sample2.swift
self.imageView.layer.cornerRadius = 30

地球3

角丸が適用されました。この状態では画像の上に枠線が描画されているように見えます。
角丸に合わせて画像をマスクする処理が必要です。

sample3.swift
self.imageView.layer.masksToBounds = true

地球4

これで画像が角丸に合わせてマスクされました。

今回はUIImageViewを例に枠線、角丸を適用しましたが、UIButtonでも同様の処理で実装できます。

最後に

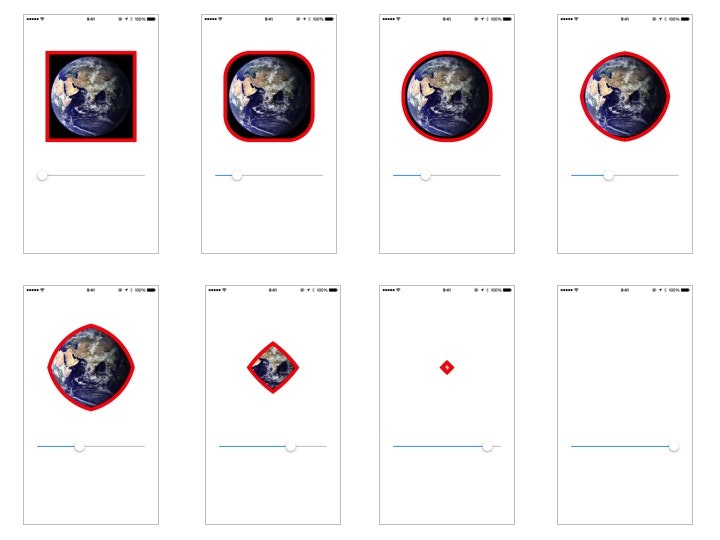
cornerRadiusの値を大きくしていくと画像はどう表示されるのか実験してみました。
UISliderを配置してスライダーを右に動かすほどcornerRadiusの値を大きくするようにしています。
スライダー

155
129
1

Register as a new user and use Qiita more conveniently

  1. You get articles that match your needs
  2. You can efficiently read back useful information
  3. You can use dark theme
What you can do with signing up
155
129

Delete article

Deleted articles cannot be recovered.

Draft of this article would be also deleted.

Are you sure you want to delete this article?