前提条件
Ubuntu 18.04
Python 2.7
OpenCV 3.3
やること
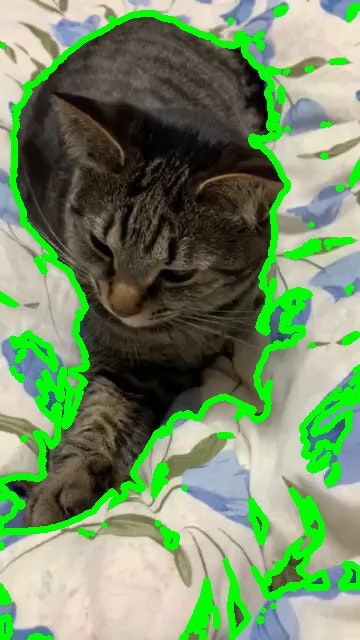
PythonのOpenCVを使って猫の画像の輪郭検出をしてみます。
今回の流れ
0.前処理
1.画像の読み込み
2.ネガポジ反転
3.グレースケール化
4.2値化
5.輪郭を作成
6.画像の表示
7.画像の保存
8.まとめ
9.ラベル付きBounding Box作成
実際にやってみる
0.前処理
ライブラリのインポートを行います。
import cv2
1.画像の読み込み
第2引数を1にして、カラー画像として読み込みます。
今回は、同じフォルダ内にあるsample_000.jpgという名前の画像を使っていきます。
img_origin = cv2.imread('./sample_000.jpg', 1)
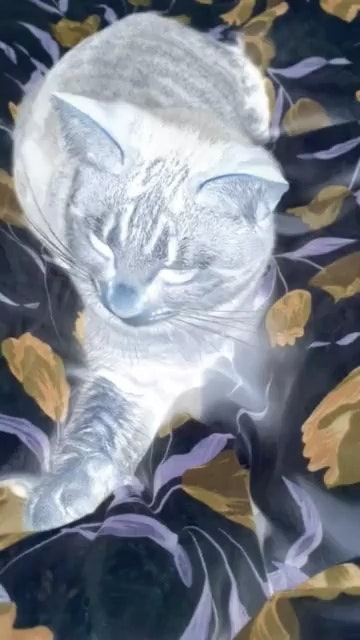
2.ネガポジ反転
2-4では猫と背景の境界を明らかにするための画像処理を行っていきます。
cv2.bitwise_not()を用いて色の反転を行います。
img = cv2.bitwise_not(img_origin)
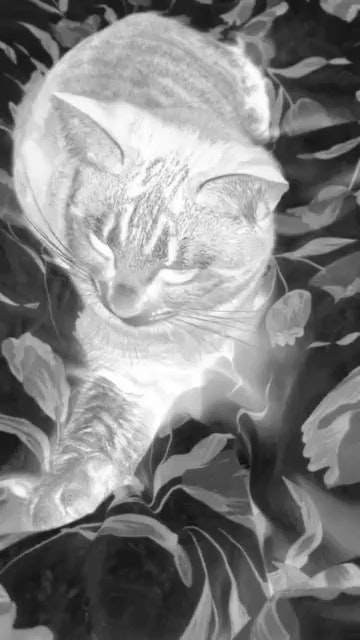
3.グレースケール化
反転した画像をさらに白と黒、灰色で表現します。(グレースケール化)
img_gray = cv2.cvtColor(img, cv2.COLOR_BGR2GRAY)
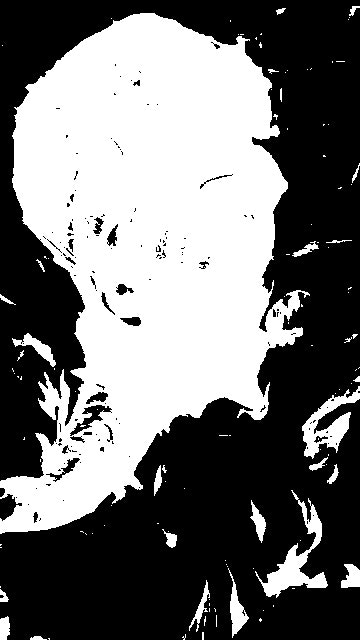
4.2値化
ある色を基準に白と黒で表し境界を明らかにします。
ret, img_binary = cv2.threshold(img_gray, 150, 255,cv2.THRESH_BINARY)
5.輪郭を作成
2値化した画像を元に境界を作成します。
今回は境界の中に存在する境界は境界と見なさないように処理しました。
contours, hierarchy = cv2.findContours(img_binary, cv2.RETR_EXTERNAL, cv2.CHAIN_APPROX_NONE)
img_contour = cv2.drawContours(img_origin, contours, -1, (0, 255, 0), 5)
6.画像の表示
作成した境界を元の画像に上書きして表示します。
cv2.waitKey()を用いることで一定の時間継続して表示します。
一定時間表示された後自動で画像が消えるので、時間調整を行ってください。
cv2.imshow("img_edge",img_contour)
cv2.waitKey(10000)
cv2.destroyAllWindows()
7.画像の保存
作成した画像を同じフォルダに保存します。
cv2.imwrite("./img_edge.jpg",img_contour)
8.まとめ
0-7までの工程を行い、猫の輪郭を検出、表示することができました。
しかし、背景画像でも輪郭を検出してしまっているため、フィルターをかけるなどの追加処理が必要です。
今回はここまでですが、追加で猫を四角で囲む処理を9で行っているので気になる方は見てみてください。
import cv2
from matplotlib import pyplot as plt


img_origin = cv2.imread('sample_000.jpg', 1)

img = cv2.bitwise_not(img_origin)

img_gray = cv2.cvtColor(img, cv2.COLOR_BGR2GRAY)

ret, img_binary = cv2.threshold(img_gray, 150, 255,cv2.THRESH_BINARY)

contours, hierarchy = cv2.findContours(img_binary, cv2.RETR_EXTERNAL, cv2.CHAIN_APPROX_NONE)

img_contour = cv2.drawContours(img_origin, contours, -1, (0, 255, 0), 5)

cv2.imshow("edge",cv2.cvtColor(img_contour, cv2.COLOR_BGR2RGB))
cv2.waitKey(10000)
cv2.destroyAllWindows()

cv2.imwrite("./img_contour.jpg",img_contour)
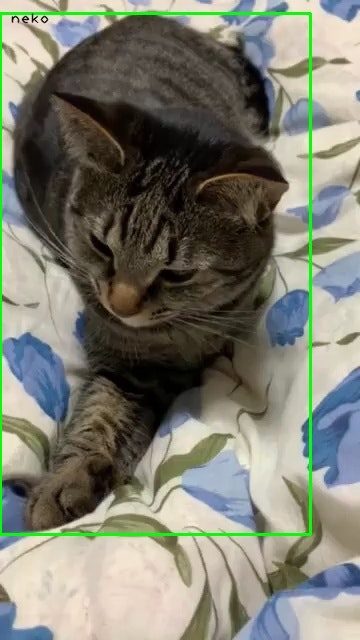
9.ラベル付きBounding Box作成
以下の処理を次の処理と書き換えてください。
ある一定以上の面積を囲む四角形を作成することができます。
また、今回は左上にnekoというラベルを追加しています。
img_contour = cv2.drawContours(img_origin, contours, -1, (0, 255, 0), 5)
area_num = 10000
contours_filtered = list(filter(lambda x: cv2.contourArea(x) > area_num, contours))

for i in contours_filtered:
	x,y,width,height = cv2.boundingRect(i)
	cv2.rectangle(img_origin, (x,y),(x+width, y+height), color = (0,255,0), thickness =2 )
cv2.putText(img_origin,'neko',(x+10,y+10), cv2.FONT_HERSHEY_PLAIN, 1,(0,0,0),1,cv2.LINE_AA)
cv2.imwrite("./img_origin.jpg",img_origin)