UARTとは?
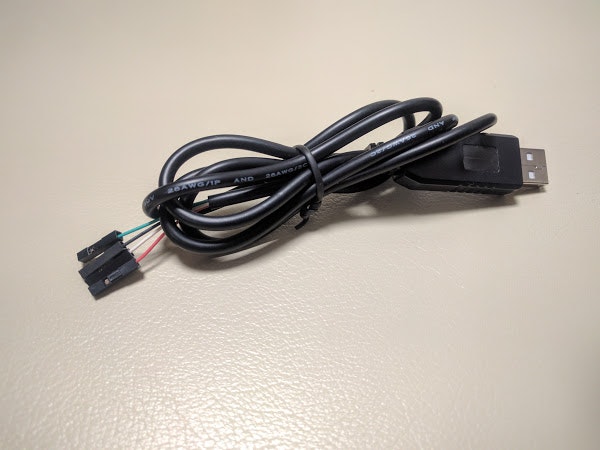
USBシリアル変換ケーブル
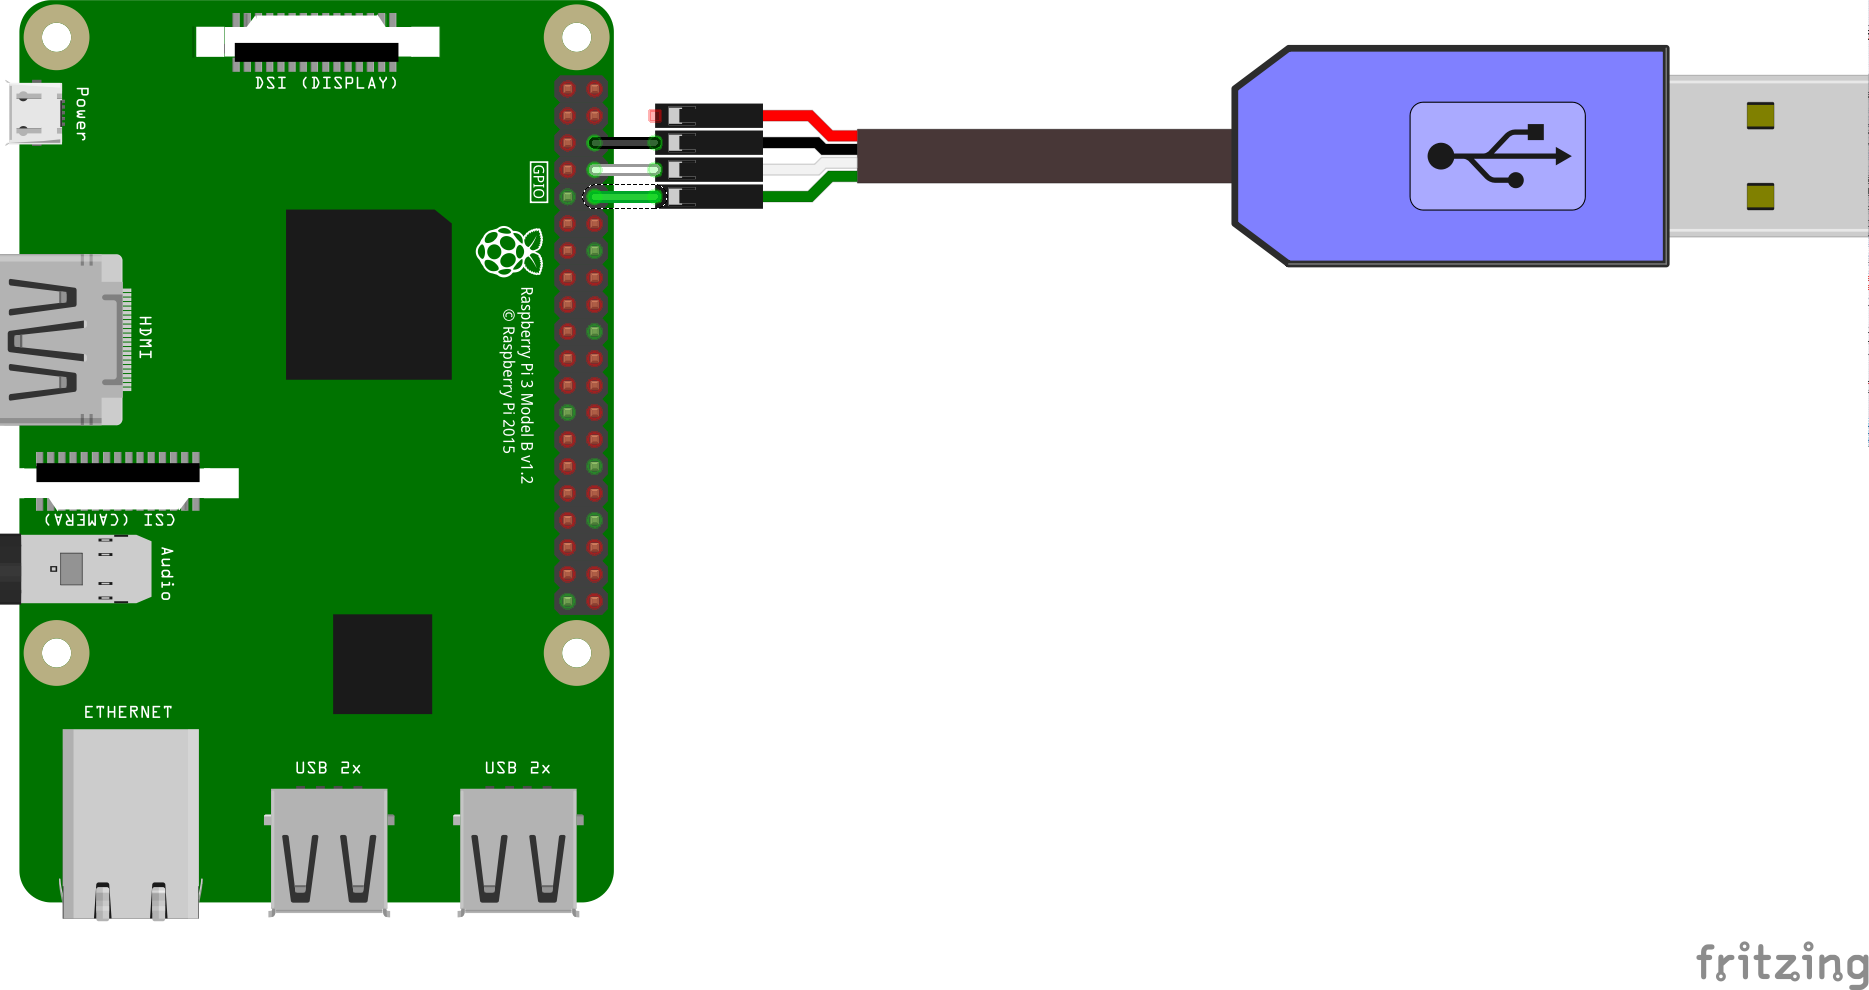
線の意味
| 色 | 意味 |
|---|---|
| 赤 | 5V PWR |
| 黒 | GND |
| 白 | UART0 TX |
| 緑 | UART0 RX |
配線図
Macから接続
$ ls /dev/tty.*
で接続しているデバイスを確認
$ screen /dev/tty.usbserial 115200
で接続する(/dev/tty.usbserialは上で確認したデバイスを指定)
実行結果
上のscreenコマンドを実行するとデフォルトでは以下のように表示され、コンソールに入ることが出来ます。
あとはadb shellで接続した場合と同様にコマンドを実行することが出来ます。
rpi3:/ $
切断方法
Control + a を押してから a だけ離して k を押します。
Really kill this window [y/n]
というメッセージが表示されるので、yを押すと切断されます。
シリアルポートの設定変更
Raspberry Pi 3の初期設定では、シリアルポートはコンソールにログインするようになっています。これを無効化し、プログラムから利用できるように設定します。
- microSDを取り出し、PCにマウントします
- RPIBOOT/cmdline.txt を開き、以下の部分を削除します
console=serial0,115200
これを行うことで、プログラムからUARTでシリアル通信を行うことができるようになります
サンプルコードの取得
Googleがサンプルコードを提供しているので今回はそれを利用します。
git clone https://github.com/androidthings/sample-uartloopback.git
サンプルコードの実行
そのまま実行するとシリアル接続して入力した文字列がそのまま表示されます。
このままだと正しく動作しているのかわかりにくいので、LoopbackActivity.javaの165行目を
mLoopbackDevice.write(buffer, read);
mLoopbackDevice.write(buffer, read);
のように2行にしてみます。そうすると、入力した文字が2回表示されている事が確認できます。

