はじめに
JavaScriptのライブラリであるReactでアプリを作成してみたくなったので環境構築までの過程を備忘録としてまとめたいと思います。
create-react-appはReactで簡単にアプリを作成するためのツールです。本来ならbabelやwebpackなどの設定も含めて自分で構築しなければならないのですが1行のコマンドでそれができてしまうのがcreate-react-appです。
create-react-appに必要なツール
- node バージョン8.10以上
- npm バージョン5.6以上
また、上記の2つをインストールするために更にhomebrewとnodebrewをインストールしていきます。
1. homebrewのインストール
nodebrewを使うために最初にhomebrewをインストールします。
homebrewとはmacOS用のパッケージマネージャーです。様々なファイルの依存関係の問題を解決するためにパッケージとしてまとめて提供してくれています。
homebrew公式HPからインストール用のコマンドをターミナルにコピペします。
$ /bin/bash -c "$(curl -fsSL https://raw.githubusercontent.com/Homebrew/install/HEAD/install.sh)"
// インストールに数分かかります

// インストールできたか確認(バージョンが表示されれば成功です)
% brew -v
Homebrew 3.0.10
Homebrew/homebrew-core (git revision 772716397f; last commit 2021-03-30)
2. nodebrewをインストール
homebrewを使ってのインストールはbrew install パッケージ名と記述します。
$ brew install nodebrew

// インストールできたか確認(バージョンが表示されれば成功です)
$ nodebrew -v
nodebrew 1.1.0

Usage:
    nodebrew help                         Show this message
    nodebrew install <version>            Download and install <version> (from binary)
    nodebrew compile <version>            Download and install <version> (from source)
    nodebrew install-binary <version>     Alias of `install` (For backward compatibility)
    nodebrew uninstall <version>          Uninstall <version>
    nodebrew use <version>                Use <version>
    nodebrew list                         List installed versions
    nodebrew ls                           Alias for `list`
    nodebrew ls-remote                    List remote versions
    nodebrew ls-all                       List remote and installed versions
    nodebrew alias <key> <value>          Set alias
    nodebrew unalias <key>                Remove alias
    nodebrew clean <version> | all        Remove source file
    nodebrew selfupdate                   Update nodebrew
    nodebrew migrate-package <version>    Install global NPM packages contained in <version> to current version
    nodebrew exec <version> -- <command>  Execute <command> using specified <version>

Example:
    # install
    nodebrew install v8.9.4

    # use a specific version number
    nodebrew use v8.9.4
ここまででhomebrewとnodebrewを無事インストールできました。
次にnodeとnpmをインストールしていきます。
3. nodeをインストール
nodebrew ls-remoteでインストールできるnodeのバージョンを確認します。
$ nodebrew ls-remote

// 実行結果
v0.0.1    v0.0.2    v0.0.3    v0.0.4    v0.0.5    v0.0.6

v0.1.0    v0.1.1    v0.1.2    v0.1.3    v0.1.4    v0.1.5    v0.1.6    v0.1.7
v0.1.8    v0.1.9    v0.1.10   v0.1.11   v0.1.12   v0.1.13   v0.1.14   v0.1.15
v0.1.16   v0.1.17   v0.1.18   v0.1.19   v0.1.20   v0.1.21   v0.1.22   v0.1.23
v0.1.24   v0.1.25   v0.1.26   v0.1.27   v0.1.28   v0.1.29   v0.1.30   v0.1.31
v0.1.32   v0.1.33   v0.1.90   v0.1.91   v0.1.92   v0.1.93   v0.1.94   v0.1.95
v0.1.96   v0.1.97   v0.1.98   v0.1.99   v0.1.100  v0.1.101  v0.1.102  v0.1.103
v0.1.104
:
:
:
下にいくほど最新のバージョンになります。
要件的には8.10以上であれば問題ないですが、nodebrew install stableと打てば安定的なバージョンを自動でインストールできます。
しかし、以下のようなエラーが発生することがあります。
% nodebrew install stable
Fetching: https://nodejs.org/dist/v16.0.0/node-v16.0.0-darwin-x64.tar.gz
Warning: Failed to create the file
Warning: /Users/XXXXXX/.nodebrew/src/v16.0.0/node-v16.0.0-darwin-x64.
Warning: tar.gz: No such file or directory
これはnodebrewをインストールする用のディレクトリが存在しない場合に起こります。
この場合は以下のコマンドで解決できます。
% nodebrew setup

// 実行結果
Fetching nodebrew...
Installed nodebrew in $HOME/.nodebrew

========================================
Export a path to nodebrew:

export PATH=$HOME/.nodebrew/current/bin:$PATH
========================================
これでnodebrewがインストールできるようになります。
% nodebrew install stable
Fetching: https://nodejs.org/dist/v16.0.0/node-v16.0.0-darwin-x64.tar.gz
##################################################################################################################################################################################################### 100.0%
Installed successfully

// successfullyと表示されたら成功です。

// インストールされているnodeを確認
$ nodebrew ls
v16.0.0

current: none
確認してみるとv16.0.0がインストールされていることがわかります。
現在currentがnoneになっているので、インストールしたバージョンを指定して有効化します。
$ nodebrew use v16.0.0

// もう一度確認
$ nodebrew ls
v16.0.0

current: v16.0.0
currentがインストールしたバージョンになっていたら成功です。
次にnodeを使用できるように以下のコマンドを入力します。
$ echo 'export PATH=$HOME/.nodebrew/current/bin:$PATH' >> ~/.zprofile
コマンドを入力したら一旦ターミナルを再起動して結果を反映させます。
ターミナルを開いたらバージョンを確認してみましょう。
$ node -v
v16.0.0
インストールしたバージョンになっていたら成功です。
4. npmのインストール
次にnpmですが実はnodeをインストールした時点で自動的にインストールされています。
以下のコマンドでバージョンが確認でしてみましょう
% npm -v
7.10.0
バージョンは5.6以上でしたら問題ないです。
長かったですが、これでやっと準備が整いました!
それではいよいよcreate-react-appに移ります。
create-react-app
まず、いつも自分が使っているディレクトリに移動しましょう。
今回はprojectsとします。
移動できたらnpxコマンドでアプリを作成していきます。
projects $ npx create-react-app 任意のフォルダ名

// 結果
:
:省略
:
Happy hacking!
いろいろフォルダやらファイルが生成されますがまずはエディタを開いて中身を確認していきましょう。
フォルダの中身を確認
エディタを開いたらまずは、ターミナルを立ち上げて以下のコマンドを打ちましょう。
$ npm run build
これで本番環境に公開するためのbuildというフォルダが作成されます。
ディレクトリ構成は以下のようになっていると思います。
React(任意のフォルダ名)
|-build
|-node_module
|-public
|-src
|-.gitignore
|-package.json
|-README
|-yarn.lock
次はターミナルで以下のコマンドを打ってみましょう。
$ npm start
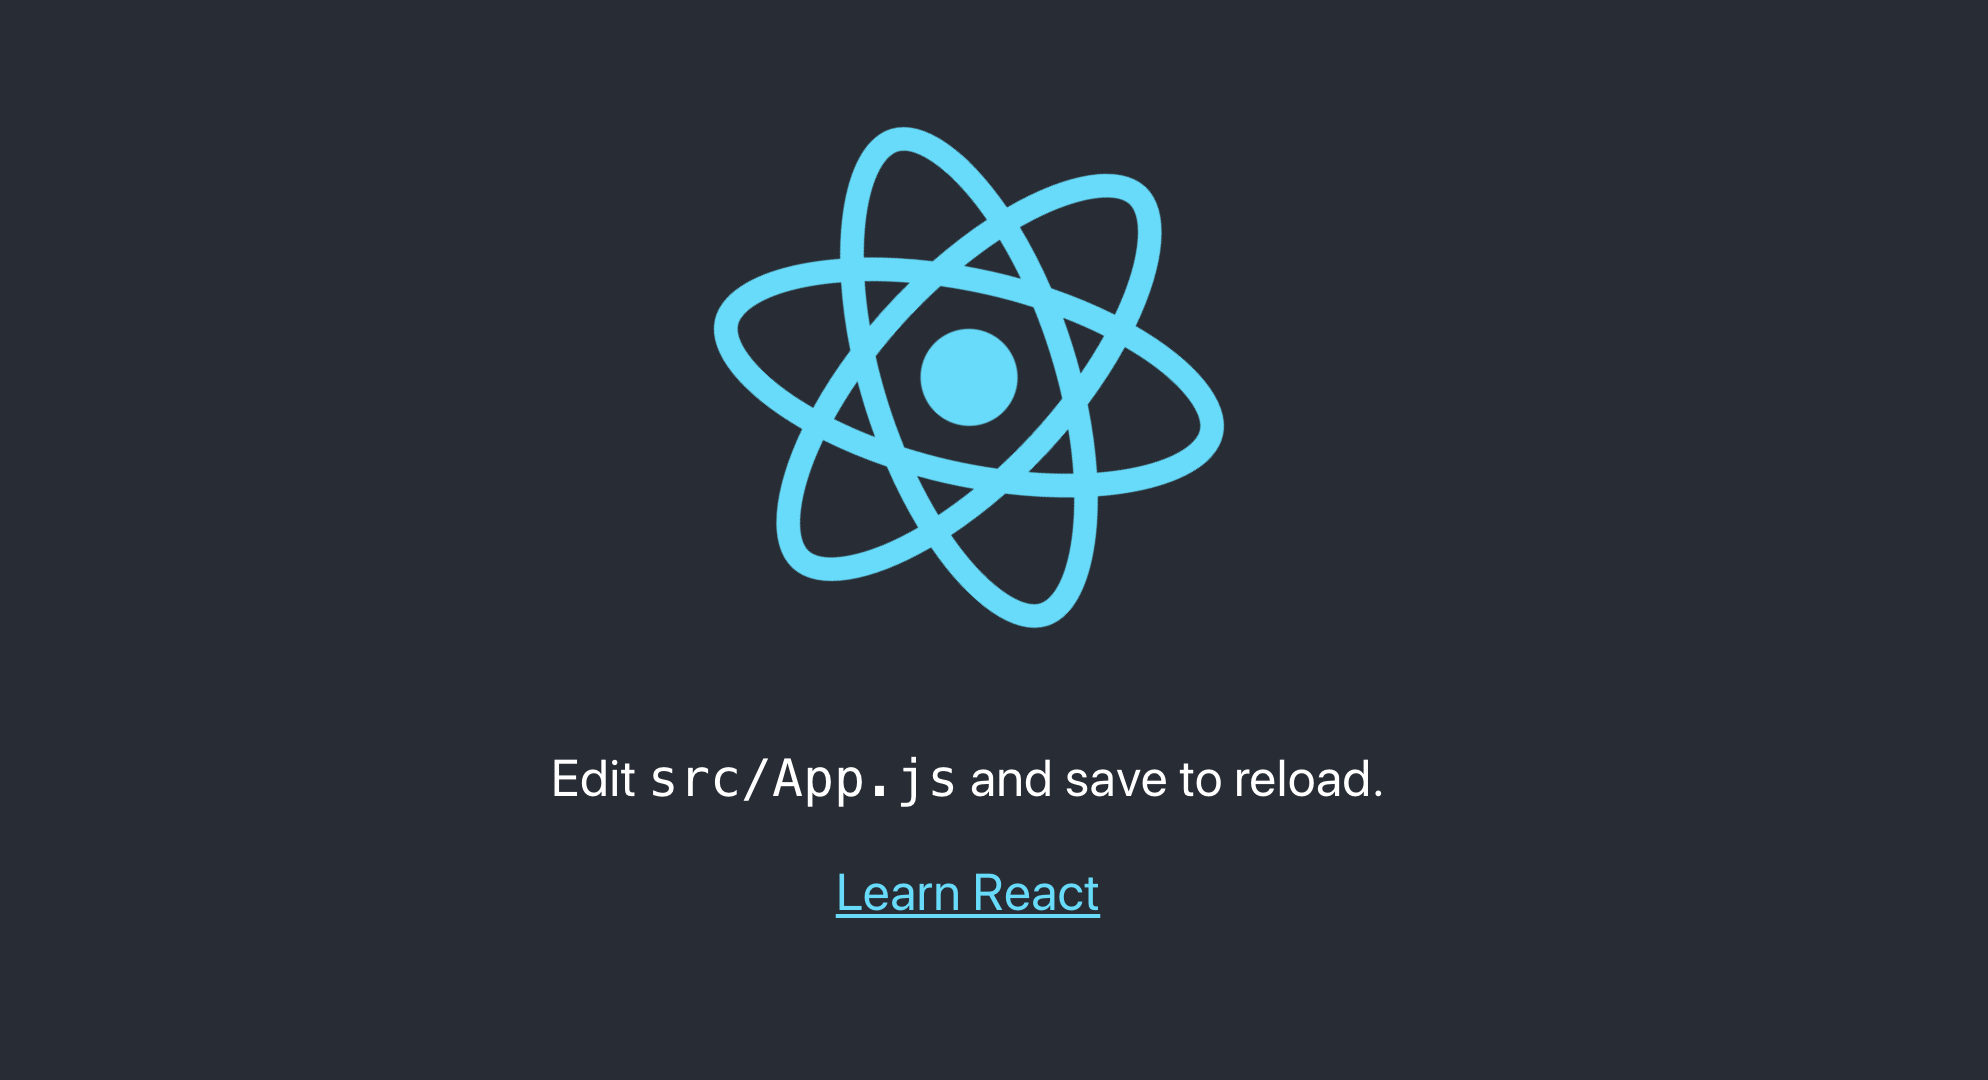
するとサーバーが立ち上がりReactの初期画面が描画されます。

画面にある通り、src/App.jsを編集すると編集内容が画面に反映されます。
試しに、App.jsを以下のように編集してみましょう。
import logo from './logo.svg';
import './App.css';

function App() {
  return (
    <div className="App">
      <header className="App-header">
        <img src={logo} className="App-logo" alt="logo" />
        <p>
          Edit <code>src/App.js</code> and save to reload.
        </p>
        <a
          className="App-link"
          href="https://reactjs.org"
          target="_blank"
          rel="noopener noreferrer"
        >
          Learn React and output // and outputを追記
        </a>
      </header>
    </div>
  );
}

export default App;
保存してブラウザを確認するとLearn React and outputと表示されると思います。
簡単にまとめるとこんな感じです。
- src: コンポーネントを作るためのjsファイルの集まり
- public: htmlファイルやその他の設定ファイル
- build: 本番環境用のファイル
以上で環境構築は終了です。お疲れさまでした。。。