はじめに
UbuntuでQt Creatorを使ってC++ GUI開発を始め方を紹介します。
インストール手順
できなかった手順👎(apt install)
下記のコマンドではサンプルやドキュメントが入りませんでした。
⚠ sudo apt install qt6-base-dev qt6-declarative-dev qtcreator build-essential -y
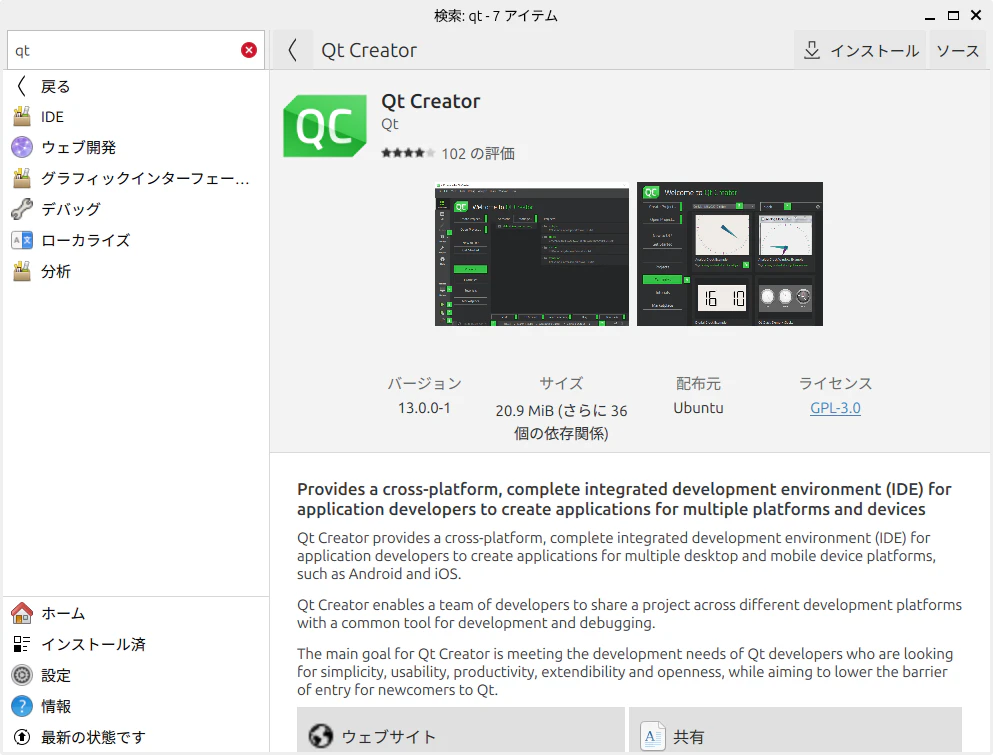
できなかった手順👎(Discover)
Discoverでインストールしましたが、サンプルやドキュメントが入りませんでした。
成功した手順👌(Qtioサイト)
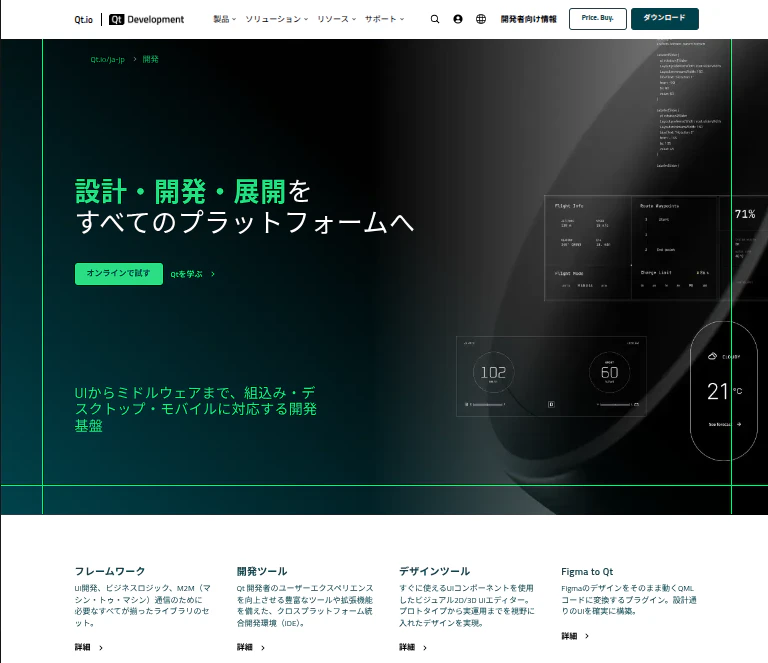
Qt.ioのQt Developmentサイトでユーザー登録し、インストーラをダウンロードします。
Qt Development
(download tryをクリック)
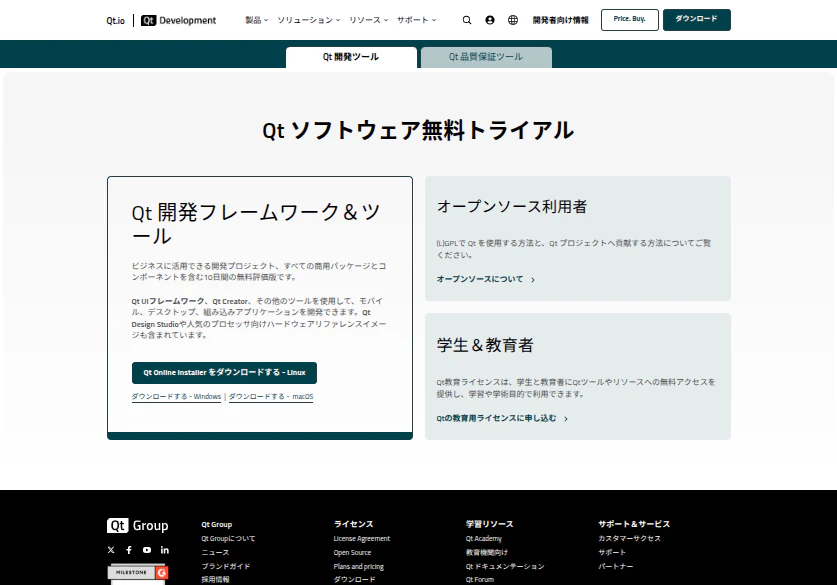
次の画面
私は商用でも、学生でもないのでオープンソースにします。
Qtバイナリーをダウンロードです
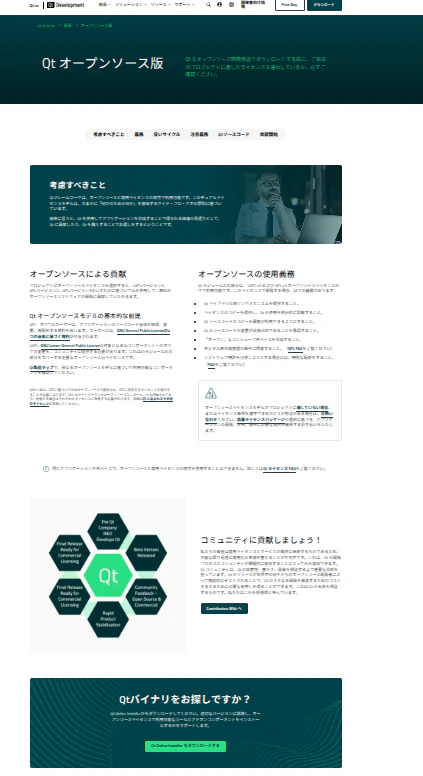
後は、よく読みユーザー登録します。
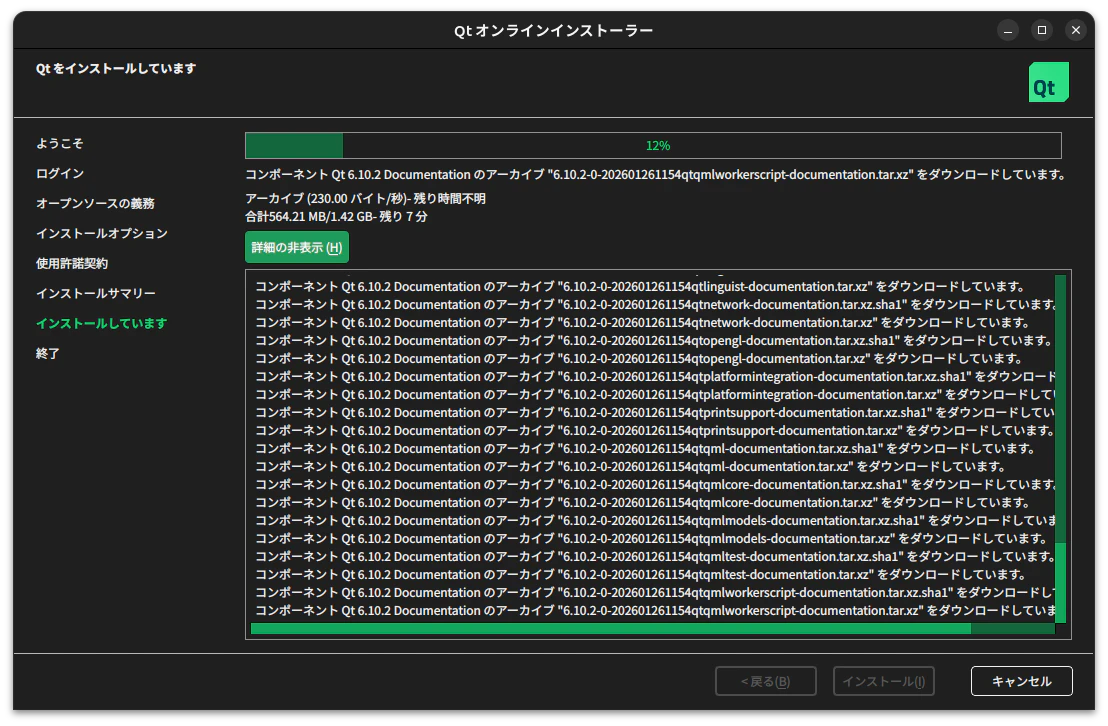
ダウンロードファイルはqt-online-installer-linux-x64-4.10.0.run
となりますので、実行権限を設定し、実行しました。
chmod +x qt-online-installer-linux-x64-4.10.0.run
qt-online-installer-linux-x64-4.10.0.run
今度はドキュメントとサンプルもインストールされました。
Hello Worldを作成
- プロジェクトの作成
QtCreatorの🏠(ようこそ)を選択し、右側にあるcreate Project..をクリック
Qt Quicksプリケーションを選択 - デバック設定
QtCreatorの💻Debugをクリックし、デバック設定
▶をクリックし動作すれば完了です。
まとめ
windows、.net、VSCodeから離れ、Linuxデスクトップアプリの開発を知る足掛けとします。