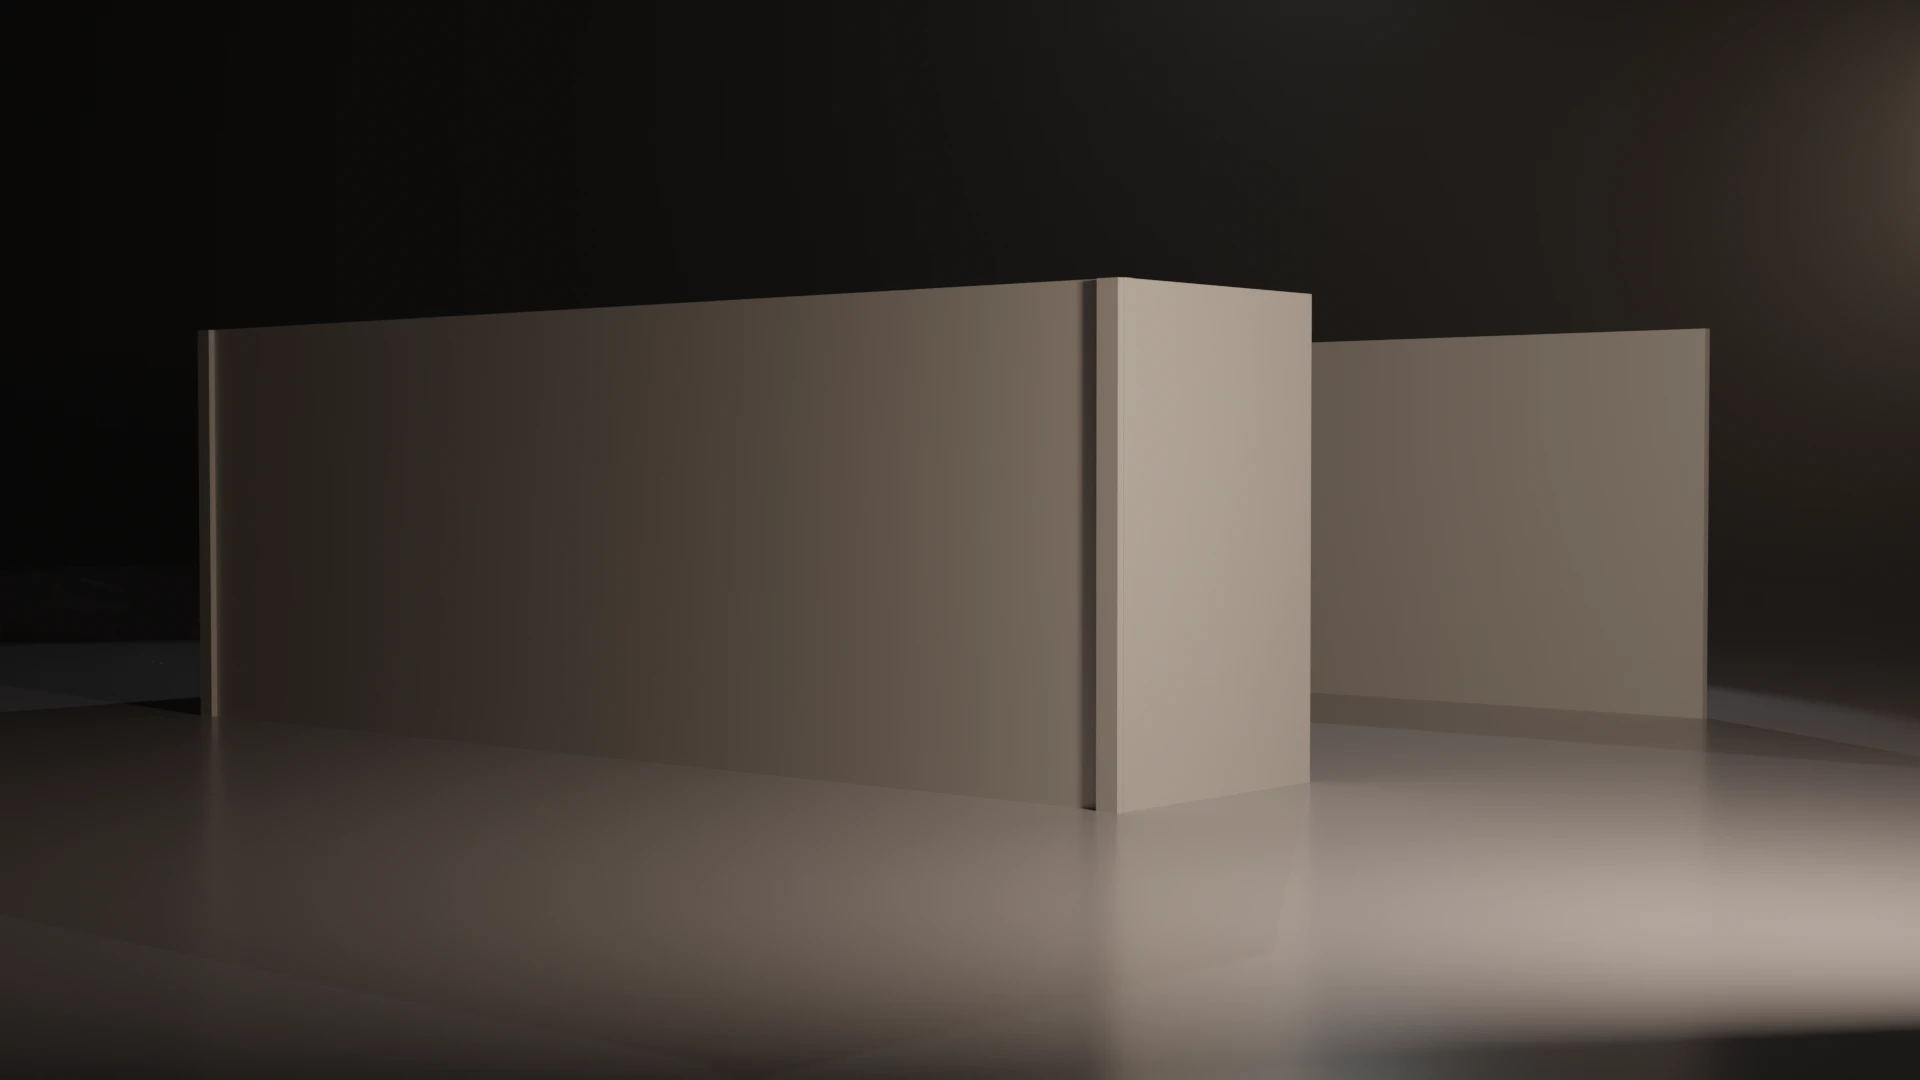
Blenderでそれっぽいライティングを作ろう。
①3点照明でライティング
②HDRIを入れよう
③フォグを入れよう
④レンダープロパティを変えよう
これをやっておけば、とりあえず大丈夫なはず。
①3点照明でライティング
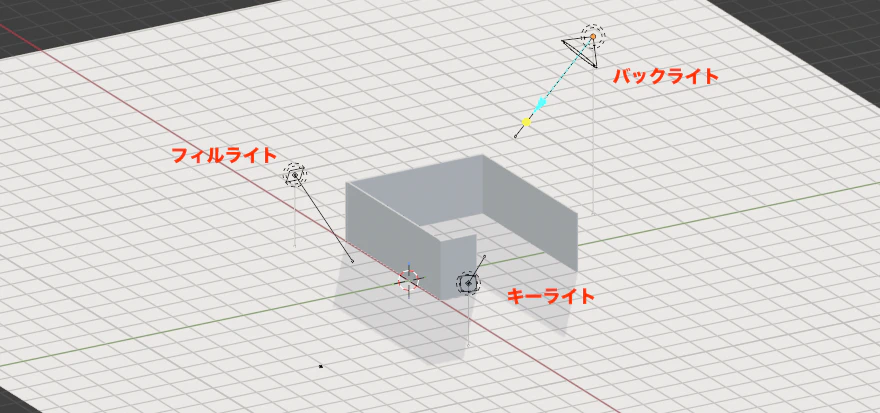
キーライト:一番明るい光
フィルライト:キーライトの影を和らげる
バックライト:被写体の輪郭やエッジを出す
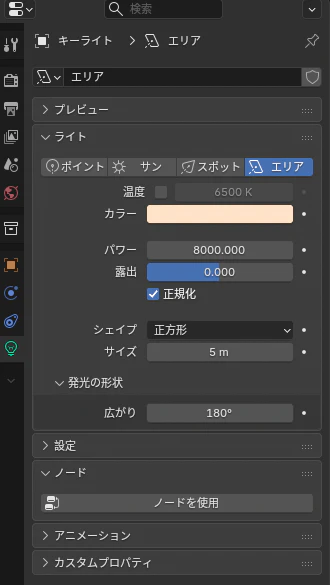
キーライトは、以下にしました。
フィルライト、バックライトは、キーライトよりもパワーを下げています。
パワー:8000W
色:オレンジ
サイズ:5m
今回、エリアライトで光を作りました。
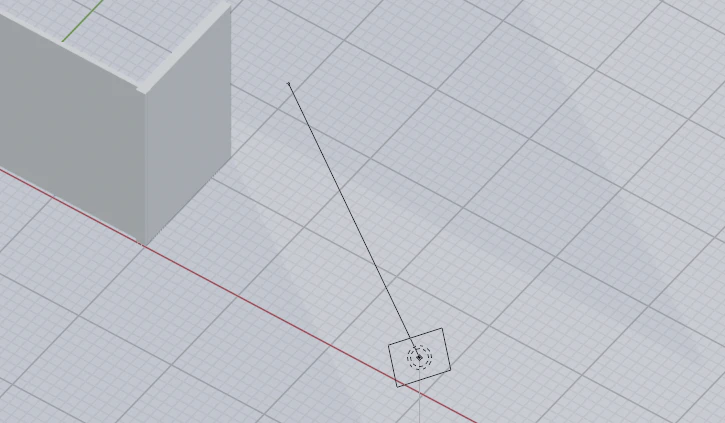
どっちが光の方向なの?って迷うと思いますが
線の方が光が当たる方向になります。
②HDRIを入れよう
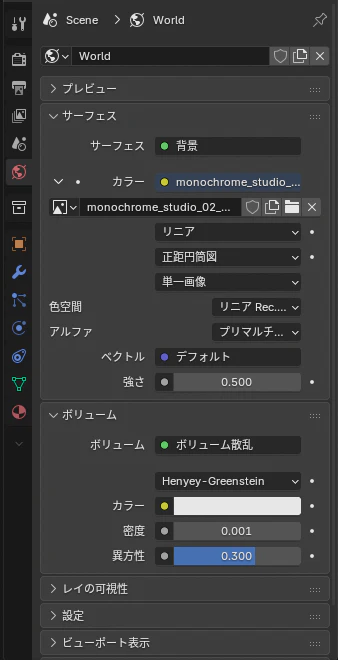
地球儀のマークがワールドプロパティです。
ここに画像を入れます。
HDRIは、polyhavenからダウンロードしています。
今回使用したのは以下です。
https://polyhaven.com/a/monochrome_studio_02
こちらで紹介されているのも良さそうです。
https://note.com/aoukiwa/n/nb23fb851c152
③フォグを入れよう
ワールドプロパティのボリュームも変更します。
ボリューム:ボリューム散乱
密度:0.001
④レンダープロパティ
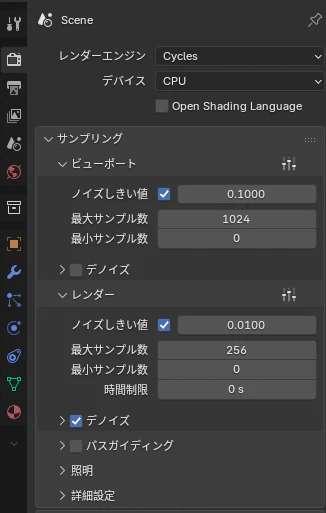
レンダーエンジン:Cyvles
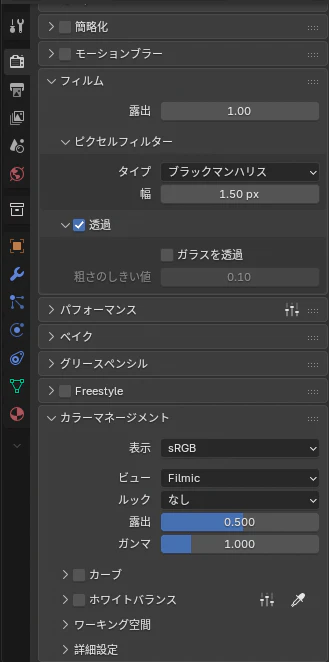
フィルムの透過をチェックするとHDRIの画像が背景に映らなくなるので必ず入れましょう
露出を調整するのに以下も忘れずに
フィルム
ビュー:Flimic
露出:0.5
これで割といい感じのライティングになると思います。