はじめに
TableViewを使うときは毎回セルとかヘッダー・フッターのカスタムクラス作ったりしてたけどデフォルトのやつでも色々できるやん?ってことで色々作ってみました。
| Cell Style | AccessoryType | Color Cell | Selected Color |
|---|---|---|---|
 |
 |
 |
 |
| Separator Style | Table Style | Grouped Detail | Color Section |
|---|---|---|---|
 |
 |
 |
 |
TableViewControllerを使うか否か
画面にtableViewしか表示しないって場合は基本的には UITableViewController を使う方が便利なのでできるだけ UITableViewController を使います。
便利機能
- tableViewのひも付けとかしなくてもいい
- var clearsSelectionOnViewWillAppear: Bool
- var refreshControl: UIRefreshControl?
- 編集モードの時に
func setEditing(_ editing: Bool, animated: Bool)オーバーライドしなくてもいい - キーボード表示時に自動でスクロールしてくれる
- static cell が使える
- セーフエリアまわりもなんかいい感じにしてくれる
Cell Style
UITableViewCell には下記の Style があります。
- default (Basic)
- value1 (Right Detail)
- value2 (Left Detail)
- subtitle (Subtitle)
こんな感じ。
default (Basic) 以外は detail テキストも設定できる。value2 (Left Detail) 以外は image も設定できる。
下記のように設定
cell.textLabel?.text = "title"
cell.detailTextLabel?.text = "detail"
cell.imageView?.image = UIImage(named: "sample")
Cell AccessoryType
UITableViewCell には下記の AccessoryType があります。
- none
- disclosureIndicator
- detailDisclosureButton
- checkmark
- detailButton
こんな感じ。
下記のように設定(もしくは Storyboard で設定)
cell.accessoryType = .none
cell.tintColor = .red // 色設定(disclosureIndicatorは変わらない)
Cell 背景色
UITableViewCell の背景色を設定する。
こんな感じ。
下記のように設定
if cell.backgroundView == nil {
  cell.backgroundView = UIView()
}
cell.backgroundView?.backgroundColor = .red
上記のように backgroundView を設定する。確か cell.backgroundColor = .red はダメだった気がするけど動いた(勝手にいい感じにしてくれるのかも??)
Cell 選択時の背景色
UITableViewCell の選択時の背景色を設定する。
こんな感じ。
下記のように設定
let v = UIView()
v.backgroundColor = .red
cell.selectedBackgroundView = v
選択時の背景色の設定はよくわからない...
cell.selectedBackgroundView?.backgroundColor = .red ではダメだった![]()
リファレンスに下記のように書いてあるが別に nil でもなかった...
Default is nil for cells in UITableViewStylePlain, and non-nil for UITableViewStyleGrouped.
Separator
Style
UITableView には下記の SeparatorStyle があります。
- none
- singleLine (Default)
- singleLineEtched (deprecated)
こんな感じ。
Storyboard で設定する場合は Default も含めて4パターンあるが Default は singleLine なので変わらない。また、singleLineEtched は Deprecated になっておりこちらも singleLine 同様の見た目になった。(tableView のスタイルを Grouped にしても変化なし)
なので SeparatorStyle は下記の2パターンのみ
- none
- singleLine
下記のように設定(もしくは Storyboard で設定)
tableView.separatorStyle = .none
Color
区切り線も色も設定できるが、セルごとの設定は不可。
こんな感じ。

下記のように設定(もしくは Storyboard で設定)
tableView.separatorColor = .blue
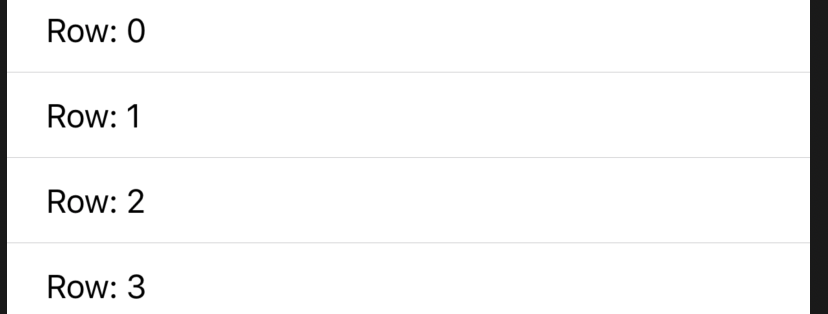
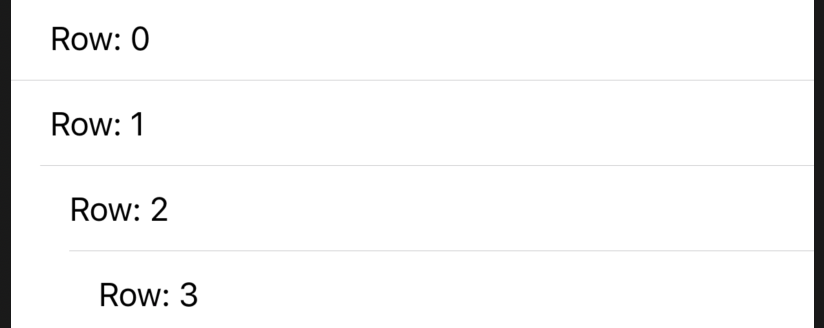
Inset
区切り線の inset はセルごとの設定も可。
こんな感じ。
| テーブルに設定 | セルごとに設定 |
|---|---|
 |
 |
下記のように設定(もしくは Storyboard で設定)
// すべて同じ値を設定する場合
tableView.separatorInset = .zero
// セルごとに設定する場合
cell.separatorInset = .init(top: 0, left: 15 * CGFloat(indexPath.row), bottom: 0, right: 0)
小技(セルがない部分の区切り線を消す)
下記のようにするとセルがない部分の区切り線を消すことができる![]()
tableView.tableFooterView = UIView()
| 通常 | footer設定 |
|---|---|
 |
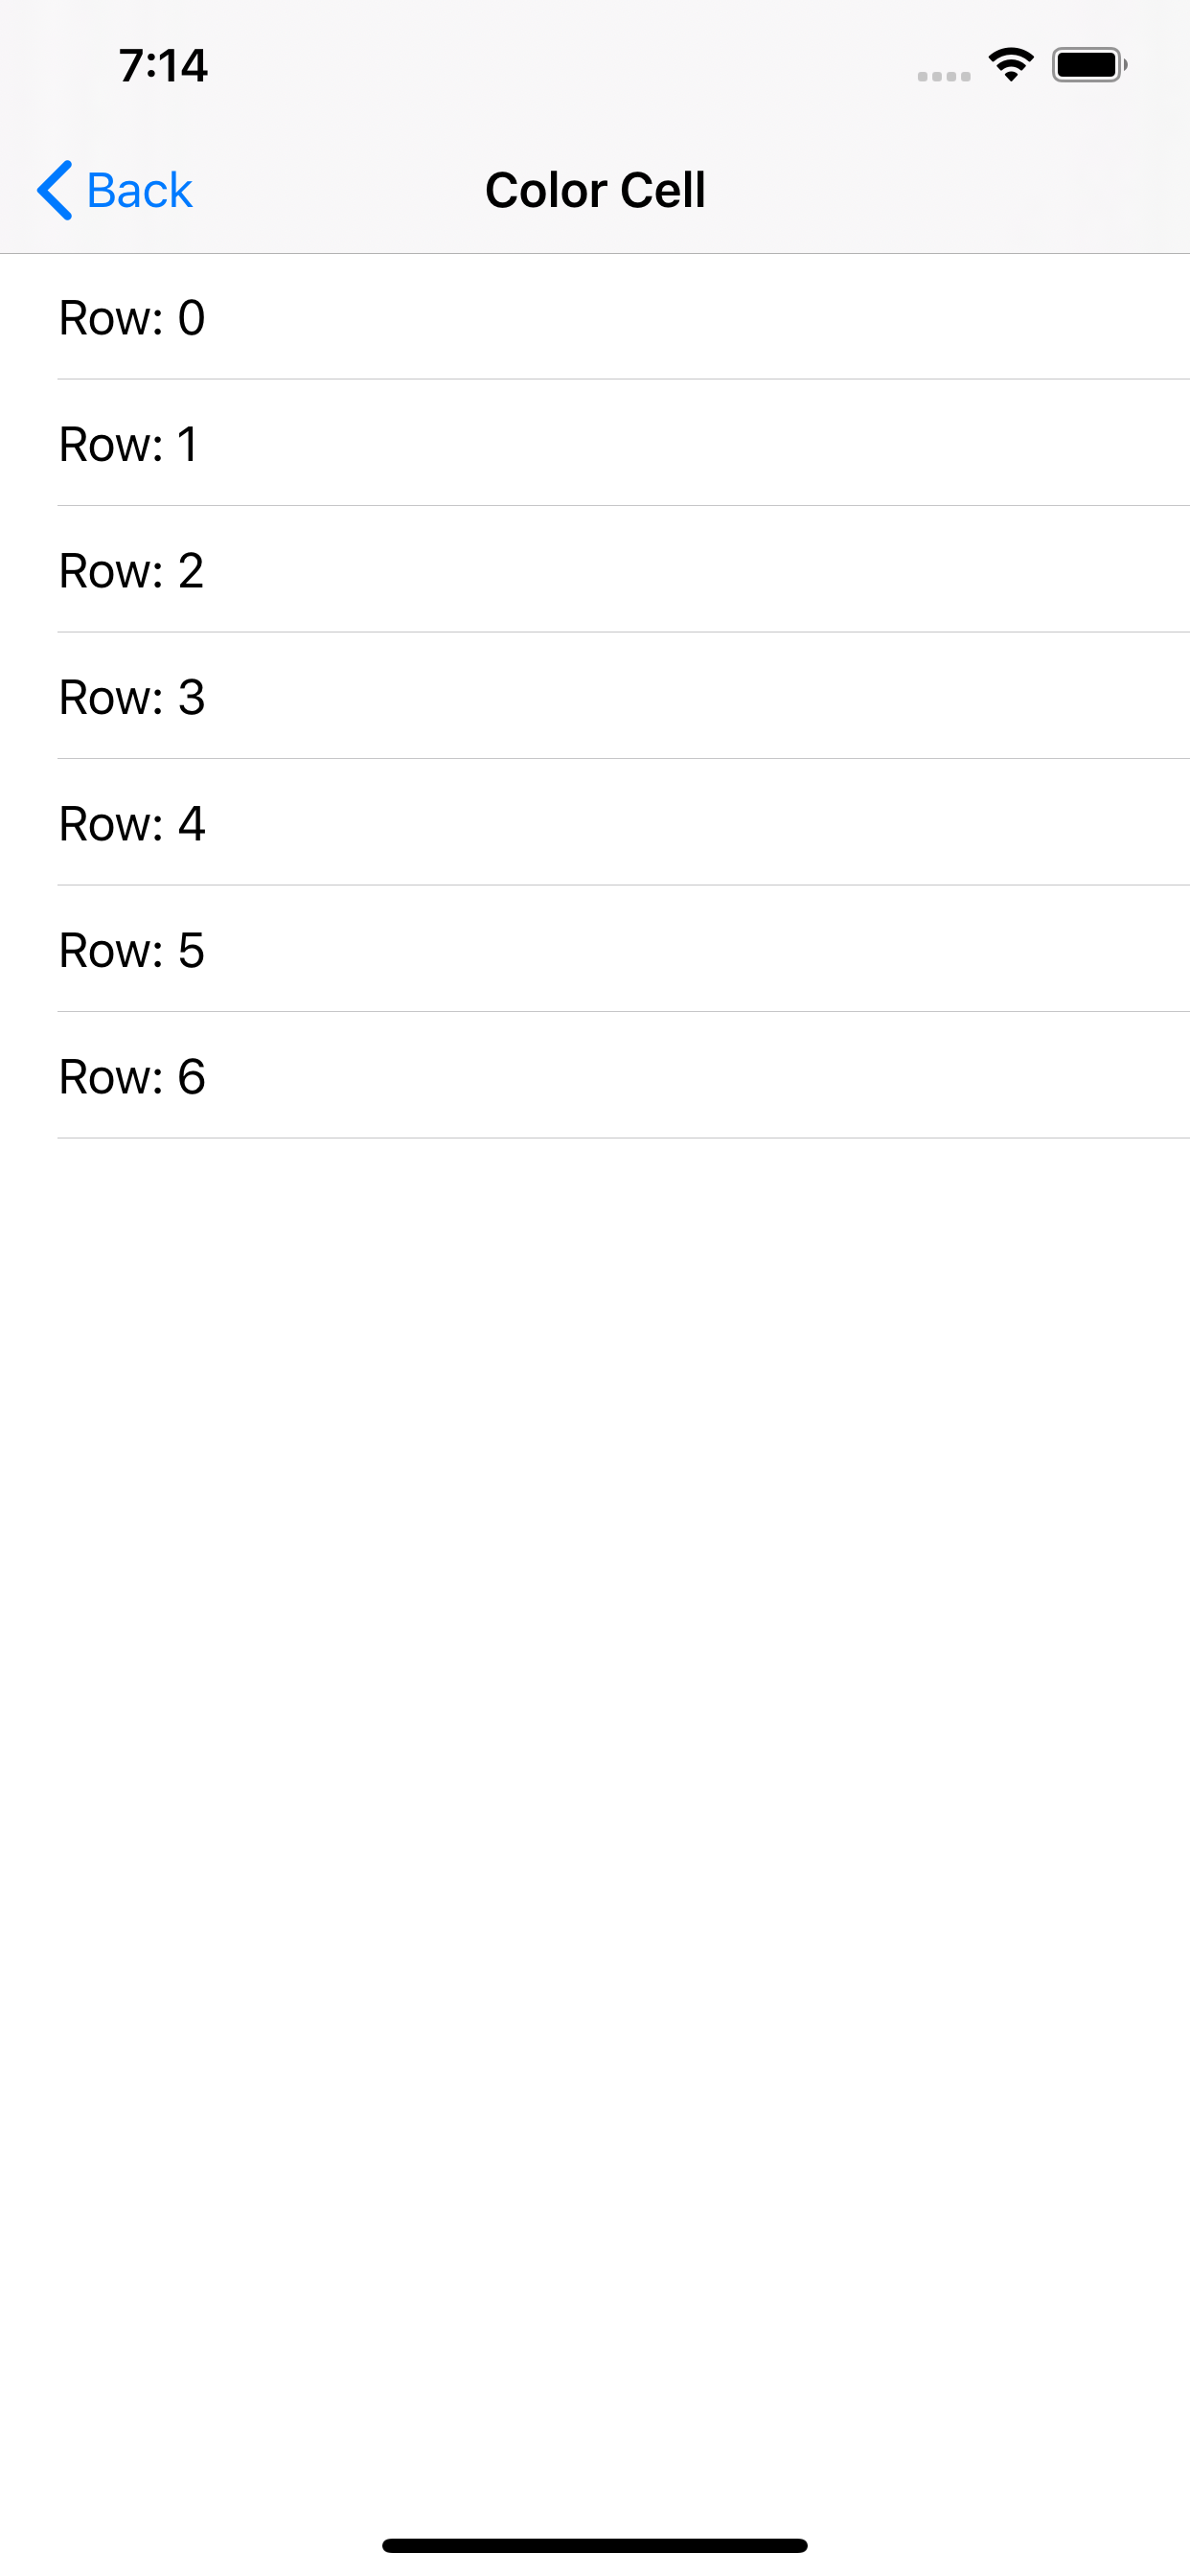 |
Table Style
UITableView には下記の Style があります。
- plain
- grouped
- insetGrouped
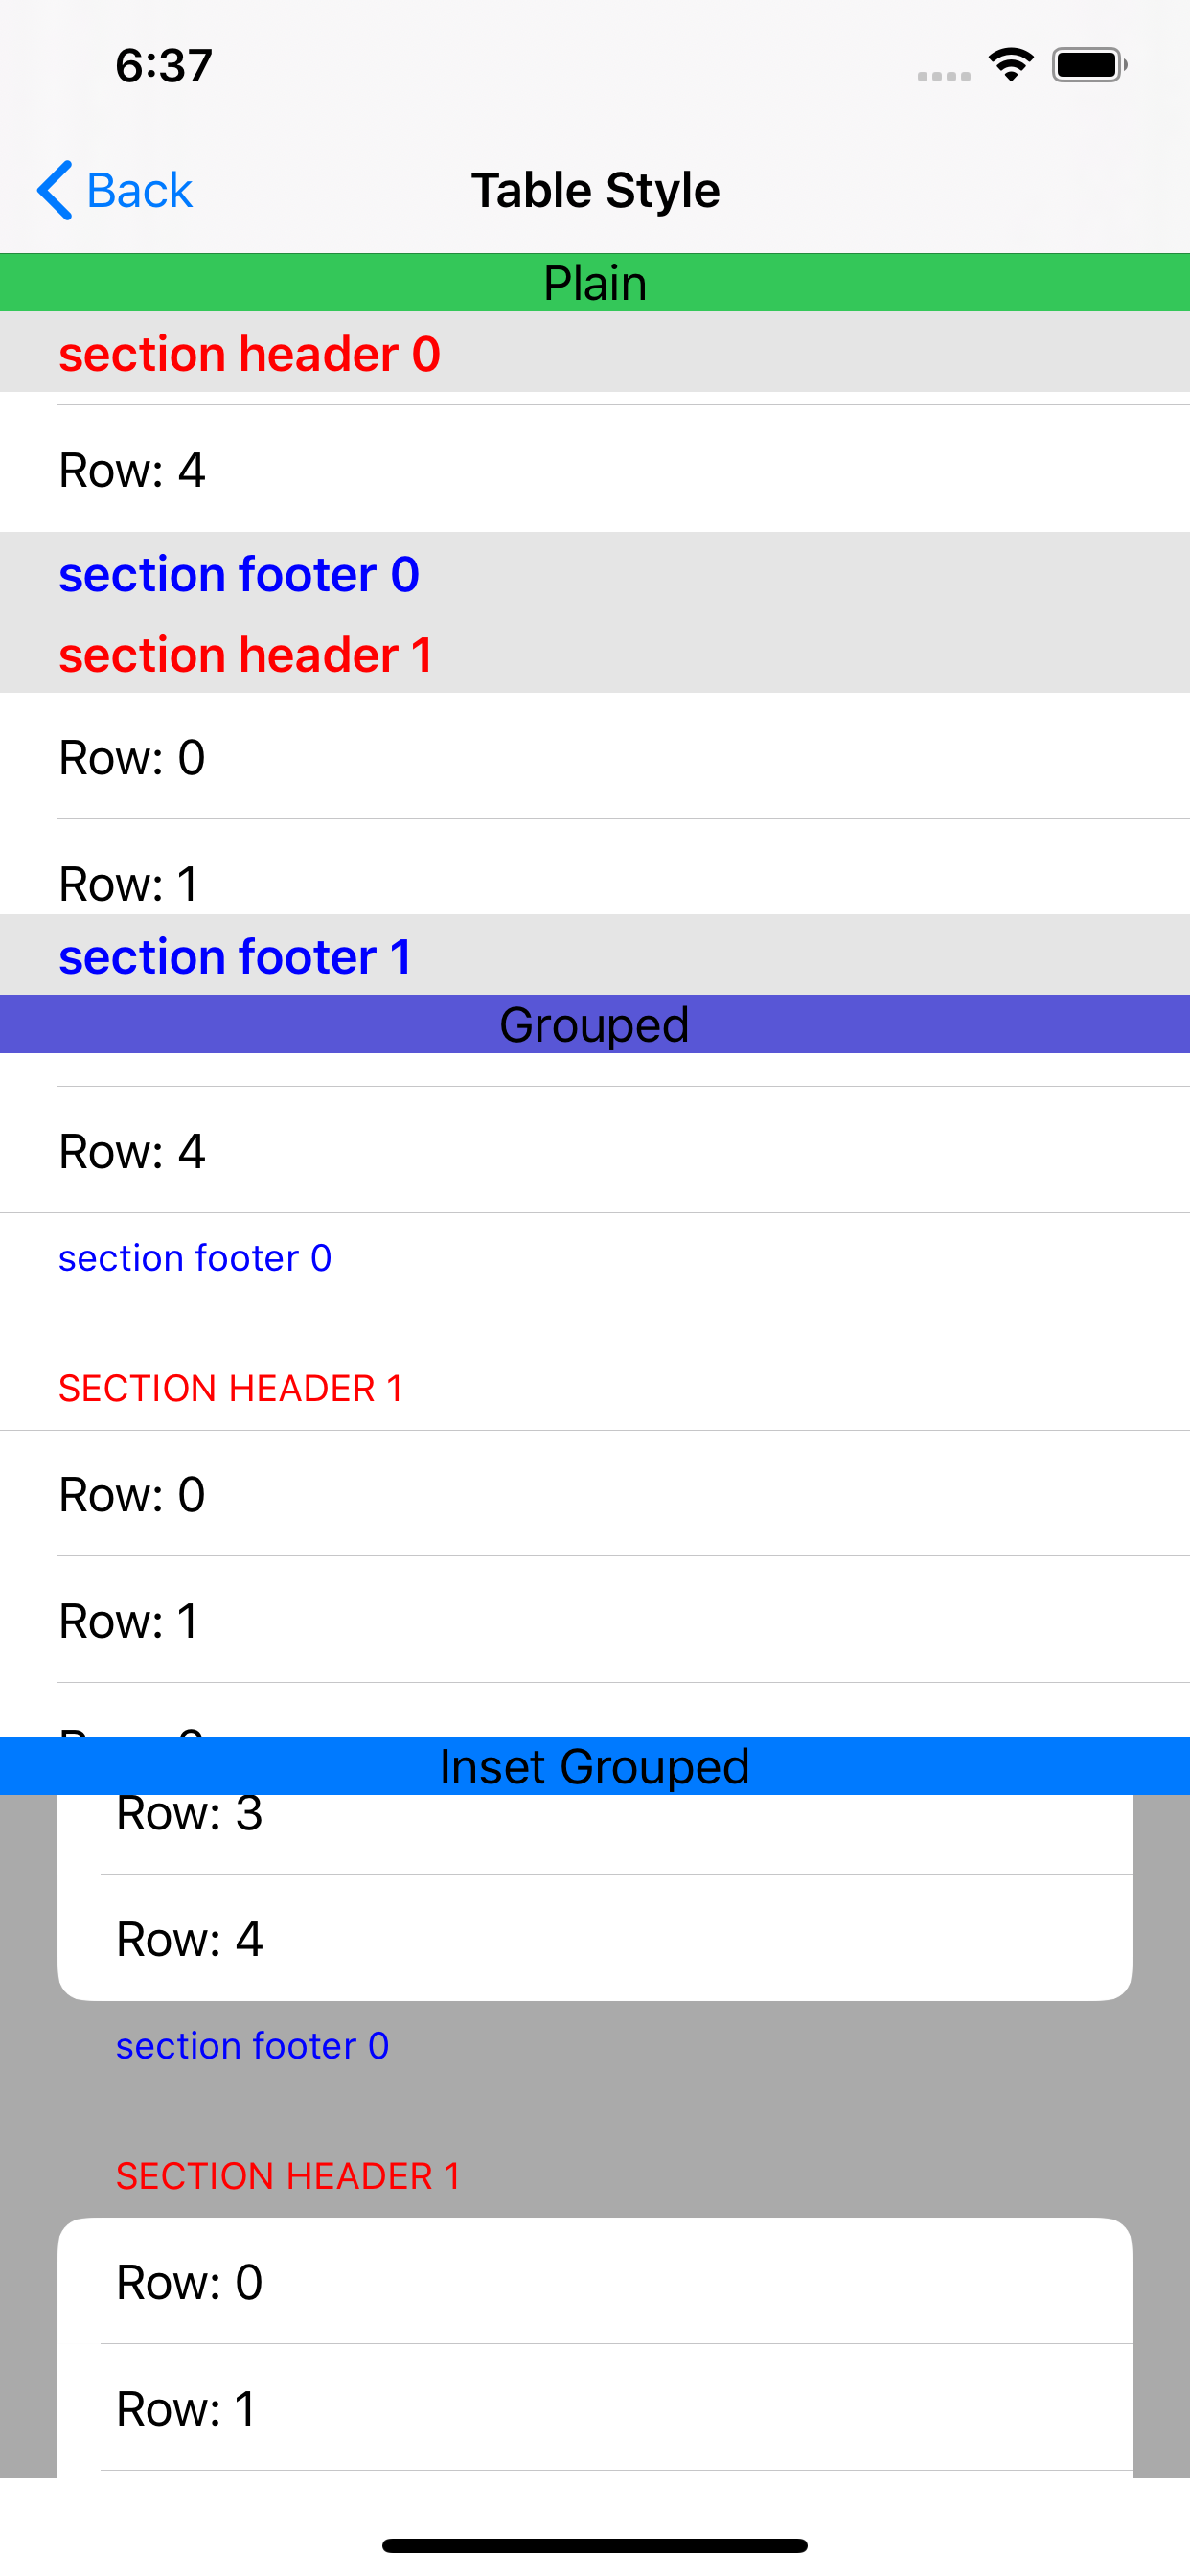
こんな感じ。(Plain とか表示してるのは TableView とは関係ないただの label です)
instGrouped はそのままだとわかりにくいので tableView の背景色を変えています。
ぱっと見わかりにくいですが下記のようにヘッダー・フッターを設定すると違いがわかります。
func tableView(_ tableView: UITableView, titleForHeaderInSection section: Int) -> String? {
  return "section header \(section)"
}

func tableView(_ tableView: UITableView, titleForFooterInSection section: Int) -> String? {
  return "section footer \(section)"
}
plain の場合スクロールしてもヘッダー部分は固定される。

grouped と insetGrouped の場合スクロールするとヘッダー部分も一緒にスクロールされる。ヘッダーの文字はすべて大文字になる。
| grouped | insetGrouped |
|---|---|
 |
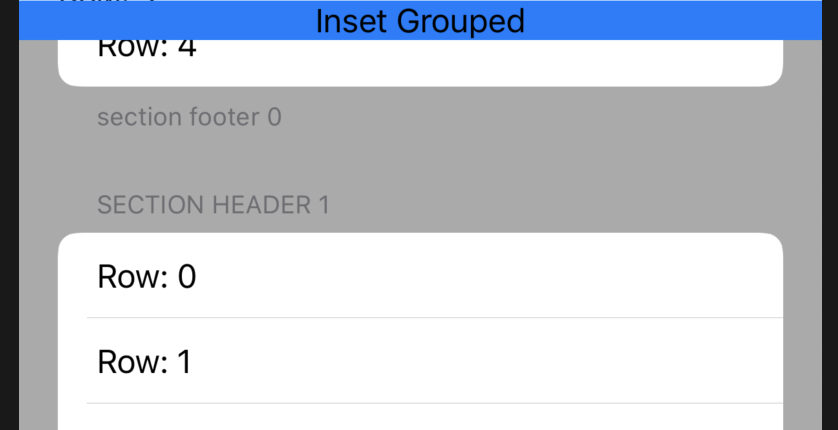 |
小技(ヘッダー・フッターの文字色を変える)
下記のようにするとヘッダー・フッターの文字色を設定できる![]()
func tableView(_ tableView: UITableView, willDisplayHeaderView view: UIView, forSection section: Int) {
  (view as? UITableViewHeaderFooterView)?.textLabel?.textColor = .red
}

func tableView(_ tableView: UITableView, willDisplayFooterView view: UIView, forSection section: Int) {
  (view as? UITableViewHeaderFooterView)?.textLabel?.textColor = .blue
}
こんな感じ
Grouped の detailText 設定
grouped と insetGrouped の場合ヘッダー部分に detailTextLabel を設定できる。
If you configured your table view with the group style, you can also configure the detailTextLabel property.
こんな感じ(ヘッダーは大文字にならない)
下記のように設定する。
Storyboardで Sections のところの Automatic にチェックをつける

これをしておかないと textLabel と detailTextLabel が重なったりする。
func tableView(_ tableView: UITableView, viewForHeaderInSection section: Int) -> UIView? {
  var header = tableView.dequeueReusableHeaderFooterView(withIdentifier: "header")
  if header == nil {
    header = UITableViewHeaderFooterView(reuseIdentifier: "header")
  }
  header?.textLabel?.text = "section header \(section)"
  header?.detailTextLabel?.text = "detail"
  return header
}
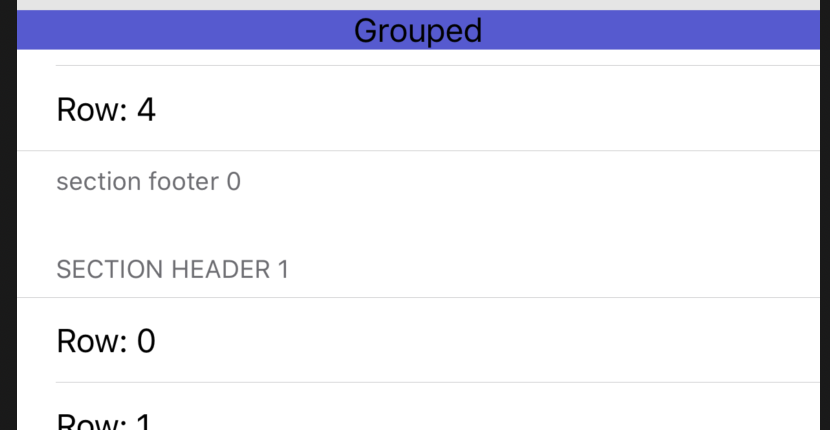
Section Color (ヘッダー・フッター)
セクションのヘッダー・フッターの背景色を設定する。
こんな感じ
下記のように設定する。
override func tableView(_ tableView: UITableView, viewForHeaderInSection section: Int) -> UIView? {
  var header = tableView.dequeueReusableHeaderFooterView(withIdentifier: "header")
  if header == nil {
    header = UITableViewHeaderFooterView(reuseIdentifier: "header")
  }
  if header?.backgroundView == nil {
    header?.backgroundView = UIView()
  }
  header?.backgroundView?.backgroundColor = .red
  return header
}

override func tableView(_ tableView: UITableView, viewForFooterInSection section: Int) -> UIView? {
  var footer = tableView.dequeueReusableHeaderFooterView(withIdentifier: "footer")
  if footer == nil {
    footer = UITableViewHeaderFooterView(reuseIdentifier: "footer")
  }
  if footer?.backgroundView == nil {
    footer?.backgroundView = UIView()
  }
  footer?.backgroundView?.backgroundColor = .red
  return footer
}
さいごに
カスタムクラスをつくらなくてもわりと色々できそう。
Table関連はよく使うけど実装方法忘れたりするのでもっと充実させたい。
プルリクくれてもええんやで![]()